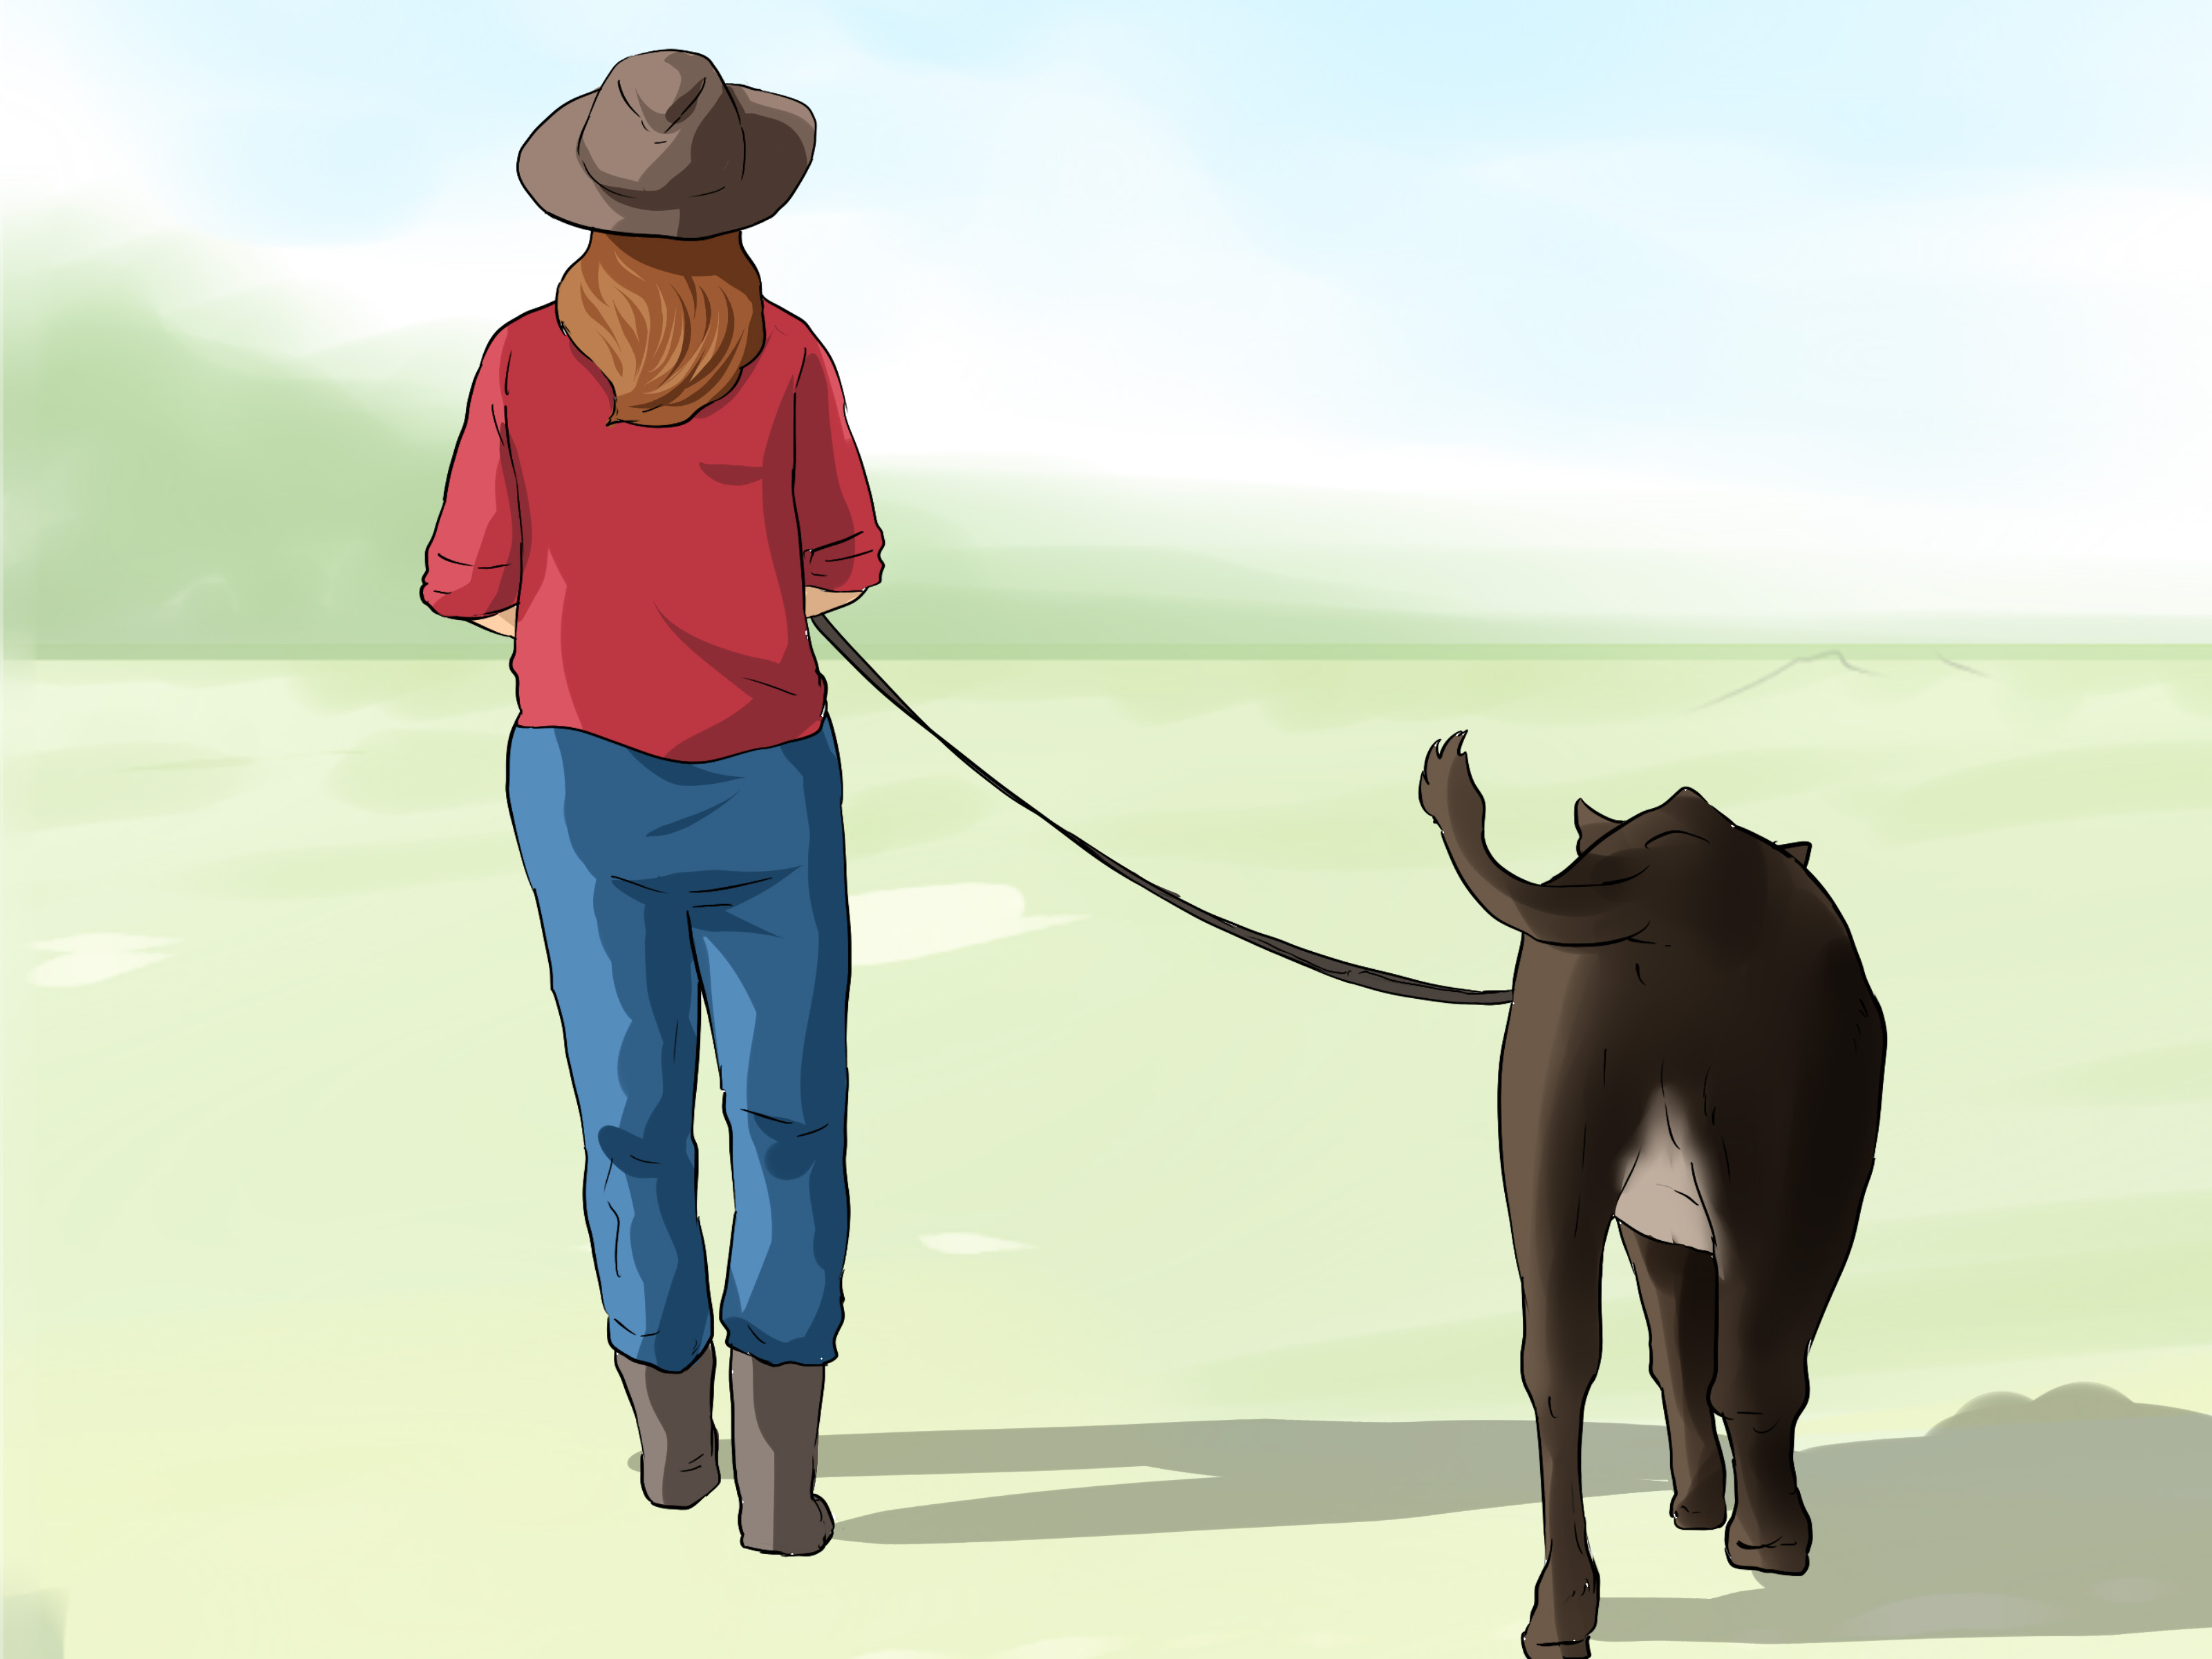
Halter training cattle is part patience, part stockmanship, and part “please do not turn this into a barnyard rodeo.” Whether you are preparing a show calf, teaching a heifer to lead, or simply making daily handling safer, the goal is the same: help the animal understand the halter without fear, chaos, or unnecessary wrestling matches.
The best cattle handlers do not rely on brute force. They rely on timing, calm movement, good facilities, and a clear understanding of how cattle think. Cattle respond to pressure and release. They notice body position. They remember rough handling. They also learn quickly when each session ends with comfort, feed, grooming, or a peaceful return to the pen. In other words, cattle are not stubborn machines with hooves. They are large, sensitive animals with opinionsand sometimes those opinions weigh 900 pounds.
This guide explains 12 practical ways to halter train cattle using low-stress handling principles, safe equipment, and real-world examples. It is written for beginners, 4-H and FFA families, small farmers, beef producers, and anyone who wants a calf to lead instead of launching sideways like a furry refrigerator with legs.
Why Halter Training Cattle Matters
Halter training is more than teaching a calf to walk beside you. A properly trained animal is easier to groom, wash, treat, load, show, and move around the farm. Good halter training also protects the handler. Large livestock can injure people by stepping, kicking, swinging the head, pushing, or bolting when frightened. A calm, trained calf is not just prettier in the show ring; it is safer in the barn.
Successful cattle halter training starts with one simple idea: the calf must be coached. It does not automatically know that pressure on a rope means “step forward,” “stop,” or “stand still.” Your job is to teach those meanings in small, repeatable lessons. Think of it as driver’s education, except the student has four stomach compartments and may try to eat the homework.
12 Ways to Halter Train Cattle Safely and Effectively
1. Start With the Right Calf and the Right Mindset
The easiest calf to halter train is usually young, calm, healthy, and not too heavy for the handler’s skill level. Many experienced cattle people prefer starting when the calf is still manageable in size. Older or larger cattle can be trained, but they require stronger facilities, more experienced handlers, and a more cautious plan.
Temperament matters. A calf that is curious, quiet, and willing to settle down will usually progress faster than one that explodes at every sound. That does not mean a lively calf is hopeless, but beginners should not choose the wildest animal in the pasture and call it “a character-building project.” Character is good. Emergency room visits are less charming.
Before the first session, decide that the process will be calm and consistent. Cattle learn from repetition. They also remember bad experiences. If the first lesson becomes a shouting, pulling, slipping disaster, the next lesson begins with the calf already suspicious. Start slow enough that the animal has a chance to succeed.
2. Use a Safe, Small Training Area
Good facilities make halter training much easier. A small, secure pen allows the calf to see you, settle down, and become familiar with its surroundings. The pen should be strong enough to handle pressure, free of sharp edges, and large enough for the calf to move without feeling trapped.
A practical setup might include a stall or small pen near another calf. Cattle are herd animals, so complete isolation can increase stress. Keeping a companion nearby can help the trainee feel less panicked while still giving you enough control to work safely.
Remove loose tools, buckets, hoses, fans, pitchforks, and other barn clutter from the training path. A calf that spooks at a garden hose can turn a simple leading lesson into an interpretive dance nobody requested. Good footing is also important. Dirt, bedding, or textured surfaces are safer than slick pavement. The handler should wear sturdy, closed-toe, non-slip footwear.
3. Let the Calf Settle Before You Ask for Work
One of the smartest ways to begin is by doing very little. Bring the calf into the training area and give it time to eat, drink, smell the pen, and watch normal barn activity. Enter calmly to feed or clean, then leave. This teaches the calf that your presence does not automatically mean trouble.
For the first day or two, the goal is not to “win.” The goal is to reduce fear. A calf that is relaxed enough to chew, stand, and watch you quietly is already learning. If the animal is still running circles, snorting, or pressing into panels, it is not ready for a complicated lesson.
Use your eyes before your hands. Watch how the calf reacts when you approach. Does it turn away, face you, freeze, kick, or walk off? Those small signals tell you how much pressure the animal can handle.
4. Understand Flight Zone and Point of Balance
Low-stress cattle handling depends on body position. The flight zone is the animal’s personal space. When you step into it, the animal moves away. The point of balance is usually near the shoulder. Standing behind that point tends to move the animal forward; standing in front of it can stop or turn the animal.
In halter training, this knowledge is gold. If you stand directly behind a calf, you may enter its blind spot and increase the risk of kicking or sudden movement. If you stand too far in front, you may block forward motion. The best position is often near the shoulder, slightly to the side, where the calf can see you and you can influence movement without panic.
Think of pressure as a conversation. Step in, ask for movement, then step back or release pressure when the calf gives the right answer. Constant pressure becomes noise. Timed pressure teaches.
5. Introduce Touch Before Introducing the Halter
Before you put a halter on a nervous calf, get it used to touch. A long show stick, soft brush, or grooming tool can help you safely rub the topline, neck, shoulder, and belly area from a respectful distance. Keep the sessions short, calm, and predictable.
Some calves accept touch in minutes. Others need several days. Do not rush the calf that is still startled by every contact. Halter training improves when the calf already understands that human touch can be neutral or pleasant.
A useful example is the “scratch and step away” method. Rub the calf gently for a few seconds, then stop before it moves away. This teaches the animal that standing still makes the pressure disappear. If you keep rubbing until the calf jumps, the lesson becomes: “Movement saved me.” That is not the message you want.
6. Choose and Fit the Halter Correctly
A rope halter is commonly used for starting calves because it gives clear pressure and release. The halter should fit securely without interfering with breathing, eating, or the eyes. The nosepiece should sit high enough to control the head but not so high that it rubs the eyes, and not so low that it slides toward the mouth.
When placing the halter, keep the lead on the correct side for your handling style and make sure the crownpiece is secure behind the ears. Avoid loose loops that can catch on gates, panels, or feet. Also, never leave a halter on an unattended calf unless your setup and supervision are specifically designed for that step. A loose halter can snag; a tight or poorly adjusted halter can create swelling, fear, or injury.
Most importantly, do not wrap the lead rope around your hand, wrist, or fingers. If the calf pulls, your hand should remain attached to you in the original factory condition.
7. Tie Safely and Supervise Closely
Tying teaches the calf to give to pressure, but it must be done carefully. Use a strong post, secure panel, or properly anchored structure. Weak gates and lightweight panels can become dangerous if a calf pulls hard. Use a knot or setup that can be released quickly in an emergency.
For early sessions, give enough slack for the calf to stand naturally, but not so much that it can step over the rope, jump a panel, or get tangled. Watch from a safe distance. A newly tied calf may pull, jump, fall, or fight the rope. Your job is to prevent injury, not to stand too close and become part of the furniture.
Start with shorter tying periods and gradually increase time as the calf learns to stand. During calm moments, brush, talk softly, or simply stand nearby. The goal is not exhaustion. The goal is acceptance.
8. Teach Pressure and Release
The heart of halter training cattle is pressure and release. Apply gentle, steady pressure on the lead. The instant the calf shifts weight, lowers its head, or steps toward you, release. That release is the reward. It tells the calf, “Yes, that was the answer.”
Do not pull continuously like you are trying to start a stubborn lawn mower. Constant pulling often teaches the calf to brace harder. Instead, ask, wait, and reward the smallest try. One step is progress. Half a step is progress. Even a forward lean can be the beginning of understanding.
Over time, the calf learns that moving with the halter brings comfort. Once that idea clicks, leading becomes much easier.
9. Lead to Something Positive
At first, lead the calf to feed, water, shade, grooming, or another pleasant destination. This gives the animal a reason to cooperate. A calf that learns “walking with the handler gets me somewhere good” will usually train faster than one that only gets dragged in circles.
Keep early walks short. Lead from the calf’s left side if you are preparing for showmanship, holding the lead close enough for control but not so tight that the animal feels trapped. Use your body position to guide, and release pressure whenever the calf steps correctly.
If the calf tries to rush past you, turn its head slightly and redirect rather than getting into a straight-line pulling contest. Cattle are strong. You are clever. Use clever.
10. Practice Stopping, Standing, and Backing
Once the calf leads forward, teach the basics: stop, stand, and back. These skills are useful for washing, grooming, veterinary care, loading, and showing.
To stop, slow your body first, then apply light halter pressure. When the calf stops, release and let it rest. To stand, reward stillness. Start with a few seconds and gradually build. To back, use gentle backward pressure on the halter while encouraging the calf to shift weight. Release immediately when it takes even one step back.
Do not drill until the calf becomes irritated. Short, frequent training sessions are usually better than rare marathon sessions. Ten calm minutes can accomplish more than an hour of frustration.
11. Add Grooming, Washing, Noise, and New Places Gradually
A halter-trained calf should be comfortable with more than a quiet stall. It should learn to handle grooming tools, brushing, rinsing, blowers, clippers, barn traffic, different people, and new surfaces. Add these experiences one at a time.
Start with brushing. Then introduce the wash rack. Then add water slowly. Later, practice with a blower, show stick, or other equipment. If the calf gets nervous, reduce the pressure and return to something it understands.
Exposure matters because shows and busy barns are full of surprises: loudspeakers, children, carts, clippers, bright lights, strange cattle, and someone’s uncle loudly explaining how he “used to show the best steer in three counties.” A calf that has practiced in different environments is less likely to melt down when the real event arrives.
12. End Every Session on a Good Note
The final lesson of the day is often the one the calf remembers most. End when the animal has done something right, even if it is small. That might be standing quietly, taking three steps, accepting the brush, or allowing the halter to be removed without a fight.
Removing the halter is part of training too. Wait until the calf is calm. If you remove the halter while it is pulling, jumping, or shaking its head, you may accidentally teach that resistance leads to freedom. Instead, pause, ask for stillness, then release.
Consistency builds confidence. The more often the calf experiences calm handling, clear pressure, quick release, and peaceful endings, the more reliable it becomes.
Common Mistakes to Avoid When Halter Training Cattle
The first mistake is rushing. A calf that is not ready for the next step will tell you with its body language. The second mistake is using too much force. Rough handling can make cattle more fearful and harder to control. The third mistake is poor equipment or unsafe tying. A weak panel, slippery floor, or tangled rope can turn training into an accident.
Another common error is treating every calf the same. Some cattle are naturally gentle. Others are cautious. Some need extra time with touch before the halter. Others accept the halter quickly but resist leading. Adjust the plan to the animal in front of you.
Finally, avoid teaching bad habits by accident. Do not let the calf push into you, rub its head on you, lick constantly, or drag you toward feed. Cute habits in a 300-pound calf become less adorable when the animal is much larger and still believes you are a scratching post with boots.
Practical Experience: What Halter Training Cattle Feels Like in Real Life
In real barns, halter training rarely looks like a perfect instructional video. The first session may involve a calf staring at the halter as if it is a snake. The second session may go beautifully until a bucket falls over and the calf decides gravity is suspicious. That is normal. Progress with cattle is often measured in inches, quiet breaths, and fewer dramatic opinions.
A helpful experience many handlers share is the value of calm repetition. One day, a calf may refuse to step forward. The handler applies light pressure, waits, releases for a tiny lean, and ends the session after only a few good responses. The next day, the same calf takes two steps. By the end of the week, it walks to the wash rack. Nothing magical happened. The calf simply learned that the handler was predictable.
Another common lesson is that facilities matter more than pride. If the alley is cluttered, the footing is slick, or the gate swings poorly, the calf will find every weakness. Experienced handlers often spend more time preparing the area than pulling on the rope. They close outside gates, clear hoses, check footing, and choose a route before bringing the calf out. That preparation may feel boring, but boring is excellent in livestock handling. Exciting usually means someone forgot to latch something.
Handlers also learn that release must be immediate. If a calf takes a step and the handler keeps pulling, the calf may think the correct answer did not work. Good timing says, “Yes, that step mattered.” This is where patience becomes a skill, not just a personality trait. You are not waiting because you have nothing better to do. You are waiting because the animal’s brain is connecting pressure, movement, and relief.
There is also a confidence shift. At first, the handler may feel nervous, and the calf notices. Cattle are excellent readers of posture and energy. A person who walks in tense, loud, and hurried often creates a tense, loud, hurried animal. A person who moves quietly, watches the calf’s shoulder, and gives clear signals usually gets better results. Confidence does not mean being fearless. It means having a plan and not turning every mistake into a battle.
One of the most satisfying moments is the first calm stand. The calf stops pulling, lowers its head slightly, and accepts the brush or show stick. It may only last five seconds, but those five seconds are the doorway to everything else: washing, clipping, setting feet, loading, and showing. The animal is learning trust. The handler is learning timing. Together, they become a team.
Halter training cattle is not about domination. It is about communication. The rope is not the whole conversation; it is just one sentence. Your body position, tone, timing, facilities, and patience say the rest. When done well, the calf becomes easier to manage and the handler becomes more skilled. And yes, there will still be days when the calf acts like it has never seen you before. That is livestock. Keep calm, reset the lesson, and remember: every good show animal started as a beginner with hooves.
Conclusion
Halter training cattle works best when safety, patience, and low-stress handling come first. Choose a manageable calf, create a secure training space, introduce touch gradually, fit the halter properly, use pressure and release, and keep sessions short and positive. Whether you are preparing a show calf or simply improving farm handling, the goal is a calm animal that understands what you are asking.
The best results come from clear coaching, not force. Work with the calf’s natural behavior, respect its flight zone, reward small progress, and end each session peacefully. Do that consistently, and the halter becomes less of a wrestling device and more of a communication toolwhich is better for the calf, the handler, and everyone standing near the gate pretending they were not worried.