

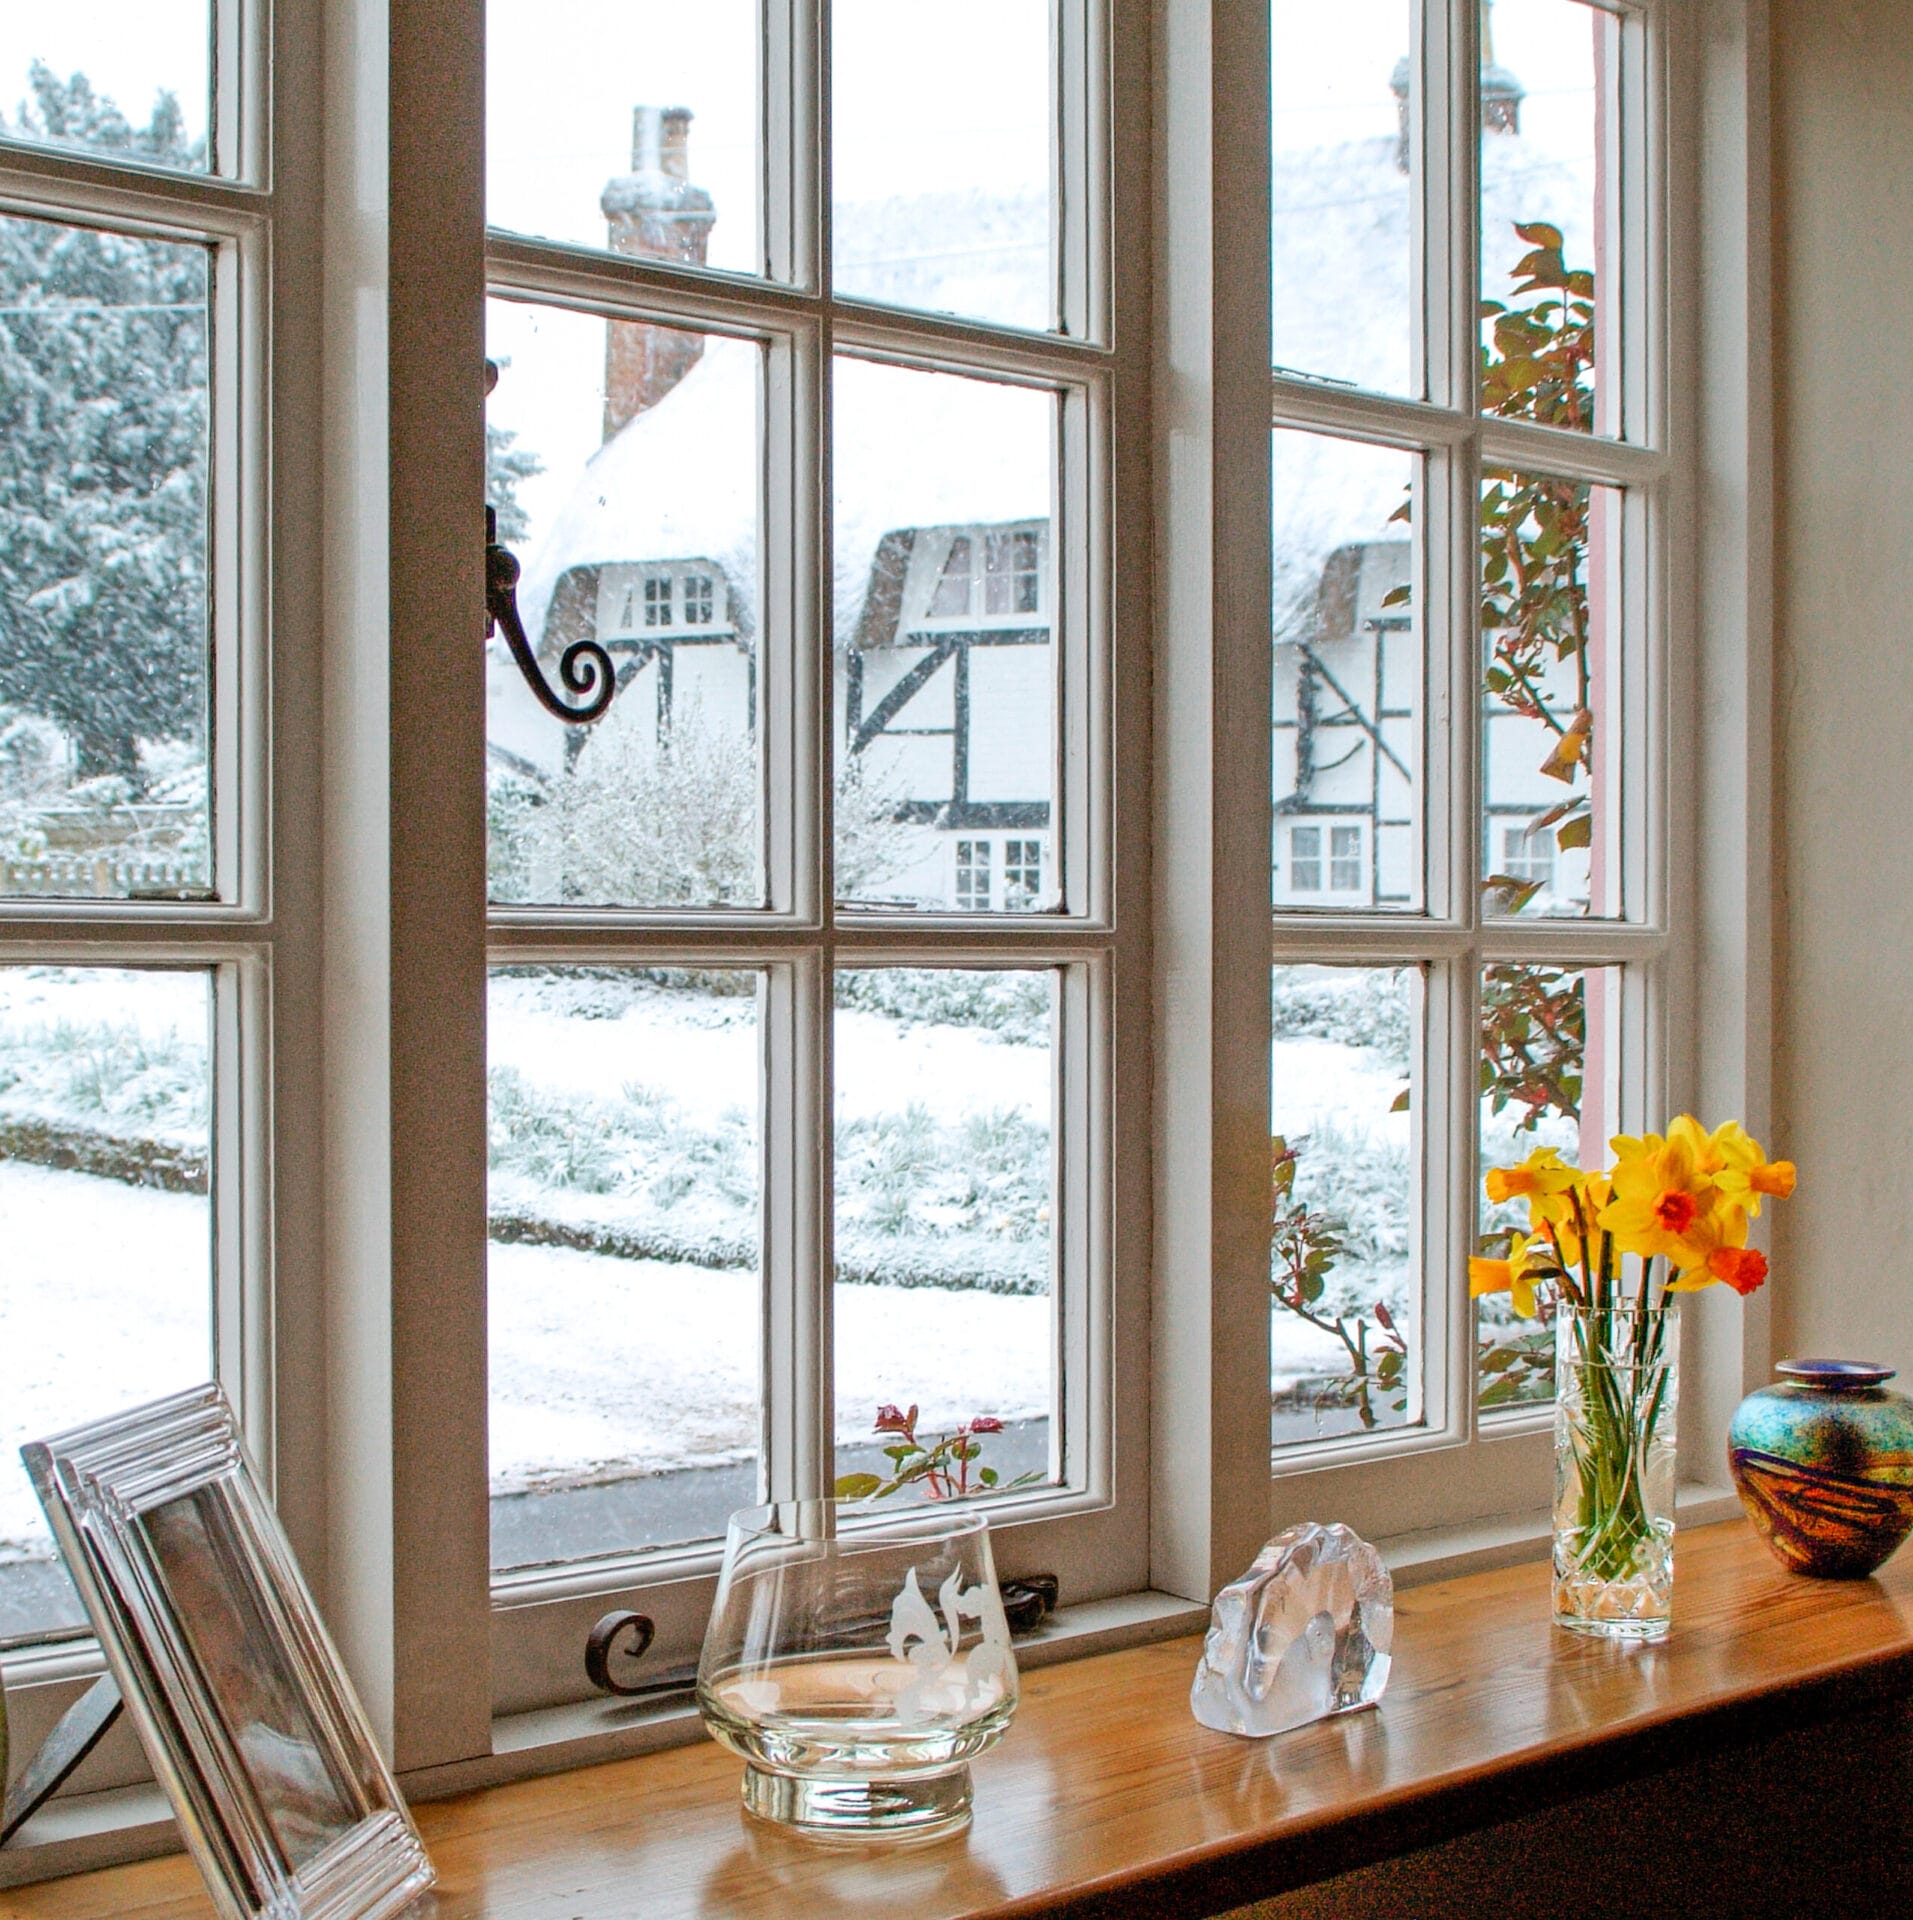
A drafty window can make a warm room feel as though somebody left a refrigerator open in the next ZIP code. Drafty doors are just as sneaky. They let conditioned air escape, create uncomfortable cold spots, admit dust and noise, and make heating or cooling equipment work harder.
Fortunately, many air leaks do not require replacement windows or a new front door. The problem is often worn weatherstripping, cracked caulk, loose hardware, an uneven threshold, or an unsealed gap around the frame. The U.S. Department of Energy and ENERGY STAR identify caulking and weatherstripping as practical, cost-effective ways to reduce unwanted air leakage and improve comfort.
Remember one simple rule before buying supplies: use caulk on parts that do not move and weatherstripping on parts that do. That distinction prevents many DIY mishaps, including accidentally sealing a window shut and discovering the problem on the first beautiful spring day.
How to Find the Source of a Draft
Close and lock every exterior window and door, then move your hand slowly around each perimeter. On a windy day, a leak may be obvious. A lightweight tissue can also reveal air movement. Look for daylight around door edges, cracked caulk, flattened gaskets, loose locks, rattling sashes, and thresholds that no longer meet the door bottom.
Do not assume the glass is the problem. Air may enter between the sash and frame, around exterior trim, under a door, or through an uninsulated cavity behind interior casing. For difficult cases, a professional energy audit with a blower door test can locate hidden leaks.
1. Close, Lock, and Adjust Windows Properly
Begin with the free fix: make sure each window is completely closed and locked. On many models, the lock pulls the sash against the weatherstripping to create a tighter seal.
For a double-hung window, push the upper sash fully up and the lower sash fully down before engaging the lock. Clean dirt from the tracks, remove paint buildup, and tighten loose lock screws. On doors, tighten hinge screws and make sure the latch pulls the slab snugly against the stop. Adjust the strike plate if the door closes without compressing the seal or must be slammed to latch.
2. Re-Caulk Stationary Gaps Around Frames
Caulk belongs in stationary joints, such as where a window frame meets siding or interior casing meets a wall. Old caulk can crack, peel, shrink, or separate, leaving a narrow path for outdoor air.
How to Apply Caulk Correctly
- Remove loose or failing caulk.
- Clean the joint and let it dry completely.
- Choose a sealant rated for the location and materials.
- Apply a continuous bead that touches both sides of the joint.
- Tool the bead immediately for full contact and a neat finish.
Do not block window drainage holes or moving sash channels. Large voids may require backer rod, low-expansion window-and-door foam, or professional repair rather than a heroic blob of caulk. ENERGY STAR guidance recommends choosing materials according to the gap size and location.
3. Replace Worn Weatherstripping
Weatherstripping seals the moving edges of operable windows and exterior doors. Over time, foam flattens, rubber becomes brittle, felt tears, and adhesive loses the commitment level of a weak sticky note.
Common options include adhesive-backed foam, tubular rubber or silicone gaskets, V-strip tension seals, felt, brush seals, and kerf-in weatherstripping. Choose according to the gap, movement, moisture exposure, and frequency of use.
Weatherstripping Installation Tips
Clean and dry the surface, measure each side, and avoid stretching adhesive strips because they may shrink later. Make tight corner joints without bulky overlaps. The seal should compress when the unit closes but should not make it difficult to operate. Foam is convenient for irregular gaps, while rubber, silicone, or metal-backed products may be more durable in busy locations.
4. Install or Adjust a Door Sweep and Threshold
If daylight is visible under an exterior door, the door is essentially sending your HVAC system a resignation letter. A sweep attaches to the lower edge and closes the gap against the threshold. Options include flexible vinyl fins, rubber blades, brushes, and slide-on double seals.
Cut the sweep to fit and position it so it lightly contacts the threshold across the full width. It should stop air without dragging hard. Then inspect the threshold. Adjustable models can often be raised or lowered with screws. Make small changes and test the door after each one. Replace thresholds that are cracked, warped, corroded, or too low to meet the sweep.
5. Use Removable Caulk or Window Insulation Film
For windows that will remain closed during cold weather, temporary products can provide a fast, renter-friendly improvement. Rope caulk presses into small sash gaps and peels away later. Clear shrink-film kits use double-sided tape and a hair dryer to create an interior air barrier across the opening.
Clean and dry the frame before applying film. Leave a little slack, warm it gradually, and stop when the wrinkles disappear. A good installation should look nearly transparent rather than like a sandwich bag lost a wrestling match.
These methods do not repair rotten frames, failed insulated glass, or water intrusion, but they can improve seasonal comfort. Consumer Reports and the Department of Energy recognize clear plastic film as a useful temporary measure for drafty windows.
6. Add Storm Windows, Storm Doors, or Interior Inserts
When an existing window is serviceable but performs poorly, a secondary layer can reduce air movement and heat transfer. Interior or exterior storm windows create an insulating air space. Compression-fit interior inserts can offer similar benefits while preserving original windows in older homes.
Storm doors provide another buffer at exterior entries, but they must be installed square and fitted with a well-adjusted closer and sweep. Repair water leaks or deteriorated wood first, preserve required drainage paths, and follow the manufacturer’s ventilation instructions. Federal weatherization guidance and Consumer Reports both include storm products among options for improving older windows and doors.
7. Upgrade Window Coverings and Add Draft Stoppers
Curtains and shades do not seal cracks, but insulated coverings can reduce the chill felt near cold glass. Cellular shades, layered curtains, and thermal drapes work best when mounted close to the window and extended beyond the frame. Open them on sunny winter days, then close them at night. In hot weather, close coverings on strongly sunlit windows to limit heat gain.
A fabric draft stopper, or draft snake, can block a small gap at the bottom of a door or along a sill. It is inexpensive and portable, but it is a backup rather than a substitute for a properly fitted sweep or threshold. Moving it every time the door opens is charming for approximately two days.
8. Repair Serious Defects or Replace the Unit
Some drafts indicate a larger problem. Professional repair or replacement may be justified when a frame is rotten, a sash is warped, glass is cracked, water repeatedly enters, condensation persists between panes, or the unit cannot close and lock correctly.
Before replacing everything, determine whether the problem is limited to hardware, weatherstripping, glazing, trim, or installation gaps. A professional may be able to replace a sash, glass unit, crank, lock, or seal. Replacement makes more sense when deterioration is extensive or repairs repeatedly fail.
When shopping for new units, compare whole-window or whole-door performance ratings and pay close attention to installation quality. Even an efficient product can leak if the rough opening is not air-sealed, flashed, and integrated correctly with the wall.
Common Mistakes to Avoid
- Sealing dirty or damp surfaces: Adhesive and caulk will fail early.
- Using caulk on moving joints: The bead will tear when the unit operates.
- Blocking drainage openings: Trapped water can damage frames and walls.
- Using overly thick weatherstripping: The door or window may stop closing properly.
- Ignoring alignment: New seals cannot fully compensate for loose hinges or warped frames.
- Covering moisture damage: Draft control should never conceal rot, mold, or active leakage.
Real-World Experiences: What Draft-Proofing Usually Teaches You
One of the most useful lessons from fixing drafty windows and doors is that the leak you feel is not always where the air enters. In an older bedroom, cold air may seem to come through the glass, while a tissue test reveals airflow beside the interior casing. Air can enter around the rough opening, travel behind trim, and emerge at the easiest exit. Correctly sealing that hidden cavity may outperform several layers of decorative curtains.
Another common discovery is how much window locks matter. A homeowner may add foam tape around a double-hung window and still feel a draft because the upper sash has slipped down. Pushing it fully into position before locking the lower sash restores compression at the meeting rail. The improvement can be immediate, and the cost is pleasantly close to zero.
Door projects often reveal an alignment problem rather than a missing sweep. Imagine a front door with an even bottom gap but a wide opening near the upper latch corner. A thicker sweep will not fix that. Tightening the top hinge, replacing a short hinge screw with a longer one that reaches solid framing, or adjusting the strike plate may pull the slab back into position. New perimeter weatherstripping works better after the door is square.
Temporary film teaches the value of surface preparation. A first attempt may fail because tape was applied over dusty paint or the film was pulled too tight before heating. A better attempt starts with cleaning, drying, applying the tape continuously, and leaving modest slack. Once shrunk evenly, the film forms a still air layer and stops the fluttering that makes a room feel colder.
Weatherstripping selection also involves some trial and error. Thick foam may look strongest but can prevent a door from latching. Thin felt fits easily but may wear quickly on a busy entrance. A medium-compression rubber or silicone gasket often provides a better balance. The right material is not the thickest; it is the one that fills the actual gap while allowing normal operation.
Finally, draft-proofing works best as a sequence rather than a shopping spree. Diagnose first. Correct hardware and alignment. Seal stationary cracks. Weatherstrip moving joints. Address the bottoms of doors. Add film, inserts, or coverings only where they provide extra value. Recheck the area during the next windy or cold day. A successful repair should improve comfort without trapping water or making emergency egress windows difficult to open.
Conclusion
Fixing drafty windows and doors is usually less dramatic than replacing them and far more satisfying than wearing a coat in the living room. Begin with free adjustments, then use caulk for stationary cracks, weatherstripping for moving edges, and sweeps or thresholds for gaps under doors. Seasonal film, storm panels, interior inserts, insulated coverings, and draft stoppers can add another layer of comfort.
The key is matching the repair to the leak. Small, targeted improvements can reduce cold spots, dust, noise, and heating or cooling demand. When the damage involves rot, broken glass, structural movement, or repeated water intrusion, professional repair or replacement is the safer long-term answer.
Note: Product compatibility, ventilation needs, egress rules, and installation details vary. Follow manufacturer instructions, preserve drainage openings, and seek professional help for rot, water intrusion, broken glass, lead-painted components, or structural defects.