

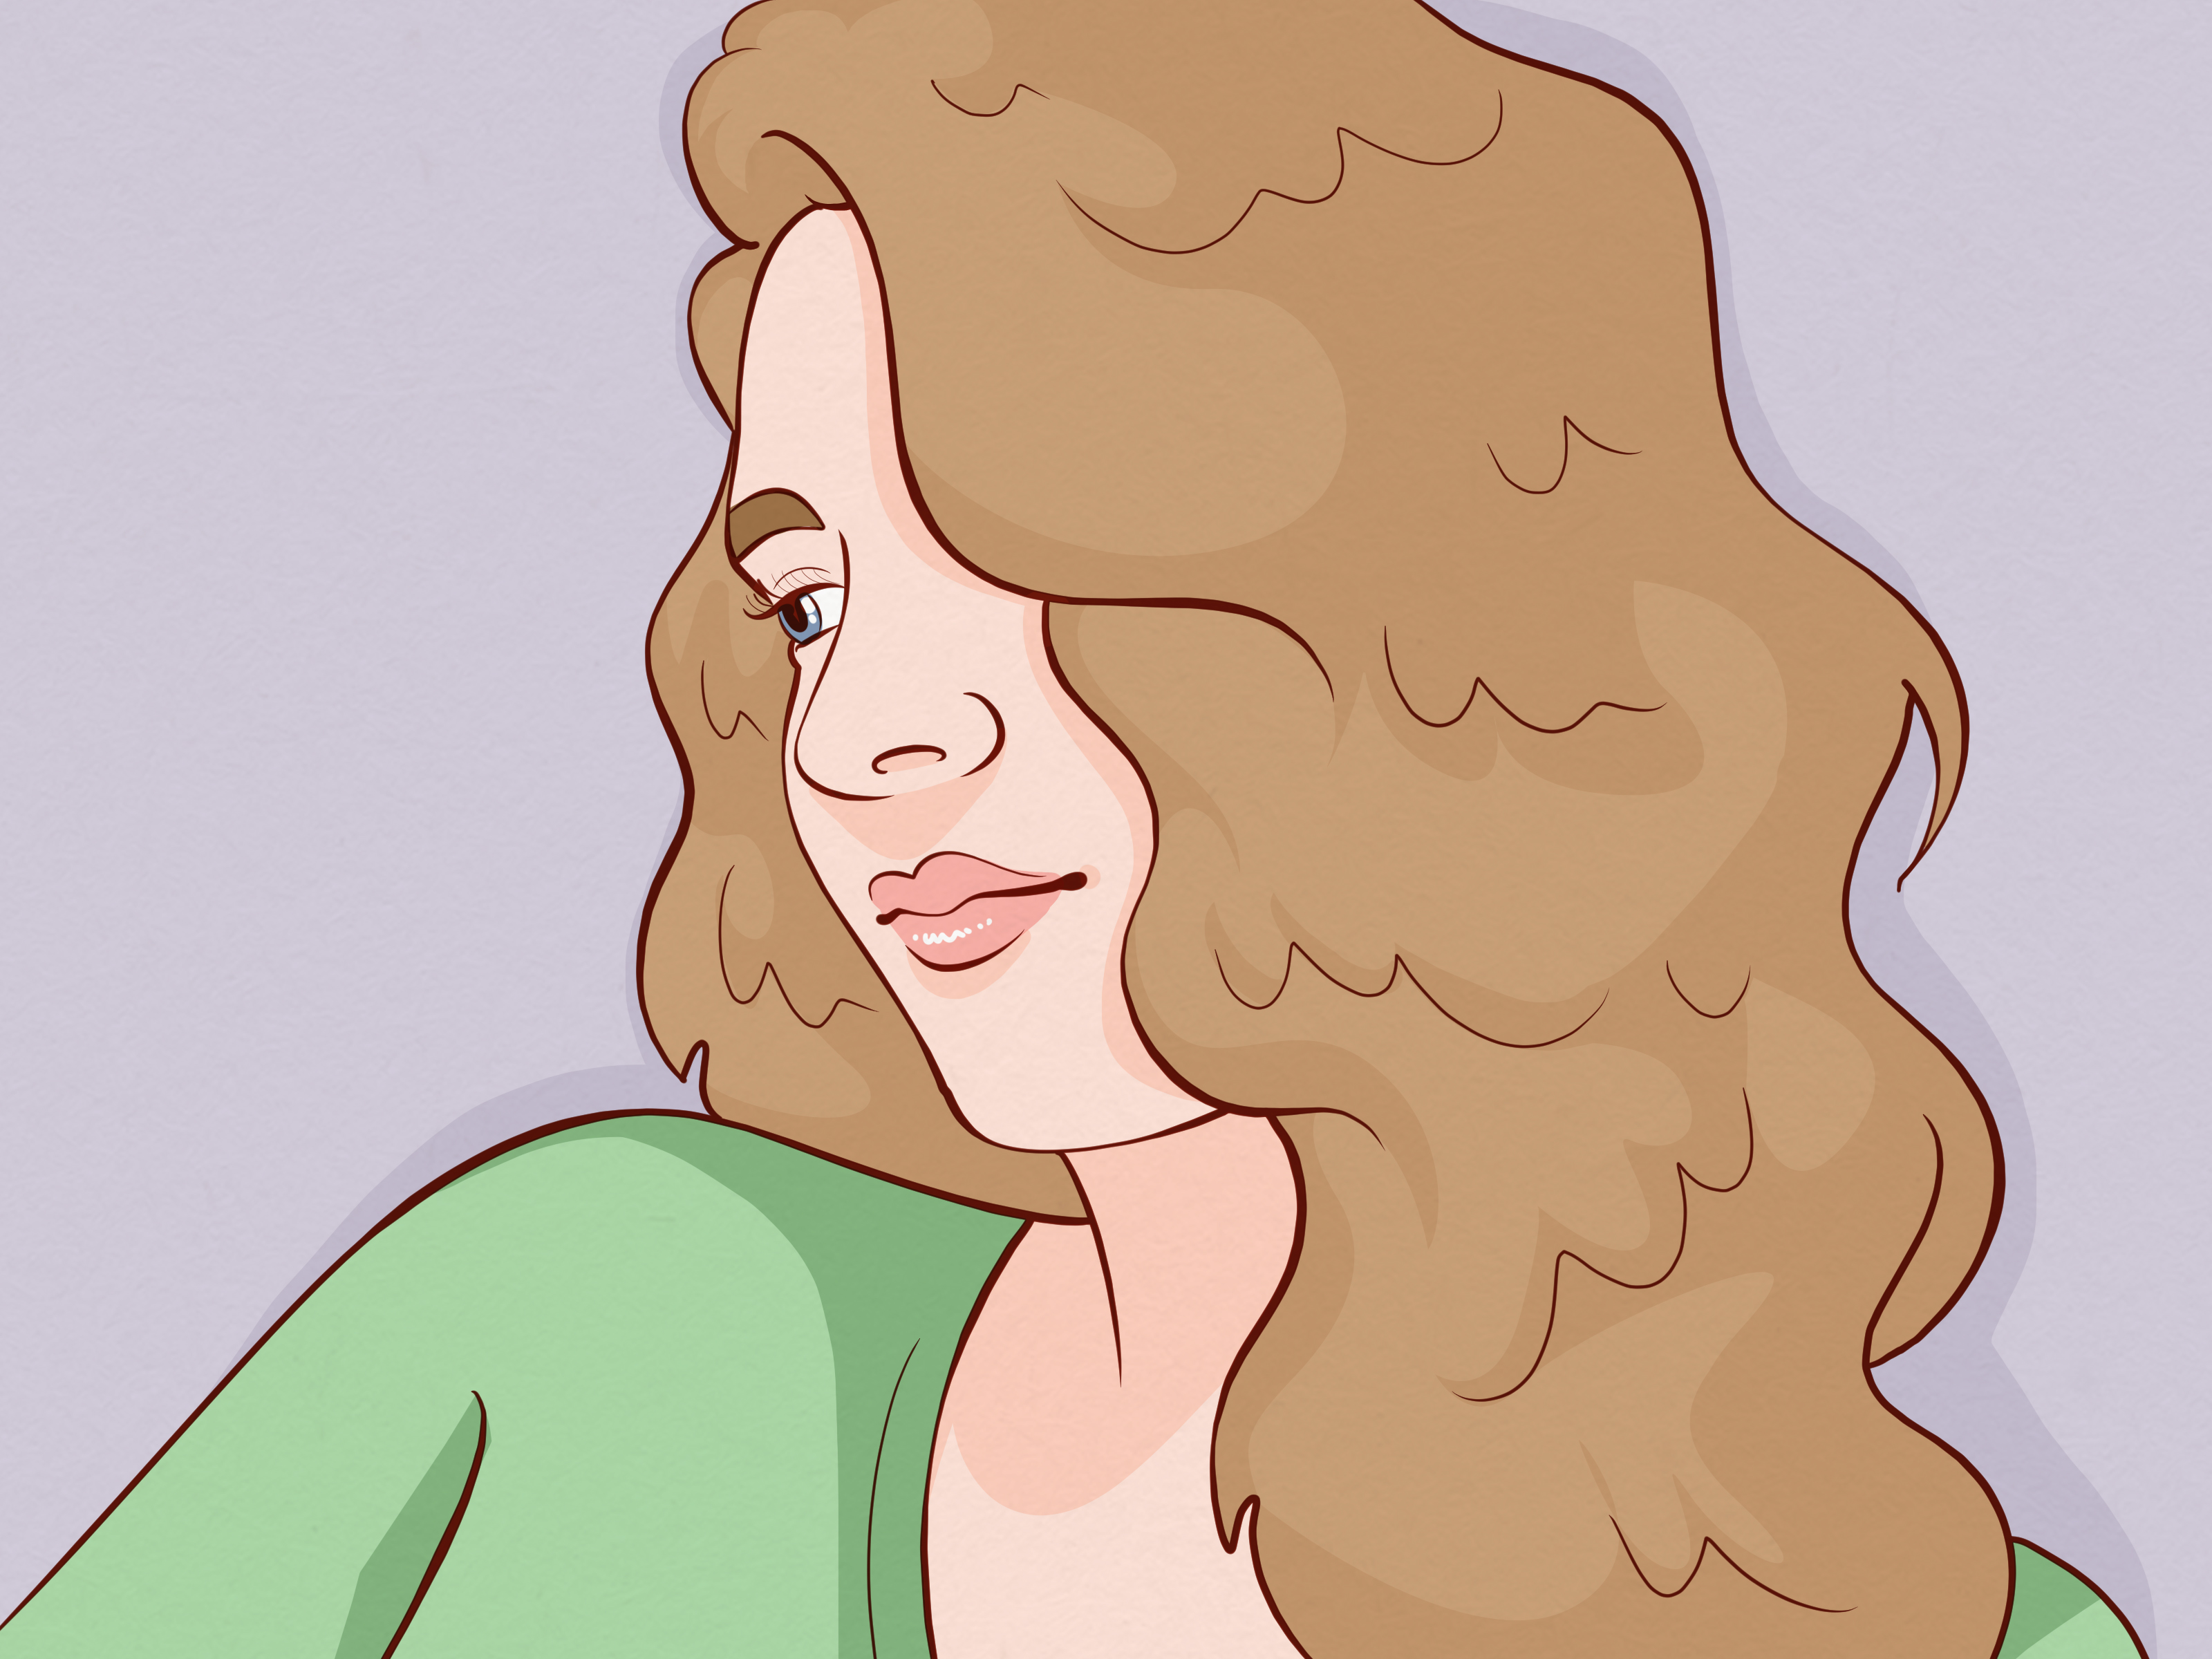
Wavy hair has a magical way of looking casual, polished, and “Oh, this? I woke up like this” all at the same time. The good news is that you do not need a curling iron, a blowout appointment, or a dramatic sunrise montage to get it. A simple overnight bun can help create soft, natural-looking waves while you sleep.
The trick is not just twisting your hair into a random bedtime blob and hoping for the best. That method can work occasionally, in the same way guessing on a test can occasionally work, but the results are not exactly dependable. To get pretty, wearable overnight waves, you need the right level of dampness, the right bun placement, gentle tension, and a few smart finishing moves in the morning.
This guide breaks down how to get wavy hair overnight with a bun in 9 simple steps. It is heatless, beginner-friendly, and suitable for many hair types, especially straight, slightly wavy, medium-length, and long hair. Whether you want loose beach waves, soft bends, or subtle volume, this method gives your hair shape without turning your morning routine into a full construction project.
Why an Overnight Bun Creates Waves
Hair temporarily takes on a new shape when it dries or sets in a particular position. When you twist damp or lightly misted hair into a bun and leave it for several hours, the hair bends around itself. Once it is fully dry and released, those bends become waves.
The size and tightness of the bun matter. A loose, large bun usually creates softer waves. Smaller buns can create more defined bends. A high bun can add volume near the crown, while low buns tend to create relaxed, beachy texture through the mid-lengths and ends.
The goal is to encourage waves without stressing your hair. That means avoiding soaking wet hair, tight elastics, aggressive brushing, and anything that pulls at the roots. Your hair should wake up looking styled, not like it survived a wrestling match with your pillow.
What You Need Before You Start
You do not need many tools for this overnight wavy hair method. In fact, the simpler the setup, the better. Gather a soft scrunchie, a wide-tooth comb, a microfiber towel or soft cotton T-shirt, a light leave-in conditioner or styling cream, and optional mousse or wave spray. If your hair frizzes easily, a satin or silk pillowcase, scarf, or bonnet can make a big difference.
Avoid tight rubber bands because they can leave dents and create unnecessary tension. Bobby pins can help secure loose pieces, but use them gently. The best overnight bun is secure enough to stay put, but loose enough that you can actually sleep without feeling like a tiny doorknob is attached to your head.
How to Get Wavy Hair Overnight with a Bun: 9 Steps
Step 1: Start with Clean or Refreshed Hair
Begin with hair that is freshly washed or lightly refreshed. Clean hair often forms waves more evenly because there is less oil, product buildup, or old hairspray weighing it down. If you do not want to wash your hair, lightly mist the mid-lengths and ends with water to reactivate your texture.
Focus on the lengths of your hair rather than soaking the roots. The bun method works best when the hair is damp, not dripping. If your hair is too wet, it may still be wet in the morning, and wet hair plus a pillow can lead to frizz, flat spots, and a general “science experiment” situation.
Step 2: Remove Excess Water Gently
After washing, blot your hair with a microfiber towel or a soft cotton T-shirt. Do not rub your hair roughly with a regular towel. Rubbing can rough up the cuticle, which may lead to frizz and breakage. Instead, squeeze sections gently from the ends upward.
Your ideal starting point is around 70 to 85 percent dry. The hair should feel cool and slightly damp, but not wet enough to drip down your neck. If your shirt collar is becoming part of the styling process, your hair is too wet.
Step 3: Detangle with Care
Use a wide-tooth comb or your fingers to remove tangles. Start at the ends, then work upward toward the roots. This prevents tugging and keeps the hair smoother before you twist it into a bun.
If your hair is curly, coily, fragile, or very prone to knots, detangling while damp with a little conditioner or leave-in product may be easier. If your hair is fine or straight, be gentle and avoid over-combing, because too much brushing can make waves fall flat before they even begin.
Step 4: Apply a Lightweight Styling Product
A small amount of product can help overnight bun waves last longer. Choose based on your hair type. Fine hair usually does well with a lightweight mousse or texture spray. Thick or dry hair may prefer a leave-in conditioner or curl cream. Wavy hair can benefit from a wave spray or light styling foam.
Apply product from the mid-lengths to the ends, not heavily at the roots. Too much product near the scalp can make your hair look greasy or stiff by morning. The goal is touchable hold, not helmet hair. Use less than you think you need; you can always add a finishing product after you take the bun down.
Step 5: Choose the Right Bun Placement
Placement changes the final look. For loose, relaxed waves, create one bun near the crown or upper back of your head. For more even waves, divide your hair into two sections and create two low buns near the nape. For thicker hair, two buns often work better because the hair dries more evenly.
If you are a back sleeper, a high bun may be more comfortable. If you sleep on your side, two low buns may be less annoying. Comfort matters because no hairstyle is worth waking up at 3 a.m. feeling personally attacked by your own bun.
Step 6: Twist the Hair Loosely
Gather your hair into a loose ponytail using your hands. Twist the ponytail gently in one direction until it begins to coil. Do not twist so tightly that your scalp feels pulled. Tight buns may create harsh bends and can put stress on your roots.
For softer waves, keep the twist relaxed. For more defined waves, twist slightly tighter, but still keep it comfortable. If you want a more natural finish, leave the last inch or two of your ends slightly less twisted. This helps avoid overly curled or crimped tips.
Step 7: Wrap the Twist into a Bun
Wrap the twisted hair around itself to form a bun. Secure it with a soft scrunchie or a few gentle pins. The bun should feel stable but not tight. If you see scalp tension, feel pulling, or get that “instant facelift” sensation, loosen it.
For a single bun, place it high enough that it does not get crushed while you sleep. For two buns, keep them low and slightly behind the ears or at the nape. If your hair is very long, you can make a larger, looser bun to avoid overly tight curls.
Step 8: Protect Your Hair While You Sleep
Sleep on a satin or silk pillowcase if possible. These smoother fabrics create less friction than rougher cotton surfaces, which can help reduce frizz and preserve the shape of the waves. You can also wrap your hair with a satin scarf or wear a bonnet.
If your bun feels uncomfortable, adjust it before sleeping. A good overnight bun should feel almost invisible. If it pokes, pulls, or makes you question your life choices, redo it looser. Beauty sleep should still include the sleep part.
Step 9: Release, Shake, and Style in the Morning
In the morning, make sure your hair is fully dry before removing the bun. If it is still damp, give it extra time or use a blow dryer on a cool or low setting for a minute or two while the bun is still in place. Taking down damp hair too soon can make the waves disappear quickly.
Remove the scrunchie gently. Do not brush the waves right away. Instead, separate them with your fingers and shake at the roots for volume. Add a light mist of texture spray, flexible hairspray, or a tiny amount of serum on the ends if needed. The result should be soft, effortless wavy hair with movement.
Best Products for Overnight Bun Waves
The best product depends on your hair’s personality, and yes, hair absolutely has a personality. Some hair cooperates. Some hair requires negotiation. Some hair behaves like it has a separate calendar.
For Fine Hair
Use a lightweight mousse or volumizing foam. Fine hair can get weighed down easily, so avoid heavy creams, oils, and thick leave-ins. Apply a small amount through the mid-lengths and ends before creating the bun.
For Thick Hair
Use a leave-in conditioner, styling cream, or curl-enhancing product. Thick hair may need more moisture and hold to form lasting waves. Two buns are often better than one because they let the hair dry more evenly.
For Frizz-Prone Hair
Use a smoothing cream or anti-frizz serum sparingly. Apply it before styling, then add a tiny amount after releasing the bun if needed. A satin pillowcase can also help reduce friction overnight.
For Naturally Wavy Hair
Use a wave spray, curl cream, or light gel to define your existing pattern. Scrunch the product into damp hair before twisting it into the bun. In the morning, finger-comb instead of brushing to keep the wave shape intact.
Common Mistakes to Avoid
The biggest mistake is starting with hair that is too wet. Wet hair is more fragile, and it may not dry completely inside a bun. If your hair is thick, dense, or long, let it air-dry most of the way before twisting it up.
Another common mistake is making the bun too tight. Tight buns can create dents, scalp discomfort, and uneven waves. They can also put unnecessary tension on the hairline. Keep the style loose and soft.
Using too much product can also ruin the look. Heavy creams and gels can make waves feel sticky or crunchy. Start with a small amount and add more only if your hair needs it.
Finally, do not brush your finished waves unless you want fluffy volume instead of defined texture. For most people, fingers are the best styling tool in the morning. They separate waves without destroying the pattern.
How to Customize the Bun Method for Different Wave Styles
Loose Beach Waves
Create one loose bun on nearly dry hair. Use a texture spray or light mousse. In the morning, shake the waves out with your fingers and leave the ends slightly separated for that relaxed, beachy finish.
Soft Romantic Waves
Create two low buns and twist the hair away from your face. Use a smoothing cream before styling and a flexible hairspray in the morning. This gives a more polished wave pattern without using hot tools.
More Defined Waves
Divide your hair into two to four sections and create smaller buns. Smaller buns create more bends. This works especially well for long or thick hair, but keep each bun comfortable enough for sleep.
Root Volume with Wavy Ends
Place one bun high on your head and keep the twist loose near the roots. This can lift the crown while creating waves through the lower half of the hair. Flip your head upside down in the morning and shake gently for extra volume.
How Long Should You Leave the Bun In?
For best results, leave the bun in for six to eight hours. That makes the method ideal for overnight styling. If you are doing it during the day, aim for at least three to four hours, but remember that the hair needs to fully dry or set in the twisted shape.
Hair type matters. Fine hair may set quickly. Thick or low-porosity hair may need more time. If your waves fall out fast, try starting with slightly damper hair, using a little mousse, or making two buns instead of one.
Extra Experience: What Actually Works When You Try Overnight Bun Waves
After experimenting with overnight bun waves, one thing becomes very clear: the method is simple, but the small details decide whether you wake up with soft waves or a suspiciously shaped hair cloud. The first detail is dampness. Hair that is too wet usually disappoints. It feels promising at night, but by morning the inside of the bun may still be damp, and the waves collapse within minutes. Hair that is barely damp, however, tends to set better and look smoother.
The second lesson is that one bun is not always enough. People with fine or medium-density hair may love the single high bun method because it is easy and comfortable. But if your hair is thick, heavy, or long, two buns can create a better result. Two buns allow the hair to dry more evenly and prevent the inner layers from staying too straight. Think of it like baking cookies: if the middle never finishes, nobody is happy.
Another helpful experience-based tip is to pay attention to the direction of the twist. If you twist all your hair in one direction, the waves may fall in one big pattern. That can be pretty, but it can also look a little too uniform. For a more natural result, try two buns and twist each side away from your face. This creates face-framing waves that look intentional without looking overly styled.
Product amount is another make-or-break factor. A pea-sized amount of cream or a small puff of mousse can help the waves hold. A handful of product can make the hair feel heavy, sticky, or stiff. The best overnight waves still move. They should not feel like they signed a legal contract with your styling gel.
Comfort also matters more than people admit. If the bun is too tight, you may sleep badly, and the final waves can have sharp bends instead of soft curves. A loose scrunchie is usually better than a tight elastic. If pieces fall out around your face, let them. Slight imperfection often makes heatless waves look more natural.
Morning technique is just as important as nighttime setup. The temptation to brush everything out can be strong, especially if the waves look too separated at first. Resist the urge. Use your fingers, gently shake the roots, and wait a few minutes. Waves often soften naturally after they settle. If the ends look dry, smooth on the tiniest amount of serum. If the roots look flat, flip your head over and massage the scalp lightly.
One practical trick is to test the method on a low-pressure day before using it for school, work, photos, or an event. Every head of hair responds differently. Once you learn your best dampness level, bun placement, and product amount, the overnight bun method becomes much more reliable. It turns into the kind of routine that feels almost suspiciously easy: twist, sleep, release, pretend you are naturally this effortless.
Conclusion
Learning how to get wavy hair overnight with a bun is all about working with your hair instead of forcing it. Start with slightly damp hair, apply a lightweight styling product, twist gently, secure with a soft scrunchie, and protect your hair while you sleep. In the morning, release the bun carefully, finger-style the waves, and finish with a light product if needed.
This heatless method is affordable, gentle, and easy to customize. It may take a little experimenting, but once you find your perfect bun placement and product combo, you can wake up with soft waves without spending your morning battling hot tools. Your curling iron can enjoy a vacation. It has earned one.