

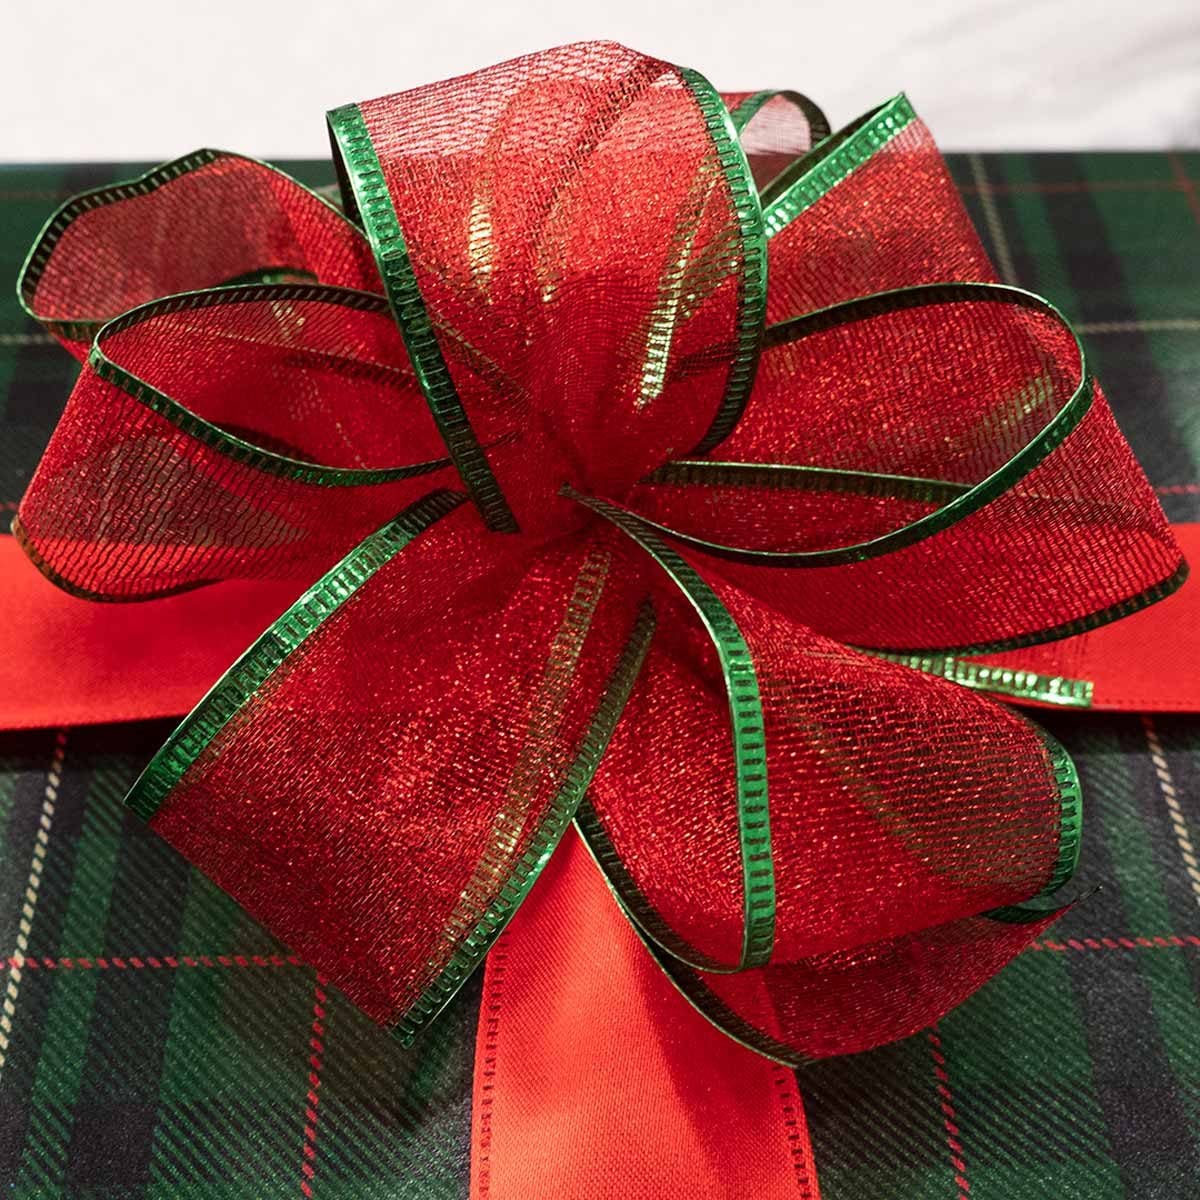
A Christmas bow is one of those tiny holiday details that somehow does the work of an entire decorating committee. Add one to a wreath, and suddenly your front door looks like it has been expecting carolers. Tie one onto a gift, and even a box of socks starts acting fancy. Place a few on the Christmas tree, and your living room instantly says, “Yes, I own scissors and seasonal confidence.”
The good news? Learning how to make a Christmas bow is much easier than it looks. You do not need a professional florist, a craft-store degree, or a mysterious bow-making gadget that only appears in late-night infomercials. With the right ribbon, a few simple folds, and a firm pinch in the center, you can make beautiful DIY Christmas bows for wreaths, garlands, gifts, stair railings, tree toppers, chair backs, and holiday tables.
This guide walks you through the supplies, ribbon choices, step-by-step instructions, styling tricks, common mistakes, and real-life decorating experience that make the difference between a floppy ribbon pancake and a cheerful bow with actual personality.
Why Make Your Own Christmas Bow?
Store-bought bows are convenient, but handmade Christmas bows win in three big ways: size, style, and savings. When you make your own bow, you control the color, ribbon width, fullness, tail length, and overall look. That means your bow can match your wrapping paper, coordinate with your wreath, or boldly announce that your holiday theme this year is “red velvet drama with a side of sparkle.”
DIY Christmas bows are also reusable when made with quality wired ribbon. After the holidays, you can gently flatten the loops, store the bow in a box, and fluff it back into shape next season. Wired ribbon is especially helpful because the edges hold curves, loops, and sculpted tails better than soft, non-wired ribbon.
Best of all, once you learn the basic technique, you can make several types of bows from the same method: a simple gift bow, a full wreath bow, a layered florist bow, an oversized tree-topper bow, or a rustic bow with burlap tails.
Supplies You Need to Make a Christmas Bow
You only need a few basic craft supplies. Keep them on the table before you begin, because nothing ruins holiday crafting momentum like holding six ribbon loops in one hand while hunting for scissors with the other.
Basic Supplies
- Wired ribbon, preferably 1.5 to 4 inches wide
- Sharp scissors
- Floral wire, craft wire, pipe cleaner, chenille stem, or twist tie
- Wire cutters if using thicker floral wire
- Ruler or measuring tape
- Hot glue gun, optional
- Extra ribbon for long tails, optional
Best Ribbon for Christmas Bows
For beginners, wired ribbon is the easiest choice. It has thin wire sewn into the edges, which lets the loops stay round and the tails hold a gentle wave. Velvet wired ribbon creates a classic, luxurious Christmas look. Satin ribbon feels polished and elegant. Burlap ribbon gives wreaths and farmhouse décor a cozy, rustic finish. Plaid ribbon works beautifully for traditional, cabin, or country Christmas themes.
If you are making a bow for a small gift, choose ribbon around 1 to 1.5 inches wide. For wreaths, garlands, and stair rails, use 2.5-inch ribbon. For a dramatic tree topper or large outdoor bow, use 4-inch ribbon or wider. The bigger the project, the bigger the ribbon should be, unless you want your bow to look like it accidentally wandered in from a cupcake box.
How Much Ribbon Do You Need?
Ribbon length depends on the bow size and number of loops. As a general rule, a small gift bow may need 2 to 3 feet of ribbon. A medium wreath bow usually needs 6 to 9 feet. A large Christmas bow with long tails can use 10 to 15 feet or more.
For a full-looking wreath bow, plan on at least six loops total: three loops on each side. If you want a grand, fluffy bow, use eight to ten loops. The more loops you make, the fuller the bow becomes. Just remember that every loop eats ribbon quickly. Ribbon is sneaky that way.
How to Make a Simple Christmas Bow
This simple Christmas bow is perfect for gifts, ornaments, small wreaths, jars, candles, and holiday place settings. It is the classic “bunny ear” bow, but with a cleaner finish.
Step 1: Cut the Ribbon
Cut a ribbon length of about 24 to 30 inches for a small bow. For a larger bow, start with 36 inches or more. It is better to begin with a little extra ribbon than to discover halfway through that your bow has one elegant tail and one sad little ribbon stub.
Step 2: Make Two Loops
Create one loop on the left and one loop on the right, just like tying shoelaces. Try to keep both loops the same size. If they are uneven, gently adjust the ribbon before tightening the knot.
Step 3: Cross and Tie
Cross one loop over the other, tuck it through the opening, and pull gently. Do not yank. Ribbon is not a gym rope. Tighten slowly while keeping the center neat.
Step 4: Shape the Loops
Fluff the loops with your fingers. If you are using wired ribbon, curve each loop outward so it looks full and rounded.
Step 5: Trim the Tails
Cut the ribbon tails at an angle or fold each tail in half lengthwise and cut diagonally upward from the folded edge to create a V-shaped dovetail. This small detail makes the bow look polished and intentional.
How to Make a Full Christmas Bow for a Wreath
A full wreath bow looks impressive, but the technique is basically folding, pinching, securing, and fluffing. That is it. The bow is not judging you. It is just ribbon with ambition.
Step 1: Leave a Tail
Unroll your wired ribbon but do not cut it from the spool yet. Leave a tail about 12 to 18 inches long. This tail will hang from the finished bow.
Step 2: Make the First Loop
Measure a loop about 5 to 7 inches long, depending on the size of your wreath. Pinch the ribbon tightly at the center. This pinch is important because it creates the gathered middle that makes the bow look like a bow instead of a ribbon traffic jam.
Step 3: Twist the Ribbon
After pinching the first loop, twist the ribbon at the center so the decorative side faces outward again. This is especially important if your ribbon has a pattern on only one side.
Step 4: Create Matching Loops
Make a loop on the opposite side, pinch it in the center, and twist again. Continue making loops from side to side. For a medium wreath bow, make three loops on each side. For a fuller bow, make four or five loops on each side.
Step 5: Secure the Center
Wrap floral wire, a pipe cleaner, or a chenille stem around the pinched center. Twist it tightly at the back of the bow. Leave extra wire on the back so you can attach the bow to a wreath, garland, banister, or tree branch.
Step 6: Cut the Second Tail
Once the loops are secured, cut the ribbon from the spool, leaving a second tail the same length as the first. Trim both ends at an angle or cut dovetails for a finished look.
Step 7: Fluff Like You Mean It
Pull the loops apart gently, alternating directions so the bow looks balanced. Shape each loop with your fingers. Wired ribbon lets you curve, puff, and lift the loops until the bow looks full. This is the fun part. It is also the part where everyone suddenly believes you are “crafty.”
How to Make a Layered Christmas Bow
A layered bow combines two or more ribbons for extra texture and color. It works beautifully for wreaths, tree toppers, mailbox swags, and holiday centerpieces.
Choose Two Ribbons
Pick one wide ribbon for the base and one narrower ribbon for the top layer. For example, pair red velvet with gold satin, buffalo plaid with burlap, or forest green ribbon with cream ribbon. The wider ribbon gives structure, while the narrower ribbon adds contrast.
Make the Base Bow
Use the wreath bow method above to create a full bow with your wider ribbon. Secure the center loosely at first so you can add the second layer.
Add the Accent Ribbon
Create a smaller bow with the narrower ribbon and place it directly on top of the larger bow. Wrap both centers together with wire or a chenille stem. Fluff the lower loops outward and the top loops slightly forward so both ribbons are visible.
How to Make a Big Christmas Bow for a Tree Topper
A Christmas tree bow topper needs volume, height, and long tails. It should look festive from across the room, not like a nervous shoelace hiding in the branches.
Use Wide Wired Ribbon
Choose ribbon that is at least 2.5 inches wide. For a large tree, 4-inch ribbon creates a more dramatic look. Make eight to twelve loops total, with loops ranging from 6 to 10 inches long.
Create Long Streamers
Cut two to four long ribbon tails, each about 24 to 48 inches depending on your tree height. Wire them into the center of the bow. Let them cascade down the tree in soft waves, tucking sections lightly into branches.
Attach the Bow Securely
Use floral wire to fasten the bow to the top branch or tree frame. If the bow is heavy, anchor it to more than one branch. Fluff the loops after attaching, not before, because installation tends to squish things. Holiday decorating is glamorous like that.
Where to Use DIY Christmas Bows
Once you know how to make a Christmas bow, you will start seeing places for bows everywhere. This is normal. Do not panic.
Christmas Wreaths
Attach a large bow at the bottom, top, or side of a wreath. A side bow feels modern and stylish, while a bottom bow looks classic and symmetrical. Use weather-resistant ribbon for outdoor wreaths, especially if your front door is exposed to moisture or direct sun.
Gift Wrapping
A handmade bow turns simple wrapping paper into something special. Use satin or grosgrain ribbon for crisp gift bows. Add a sprig of evergreen, a cinnamon stick, or a small ornament under the knot for extra charm.
Christmas Trees
Small bows can be tied directly onto branches as ornaments. Larger bows can replace a traditional tree topper. Ribbon tails can also cascade down the tree for a designer-style effect.
Garlands and Stair Rails
Use bows to cover attachment points where garland is wired to a banister. Space bows evenly for a formal look, or cluster them with pinecones, bells, and ornaments for a fuller holiday display.
Dining Chairs and Table Settings
Tie bows to the backs of dining chairs or around folded napkins. Smaller bows also look beautiful on candle holders, mason jars, mini wreaths, and holiday favor bags.
Common Christmas Bow Mistakes and How to Fix Them
The Bow Looks Flat
Use wired ribbon and add more loops. A flat bow usually needs more volume or better shaping. Fluff each loop outward and curve the wired edges gently with your fingers.
The Center Is Too Wide
Pinch the center tighter before wiring it. A narrow, gathered center makes the loops look larger and more defined.
The Tails Look Uneven
Trim both tails after the bow is attached. Hanging can change how the tails fall, so final trimming should happen at the end.
The Pattern Is Facing the Wrong Way
Twist the ribbon at the center after each loop. This keeps the decorative side facing forward, especially with one-sided printed ribbon.
The Bow Falls Off the Wreath
Use floral wire instead of tape or weak glue. Wire is more secure and easier to reposition. Hot glue can help with small indoor bows, but wire is better for wreaths, garlands, and outdoor displays.
Best Color Ideas for Christmas Bows
Classic red is always reliable, like the holiday version of a little black dress. But Christmas bows can fit almost any theme.
- Traditional: red, green, gold, plaid, tartan
- Rustic: burlap, buffalo check, linen, pine green
- Elegant: champagne, ivory, velvet burgundy, metallic gold
- Winter wonderland: white, silver, icy blue, pearl
- Modern: black velvet, blush pink, navy, copper
- Playful: candy cane stripes, polka dots, bright red, lime green
For the most polished look, repeat your bow ribbon in at least two or three places around the room. For example, use the same ribbon on the wreath, tree, and wrapped gifts. This creates visual harmony without making your house look like it lost a fight with a ribbon aisle.
How to Store Christmas Bows
To reuse your bows, store them gently. Do not crush them under heavy ornaments, ceramic Santas, or that mysterious box labeled “miscellaneous holiday stuff.” Place bows in a shallow plastic bin or shoebox. Stuff tissue paper inside large loops to help them keep their shape. Store velvet ribbon away from moisture and direct heat.
If a bow looks tired next year, reshape the wired edges with your fingers. You can also refresh the center by adding a small ornament, bell, pinecone, or sprig of faux greenery.
Extra Experience: What I Learned Making DIY Christmas Bows
The first thing you learn when making Christmas bows is that ribbon has opinions. It bends when you want it straight, twists when you want it smooth, and somehow slides off the table at the exact moment you need both hands. But after making a few bows, the process becomes surprisingly relaxing. There is something satisfying about turning a flat roll of ribbon into a decoration that looks expensive, cheerful, and personal.
One helpful experience is to start with wired ribbon, even if you think regular ribbon looks softer. Non-wired ribbon can work for tiny gift bows, but it often collapses on wreaths and garlands. Wired ribbon is much more forgiving. If a loop looks lopsided, you can bend it back. If a tail hangs strangely, you can shape it into a soft wave. It is basically the holiday craft equivalent of having an undo button.
Another lesson is that bigger bows need stronger centers. A loose center makes the entire bow look messy, even if the loops are beautiful. When making a wreath bow, pinch the center firmly and wire it tightly. Do not be shy. The middle should be narrow and secure. Once the center is tight, the loops naturally fan out and look fuller.
It also helps to make bows while the ribbon is still attached to the spool. Cutting too early can lead to ribbon regret, which is a very real seasonal emotion. By keeping the ribbon on the spool, you can create loops freely and cut only when the bow is the size you want. This saves ribbon and reduces the number of oddly short leftover pieces that end up in a drawer forever.
For wreaths, I have found that placing the bow slightly off-center often looks more stylish than putting it directly at the top. A bow on the lower right or lower left side gives the wreath movement and makes room for ornaments, pinecones, berries, or bells. On the other hand, a top bow works beautifully for traditional front-door wreaths, especially when the tails hang down the middle.
When making bows for gifts, the best trick is to match the ribbon mood to the wrapping paper. Kraft paper looks beautiful with plaid, burlap, red velvet, or twine accents. Shiny wrapping paper pairs well with satin or metallic ribbon. Patterned paper usually looks better with a solid-color bow so the package does not visually shout from under the tree.
Finally, do not chase perfection. Handmade bows are charming because they are handmade. A slightly uneven loop or a playful tail gives the bow character. Christmas décor should feel warm, welcoming, and a little joyfulnot like it had to pass a geometry exam. Make one bow, then make another. By the third or fourth, you will probably start looking around the house for more things to decorate. Cabinet knobs? Yes. Chair backs? Absolutely. Dog collar? Ask the dog first.
Conclusion
Learning how to make a Christmas bow is one of the easiest ways to upgrade your holiday decorating. With wired ribbon, sharp scissors, and a little center-pinching courage, you can create bows for wreaths, gifts, trees, garlands, staircases, and table settings. Start with a simple bow, practice a fuller wreath bow, then experiment with layered ribbons, long tails, and oversized tree toppers.
The secret is not perfection. The secret is proportion, secure wiring, and good fluffing. Once you understand those basics, every roll of ribbon becomes a holiday opportunity. And yes, you may suddenly become the person who says, “I can make that,” in the middle of a craft store. Congratulations. That is how the bow gets you.