

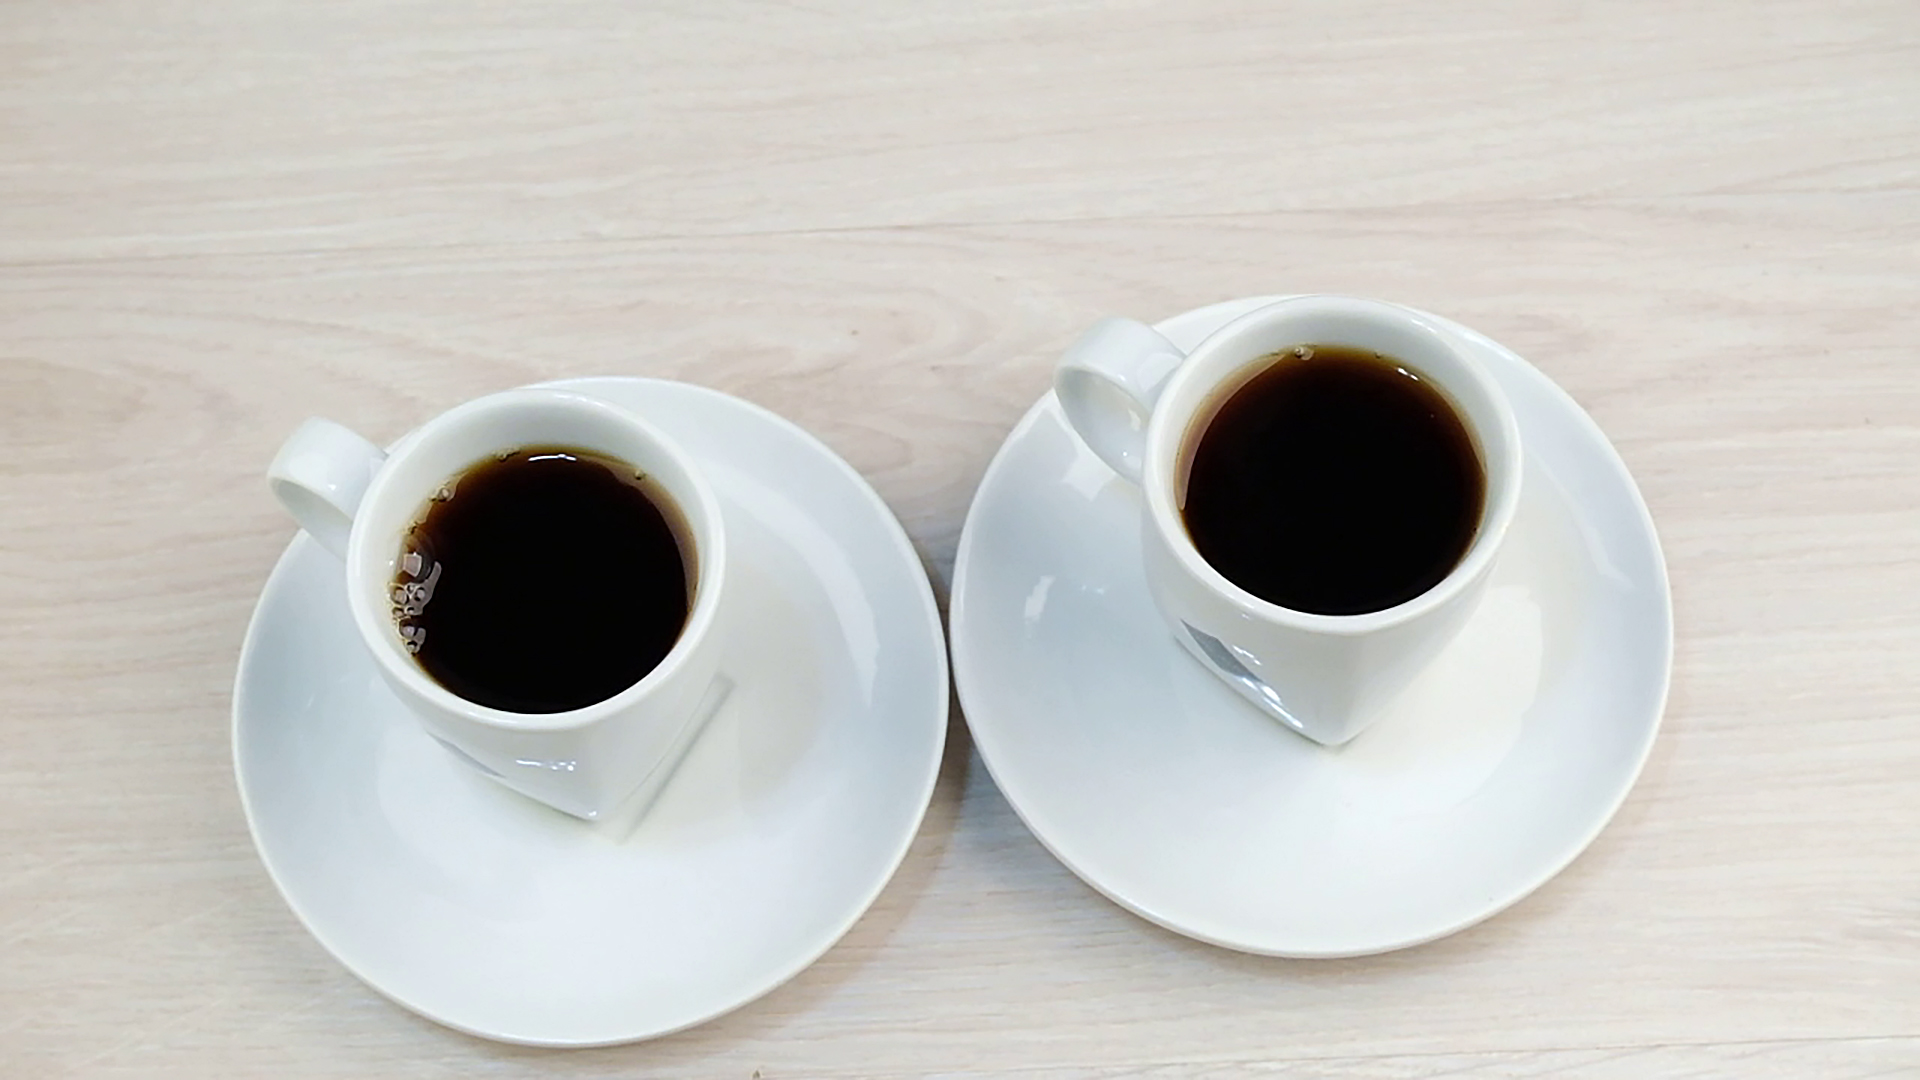
Pour over coffee is the slow, satisfying art of making your kitchen smell like a tiny neighborhood café without needing a barista apron, a mustache, or the ability to say “single-origin” with a straight face. At its core, pour over coffee is simple: hot water meets freshly ground coffee, passes through a filter, and lands in your cup as a clean, aromatic brew. But the magic is in the details.
Unlike automatic drip coffee, pour over brewing gives you control over the coffee-to-water ratio, grind size, water temperature, pouring speed, bloom time, and total brew time. That may sound like a lot before breakfast, but do not panic. Once you learn the rhythm, it becomes less like a science exam and more like a peaceful morning ritual with caffeine as the reward.
This guide breaks down how to make pour over coffee in 13 clear steps, using practical techniques trusted by coffee professionals and home brewers. Whether you use a Hario V60, Chemex, Kalita Wave, Melitta cone, or another pour over dripper, these steps will help you brew a cup that tastes balanced, bright, and far better than anything abandoned on a hot plate since 8:00 a.m.
What Is Pour Over Coffee?
Pour over coffee is a manual brewing method where hot water is poured over ground coffee in a filter. The water extracts flavor compounds from the coffee grounds, then drips into a mug or carafe. Because you control the pour, this method can highlight subtle flavors such as citrus, chocolate, berry, caramel, florals, and roasted nuts.
The result is usually cleaner and lighter-bodied than French press coffee because the paper filter captures many oils and fine particles. Compared with standard drip coffee, pour over coffee often tastes more intentional, more aromatic, and more expressive. In other words, it is coffee that had a tiny spa day before reaching your mug.
Essential Tools for Pour Over Coffee
You do not need a laboratory, but the right tools make the process much easier. A pour over dripper is the main item. Popular options include the Hario V60, Chemex, Kalita Wave, Bee House, and Melitta-style cone. Each brewer has its personality. Cone brewers like the V60 reward precision, while flat-bottom brewers like the Kalita Wave are a little more forgiving.
You will also need paper filters that match your brewer, fresh coffee beans, a burr grinder, a digital scale, a timer, and a kettle. A gooseneck kettle is ideal because it gives you better control over where and how quickly the water flows. Can you use a regular kettle? Yes. Will it behave like a caffeinated fire hose if you are not careful? Also yes.
Best Coffee-to-Water Ratio for Pour Over
A reliable starting ratio is 1 gram of coffee to 15 or 16 grams of water. For one generous cup, use 22 grams of coffee and 350 grams of water. For a smaller cup, use 15 grams of coffee and 240 grams of water. If you prefer a stronger cup, try a 1:15 ratio. If you want a lighter, tea-like cup, move closer to 1:17.
Using a scale may feel overly serious at first, but it is the fastest way to improve consistency. Scoops are charming, but coffee beans vary in size and density. A scoop of one coffee may weigh differently from a scoop of another. Your scale does not care about charm. It cares about grams, and grams make better coffee.
How to Make Pour Over Coffee: 13 Steps
Step 1: Choose Fresh, Quality Coffee Beans
Start with whole coffee beans that were roasted recently. Fresh beans contain aromatic compounds that fade over time, especially after grinding. For the best flavor, buy smaller bags and store them in an airtight container away from heat, light, and moisture.
Light roasts often bring fruity, floral, and citrus notes. Medium roasts may taste balanced, sweet, nutty, or chocolatey. Dark roasts can taste bold, smoky, and rich. There is no “correct” roast for pour over coffee. The best choice is the one that makes you smile before checking your inbox.
Step 2: Heat Filtered Water
Heat your water to about 195°F to 205°F. If you do not have a temperature-controlled kettle, bring water to a boil and let it sit for about 30 seconds. Water that is too cool may under-extract the coffee, making it sour or weak. Water that is too hot can over-extract, creating bitterness and harshness.
Filtered water is recommended because coffee is mostly water. If your tap water tastes like a swimming pool had a stressful week, your coffee will probably not taste great either.
Step 3: Weigh Your Coffee
For a dependable recipe, weigh 22 grams of whole coffee beans for 350 grams of water. This gives you a balanced cup at roughly a 1:16 ratio. If you are brewing for two people, use 44 grams of coffee and 700 grams of water, as long as your brewer can handle that volume.
Write down your recipe once you find one you like. A simple note such as “22g coffee, 350g water, medium-fine grind, 3 minutes” can save you from the tragic mystery of yesterday’s perfect cup.
Step 4: Grind the Coffee Correctly
Grind your coffee just before brewing. For most pour over brewers, aim for a medium to medium-fine grind, somewhere between table salt and coarse sand. Chemex usually works better with a slightly coarser grind because its thicker filters slow the flow. A V60 may need a medium-fine grind because water passes through quickly.
If your coffee tastes sour, thin, or sharp, the grind may be too coarse. Try grinding slightly finer. If it tastes bitter, dry, or muddy, the grind may be too fine. Try grinding slightly coarser. Adjust only one variable at a time unless you enjoy turning breakfast into detective work.
Step 5: Place and Rinse the Filter
Set the paper filter in your dripper and rinse it thoroughly with hot water. This removes papery flavors, helps the filter stick to the brewer, and warms the dripper and mug or carafe. After rinsing, discard the rinse water before adding coffee grounds.
This step is small but important. Skipping it can leave your coffee tasting slightly cardboard-like, which is useful only if your breakfast theme is “shipping box.”
Step 6: Add Grounds and Level the Coffee Bed
Add the freshly ground coffee to the rinsed filter. Gently shake the dripper to level the coffee bed. A flat bed helps water flow evenly through the grounds, which leads to more balanced extraction.
Think of the coffee bed like a tiny garden. If one side is a mountain and the other side is a valley, water will not behave fairly. It will rush through the easy path and ignore the stubborn areas, creating uneven flavor.
Step 7: Start the Timer and Bloom the Coffee
Start your timer and pour enough hot water to saturate all the grounds, usually about two to three times the weight of the coffee. For 22 grams of coffee, use about 45 to 66 grams of water for the bloom. Pour gently in a spiral, making sure there are no dry pockets.
Let the coffee bloom for 30 to 45 seconds. During this time, fresh coffee releases trapped carbon dioxide. You may see the grounds puff up like they just remembered an embarrassing text from 2014. The bloom helps prepare the coffee for even extraction during the main pours.
Step 8: Begin the First Main Pour
After the bloom, slowly pour water in a spiral from the center outward, then back toward the center. Avoid pouring directly onto the paper filter because water can bypass the coffee grounds. The goal is to keep the grounds evenly saturated.
For a 350-gram brew, pour until the scale reads about 150 grams. Keep your pour steady and controlled. A gooseneck kettle helps here because it turns water from “chaotic waterfall” into “polite stream.”
Step 9: Continue Pouring in Pulses
After the water level drops slightly, pour again. You can use two or three main pours, depending on your brewer and comfort level. For example, after reaching 150 grams, pour to 250 grams, then finish at 350 grams.
Pulse pouring helps maintain an even slurry temperature and gives you control over agitation. Too much agitation can make the brew taste harsh. Too little can leave the coffee under-extracted. The sweet spot is calm, steady movement, like you are watering a very expensive houseplant.
Step 10: Watch the Drawdown
Drawdown is the time it takes for the water to pass through the coffee bed and filter. For many pour over recipes, the total brew time should land around 2:30 to 4:00 minutes. Smaller V60 brews may finish closer to 2:30 or 3:00. Larger Chemex brews may take longer.
If the brew finishes too quickly, the grind may be too coarse, or the pour may be too aggressive. If it drags on forever, the grind may be too fine, or the filter may be clogged by fines. A slow brew is not automatically bad, but if your coffee tastes bitter and your timer looks embarrassed, adjust coarser next time.
Step 11: Remove the Filter and Swirl the Coffee
When the water has drained through, remove the filter and discard the grounds. Give the finished coffee a gentle swirl in the carafe or mug. This mixes the brew, since the first drops and final drops can have slightly different strength and flavor.
Swirling also looks professional. Even if you are wearing pajama pants and one sock, the coffee does not need to know.
Step 12: Taste Before Adjusting
Let the coffee cool for a minute before judging it. Very hot coffee can hide sweetness and nuance. As it cools, flavors become easier to identify. Taste for balance. Is it sweet? Bright? Bitter? Thin? Heavy? Pleasantly complex? Emotionally supportive?
If the coffee tastes sour, grind finer, use hotter water, or extend the brew time. If it tastes bitter, grind coarser, use slightly cooler water, or shorten the brew time. If it tastes weak, use more coffee or less water. If it tastes too strong, use less coffee or more water.
Step 13: Record Your Best Recipe
The final step is simple: take notes. Record the coffee, roast date, dose, water amount, grind setting, water temperature, bloom time, total brew time, and flavor result. You do not need to write a novel. A few details can help you repeat a great cup or fix a disappointing one.
Pour over coffee rewards curiosity. Every bean behaves a little differently, and every adjustment teaches you something. The goal is not perfection. The goal is a cup you actually want to drink, preferably before anyone asks you a complicated question.
Common Pour Over Coffee Mistakes
Using Old Coffee
Old coffee can taste flat no matter how careful your technique is. Freshly roasted whole beans give you a better chance at sweetness, aroma, and clarity. If your beans smell dull before brewing, your cup may taste dull after brewing.
Grinding Too Fine or Too Coarse
Grind size affects extraction and flow rate. Too fine, and water struggles through the bed, pulling out bitter flavors. Too coarse, and water rushes through without extracting enough sweetness. Make small changes until the brew tastes balanced.
Skipping the Bloom
The bloom helps release gas and saturate the grounds evenly. Without it, water may channel through certain areas while leaving others under-extracted. That can lead to a cup that tastes both sour and bitter, which is coffee’s way of being dramatic.
Pouring Too Fast
A rushed pour can disturb the coffee bed and create uneven extraction. Pour slowly, steadily, and with intention. The coffee does not need a monsoon. It needs a thoughtful drizzle.
Easy Pour Over Coffee Recipe
Use this recipe as a starting point:
- Coffee: 22 grams
- Water: 350 grams
- Ratio: About 1:16
- Grind: Medium to medium-fine
- Water temperature: 195°F to 205°F
- Bloom: 45 to 66 grams of water for 30 to 45 seconds
- Total brew time: About 2:30 to 4:00 minutes
For a cleaner, brighter cup, use a slightly coarser grind and a slower, gentle pour. For more body and sweetness, try a slightly finer grind or a stronger ratio. The best recipe is the one that fits your beans, your brewer, and your taste buds, which are the true bosses of this operation.
How to Make Pour Over Coffee Taste Better
To improve your pour over coffee, focus on consistency. Use the same amount of coffee and water each time, keep your grind setting consistent, and track total brew time. Once your baseline is steady, adjust one variable at a time.
Water quality is another major factor. If your coffee tastes dull or harsh, try filtered water. If your kettle has mineral buildup, clean it. If your grinder produces many fines, consider upgrading to a burr grinder when possible. A good grinder is often more important than a fancy brewer.
Finally, match your recipe to your coffee. Light roasts often benefit from hotter water and a finer grind. Dark roasts may taste better with slightly cooler water and a coarser grind. Your coffee bag may include flavor notes, but remember: tasting “blueberry, honey, and jasmine” is not mandatory. If you taste “nice coffee,” congratulations, you are still winning.
of Real-Life Pour Over Coffee Experience
The first time many people try making pour over coffee, they expect instant elegance. They imagine a peaceful morning, sunlight hitting the counter, water flowing in perfect circles, and a cup that tastes like it came from a boutique café where every employee owns linen pants. Reality is often different. The filter folds weirdly, the kettle pours too fast, the scale turns off mid-bloom, and the coffee bed looks like a tiny mudslide. This is normal. Pour over coffee is easy to learn, but it takes a few brews to feel natural.
One of the most useful experiences is learning how grind size changes everything. A beginner might follow the exact same recipe two mornings in a row and wonder why one cup tastes bright and sweet while the next tastes bitter enough to file taxes. Often, the answer is grind size. Just a few clicks on a burr grinder can shift the brew time and flavor. When the grind is too coarse, water moves quickly and the coffee can taste sour or hollow. When it is too fine, the water slows down and the cup can become heavy, bitter, or drying. After a week of practice, you start to recognize these signs like a coffee detective with better-smelling evidence.
Another memorable lesson is the importance of patience. Pour over coffee is not the best method for sprinting out the door with one shoe untied. It asks for about four calm minutes. That small pause can change the mood of a morning. The bloom rises, the aroma opens up, and the whole process becomes a reset button before the day starts making unreasonable demands. Even on busy days, the ritual can feel grounding.
Experimenting with different beans also makes pour over brewing more enjoyable. A washed Ethiopian coffee may taste bright, floral, and citrusy. A Colombian medium roast may bring caramel, apple, or chocolate notes. A darker roast from Central America may taste round, nutty, and comforting. The same recipe will not always flatter every coffee, and that is part of the fun. You learn to adjust instead of forcing every bean into the same routine.
The biggest practical tip from experience is to keep notes. Not fancy notes. Not a leather-bound coffee diary guarded by a tiny espresso dragon. Just simple notes: coffee name, dose, water, grind setting, time, and taste. If a cup tastes great, you can repeat it. If it tastes strange, you can fix it. Over time, pour over coffee becomes less intimidating and more intuitive.
The best part is that pour over brewing makes ordinary coffee feel personal. You are not just pressing a button and hoping for mercy. You are shaping the flavor with small decisions. Some mornings will produce a masterpiece. Some mornings will produce a cup that politely suggests you try again tomorrow. Either way, the process teaches you to slow down, pay attention, and enjoy coffee as more than fuel. It becomes a daily craft, and thankfully, a delicious one.
Conclusion
Learning how to make pour over coffee is not about becoming a coffee snob. It is about understanding a few simple variables so your cup tastes better every day. Start with fresh beans, filtered water, a reliable ratio, a medium-fine grind, and a careful bloom. Pour slowly, watch your brew time, taste honestly, and adjust with purpose.
Once you master the 13 steps, pour over coffee becomes flexible, rewarding, and surprisingly relaxing. It gives you control without needing complicated machinery. It lets different coffees shine. Most importantly, it turns a daily habit into a small ritual worth looking forward to. And if your first cup is not perfect, do not worry. The next brew is only one grind adjustment away.
Note: This article is written in original, web-ready HTML and synthesized from established pour over coffee brewing best practices.