

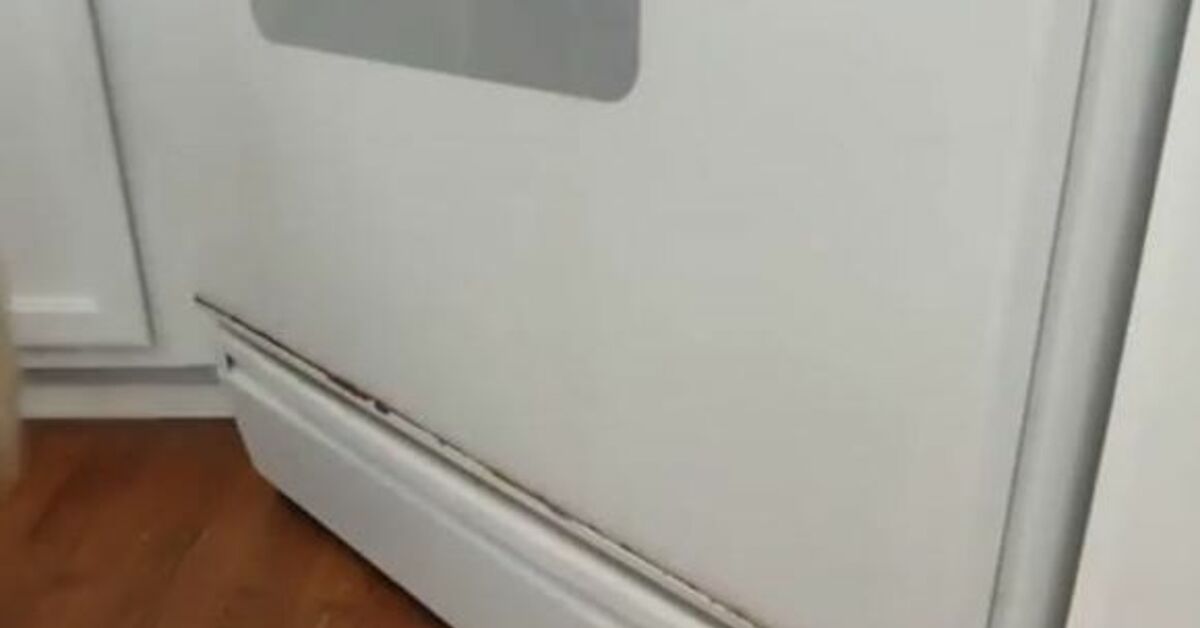
There is a special kind of kitchen embarrassment reserved for a dirty oven door. The rest of the room may sparkle, the counters may be crumb-free, and the sink may smell faintly of lemonsbut that brown, cloudy oven window still looks as though it survived a small barbecue-related emergency.
Fortunately, you do not need an expensive cleaning kit, a toolbox full of specialty equipment, or the upper-body strength of a competitive wrestler. A basic baking soda paste, a little dish soap, warm water, and some patient wiping can remove grease, food splatters, and baked-on residue from most glass oven doors.
This inexpensive DIY oven door cleaning method generally costs less than $5 per use. It may even cost nothing today if baking soda, dish soap, and a soft cloth are already hiding somewhere in your kitchen.
Why Oven Door Glass Gets So Dirty
The inside of an oven door lives a difficult life. Every roast chicken, bubbling casserole, overloaded pizza, and rebellious pie filling sends tiny droplets of grease and food toward the glass. Heat then bakes those droplets into progressively darker layers.
A fresh splash may wipe away easily. After several cooking cycles, however, that same splash can become a stubborn brown patch that treats an ordinary wet sponge with complete disrespect.
Common causes of cloudy or stained oven glass include:
- Airborne cooking grease
- Cheese, sauce, and batter splatters
- Sugary spills that caramelize under high heat
- Cleaner residue that was not fully rinsed
- Condensation carrying grease into door seams
- Repeatedly reheated food deposits
The longer residue remains on the glass, the more firmly it can become baked in. That is why a modest monthly wipe-down usually requires much less effort than an annual archaeological excavation.
The Under-$5 DIY Oven Door Cleaning Kit
The main cleaning mixture uses inexpensive household ingredients rather than a can of heavy-duty oven cleaner. Exact prices vary by store, but the amount consumed during one cleaning session typically costs well under $5.
What You Need
- About 1/2 cup baking soda
- Approximately 3 tablespoons warm water
- One teaspoon grease-cutting dish soap
- White vinegar, optional for the final rinse
- A small bowl
- A microfiber cloth or soft, nonabrasive sponge
- A silicone spatula or plastic scraper
- Rubber cleaning gloves, if desired
- An old towel to protect the floor
A Realistic Cost Breakdown
A half cup of store-brand baking soda usually represents only a small fraction of a box. The teaspoon of dish soap and optional splash of vinegar cost mere pennies per use. Assuming you already own a bowl and reusable cloth, the total consumed during the project may be closer to $1 than $5.
Even when buying basic supplies, generic baking soda and vinegar are commonly among the least expensive products in the cleaning aisle. You do not need scented crystals, motorized brushes, imported cleaning stones, or a spray bottle with its own social media account.
Before You Start: Five Safety Rules
1. Let the Oven Cool Completely
Never clean hot oven glass. In addition to the obvious burn risk, exposing hot glass to cool water may create thermal stress. Turn the oven off and wait until the door and surrounding metal feel completely cool.
2. Check the Owner’s Manual
Your manual is the final authority on approved cleaners, removable parts, coatings, and door disassembly. A method that works beautifully on one model may be unsuitable for another.
3. Protect the Door Gasket
The soft gasket around the oven opening helps hold heat inside the appliance. Do not saturate, scrub, stretch, or coat it with cleaning paste. Damage to the gasket can interfere with the oven’s seal and temperature performance.
4. Skip Aggressive Scrubbing Tools
Avoid steel wool, metal scrapers, knives, rough scouring pads, and abrasive powders unless your manufacturer specifically approves them. Scratched glass cannot be unscratched by positive thinking.
5. Never Mix Random Cleaning Chemicals
Do not combine bleach with vinegar, ammonia, glass cleaner, oven cleaner, or other household chemicals. Dangerous gases can form when incompatible products are mixed. For this method, use only the simple ingredients described below and rinse away any previous cleaner before beginning.
How to Clean an Oven Door for Under $5
Step 1: Remove Loose Crumbs and Grease
Open the cool oven door and brush away loose crumbs with a dry cloth. If the door lies nearly horizontal when opened, place an old towel on the floor beneath it to catch drips and baking soda crumbs.
Wipe the glass once with warm water and a drop of dish soap. This preliminary pass removes loose grease so the baking soda paste can concentrate on the stubborn material underneath.
Step 2: Mix the Baking Soda Paste
Combine approximately 1/2 cup baking soda with 3 tablespoons warm water. Add about one teaspoon of dish soap for extra grease-cutting power.
Stir until the mixture resembles thick frosting or soft toothpaste. It should spread without running. If it is watery, add more baking soda. If it resembles driveway cement, add water a few drops at a time.
Baking soda provides mild abrasive action, while dish soap helps loosen oily residue. The mixture works best when it remains in contact with the grime instead of immediately sliding into the bottom of the door.
Step 3: Apply the Paste to the Glass
Use a silicone spatula, soft sponge, or gloved fingers to spread a thin layer across the dirty interior glass. Concentrate on the brown and black patches, but keep the paste away from the gasket, door vents, hinge openings, heating elements, and exposed screws.
There is no prize for using the entire bowl. A layer thick enough to stay moist is sufficient.
Step 4: Let It Sit
Leave the paste on the glass for at least 20 to 30 minutes. Moderately dirty doors may need about an hour. Heavily baked-on residue can be treated for several hours or overnight, provided your manufacturer allows prolonged contact with a baking soda mixture.
This waiting period is where much of the work happens. The moisture and alkalinity help soften greasy deposits while the mild abrasive particles remain ready for the wiping stage.
In other words, this is your official permission to walk away and drink coffee. Cleaning is technically occurring.
Step 5: Scrub Gently
Dampen a microfiber cloth or non-scratch sponge with warm water. Work in small circles, starting at one corner and moving across the door. The softened residue should begin mixing with the paste and lifting from the glass.
For isolated stubborn patches, hold a damp cloth against the spot for another few minutes. Then use a plastic scraper or the edge of an old plastic loyalty card at a low angle. Apply light, controlled pressure instead of attacking the stain as though it owes you money.
Do not use a razor blade unless the oven manufacturer explicitly states that one is safe for that exact surface. Some oven windows have coatings, films, patterns, or finishes that can be damaged by sharp tools.
Step 6: Remove Every Trace of Paste
Wipe away the dirty baking soda with a clean, damp cloth. Rinse the cloth frequently and repeat until the glass no longer feels chalky.
This step may require several passes. Baking soda residue is harmless in small amounts, but leaving a white film behind defeats the visual purpose of the project. It may also produce an unpleasant odor the next time the oven heats.
Step 7: Finish With a Streak-Free Rinse
For the final polish, dampen a clean cloth with equal parts white vinegar and water. Wipe the glass, then buff it dry with a second microfiber cloth.
Apply the solution to the cloth rather than spraying heavily onto the oven. Direct spraying can send liquid into vents and spaces between the glass panels.
Vinegar helps dissolve remaining mineral or baking soda residue. It is best used after the paste has done its work, not mixed into the paste at the beginning. Combining vinegar and baking soda immediately creates impressive fizz, but the acid and alkali largely neutralize each other.
How to Clean the Outside of the Oven Door
The exterior glass normally needs less aggressive treatment because food is not repeatedly baked onto it. Start with warm water and a small amount of dish soap.
- Wipe the glass with a damp microfiber cloth.
- Apply diluted dish soap to greasy fingerprints.
- Wipe again with clean water.
- Dry and buff with a lint-free cloth.
For approved glass-cleaning products, spray the cleaner onto the cloth rather than directly onto the appliance. This reduces the chance of liquid reaching the controls, trim, vents, or door seams.
If the door has stainless-steel trim, clean it according to the manufacturer’s instructions and wipe in the direction of the visible grain. The baking soda paste intended for the interior glass should not automatically be spread over every nearby surface.
What About Grease Between the Glass Panels?
Finding streaks between the inner and outer glass can be frustrating because neither accessible surface appears dirty. Moisture and grease may enter through vent openings during normal cooking, particularly after spills or heavy steaming.
Do not immediately begin removing screws. Oven doors are heavy and may contain multiple glass panels, insulation, brackets, vents, and spring-loaded hinges. Incorrect reassembly can create alignment problems, broken glass, heat leakage, or an unsafe door.
Some manufacturers publish model-specific instructions for removing the door or accessing the panels. Others recommend professional service. Search your model number, read the official manual, and follow only the approved procedure.
If the glass is cracked, loose, deeply scratched, or showing persistent condensation, stop using improvised cleaning methods and contact a qualified appliance technician.
Common Oven Door Cleaning Mistakes
Using Too Much Water
An oven door is not a car windshield. Flooding it with water can push moisture into seams, insulation, hinges, and spaces between the glass.
Scrubbing the Gasket
The gasket may look dirty, but aggressive cleaning can damage its fibers or alter its shape. Follow the manual before touching it.
Combining Homemade and Commercial Cleaners
More products do not necessarily produce more cleaning power. They may create fumes, leave difficult residue, or react unpredictably. Use one approved method at a time and rinse thoroughly before changing products.
Running the Self-Clean Cycle With Cleaner Present
Never run a high-temperature self-cleaning cycle while chemical oven cleaner, dish soap, or baking soda paste remains inside. Remove all residue first and follow the appliance instructions exactly.
Expecting Instant Results
Baked-on grease accumulated over three years may not surrender after a 30-second wipe. A second paste treatment is safer than escalating immediately to metal tools and furious scrubbing.
How to Keep the Oven Door Clean Longer
A full cleaning becomes much easier when the door receives small amounts of attention between major cooking projects.
- Wipe fresh splatters after the oven has completely cooled.
- Use appropriately sized baking dishes to reduce overflow.
- Place pies and casseroles on a rimmed sheet pan when practical.
- Cover dishes that are likely to spit grease.
- Inspect the glass once a month under bright light.
- Perform a quick dish-soap wipe before residue becomes heavily baked on.
- Clean spills from the oven floor so they do not smoke and create additional film.
A 60-second wipe after messy cooking can prevent a 60-minute scrubbing session later. Your future self will be grateful, although possibly suspicious of this sudden display of responsibility.
Experience Notes: What the $5 Oven Door Cleanup Is Really Like
For many homeowners, the first surprise is how little paste the job actually requires. It is tempting to cover the glass with a baking soda layer thick enough to frost a birthday cake. That only creates more residue to remove. A thin, even coating works better and dramatically shortens the rinsing stage.
The second surprise is that waiting matters more than scrubbing. During an illustrative weekend cleanup of a heavily stained oven door, the darkest grease marks looked unchanged after the paste was applied. After about 30 minutes, however, the top layer began wiping away as a muddy brown film. The remaining patches needed another application, but they were noticeably softer.
The easiest sections were the pale amber smears around the edges of the window. Those disappeared with a damp microfiber cloth and very little pressure. The darkest spots near the bottom required a plastic scraper, held almost flat against the glass. A sharp angle made the tool skip; a low angle allowed it to slide beneath the softened residue.
The messiest part was not the scrubbing. It was removing the baking soda. One cloth quickly became saturated with gray paste and started redistributing it instead of collecting it. Switching between two clothsone damp cloth for removal and one clean cloth for the final rinsemade the process much faster.
Another useful lesson was to clean from the top of the glass downward. Starting at the bottom meant dirty water repeatedly ran over areas that had already been polished. Top-to-bottom cleaning was less dramatic but far more efficient, which is often how adult life works.
The vinegar-and-water finish also made a visible difference. After the first rinse, the glass was technically clean but still looked slightly cloudy under the kitchen lights. A cloth lightly dampened with diluted vinegar removed the chalky residue and restored the clear, dark reflection that made the oven door look significantly newer.
The project did not make every mark disappear. A faint discoloration remained between the glass panels, beyond the accessible surfaces. Instead of dismantling the door on a whim, the sensible next step was checking the model’s manual. That distinction matters: surface grime is a cleaning problem, while inaccessible residue may be a service or model-specific maintenance issue.
The total active cleaning time was manageable. Mixing and applying the paste took about five minutes. Gentle scrubbing and rinsing required approximately 20 minutes, divided between two treatments. Most of the elapsed time consisted of waiting while the paste softened the buildup.
The biggest visual improvement came not from chasing the final tiny stain, but from removing the broad brown haze covering the center of the window. Once the glass became transparent again, the entire appliance looked cleaner. The oven had not changed, but it no longer appeared to be wearing grease-colored sunglasses.
Perhaps the most practical takeaway is that this method works best before the glass becomes severely neglected. A quick monthly treatment may use only a spoonful of baking soda and a few minutes of wiping. Waiting until the door becomes opaque turns an easy maintenance task into a multi-round negotiation.
Final Thoughts
You do not need a premium cleaning system to make an oven door look dramatically better. For most routine grease and baked-on splatters, a carefully applied baking soda paste, a small amount of dish soap, warm water, and patient wiping can produce excellent results for well under $5 per use.
The keys are restraint and patience: work only on cool glass, check the owner’s manual, keep liquids away from seams and gaskets, use nonabrasive tools, allow the paste time to work, and rinse thoroughly.
Once the brown haze is gone, you may rediscover the oven’s most underrated entertainment feature: watching cookies bake without opening the door every four minutes.
Research basis: Manufacturer care guidance supports using mild soap, soft cloths,
nonabrasive tools, baking soda paste, careful rinsing, gasket protection, and
model-specific procedures for accessing glass panels. Safety guidance supports
avoiding incompatible chemical mixtures and following product labels.