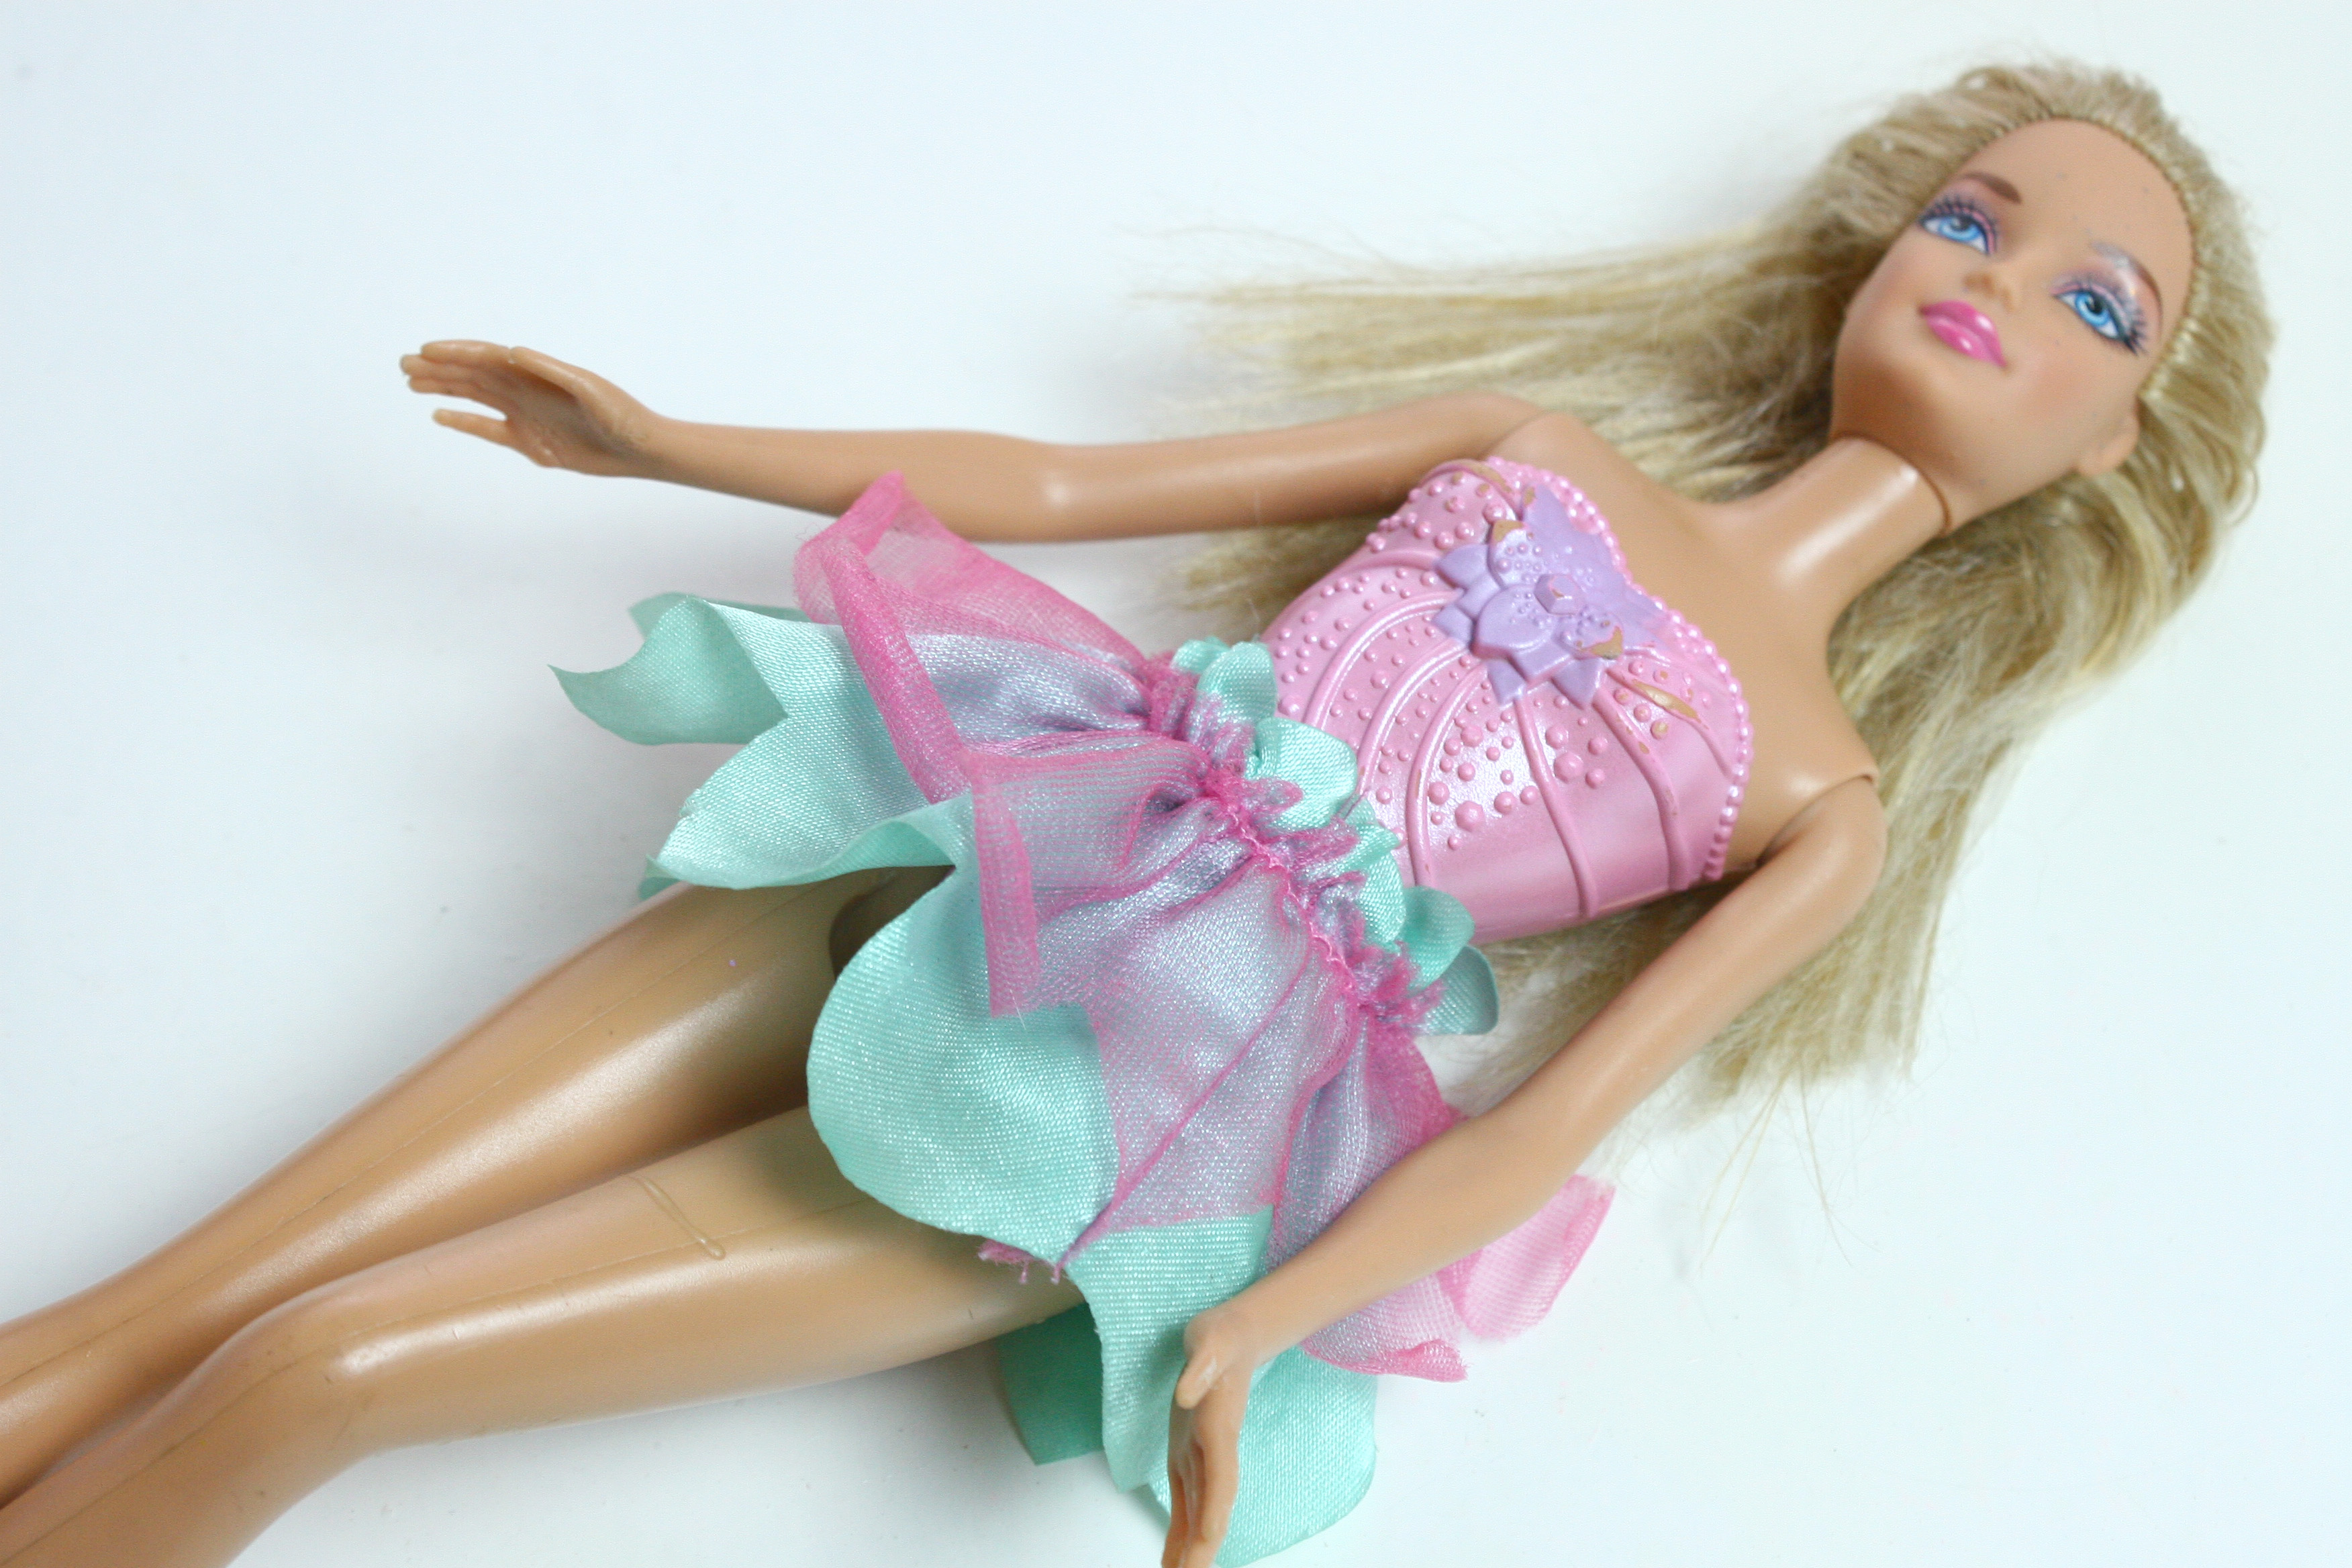
Finding mold on a Barbie doll can feel like discovering a tiny haunted basement in the toy box. One day she is ready for a Malibu road trip, and the next she smells like she has been living behind a wet towel since 1998. The good news: many plastic and vinyl Barbie dolls can be cleaned safely if the mold is limited to the surface, the doll is not electrically operated, and you work gently.
The not-so-fun news: mold is not just “dirt with ambition.” It grows where moisture, organic residue, dust, fabric, cardboard, or trapped humidity give it a place to settle. A Barbie doll’s vinyl head, plastic body, synthetic hair, tiny clothing, shoes, and accessories all need slightly different care. Scrubbing everything like a kitchen sink can damage paint, dull the vinyl, frizz the hair, or turn a collectible doll into a “before” photo nobody asked for.
This guide explains how to remove mold from a Barbie doll in six practical steps using safe, realistic cleaning methods: isolate, inspect, wash, treat, dry, and store. It is written for parents, collectors, thrift-store treasure hunters, and anyone who opened an old storage bin and immediately regretted breathing through their nose.
Before You Start: Is the Barbie Doll Safe to Clean?
Before you grab a toothbrush and declare war, check the doll’s condition. A modern play Barbie with a plastic body and vinyl head is usually easier to clean than a vintage Barbie with delicate face paint, fragile limbs, metal parts, glued lashes, flocked details, or collector clothing. If the doll is rare, expensive, or deeply sentimental, consider testing every cleaner on a hidden area first or asking a doll restoration specialist for advice.
Surface mold on hard plastic or vinyl is often removable. Mold on fabric clothing, cardboard packaging, fuzzy accessories, foam parts, or porous playset pieces can be much harder to remove completely. If a doll has mold inside the head, inside hollow limbs, under the scalp, in rooted hair plugs, or in a strong musty odor that keeps returning, cleaning may reduce the problem but not fully solve it.
Supplies You Will Need
- Nitrile or rubber gloves
- A mask, preferably an N95-style respirator if the mold is dusty or you are sensitive
- Eye protection if scrubbing visible mold
- Mild dish soap
- Warm water, not hot water
- Soft microfiber cloths
- Cotton swabs
- A soft toothbrush
- Paper towels
- 3% hydrogen peroxide or diluted bleach only if needed and only after spot testing
- A clean towel and a well-ventilated drying area
- Silica gel packets or moisture absorbers for future storage
Safety warning: Never mix bleach with vinegar, ammonia, hydrogen peroxide, alcohol, or any other cleaner. Mixing cleaning products can create dangerous fumes. Barbie may have had many careers, but “toxic chemistry demonstration” should not be one of them.
Step 1: Isolate the Moldy Barbie Doll
Remove the doll from other toys, clothing, storage bins, cardboard boxes, and accessories. Mold spreads by spores, and those spores can settle on nearby objects. Place the doll on a washable surface or on disposable paper towels. If you found the doll in a storage container, do not simply put cleaned Barbie back into the same container. That is like giving a clean plate back to a raccoon.
Take off all clothing, shoes, jewelry, hats, rubber bands, and accessories. Separate everything into groups: hard plastic items, fabric items, paper/cardboard items, and items that may be damaged by water. Moldy doll clothes should be hand-washed separately in mild soap and cool or lukewarm water. If clothing remains stained, smells musty after washing, or has fuzzy growth embedded in the fibers, it may not be safe to keep for active play.
Do Not Shake or Dry-Brush Mold Indoors
Avoid shaking the doll or brushing dry mold into the air. Lightly dampen a cloth with soapy water before wiping visible mold. This helps keep spores from becoming airborne. If you can work outside in shade or near an open window with good airflow, even better. Direct sunlight can fade dolls and clothing, so choose bright ventilation over sunbathing.
Step 2: Inspect the Doll from Head to Toe
Look carefully at the doll’s face, neck opening, scalp, hairline, ears, arms, hands, torso seams, legs, feet, and any bendable joints. Mold often hides in creases, under stuck-on residue, around hair plugs, and inside tiny grooves. Use a flashlight if needed. A Barbie doll can hide a shocking amount of drama in an elbow seam.
Smell matters, too. A light musty odor may disappear after washing and drying. A strong odor may mean moisture reached the inside of the head or body, or that the storage environment contaminated the doll for a long time. If the doll has electronics, sound boxes, lights, batteries, or moving mechanisms, do not soak it. Remove batteries if possible and surface-clean only.
Check the Face Paint First
Barbie’s face paint can be delicate, especially on older dolls. Do not scrub the eyes, eyebrows, lips, blush, or painted lashes with abrasive tools. Even a “gentle” cleaner can remove details if you rub too hard. For the face, start with a barely damp cloth and mild soap. Use cotton swabs around the nose, ears, and hairline. If a stain remains, accept that a tiny mark is better than accidentally giving Barbie one eyebrow and a thousand-yard stare.
Step 3: Wash the Vinyl and Plastic with Mild Soap
For most Barbie dolls, the first real cleaning step should be mild dish soap and warm water. This is the safest starting point for removing surface mold, body oils, dust, and grime. Mix a few drops of dish soap in a small bowl of warm water. Dip a microfiber cloth into the solution, wring it well, and wipe the doll’s body gently.
Use a soft toothbrush for hands, feet, torso seams, and molded details. Work slowly. You are cleaning a doll, not sanding a deck. For tight spaces, use cotton swabs dipped in soapy water. Replace cloths or rinse them frequently so you are not spreading mold residue from one area to another.
Should You Soak the Barbie Doll?
Usually, no. Brief contact with water is fine for many modern plastic dolls, but soaking can push water into the head, torso, leg joints, or hair plugs. Trapped water is one reason mold comes back. If you must rinse, use a damp clean cloth instead of submerging the entire doll. Keep the head angled downward when cleaning hair so water is less likely to pool inside.
After washing, wipe the doll with a clean damp cloth to remove soap residue. Soap left behind can attract dirt, and dirt gives mold something to snack on. Dry the surface with a clean towel before moving to the next step.
Step 4: Treat Stubborn Mold Spots Carefully
If mild soap removes the visible mold, stop there. More chemicals do not automatically mean better cleaning. For stubborn spots on hard plastic or unpainted vinyl, you can try a small amount of 3% hydrogen peroxide or a very diluted bleach solution, but only after testing in a hidden place such as the back of a leg or under the hairline. Wait several minutes and check for fading, stickiness, dullness, or color change.
Hydrogen peroxide can help with some mold staining on nonporous surfaces, but it may lighten colors. Diluted bleach can disinfect hard surfaces, but it can also damage materials, fade paint, irritate skin and lungs, and leave residue if not rinsed. For a collectible or vintage Barbie, skip bleach unless you truly know the material can handle it. The doll may survive the mold but not your cleaning enthusiasm.
How to Use a Diluted Bleach Solution If Necessary
If you decide bleach is appropriate for a modern, non-collectible, hard plastic doll part, use it sparingly. A common safety rule is to use no more than one cup of household bleach per gallon of water for mold cleanup, and many toy-sanitizing situations use weaker solutions. Apply with a cloth or cotton swab rather than soaking the doll. Keep the area ventilated, wear gloves, avoid the face paint and hair, let it sit briefly, then rinse the area thoroughly with a clean damp cloth and dry completely.
Again, never mix bleach with other cleaners. Do not use bleach on doll clothing, painted features, vintage vinyl, metal parts, flocking, cardboard, or anything you are not willing to risk discoloring.
Step 5: Clean Barbie’s Hair and Clothes Separately
Barbie hair is synthetic fiber, not human hair. It does not need salon shampoo, heat styling, coconut-oil rituals, or a dramatic apology playlist. For moldy or musty hair, use lukewarm water and a tiny amount of mild dish soap or gentle shampoo. Hold the doll so water runs away from the face and neck opening. Massage the hair lightly from scalp to ends without pulling hard at the rooted plugs.
Rinse carefully until the water runs clear. Squeeze the hair gently with a towel. Do not twist it like a dish rag. Comb from the ends upward using a doll brush, wide-tooth comb, or metal wig brush. Avoid blow dryers, curling irons, flat irons, boiling water, or direct heat unless you are experienced with doll hair restoration. Heat can melt, frizz, or permanently warp synthetic fibers.
How to Wash Moldy Barbie Clothes
Hand-wash doll clothes in cool or lukewarm water with a small amount of mild soap. Rinse well and lay flat on a towel to dry. Do not put delicate Barbie clothing in a dryer. Tiny garments can shrink, fray, bleed dye, or lose decorations. If an outfit is heavily moldy, smells bad after washing, or has black or green growth embedded in fabric, it is safer to discard it, especially if a child will handle the doll.
Plastic shoes and accessories can usually be washed with the same mild soapy water used for the doll body. Rinse and dry them completely. Paper accessories, stickers, and original boxes are a different story. Moldy cardboard is often not salvageable without professional conservation help.
Step 6: Dry Completely and Store Correctly
Drying is not the glamorous step, but it is the step that decides whether mold makes a comeback tour. After cleaning, place the doll on a clean towel in a well-ventilated room. Let the doll air dry completely for at least 24 to 48 hours. Turn it occasionally so moisture does not sit in joints, hair, or seams. If water may have entered the head, position the doll head-down at an angle on a towel so trapped moisture can drain.
Use a fan for airflow, but avoid heat. Do not put Barbie on a radiator, in an oven, near a heater, or in full sun. Heat can warp vinyl, damage hair, and fade colors. Once the doll is fully dry, smell it again. If the musty odor remains strong, repeat a gentle wash or consider that mold may be inside the doll where surface cleaning cannot reach.
Best Storage Tips to Prevent Mold from Returning
- Store Barbie dolls in a clean, dry area with steady temperature and humidity.
- Avoid basements, garages, attics, laundry rooms, and bathrooms.
- Do not seal a damp doll in a plastic bag or airtight box.
- Use breathable storage or add silica gel packets to reduce moisture.
- Keep dolls away from cardboard that has been damp or musty.
- Remove tight rubber bands, metal jewelry, and old elastic before long-term storage.
- Check stored dolls every few months, especially in humid climates.
Mold prevention is mostly moisture control. Barbie does not need a luxury condo, but she does need a dry one. A clean shelf in a climate-controlled room beats a mystery bin in the garage every time.
What Not to Use on a Moldy Barbie Doll
Some cleaning tricks sound helpful but can cause permanent damage. Avoid acetone, nail polish remover, harsh solvents, undiluted bleach, abrasive powders, stiff brushes, boiling water, and magic erasers on painted areas. A melamine sponge can remove marks, but it is mildly abrasive and may also remove blush, lips, eyebrows, or shine from vinyl.
Also avoid spraying fragrance, perfume, essential oils, or fabric deodorizer onto a musty doll. Those products may cover odor temporarily, but they do not remove mold. They can also leave oily residue that attracts dust. Barbie may smell like lavender for a week, but the problem will still be there, wearing tiny heels.
When Should You Throw Away a Moldy Barbie Doll?
Throwing away a doll can feel dramatic, especially when nostalgia is involved. But safety matters. Consider discarding the doll if mold is growing inside the head or body, if the doll remains musty after repeated cleaning and drying, if it was stored with sewage-contaminated floodwater, if it has soft porous parts that cannot be cleaned, or if a child with asthma, allergies, or immune concerns will play with it.
For valuable vintage dolls, do not rush to discard. Place the doll in a separate ventilated area and contact a doll restoration expert or conservation professional. Some stains and odors can be managed, but aggressive cleaning can lower collector value. In vintage doll care, patience is usually cheaper than panic.
Common Mistakes People Make When Removing Mold from Barbie Dolls
Mistake 1: Cleaning the Doll but Not the Storage Box
If the original bin, bag, or box smells musty, it can re-contaminate the doll. Wash plastic bins with soap and water, dry them thoroughly, and discard moldy cardboard.
Mistake 2: Soaking the Head
Water trapped inside a vinyl head can create a new moisture problem. Clean the hair carefully and let the head drain if water gets inside.
Mistake 3: Using Too Much Cleaner
More cleaner does not mean more clean. Residue can attract dust and irritate skin. Use mild soap first, rinse well, and dry completely.
Mistake 4: Forgetting the Clothes
A clean doll in moldy clothes is not a success story. Wash or discard contaminated outfits and accessories.
Mistake 5: Putting the Doll Away Too Soon
If the doll feels dry on the outside but moisture remains in hair, joints, or clothing, mold can return. Give drying time the respect it deserves.
Extra Experience: Real-Life Lessons from Cleaning Moldy Barbie Dolls
Anyone who has cleaned secondhand dolls knows that every Barbie arrives with a backstory. Some come from yard sales, some from childhood boxes, some from grandma’s attic, and some from thrift-store bags where Barbie has been traveling with one shoe, three mystery accessories, and a hairstyle that suggests a tiny hurricane. Moldy dolls are especially tricky because the visible mold is only part of the problem. The real challenge is figuring out where the moisture came from and whether the doll can stay clean afterward.
One useful habit is to treat every moldy doll like a small restoration project, not a quick wipe-down. First, take photos before cleaning. This helps you remember where stains were, which accessories belonged to the doll, and whether a spot improved after washing. It also helps if you are cleaning a collectible doll and want to avoid accidentally changing details. A quick photo can save you from wondering, “Was that beauty mark original, or did I just invent Barbie’s new era?”
Another practical experience is to clean in rounds. The first round should be simple: soap, water, cloth, and patience. Many dolls look dramatically better after one gentle wash. Mold often clings to surface grime, so removing dust and oils may remove most of the visible problem. If you jump straight to stronger cleaners, you may damage the doll before giving mild soap a chance to do its job.
Hair is where many beginners get nervous, and honestly, fair. Barbie hair can look fragile when it is wet and tangled. The trick is to slow down. Wash the hair gently, squeeze it with a towel, and detangle from the ends upward. If you start brushing at the scalp, you can pull fibers loose or turn knots into a plastic bird’s nest. A little patience makes the difference between “restored doll” and “Barbie after a wind tunnel audition.”
Odor removal is another lesson. A doll may look clean but still smell musty. In that case, drying time matters more than perfume. Place the doll in a ventilated area, change the towel underneath, and let air do its work. Some collectors place a dry doll near baking soda or activated charcoal in a larger ventilated container, without letting powder touch the doll. The goal is to absorb odor, not coat Barbie in pantry dust.
Storage is the final lesson, and it is the one people underestimate. Mold usually returns because the environment did not change. If dolls are stored in humid rooms, sealed while slightly damp, or packed with old cardboard, they can develop the same problem again. A clean, dry shelf with airflow is better than an airtight plastic bag in a damp closet. If you live in a humid area, moisture absorbers and regular inspections are worth the tiny effort.
The biggest experience-based rule is this: do not chase perfection so aggressively that you ruin the doll. A faint stain on a foot or a tiny mark behind the neck may be acceptable, especially on an older doll. Clean, safe, dry, and stable should be the goal. Barbie does not need to look factory-new to be loved again. Sometimes she just needs a bath, fresh air, and a storage situation that does not feel like a swamp with a lid.
Conclusion
Removing mold from a Barbie doll is possible when the mold is mostly on hard plastic, vinyl, hair, or washable accessories. Start with safety: isolate the doll, protect yourself, avoid spreading spores, and never mix cleaning chemicals. Use mild dish soap and warm water first, clean clothing separately, treat stubborn spots only after testing, and dry the doll completely before storage.
The real secret is not a miracle cleaner. It is patience plus moisture control. A Barbie doll that is cleaned gently and stored in a dry, ventilated space has a much better chance of staying fresh, display-worthy, and ready for her next career move. Mold removal may not be glamorous, but neither is leaving Barbie in a damp box wondering where her dream house went.