Note: These are wearable, Padmé-inspired hairstyles rather than frame-by-frame costume reproductions. The goal is to capture the Naboo mood: polished, romantic, a little dramatic, and sufficiently secure to survive a busy day without requiring a royal handmaiden squad.
Padmé Amidala’s hair has always been doing the absolute most. From intricate braids to sculptural buns that appear to have their own zip code, her looks are a major reason the character remains a style favorite decades after the prequel trilogy arrived. The good news is that you do not need a palace stylist, a closet full of velvet gowns, or access to a galaxy far, far away to try a Padmé hairstyle at home.
This guide breaks down three approachable Padmé-inspired hairstyles: a braided Naboo crown, elegant side buns with a decorative lattice effect, and a soft braided half-up style inspired by her more romantic looks. Each option can be adapted for straight, wavy, curly, coily, medium-length, or long hair. Bring a mirror, a few hairpins, and enough patience to avoid declaring war on your own ponytail.
Before You Start: What Makes a Hairstyle Feel Like Padmé?
Padmé-inspired hair is not just about piling every available braid onto your head. The best looks balance structure with softness. Think center parts, symmetrical details, controlled volume, low buns, narrow braids, and small decorative touches such as gold cord, pearl pins, ribbon, or a subtle headband.
Her hairstyles often look ceremonial, but they still have a natural flow. A braid may frame the face while the rest of the hair falls in soft waves. A bun may be neat without looking like it was sealed in a vacuum chamber. That contrast is what keeps these styles elegant instead of costume-y.
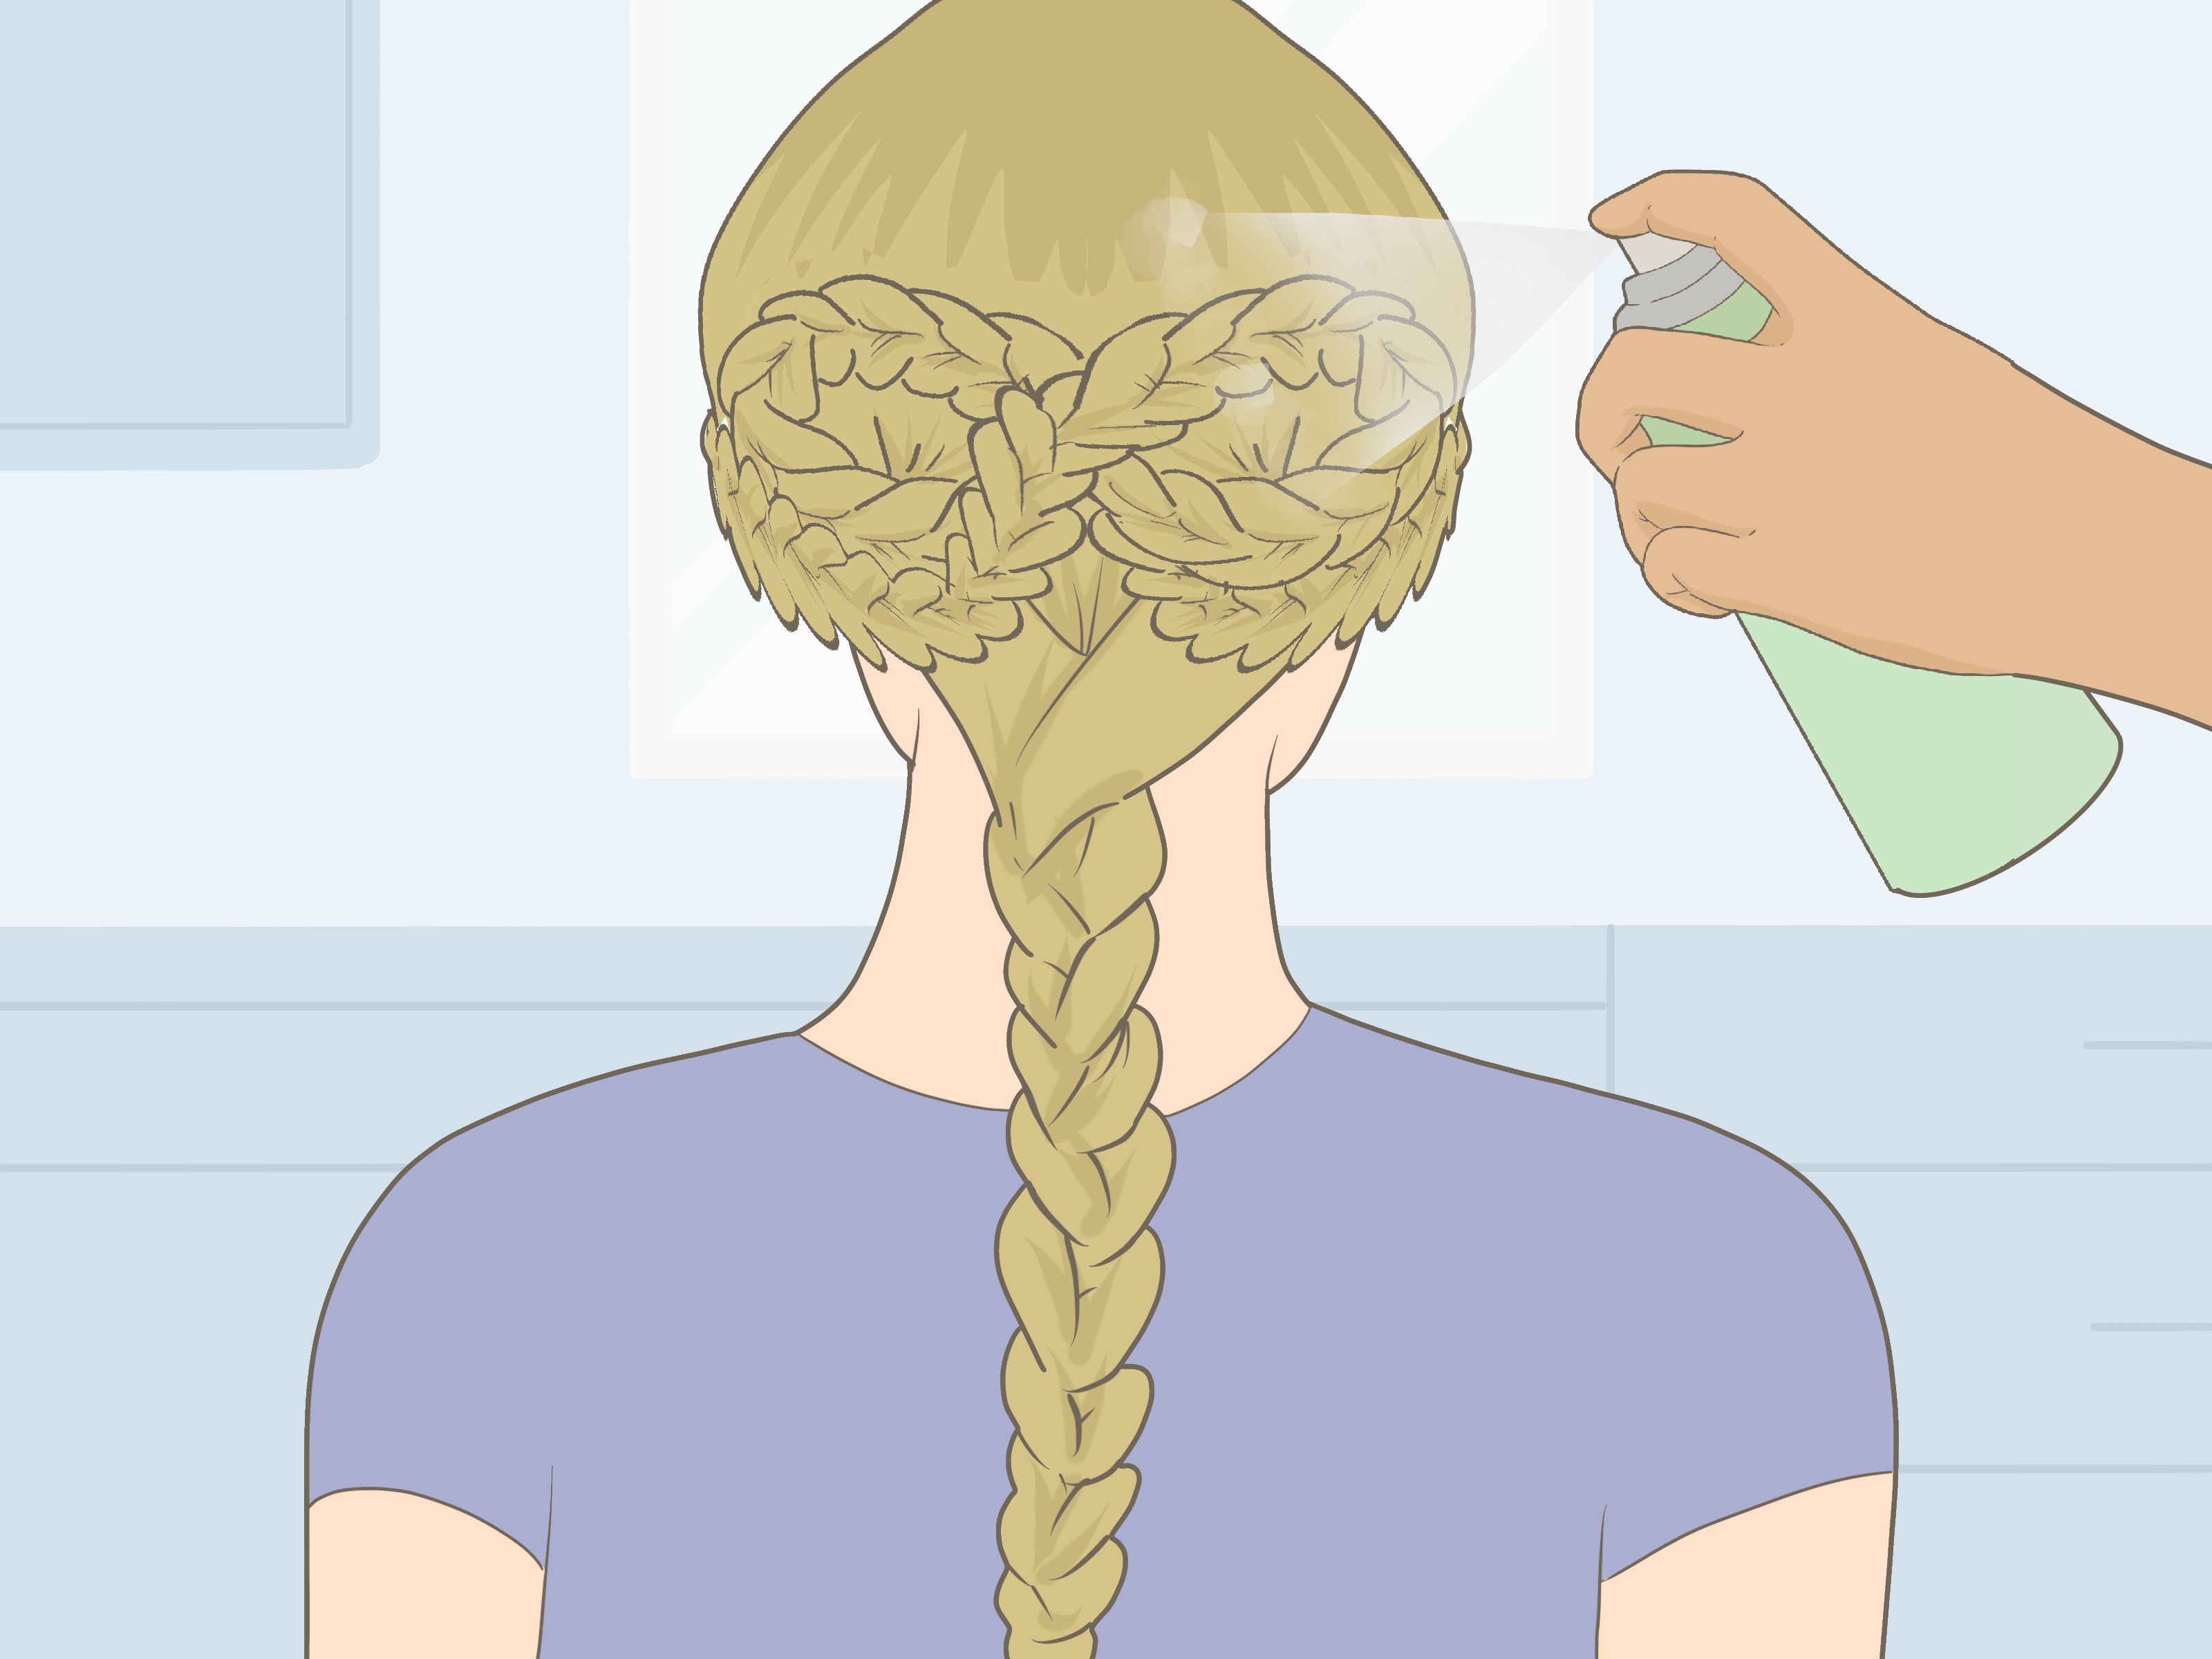
For the easiest styling experience, begin with dry hair that has a little grip. Freshly washed hair can be slippery, especially when you are trying to pin a braid into place. A lightweight texturizing spray, dry shampoo, mousse, or a small amount of styling cream can make the process much less frustrating.
Tools You’ll Need for Padmé-Inspired Hairstyles
- Fine-tooth comb or tail comb for clean parts
- Brush or wide-tooth comb
- Clear mini elastics
- Bobby pins and U-shaped hairpins
- Texturizing spray, dry shampoo, mousse, or flexible-hold hairspray
- Optional curling wand or flat iron
- Optional gold cord, ribbon, pearl pins, decorative clips, or a thin headband
Choose pins close to your hair color for an invisible finish, or use gold pins intentionally as part of the design. For thicker hair, larger U-pins are especially useful because they can hold a braided bun without forcing you to use approximately 400 bobby pins.
1. The Naboo Braided Crown Hairstyle
Best for: medium to long hair, soft waves, garden parties, cosplay, weddings, or any day when you would like to look like you own several formal capes.
This style takes inspiration from Padmé’s softer Naboo looks. It combines a center part, delicate braids, and a low ponytail or loose waves. It has the graceful feel of a royal hairstyle without requiring your arms to remain above your head for three business days.
Step 1: Create a Clean Center Part
Use a tail comb to make a center part from your forehead to the crown. It does not need to be laser-straight, but symmetry helps the final style look intentional. Smooth the hair around your face lightly with a brush or your fingertips.
Step 2: Make Two Face-Framing Braids
Take a one-inch section near your right temple and divide it into three pieces. Create a simple three-strand braid, adding small sections of hair as you move toward the back of your head. Repeat on the left side.
You can use a French braid for a smoother finish or a Dutch braid for more visible texture. For a softer Padmé-inspired result, keep each braid close to the head but do not pull it painfully tight. The style should feel secure, not like your scalp is filing a formal complaint.
Step 3: Join the Braids at the Back
Bring both braids toward the center of the back of your head. Secure them together with a clear elastic. Leave the rest of your hair down, create a low ponytail, or twist the loose lengths into a small braided bun at the nape.
For a fuller crown effect, gently tug the outer loops of each braid. This technique makes the braid appear wider and more romantic. Use a few bobby pins underneath the braids to keep the shape lifted.
Step 4: Add Soft Waves and Details
Use a curling wand to add loose waves to the lower half of the hair. Brush through the curls gently so they look soft rather than pageant-perfect. Add tiny pearl pins, a thin gold chain, or a narrow ribbon behind the braids for a Naboo-inspired finish.
This hairstyle works beautifully with a flowing dress, a fitted top, or even jeans and a white shirt. The secret is not the outfit. The secret is walking around like you just successfully negotiated peace between two planets.
2. The Tatooine-Inspired Side Bun Hairstyle
Best for: medium to long hair, thick hair, second-day hair, formal events, and anyone who enjoys a hairstyle with a little more architecture.
Padmé’s elaborate side bun looks are among her most memorable. A fully screen-accurate version can involve hairpieces, precise wrapping, and enough accessories to confuse airport security. This simplified version keeps the recognizable shape while staying practical for real life.
Step 1: Part and Smooth the Hair
Create a center part and brush the hair smooth. Apply a tiny amount of styling cream or smoothing serum around the crown and sides. Leave a few fine pieces near the temples loose if you prefer a softer finish.
Step 2: Make Two Low Side Ponytails
Divide your hair into two equal sections. Create one ponytail behind each ear, positioned low and slightly toward the back of the head. Secure them with elastics that match your hair color.
For a more subtle version, position the ponytails lower, near the nape. For a bolder costume-style look, move them slightly higher so the buns are visible from the front.
Step 3: Braid and Coil Each Ponytail
Braid each ponytail all the way down and secure the ends with mini elastics. Gently loosen the braid loops for more volume. Wrap the first braid around its elastic in a flat coil, then secure it with U-pins and bobby pins. Repeat on the opposite side.
Do not try to make both buns identical on the first attempt. Hair has opinions. It is allowed to be mildly rebellious. Build the first bun, step back from the mirror, then shape the second bun to match its position and size.
Step 4: Add a Gold Lattice Effect
To create the signature decorative feel, take a thin piece of gold cord, metallic ribbon, or faux jewelry chain. Crisscross it lightly over each bun, then tuck the ends beneath the bun and secure them with bobby pins.
Use the decoration sparingly. One simple lattice pattern looks elegant; twelve tangled strings can make the hairstyle resemble a science fair project involving a very glamorous spider.
Step 5: Finish With Flexible Hold
Mist the style with flexible-hold hairspray. Check the buns from the front, side, and back before leaving. If they feel heavy or painful, loosen them immediately. A beautiful hairstyle should not cause a headache or tug hard around the hairline.
3. The Mustafar Braided Half-Up Hairstyle
Best for: shoulder-length to long hair, loose curls, layered hair, date-night outfits, formal dinners, and anyone who wants Padmé energy without committing to a full updo.
This romantic half-up style is one of the easiest ways to bring Padmé-inspired hair into everyday life. It combines slim braids with loose waves and a low, elegant gathering at the back. The result feels cinematic without looking like you are about to address the Galactic Senate.
Step 1: Build Texture First
Add loose waves with a curling wand, flat iron, or heatless curl method. You do not need perfectly matched curls. In fact, slightly uneven waves make the hairstyle look softer and more natural.
For naturally curly or coily hair, define your curls with a curl cream or mousse instead of heat styling. The braids will look especially beautiful when they contrast with natural texture.
Step 2: Section the Top Layer
Take the top section of your hair from above each ear to the crown. Clip the lower hair out of the way. This should be closer to a small top layer than a true fifty-fifty split, so the style still has plenty of loose hair flowing underneath.
Step 3: Add Two Slim Braids
Create one small braid near each temple. Braid backward toward the crown, keeping the braids narrow and even. You can use a classic three-strand braid, a rope braid, or a mini Dutch braid.
Secure both braids together at the back of the head with a clear elastic. Then take a small strand of loose hair, wrap it around the elastic, and pin the end underneath. This tiny detail instantly makes the hairstyle look more polished.
Step 4: Create a Braided Ponytail Detail
Take a thin section from the ponytail created by the joined braids and make one additional braid down the center. Let it fall over the loose waves. This gives the look a layered, storybook quality and makes the style feel more deliberate.
For extra drama, place a small metal hair accessory, pearl pin, or narrow ribbon just above the joined braids. Avoid oversized accessories unless you are dressing for cosplay. The charm of this hairstyle is that it whispers “Naboo,” rather than shouting it through a megaphone.
How to Adapt Padmé Hairstyles for Different Hair Lengths and Textures
Short hair can still work with Padmé-inspired styling. Try mini braids at the temples, twist the back into a low half-up knot, or use a small braided headband accessory. A short bob does not need to become waist-length overnight; it simply needs a few thoughtful details.
For fine hair, prep with mousse or texture spray before braiding. A small braid can look fuller when you gently pull the outer loops apart. For thick hair, divide each bun or ponytail into two smaller sections before wrapping. This makes the hairstyle easier to pin and prevents one giant bun from slipping south by lunchtime.
Curly and coily hair can create especially striking versions of these styles. Use twists instead of classic braids where needed, and let your natural texture supply the volume. The goal is not to erase your texture. The goal is to shape it into something regal.
Common Padmé Hairstyle Problems and Easy Fixes
My braids keep slipping out.
Add texture before you start. Dry shampoo, mousse, styling powder, or light hairspray can help. Secure the braid ends with tiny clear elastics before pinning them into place.
My buns look uneven.
Build both buns loosely first, then adjust their size and position before adding final pins. It is easier to correct a loose bun than to remove fourteen pins while whispering increasingly creative complaints at the mirror.
My hairstyle hurts.
Take that as a sign to loosen it. Tight braids, buns, and ponytails can place too much tension on the hair and scalp. Keep the style comfortable, avoid harsh pulling around the hairline, and save the maximum-security styling for a mannequin head.
I do not have enough hair for a big braid or bun.
Use a small bun form, clip-in extension, braided headband, or ribbon-wrapped accessory. These additions can create the illusion of a more elaborate style without requiring an emergency appointment with a hair wizard.
Final Thoughts on Doing Padmé Hairstyles
The best Padmé hairstyles combine balance, texture, and a few carefully placed details. Start with the braided crown if you want something soft and beginner-friendly. Choose side buns when you want a bolder, costume-inspired look. Go with the braided half-up style when you want something romantic enough for an event but wearable enough for real life.
Do not chase perfect symmetry on your first try. Practice the shapes, learn where your hair needs extra grip, and adjust the style to suit your own texture. Padmé-inspired hair should make you feel polished, creative, and slightly prepared to save a planet before dinner.
What It Is Like to Practice Padmé Hairstyles: A 500-Word Experience Guide
Trying a Padmé hairstyle for the first time is usually an adventure in confidence, patience, and discovering how many bobby pins can disappear into one bathroom floor. The first few minutes tend to feel easy. You make a center part, gather two sections of hair, and think, “This is going surprisingly well.” Then one braid begins sliding backward, the other becomes somehow twice as thick, and the mirror starts looking less like a beauty tool and more like a personal opponent.
That awkward beginning is part of the experience. Padmé-inspired hairstyles look polished because they are built in layers. One braid supports another. A hidden pin changes the entire shape of a bun. A small piece of ribbon can turn a simple ponytail into something that feels intentional. Once you understand that the style is made from several small decisions rather than one dramatic move, it becomes much less intimidating.
Many people find that the braided crown is the easiest starting point because it is forgiving. A braid that is slightly loose can look soft and romantic. A few flyaways can feel deliberate. Even uneven waves can add personality. This is useful for beginners because it teaches an important hairstyling lesson: not every detail needs to be perfectly controlled. Some of the prettiest results come from leaving a little softness around the face and allowing the hair to move naturally.
The side bun hairstyle creates a different kind of experience. It feels more focused and sculptural. You become aware of the balance between the left and right side of your head, the weight of each bun, and the placement of every pin. It is a style that rewards stepping away from the mirror every few minutes. Looking at the buns from a distance helps you notice whether one sits too low, one is too round, or one has quietly decided to become a cinnamon roll with ambitions.
The half-up braided style is often the most wearable in everyday life. It can make a regular outfit feel more special without looking as though you are heading to a convention or a royal ceremony. People often enjoy this style because it gives them the feeling of dressing up while still being comfortable. Loose waves remain soft, the braids add detail, and the hair stays mostly down. It is a good choice for school events, dinners, photos, parties, or days when you want to look put together even though you may have made the decision ten minutes before leaving.
There is also something creative about adapting these looks to your own hair. Someone with short hair may make mini temple braids and use a decorative clip. Someone with thick curls may use twists instead of sleek braids. Someone with fine hair may rely on texture spray and a little teasing at the crown. The result does not have to match a movie image exactly to capture the inspiration. In many ways, the best version is the one that works with your natural texture, your comfort level, and your personal style.
After a few practice sessions, you start recognizing small improvements. Your parts become cleaner. Your braids become more even. You learn which pins hold best and which elastics mysteriously vanish during the night. Most importantly, you begin to enjoy the process. A Padmé hairstyle becomes less about copying a character and more about creating a look that feels elegant, imaginative, and uniquely yours.