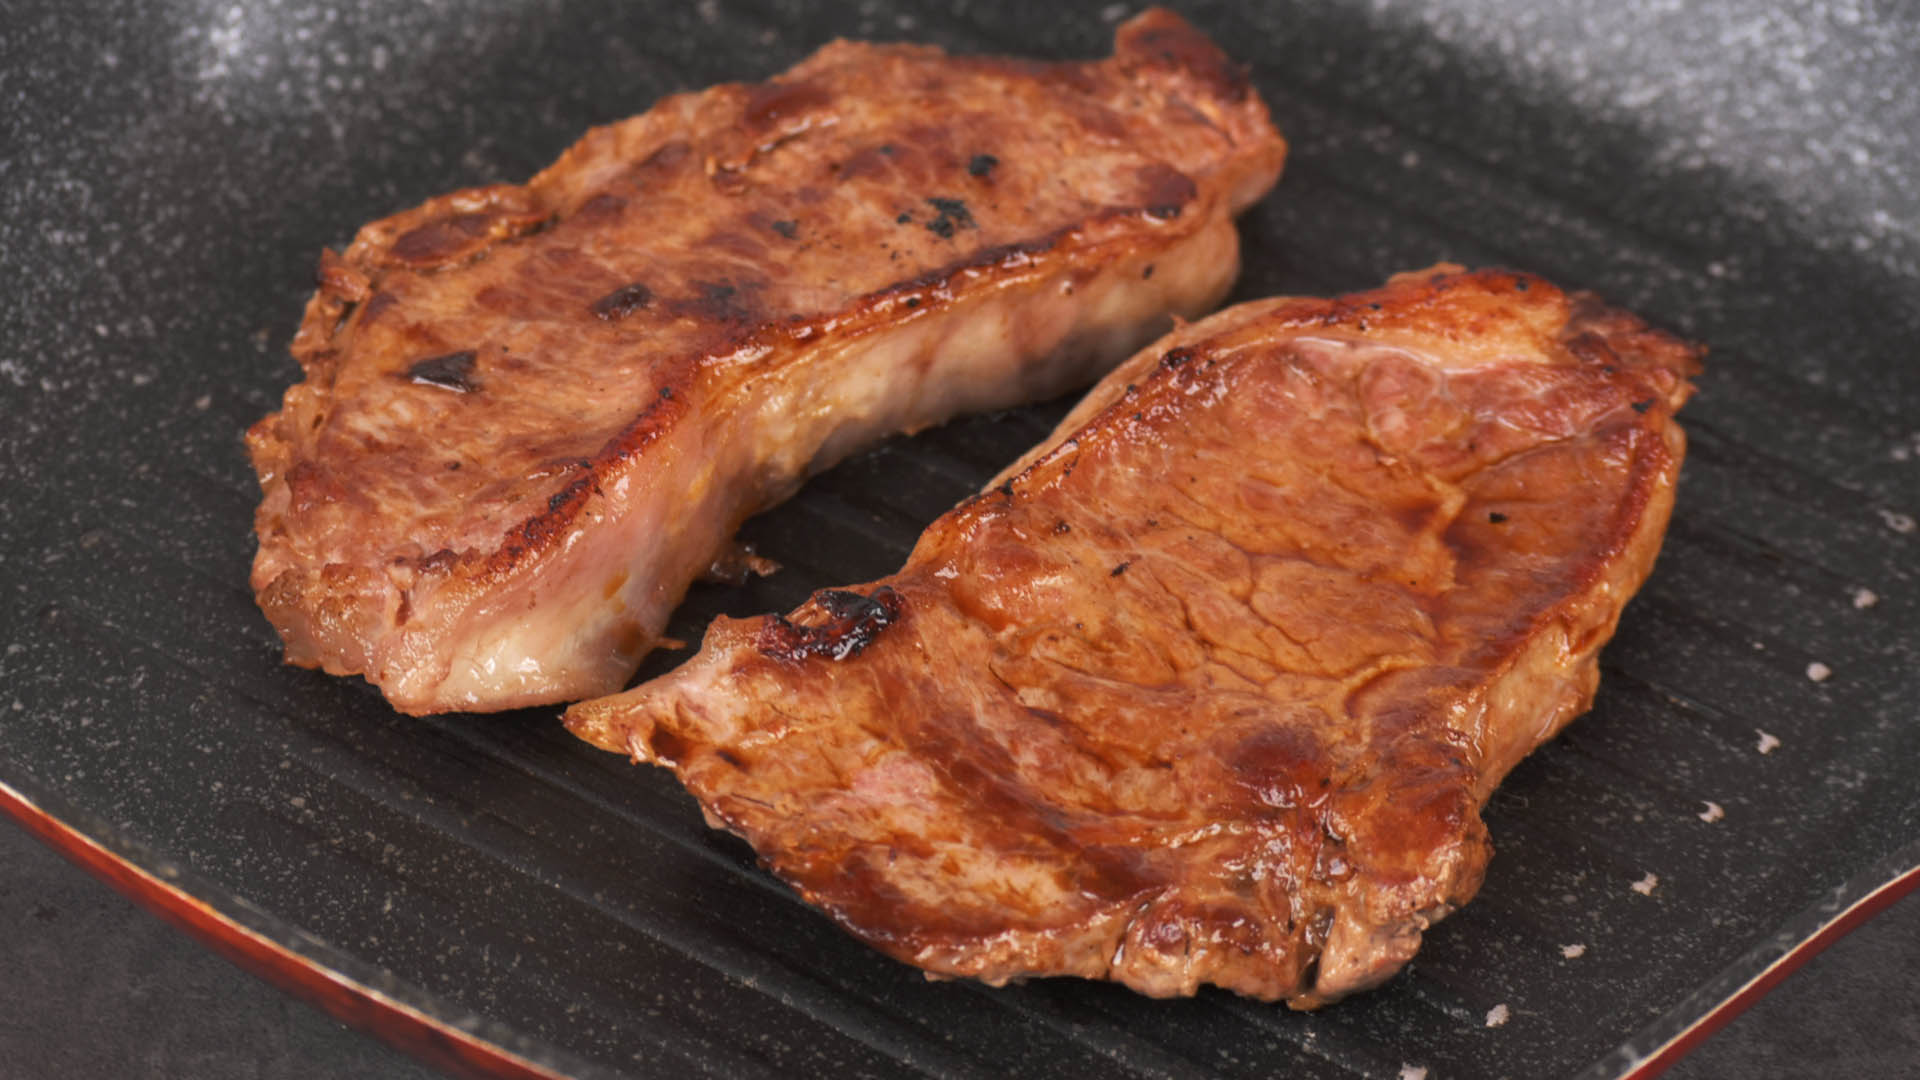
A beautifully cooked steak deserves better than arriving at the table lukewarm, swimming in juices, or wearing a steamed crust that resembles a damp winter coat. Unfortunately, that can happen when the resting stage is treated as an afterthought.
Resting steak is useful because its internal temperature continues to equalize after it leaves the heat. This brief pause also gives you time to finish the sauce, plate the vegetables, and persuade everyone to sit down before dinner becomes breakfast. The challenge is preserving enough warmth without trapping so much heat that the steak keeps cooking past your preferred doneness.
The solution is not simply wrapping the meat tightly in foil. Effective steak resting depends on the cut, thickness, cooking method, room temperature, resting surface, and length of the delay before serving. Follow these 10 practical steps to keep steak warm while resting without sacrificing its crust, texture, or carefully chosen doneness.
Why Does Steak Need to Rest?
A traditionally cooked steak develops a temperature gradient. Its exterior is considerably hotter than its center, especially after grilling, broiling, or pan-searing over intense heat. Once the steak leaves the heat source, energy continues moving inward. This process, commonly called carryover cooking, can raise the center temperature several degrees.
Resting gives that temperature gradient time to become less extreme. It also allows the steak to cool slightly before slicing, which can reduce the amount of liquid that immediately rushes onto the cutting board. Modern testing suggests that the temperature at which meat is sliced may matter at least as much as the number of minutes it rests. Either way, cutting into a sizzling steak the instant it leaves the skillet is rarely the best move.
Resting and holding are not the same thing. A normal steak rest lasts only a few minutes. Holding means delaying service for a longer period, perhaps while several steaks or side dishes are completed. Long holding requires more active temperature control and creates a greater risk of overcooking.
How to Keep Steak Warm While Resting in 10 Steps
Step 1: Plan the Rest Before You Cook
Decide where the steak will rest before it hits the pan or grill. Clear a heat-safe area away from cold drafts, open windows, air-conditioning vents, and exhaust fans. Gather a clean platter, wire rack, thermometer, and a sheet of foil so you are not searching through a drawer while the steak cools on the counter.
Also coordinate the rest with the rest of dinner. Potatoes, sauces, salads, and drinks should be nearly ready when the steak finishes cooking. A five-minute rest works beautifully. A 25-minute delay while someone looks for the salad dressing does not.
Step 2: Choose the Correct Pull Temperature
Remove the steak from the heat based on its internal temperature rather than its appearance alone. A digital instant-read thermometer offers much more dependable information than pressing the meat with a finger and hoping your thumb has recently earned a culinary degree.
Insert the probe into the thickest section, avoiding large pockets of fat and bone. For a thick steak, inserting the thermometer horizontally from the side can help position the sensor in the center.
Account for carryover cooking. A steak cooked rapidly over high heat usually experiences more carryover than one cooked gently or by sous vide. Rather than assuming every steak will rise by exactly 10 degrees, track the increase for your usual cut, thickness, and cooking method. Begin by pulling it a few degrees below your desired serving temperature and adjust during future cooks.
For food safety, the USDA recommends cooking whole beef steaks to a minimum internal temperature of 145°F, followed by a rest of at least three minutes. Culinary doneness preferences sometimes use lower temperatures, but those do not replace official safety guidance, particularly when cooking for children, older adults, pregnant people, or anyone with a weakened immune system.
Step 3: Warm the Resting Platter
A refrigerator-cold plate acts like a heat sponge. It begins pulling warmth from the underside of the steak as soon as the meat touches it. Warm the serving platter before cooking is complete so the steak is not asked to heat its own plate.
Place an oven-safe platter in a low oven briefly, rinse a heat-safe plate with hot water and dry it thoroughly, or leave it near the warm stovetop. The plate should feel warm, not dangerously hot. Excessive heat can continue cooking the bottom of the steak and create a gray band around the exterior.
Do not put a cold ceramic or glass platter directly into a hot oven unless the manufacturer confirms that it is oven-safe. Thermal shock is exciting only when it happens in an action movie, not when it happens to your dinnerware.
Step 4: Rest the Steak on a Wire Rack
Set a small wire rack over the warmed platter or a rimmed sheet pan, then place the steak on the rack. Elevating the meat allows air to circulate beneath it and prevents the bottom crust from soaking in condensation or accumulated juices.
This setup is especially helpful for pan-seared ribeye, New York strip, porterhouse, and other steaks with a deeply browned exterior. A flat plate is acceptable when no rack is available, but move the steak away from any large pool of liquid during the rest.
Save the juices. They can be whisked into a pan sauce, spooned over sliced steak, or added to mushrooms. The goal is not to throw away flavor; it is to prevent the crust from taking an unwanted bath.
Step 5: Use Foil Loosely and Selectively
A loose aluminum-foil tent slows heat loss while allowing some moisture to escape. Shape the foil into a small canopy rather than pressing it directly against the meat or sealing it around the platter.
Tight wrapping traps steam. Steam softens a crisp seared surface and retains enough heat to increase carryover cooking. For a thick steak in a cool kitchen, a loose tent can be useful. For a thin steak or one with an exceptionally crisp crust, resting uncovered may produce a better result.
You can also tent only part of the steak, leaving gaps around the edges. Think of foil as a windbreaker, not a sleeping bag.
Step 6: Match the Resting Time to the Steak
Most individual steaks need approximately five to 10 minutes. Thin cuts may need only three to five minutes, while thick bone-in steaks can benefit from a slightly longer pause. Larger cuts such as tri-tip may rest for 10 to 20 minutes before slicing.
Thickness matters more than price. A modestly priced two-inch steak retains heat longer than a thin premium filet. The cooking method matters too: a reverse-seared or sous vide steak has a smaller temperature gradient and may require less resting than a steak cooked entirely over fierce direct heat.
Use a timer. Without one, “just five minutes” can quietly become 18 minutes while you answer a message, refill glasses, and explain to a family member why the smoke detector was merely participating in dinner.
Step 7: Monitor the Temperature During the Rest
For a thick steak, leave a probe thermometer in place or check the center once or twice with an instant-read thermometer. Watch for the temperature to rise, peak, and begin leveling off. That pattern shows how much carryover cooking is occurring.
If the temperature is climbing quickly, remove the foil and move the steak away from the hot pan or stovetop. If it is dropping too rapidly, restore the loose tent or move the platter into a warmer, draft-free location.
Avoid checking every 20 seconds. Repeatedly puncturing the steak is unnecessary, and opening a warm oven or lifting foil constantly defeats the purpose of protecting the meat from heat loss.
Step 8: Use a Warm, Turned-Off Oven When Necessary
When the kitchen is chilly or several steaks must finish at different times, a gently warmed oven can provide a controlled resting area. Warm the oven briefly at its lowest setting, then turn it off before placing the steaks inside. Set the meat on a rack and leave the oven door slightly open if the interior feels too hot.
Do not leave individual steaks in a fully heated 200°F or 250°F oven for an extended period. That is not resting; it is continued cooking with better public relations. The center can overshoot its target, and the surface may dry out.
If food must be held for service rather than briefly rested, follow safe hot-holding practices. USDA guidance recommends keeping hot food at 140°F or above when it will not be served promptly. Because that temperature can push a medium-rare steak toward greater doneness, the better strategy is usually to time the meal so prolonged holding is unnecessary.
Step 9: Re-Crisp the Exterior Just Before Serving
If the steak has rested properly but its crust has softened, give it a very brief final flash of heat. Return it to a ripping-hot skillet or grill for roughly 10 to 20 seconds per side. The objective is to revive the exterior, not raise the center temperature substantially.
Another option is to spoon a small amount of sizzling butter or beef fat over the surface. This restores aroma, shine, and heat while adding flavor. Use restraint; pouring half a skillet of butter over the steak may turn the crust soggy and your smoke alarm philosophical.
After the flash, serve immediately. A second long rest would simply restart the original problem.
Step 10: Slice at the Last Possible Moment
Whole steak retains heat better than sliced steak because less surface area is exposed to the air. Keep it intact throughout the rest and slice only when the plates, sides, and diners are ready.
Use a sharp knife and cut across the grain, especially with flank, skirt, hanger, and sirloin steaks. Cutting across the visible muscle fibers shortens them, making each bite easier to chew. Arrange the slices on warm plates and spoon over any reserved juices or warm sauce.
Serve immediately. Once sliced, even a perfectly rested steak cools quickly, particularly when spread across a large platter.
How Long Should Different Steaks Rest?
The following ranges are practical starting points rather than rigid laws. Check thickness, cooking method, room conditions, and internal temperature before deciding that the clock alone has spoken.
- Thin skirt or flank steak: About 3 to 5 minutes.
- One-inch strip, sirloin, or ribeye: About 5 minutes.
- Thick filet mignon: About 5 to 10 minutes.
- Two-inch porterhouse or cowboy ribeye: About 8 to 12 minutes.
- Tri-tip or another large steak-style cut: About 10 to 20 minutes.
- Sous vide steak after a brief sear: Usually little or no formal rest is required because the interior temperature is already comparatively even.
Common Mistakes That Make Resting Steak Cold or Overcooked
Wrapping the Steak Tightly
A tight foil package preserves heat but also traps steam and accelerates carryover cooking. The result may be warm meat with a soft crust and an overcooked center. Use a loose tent only when conditions require it.
Resting in the Hot Cooking Pan
Cast iron retains a tremendous amount of energy. Leaving steak in the skillet means one side keeps cooking while the other side cools. Transfer the meat to a separate rack or platter.
Using a Cold Cutting Board or Plate
Stone, thick ceramic, and some heavy cutting boards can rapidly absorb heat. A warmed platter reduces that initial temperature loss.
Resting Every Cut for 10 Minutes
A thin steak may be nearly cold after 10 minutes, while a giant porterhouse may still be undergoing substantial carryover. Match the rest to the meat instead of relying on one universal number.
Slicing Before Everyone Is Ready
Sliced steak loses heat much faster than whole steak. Finish the sauce, gather the diners, and warm the plates before picking up the knife.
Practical Experience: What Finally Kept My Rested Steaks Warm
My earliest attempts at resting steak followed a wonderfully vague method: remove the meat from the pan, cover it with a shiny object, and wander away. Sometimes the steak stayed warm. Sometimes it became medium-well. On one memorable evening, a ribeye rested beneath tightly sealed foil while I finished potatoes. When I opened the package, the crust had vanished, the plate contained a small lake, and the steak looked as though it had spent 10 minutes in a sauna.
The first improvement came from abandoning the hot skillet as a resting place. Cast iron does not understand that the cooking portion of the evening is over. Even after the burner is turned off, it keeps delivering heat to the bottom of the steak. Moving the meat onto a wire rack immediately produced more even results and preserved the lower crust.
Warming the platter made the next noticeable difference. Previously, I had transferred a hot steak onto a thick ceramic plate taken from a cool cabinet. The center remained reasonably warm, but the bottom cooled surprisingly fast. A few minutes in a gently warmed oven solved the problem. I did not need a scorching restaurant platejust one that was no longer stealing heat from dinner.
I also learned that foil is not automatically good or bad. It depends on the steak and the room. A thick porterhouse cooked on an outdoor grill during cool weather benefited from a high, loose foil tent. A thin strip steak in a warm kitchen did better uncovered. Pressing foil directly onto either steak softened the crust, so I began shaping it like a small roof with open sides.
The biggest lesson came from tracking temperature. I used to remove every steak at the temperature I wanted to serve it, then wonder why it finished several degrees higher. A probe thermometer showed that high-heat cooking created more carryover than my slower reverse-sear method. Once I recorded the pull temperature, peak resting temperature, and final result, steak became much more predictable.
Timing the side dishes mattered just as much as any special equipment. No holding trick can fully rescue a steak that waits 30 minutes for vegetables. Now the salad is dressed, the sauce is warm, and the plates are ready before the steak leaves the heat. The resting period becomes the final five or eight minutes of meal preparation rather than an awkward intermission.
For special dinners, I use one final restaurant-inspired move: a quick crust refresh. After the steak rests, I place it back in a fiercely hot skillet for about 15 seconds per side. It emerges warm and aromatic with a renewed crust, but its center barely changes. The steak then goes directly to a warm plate and is sliced only when everyone is seated.
The dependable formula is now simple: pull by temperature, transfer to a rack, protect the steak from cold surfaces and drafts, tent only when needed, monitor carryover, and serve promptly. None of these steps is dramatic, but together they prevent the two classic resting disastersa cold steak and an overcooked one. Most importantly, they let an expensive cut taste like dinner rather than a lesson in thermodynamics.
Conclusion
Learning how to keep steak warm while resting is mostly an exercise in controlling heat rather than trapping as much of it as possible. Start with the correct pull temperature, move the steak away from the cooking pan, use a warmed platter or wire rack, and apply foil loosely only when necessary. Keep the resting period appropriate for the steak’s thickness and monitor carryover cooking whenever precision matters.
For the best texture, preserve the crust by avoiding tight wrapping and excess condensation. When needed, refresh the exterior with a lightning-fast final sear. Then slice across the grain at the last possible moment and serve on warm plates.
Resting does not need to become a complicated ceremony involving six thermometers and a motivational speech. A little planning and five minutes of patience are usually enough to deliver a steak that is warm, juicy, and still wearing the crust you worked so hard to create.
{

  "meta_title": "How to Keep Steak Warm While Resting: 10 Steps",

  "meta_description": "Keep steak warm, juicy, and perfectly cooked while it rests with 10 practical steps for preserving heat, doneness, and a crisp crust.",

  "sapo": "A steak needs time to rest, but nobody wants to serve an expensive ribeye that has gone cold or continued cooking under a tight blanket of foil. This in-depth guide explains how to keep steak warm while resting without ruining its crust or overshooting the desired doneness. Learn how to choose the right pull temperature, warm your serving platter, use a wire rack, tent foil correctly, monitor carryover cooking, and refresh the crust with a brief final sear. You will also find practical resting times for thin steaks, thick filets, porterhouses, and larger cuts, plus lessons learned from common mistakes. Follow these 10 straightforward steps and your next steak can reach the table warm, juicy, beautifully browned, and ready to impress.",

  "keywords": [

    "how to keep steak warm while resting",

    "how long to rest steak",

    "resting steak",

    "steak carryover cooking",

    "keep cooked steak warm",

    "foil tent for steak",

    "steak resting temperature"

  ]

}</pre