A DIY textured dresser is the kind of home project that makes you look suspiciously talented. One minute you have a tired old dresser with scratched drawers, mystery stains, and hardware that looks like it survived three design eras. A weekend later, you have a sculptural, custom-looking furniture piece that could easily pass for something from a boutique furniture showroomminus the boutique furniture price tag, emotional damage included.
The beauty of a textured dresser makeover is that it does not require master-level woodworking skills. You can create texture with joint compound, paintable wallpaper, wood dowels, cane webbing, textured paint, plaster-style finishes, limewash-inspired paint, or even carefully layered brush strokes. The goal is simple: give a flat, forgotten dresser more depth, character, and visual movement. Think less “sad storage box” and more “designer statement piece that also hides socks.”
This guide walks through the full process of making a DIY textured dresser, from choosing the right piece to prepping, applying texture, painting, sealing, styling, and avoiding the classic rookie mistakes. Whether you are flipping thrifted furniture, updating a bedroom, refreshing a nursery dresser, or giving your entryway storage a glow-up, this project is affordable, creative, and surprisingly forgiving.
What Is a DIY Textured Dresser?
A DIY textured dresser is a dresser that has been upgraded with raised, tactile, or visually dimensional details. Instead of relying only on paint color, the design uses surface texture to create interest. The texture can be subtle and organic, like a plaster finish, or bold and architectural, like fluted drawer fronts made with half-round dowels.
Popular textured dresser ideas include plaster drawer fronts, reeded wood panels, grasscloth-style wallpaper, modern fluting, faux limewash, concrete-look paint, raised stencil designs, and ribbed trim. The style can lean modern, coastal, boho, vintage, rustic, Scandinavian, or glam depending on the finish and hardware you choose.
Why Textured Dressers Are Having a Moment
Flat furniture has its place, but texture makes a piece feel intentional. Interior designers often use texture to make neutral rooms feel warm and layered. A beige dresser with fluted fronts, for example, looks more expensive than a plain beige dresser because light hits the raised ridges and creates shadow. That little shadow detail? That is the design equivalent of good lighting on a selfie.
Textured furniture also works beautifully in minimalist spaces. If your room uses a calm color palettecream, taupe, white, charcoal, sage, or natural woodtexture keeps the space from feeling boring. A DIY textured dresser adds dimension without yelling for attention. It whispers, “I have taste,” which is usually better than shouting, “I bought everything during one frantic online sale.”
Best Dressers for a Textured Makeover
The best dresser for this project is sturdy, cleanable, and structurally sound. Solid wood dressers are excellent because they can be sanded, repaired, and refinished many times. Veneer dressers can also work if the veneer is not peeling badly. Laminate dressers can be transformed too, but they need extra attention during prep because slick surfaces require strong adhesion.
Look for These Features
Choose a dresser with smooth drawer fronts, working tracks, and a shape you actually like. Texture can disguise scratches, dents, and dated finishes, but it cannot magically fix broken drawer boxes or a frame that wobbles like a baby deer on roller skates. Open and close every drawer before committing. If the dresser smells musty, check carefully for water damage before bringing it home.
Avoid These Problems
Avoid pieces with swollen particleboard, severe veneer bubbling, active mold, heavy smoke odor, or missing structural parts. You can fix a lot with wood filler and optimism, but optimism is not a load-bearing material.
Tools and Materials You May Need
Your exact supply list depends on the texture method, but most DIY textured dresser projects use the same core materials.
- Screwdriver or drill for removing hardware
- Degreasing cleaner or mild soap
- Microfiber cloths
- 120-grit and 220-grit sandpaper
- Tack cloth or vacuum with brush attachment
- Wood filler for dents and old hardware holes
- Primer suited for wood, veneer, laminate, or MDF
- Paint brush and small foam roller
- Furniture paint, cabinet paint, enamel, chalk-style paint, or acrylic latex paint
- Clear topcoat, wax, or water-based polyurethane
- Painter’s tape
- Drop cloth
- New drawer pulls or knobs
Texture-Specific Materials
For plaster texture, use lightweight joint compound, a putty knife, sanding sponge, and primer. For fluted texture, use half-round dowels or pole-wrap, wood glue, clamps or painter’s tape, a saw, and caulk. For wallpaper texture, use paintable textured wallpaper, wallpaper adhesive, a smoothing tool, and a sharp utility knife. For stencil texture, use a raised stencil, joint compound, and a spreader.
Step-by-Step Guide to Making a DIY Textured Dresser
Step 1: Remove Drawers and Hardware
Start by removing the drawers, knobs, handles, and any decorative plates. Put the screws in a labeled bag so you do not later experience the traditional DIY ritual of crawling on the floor whispering, “Where did I put that tiny screw?”
If you plan to reuse the original hardware, clean it and set it aside. If you are changing the hardware size, fill the old holes with wood filler and drill new ones after the finish is complete.
Step 2: Clean the Dresser Thoroughly
Cleaning is not glamorous, but it is the foundation of a durable finish. Dressers collect furniture polish, skin oils, dust, wax, and invisible grime. Paint and primer do not like sticking to grime. Clean every surface with a degreasing cleaner or mild soap solution, then wipe with clean water and let everything dry completely.
Step 3: Repair Dents, Scratches, and Holes
Use wood filler on dents, chips, gouges, and unwanted hardware holes. Let it dry according to the product instructions, then sand it smooth. If you are adding heavy texture, tiny flaws may disappear, but deep dents can still show through raised finishes. A few minutes of repair now saves you from staring at one weird bump forever.
Step 4: Sand for Better Adhesion
Sand the dresser with 120-grit sandpaper to scuff the surface and dull the old finish. You are not trying to sand the entire piece down to raw wood unless you are staining it. For painted textured dressers, the goal is to create a surface that primer can grip. Follow with 220-grit sandpaper for a smoother feel, then remove all dust with a tack cloth or vacuum.
For laminate or glossy veneer, sanding is especially important. A slick surface can cause paint to peel later. If the surface still feels shiny after sanding, use a bonding primer designed for difficult surfaces.
Step 5: Prime the Surface
Primer helps paint adhere, blocks stains, and creates a more even base. Use a stain-blocking primer if the dresser has dark wood, knots, water stains, or old reddish-brown finishes that might bleed through. Use a bonding primer for laminate, slick veneer, or previously glossy surfaces.
Apply primer with a brush in corners and a small roller on flat areas. Let it dry fully, then lightly sand with 220-grit paper if the surface feels rough. Wipe away dust before moving on.
Four Popular Ways to Add Texture
Option 1: Joint Compound Plaster Texture
Joint compound is one of the easiest ways to create a plaster-style textured dresser. Apply a thin layer to drawer fronts with a putty knife, trowel, or plastic spreader. You can keep it smooth and cloudy for an organic stone-like look, or drag the tool lightly through the compound to create movement.
Work in thin layers. Thick joint compound can crack, chip, or take ages to dry. Once dry, sand lightly to remove sharp ridges. Then prime the textured surface before painting. A matte, chalky, or mineral-inspired paint color works beautifully with this technique.
This method is perfect for a modern organic dresser, a faux plaster dresser, or a soft Mediterranean-style piece. Use warm white, mushroom, greige, clay, olive, or charcoal for a high-end look.
Option 2: Fluted Wood Dresser Fronts
Fluted furniture is everywhere because it adds instant architectural detail. To make a DIY fluted dresser, attach half-round dowels, square dowels, or pole-wrap to the drawer fronts. Measure carefully, cut pieces to size, sand the edges, and attach them with wood glue or construction adhesive.
The trick is spacing. Start from the center and work outward so the pattern looks balanced. After the glue cures, fill small gaps with caulk or wood filler, then prime and paint. You can paint the entire dresser one color for a sleek built-in look, or leave the wood natural and paint only the frame.
Fluting is ideal for mid-century modern dressers, IKEA dresser hacks, nursery furniture, and bedroom storage that needs a designer upgrade.
Option 3: Paintable Textured Wallpaper
Paintable textured wallpaper is a smart choice if you want pattern without heavy tools. Grasscloth, linen, beadboard, geometric, and embossed designs can be applied directly to drawer fronts. Cut each piece slightly larger than the drawer front, apply adhesive, smooth out bubbles, trim the edges, and let it dry.
Once dry, prime if needed and paint over the wallpaper. This creates a custom surface that looks built in. It is especially useful for budget furniture because it hides plain drawer fronts quickly.
Option 4: Raised Stencil Texture
A raised stencil is great when you want a decorative pattern, such as arches, florals, Moroccan motifs, Art Deco fans, or subtle repeating shapes. Tape the stencil to the drawer front, spread a thin layer of joint compound or texture paste over it, then carefully lift the stencil while the compound is still wet.
Let the design dry fully, sand lightly, prime, paint, and seal. This method gives you elegant raised detail without carving, routing, or woodworking experience.
Choosing the Right Paint Finish
The best paint for a DIY textured dresser depends on the look and durability you want. Cabinet and trim paints are excellent for dressers because they dry harder than many wall paints. Acrylic enamel and alkyd-style water-based paints are also durable options for furniture that gets frequent use.
Chalk-style paint gives a soft matte look and is easy to distress, but it usually needs a wax or clear topcoat for protection. Latex paint can work if properly primed and sealed, especially on low-traffic pieces. Spray paint can create a smooth finish on hardware, legs, and small details, but large textured drawer fronts are often easier to paint with a brush and roller.
Best Colors for a Textured Dresser
Neutral colors are popular because texture already adds personality. Try warm white, ivory, sand, taupe, mushroom, putty, greige, sage green, deep olive, navy, charcoal, or soft black. For a bolder piece, consider terracotta, dusty blue, forest green, rust, or burgundy.
Use the room’s existing palette as your guide. If the dresser sits in a calm bedroom, a warm neutral or muted green can feel restful. If it lives in an entryway, a dramatic black textured dresser with brass hardware can make a confident first impression.
How to Seal a Textured Dresser
Sealing protects your hard work from scratches, moisture, makeup spills, coffee rings, and the general chaos of daily life. A water-based polyurethane or polycrylic topcoat is a practical choice for painted furniture. Apply thin coats with a high-quality brush or sponge applicator, letting each coat dry fully.
For chalk-style paint, furniture wax can create a soft hand-rubbed finish, but it may require maintenance. For a dresser in a child’s room, guest room, or busy bedroom, a durable clear coat is usually the safer choice. Textured surfaces have more grooves and raised areas, so use a light touch and avoid letting sealer pool in the crevices.
Hardware Makes the Look
Hardware is the jewelry of a dresser, and yes, your dresser deserves accessories. Brass knobs add warmth, matte black pulls feel modern, wood knobs create a soft Scandinavian look, and leather pulls add casual texture. If your dresser has heavy texture, choose simple hardware so the design does not feel too busy.
For fluted fronts, long slim pulls or small round knobs work well. For plaster-style dressers, antique brass, bronze, or matte black hardware creates contrast. If the texture is very bold, consider hidden edge pulls for a clean, gallery-style finish.
Common Mistakes to Avoid
Skipping Prep
Prep is the part everyone wants to skip and the part that determines whether your dresser still looks good in six months. Clean, sand, repair, and prime. The furniture gods demand it.
Applying Texture Too Thick
Thick texture can crack, peel, or chip. Thin layers are stronger and easier to control. If you want more dimension, build it gradually instead of applying one dramatic mountain range of joint compound.
Not Letting Layers Dry
Paint may feel dry on the surface before it has cured underneath. Rushing primer, paint, texture, or sealer can lead to dents and fingerprints. Give each layer proper drying time, especially before reinstalling hardware.
Ignoring Drawer Clearance
Texture adds thickness. Before covering every drawer front with dowels, wallpaper, or plaster, check how the drawers sit inside the frame. If the drawer fronts are inset, added material may stop them from closing properly.
Budget-Friendly DIY Textured Dresser Ideas
If you are working with a small budget, start with paint and one texture material. A thrifted dresser, a quart of paint, primer, joint compound, and new knobs can completely transform a piece for far less than buying new furniture.
For a low-cost modern look, use joint compound on drawer fronts and paint everything in a warm stone color. For a boho look, apply cane webbing or grasscloth-style wallpaper to the drawer panels. For a high-end contemporary look, use pole-wrap or half-round dowels and paint the entire dresser deep olive or matte black.
Small changes can also make a big impact. Add texture only to the top drawers, only to the center drawers, or only to the side panels. You do not have to cover every inch. In fact, restraint often looks more expensive.
Styling Your Finished Textured Dresser
Once your DIY textured dresser is complete, style it with simple objects that let the surface shine. Add a ceramic lamp, a framed print, a small tray, a vase with branches, or a stack of books. Choose pieces with different heights so the top does not look flat.
In a bedroom, pair a textured dresser with linen bedding, a soft rug, and warm lighting. In an entryway, add a mirror above it and a catchall bowl for keys. In a nursery, use soft hardware, anchored safety straps, and washable decor. Function still matters, even when the furniture is busy being gorgeous.
Extra Experience Notes: What It Is Really Like to Make a DIY Textured Dresser
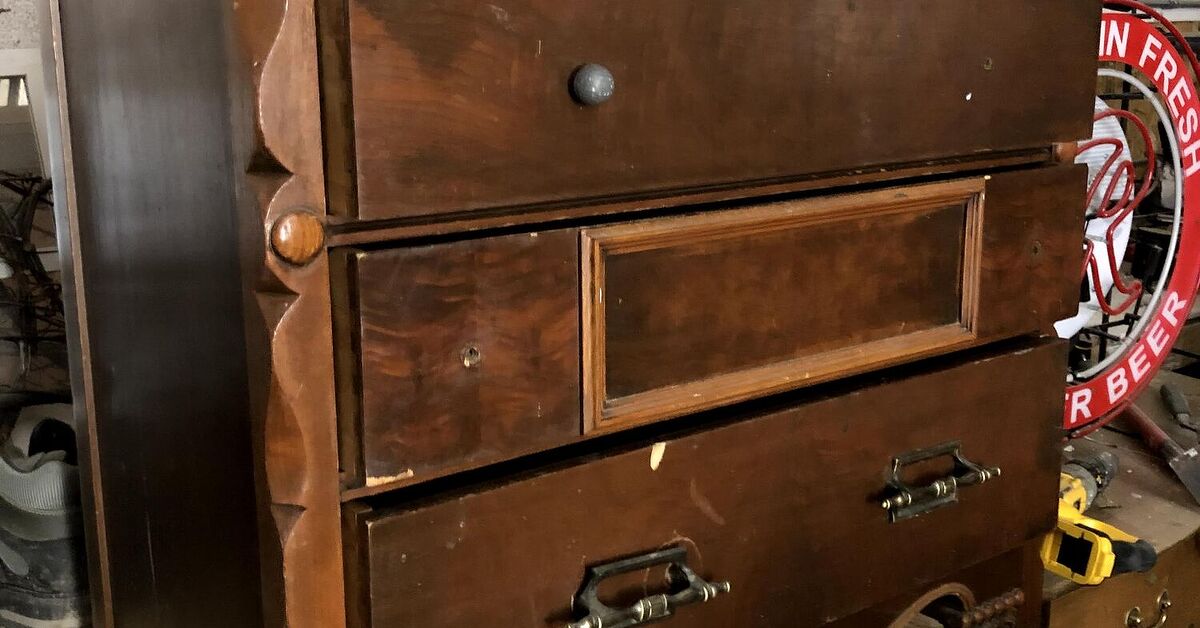
The first thing you learn during a DIY textured dresser project is that the dresser has opinions. It may look simple in your garage or living room, but once you remove the drawers, you discover old hardware holes, chipped veneer, mystery sticky spots, and at least one corner that seems to have been attacked by a tiny furniture-eating raccoon. This is normal. Do not panic. Most ugly beginnings are exactly why textured finishes work so well.
One useful experience is to test your texture on scrap wood or the back of a drawer before committing to the front. Joint compound, for example, looks different depending on how you apply it. A putty knife creates smooth plaster-like sweeps. A chip brush creates rougher movement. A sponge can make a cloudy, stone-style surface. If you practice first, you will avoid creating a drawer front that looks like frosted cake made during an earthquake.
Another real-world lesson: lighting changes everything. A textured dresser may look subtle in a dim workshop but much more dramatic near a window. Before painting the whole piece, place one finished drawer in the room where the dresser will live. Look at it in morning light, afternoon light, and lamp light. Texture casts shadows, and those shadows can either look elegant or unexpectedly intense.
Dry time also deserves respect. Many DIYers touch the surface too soon because it feels dry. But texture, primer, paint, and topcoat all need time to cure. If you reinstall hardware too early, knobs can twist into soft paint and leave marks. If you slide drawers back in before the finish hardens, edges can scrape. Patience is not exciting, but neither is repainting the same drawer three times while questioning your life choices.
If you are adding fluting, measure more than once. Actually, measure so many times that your measuring tape starts to feel like a close personal friend. Small spacing errors multiply across drawer fronts. Starting from the center helps keep the pattern balanced. Painter’s tape can temporarily hold pieces in place so you can step back and check the look before gluing.
For plaster-style texture, thin layers are your best friend. A heavy layer may seem more dramatic, but it is also more likely to crack or chip. Light sanding after the texture dries makes the finish feel intentional instead of accidental. You want “handcrafted European villa,” not “forgot to smooth the drywall.”
When choosing paint, remember that texture makes color feel richer. A dark color on a fluted dresser can look striking, but it also shows dust in the grooves. A light plaster-style finish looks airy, but it may need a washable topcoat if the dresser gets daily use. In kids’ rooms, nurseries, rental homes, and busy bedrooms, durability should win over trendiness.
Hardware can completely change the mood. I have seen plain knobs make a textured dresser look sweet and cottage-inspired, while long brass pulls made the same style feel expensive and modern. If you are unsure, buy two or three hardware options and hold them against the finished drawer before drilling new holes. The wrong hardware can make a great dresser look confused, like it got dressed in the dark.
The most satisfying part of this project is that imperfections often add charm. A perfectly manufactured dresser looks clean, but a handmade textured dresser has personality. Small variations in the plaster, tiny brush marks, or natural wood grain peeking through can make the piece feel collected rather than mass-produced. That is the magic of DIY: the finished dresser does not need to look factory-perfect. It needs to look loved, useful, and intentional.
Finally, take before-and-after photos. You may think you will remember how rough the dresser looked at the start, but you will not fully appreciate the transformation until you compare the sad “before” with the dramatic “after.” Plus, when someone compliments the finished piece, you get to say, “Thanks, I made it,” which is one of the most powerful sentences in the DIY universe.
Conclusion
A DIY textured dresser is one of the best furniture makeover projects because it combines creativity, affordability, and practical storage. With the right prep, a smart texture method, durable paint, and a protective topcoat, an old dresser can become a standout piece that feels custom-made for your home.
Whether you choose plaster texture, fluted drawer fronts, paintable wallpaper, or raised stencil details, the key is to work in careful layers. Clean the dresser well, sand for adhesion, prime properly, apply texture with patience, and seal the finish for everyday use. The result is a beautiful textured furniture makeover that adds depth, style, and personality without requiring a professional workshop or a luxury furniture budget.