Some moments on Twitch are too good to vanish into the livestream fog. Maybe a streamer lands an impossible clutch, maybe a cooking stream becomes accidental comedy, or maybe someone’s cat walks across the keyboard and somehow improves the gameplay. Whatever the moment is, Twitch Clips let viewers and creators capture it, trim it, title it, and share it before the internet’s attention span wanders off to a raccoon eating grapes.
This guide explains how to create a clip on Twitch in 9 clear steps, whether you are using a desktop browser, watching a VOD, or clipping from the Twitch mobile app. You will also learn how Twitch Clips work, how long they can be, why the clip button sometimes disappears, how to share clips, and how creators can manage clip settings inside the Creator Dashboard.
The good news: making a Twitch clip is easy. The even better news: making a good Twitch clip is only slightly harder. The difference usually comes down to timing, trimming, and giving the clip a title that does not sound like it was assembled during a power outage.
What Is a Twitch Clip?
A Twitch Clip is a short video segment taken from a livestream or a past broadcast. It is designed to capture the best, funniest, weirdest, most useful, or most “wait, did that really happen?” moment from a stream. Unlike a full VOD, which may run for hours, a clip is bite-sized and easy to share on Twitch, Discord, Reddit, X, YouTube, TikTok, Instagram, or anywhere else people gather to say, “Okay, one more video.”
Twitch clips are commonly used for game highlights, reaction moments, tutorials, speedrun mistakes, chat chaos, community memes, music performances, art reveals, and streamer milestones. For creators, clips can become powerful discovery tools. For viewers, they are the digital equivalent of pointing at the screen and yelling, “Everybody needs to see this.”
Before You Start: What You Need to Create a Twitch Clip
Before clipping, make sure you are logged in to a Twitch account. In most cases, viewers can create clips from eligible live streams and VODs, but streamers control whether clips are allowed on their channel. A creator may disable clips entirely, limit clip creation to followers or subscribers, or restrict clipping for moderation and content-control reasons.
You should also know that clips are not meant to be full episodes. Twitch clips are short highlights, generally trimmed within a brief capture window. The goal is to save the magic moment, not the entire three-hour journey that led to it. Think snack, not Thanksgiving dinner.
How to Create a Clip on Twitch: 9 Steps
Step 1: Open Twitch and Log In
Go to Twitch in your desktop browser or open the Twitch mobile app. Sign in to your account before you start. If you are not logged in, Twitch may let you watch content, but you may not be able to create or publish clips properly.
For the smoothest experience, use an updated browser such as Chrome, Firefox, Edge, or Safari. If you are on mobile, update the Twitch app before clipping. Outdated apps can behave like they have been personally offended by buttons.
Step 2: Go to a Live Stream or VOD
Next, open the stream or video you want to clip. You can create Twitch clips from many live broadcasts and some saved videos, depending on the streamer’s settings. If you are clipping from a live stream, wait until the moment happens or is about to happen. Twitch captures a short window around the current playback point, so timing matters.
If you are clipping from a VOD, move the playback bar to the exact section you want. This is useful when you missed the live moment but know where it happened in the replay. For example, if a streamer won a match at the 01:24:10 mark, jump near that timestamp before clicking the clip button.
Step 3: Click the Clip Button
On desktop, look for the clip icon near the video player controls. It usually appears as a small clapperboard-style icon. Click it when the moment happens. Twitch will open the clip creation interface, where you can adjust the segment before publishing.
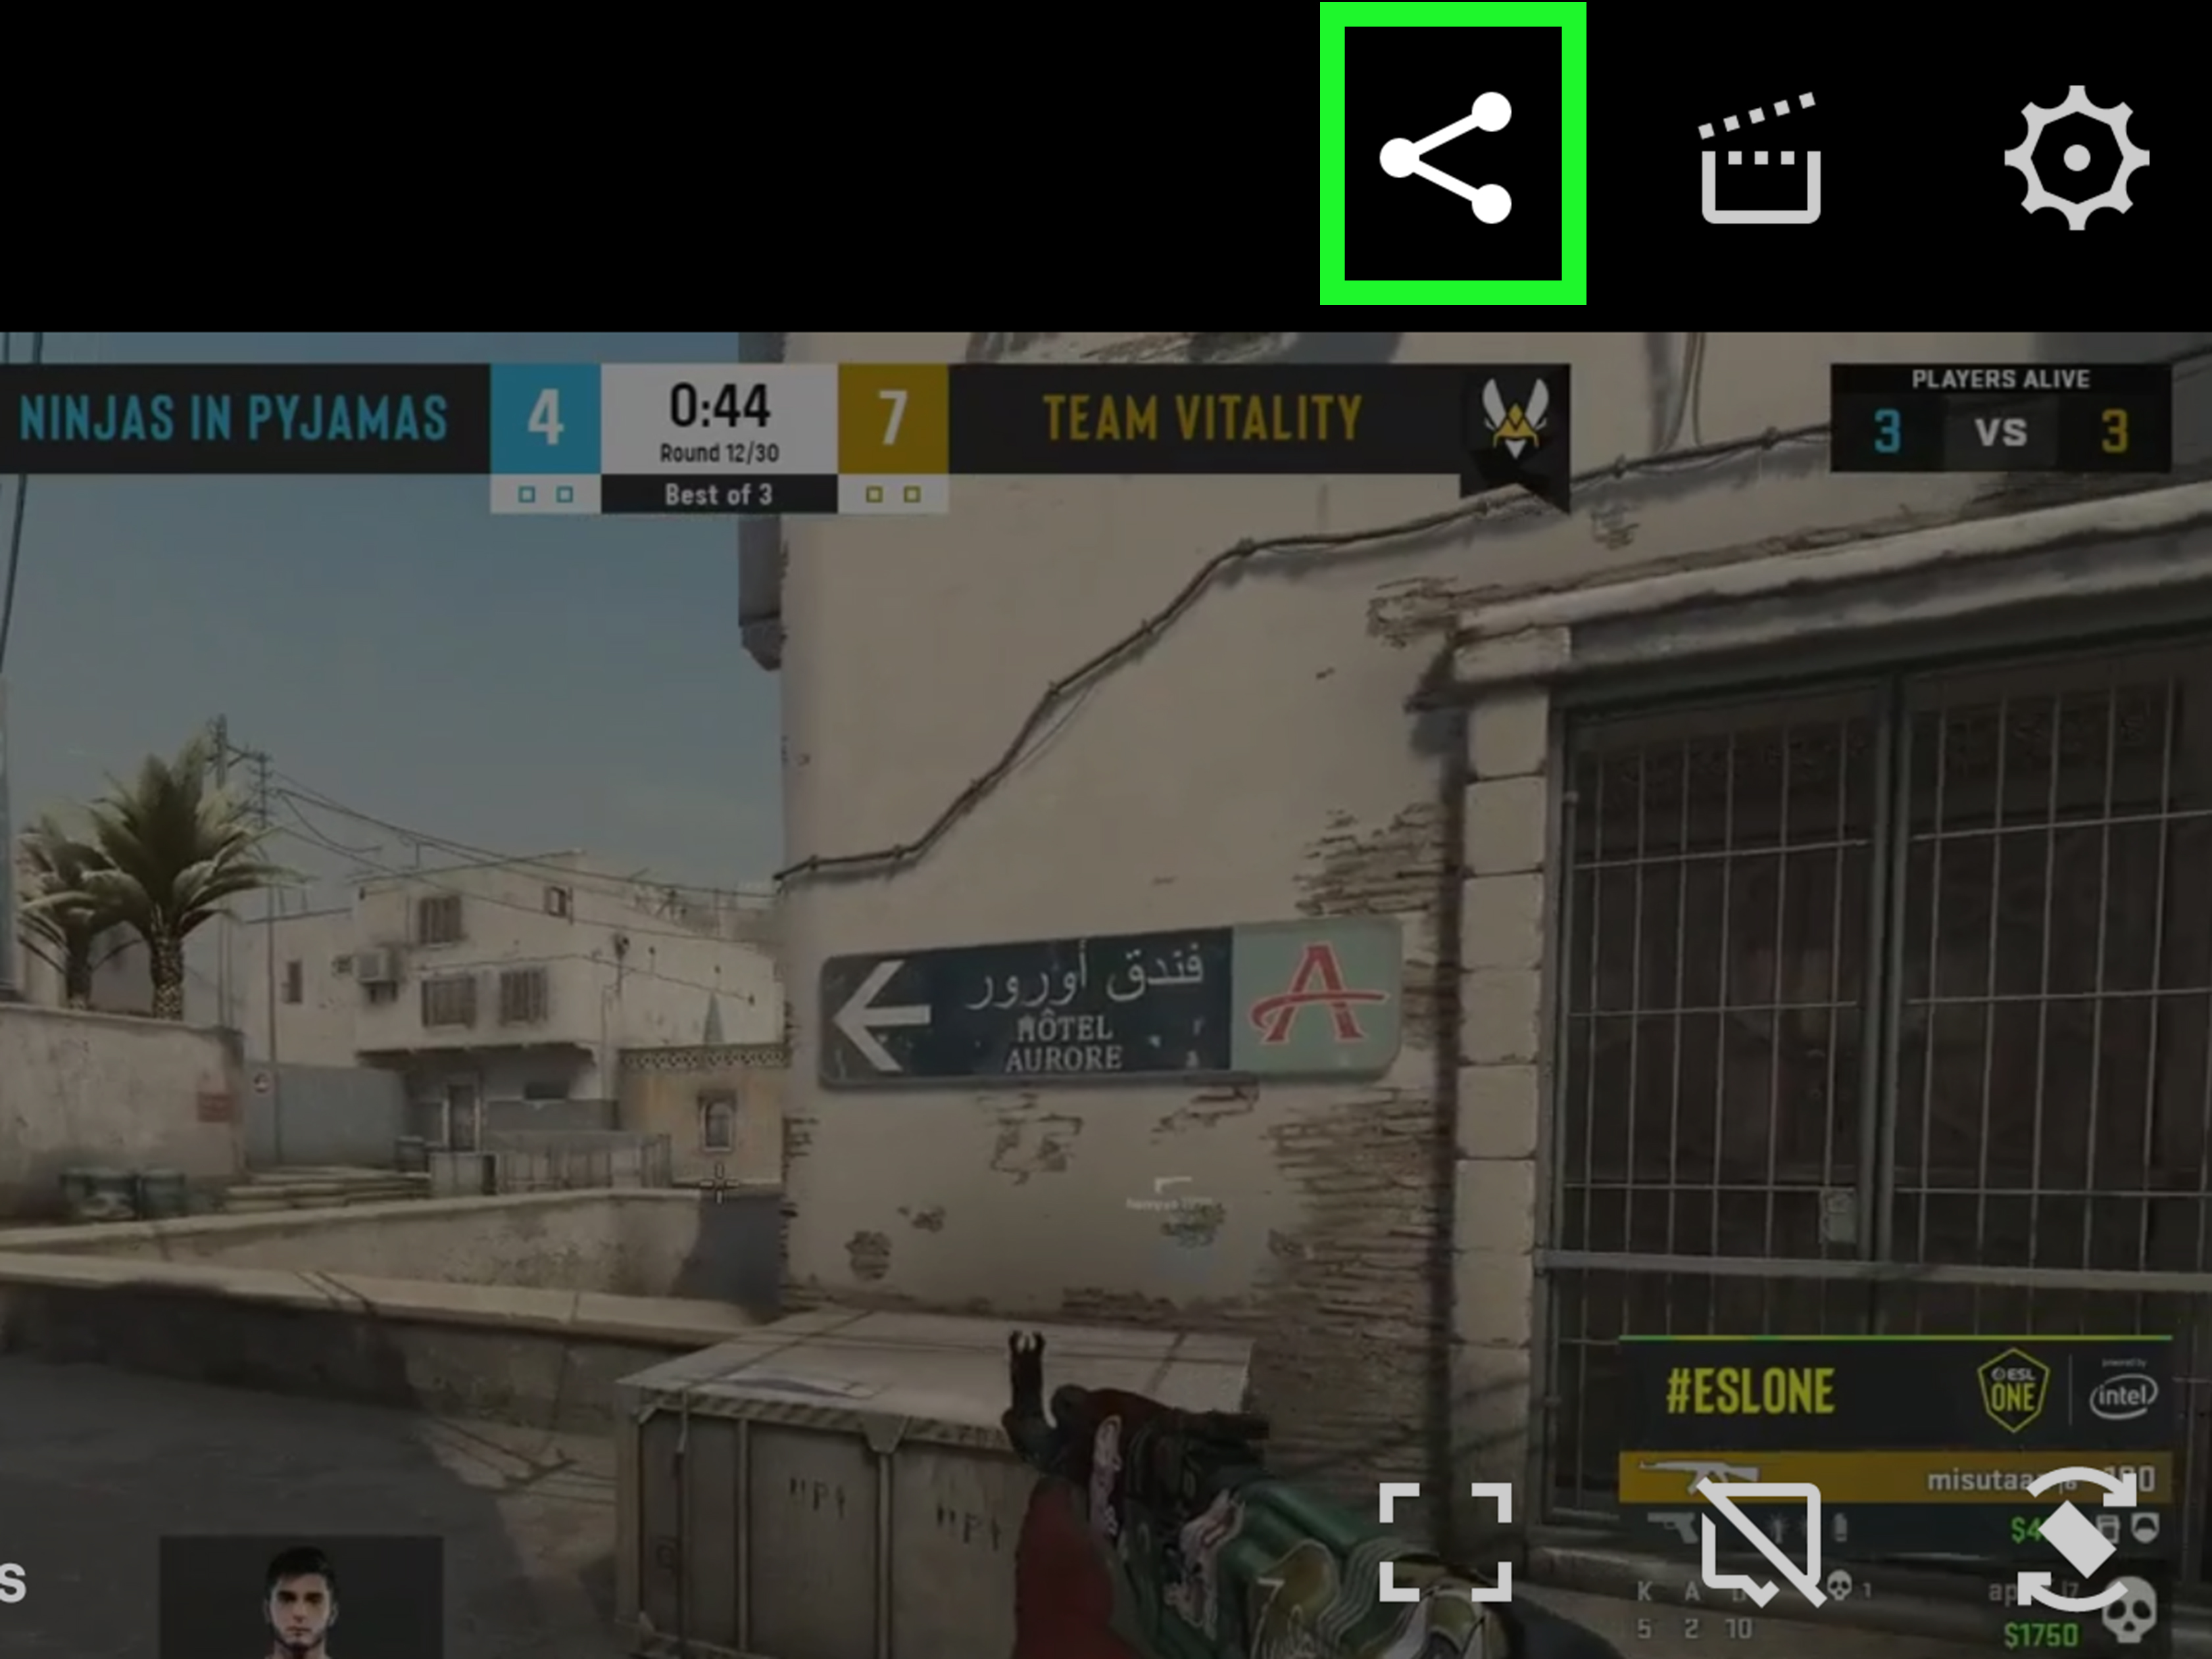
On mobile, tap the video player to reveal the controls, then tap the clip or share-related option depending on your app version. Twitch’s mobile clipping workflow has been updated over time, so the exact button placement may vary slightly. If the app looks different from a tutorial you saw six months ago, do not panic. Twitch changes its furniture occasionally.
Step 4: Wait for the Clip Editor to Load
After you click the clip button, Twitch opens the clip editor. This may appear as an overlay or a new page, depending on your device and Twitch’s current interface. The editor lets you preview the captured moment, adjust the start and end points, and prepare the clip for publishing.
If the editor does not load, refresh the page, check your internet connection, disable browser extensions temporarily, or try another browser. Ad blockers, privacy tools, or outdated cache files can sometimes interfere with Twitch features. The clip button is small, but it has a dramatic personality.
Step 5: Trim the Clip to the Best Moment
Now comes the most important part: trimming. Use the slider under the video player to choose the exact section you want. Twitch clips can be short, but they should still have context. A strong clip usually includes a quick setup, the main moment, and a tiny bit of reaction afterward.
For example, if a streamer says, “There is no way this works,” then immediately lands a perfect trick shot, do not cut off the setup. That sentence is the seasoning. Without it, the clip may still be impressive, but it loses flavor.
A good clip length often falls between 15 and 45 seconds. Shorter clips are easier to share, while longer clips can help when the moment needs buildup. Avoid maxing out the clip length unless the whole segment earns it. If the best part is eight seconds long, do not wrap it in 52 seconds of digital bubble wrap.
Step 6: Add a Clear, Clickable Title
Before publishing, give your Twitch clip a title. A strong title explains the moment quickly and makes people want to watch. It should be specific, natural, and not stuffed with random hype words.
Weak title: “OMG LOL.”
Better title: “Streamer Wins 1v4 After Saying It Was Impossible.”
Another good title: “Chat Dares Him to Try the JumpThen This Happens.”
The best Twitch clip titles usually include the action, surprise, or emotion of the moment. Keep it readable. You are not naming a Victorian novel. You are giving people a reason to click.
Step 7: Publish the Clip
Once the trim looks right and the title is ready, click the publish button. Twitch will save the clip and generate a unique clip page. This page can be shared with others, viewed later, and managed depending on whether you created it or whether it belongs to your channel.
Modern Twitch clipping workflows are designed to make publishing more intentional. In other words, clicking the clip button alone may not be enough; you generally need to title and publish the clip before it is saved publicly. This helps reduce accidental clips, because nobody needs twelve saved videos of someone adjusting their microphone and saying, “Is this thing on?”
Step 8: Copy and Share the Clip Link
After publishing, Twitch gives you sharing options. You can copy the clip link and post it wherever your audience hangs out. Common places include Discord servers, group chats, Reddit communities, social media feeds, creator newsletters, and community pages.
If you are a streamer, clips are especially useful for promoting your channel outside Twitch. One excellent clip can introduce your personality faster than a long channel description ever could. A sharp highlight says, “Here is what happens here,” without making people read a paragraph that starts with “Welcome to my humble stream.”
Step 9: Manage or Edit the Clip Later
Creators can manage clips from the Twitch Creator Dashboard. Go to the dashboard, open the Content section, and look for Clips. From there, streamers can review clips made from their channel, edit certain clip details, delete unwanted clips, and manage visibility or moderation choices.
Twitch has also introduced tools for portrait versions of clips, making it easier to prepare content for vertical platforms. This matters because a horizontal gaming clip can look awkward on mobile if the action is tiny and the streamer’s face cam is approximately the size of a postage stamp. Portrait editing helps clips feel more natural on TikTok, Instagram Reels, YouTube Shorts, and similar mobile-first platforms.
How to Create a Twitch Clip on Desktop
Desktop clipping is usually the easiest method. Open a stream or VOD, hover over the video player, click the clip icon, trim the moment, add a title, publish, and share. The larger screen makes trimming more precise, which is helpful when you are trying to catch a single reaction, joke, jump scare, or game-winning move.
Desktop is also better for creators who want to review clips after a stream. You can move through your Clips Manager, compare highlights, edit titles, delete low-quality clips, and prepare the best ones for social media. If you are serious about Twitch growth, the desktop dashboard is your control room. Add snacks and it becomes a command center.
How to Create a Twitch Clip on Mobile
To create a Twitch clip on mobile, open the Twitch app, go to the stream or video, tap the player, and look for the clip option. After tapping it, use the mobile clip editor to review and publish your clip. Mobile clipping is perfect for quick saves when you are watching from the couch, the bus, or that mysterious place where your Wi-Fi has two bars but your confidence has none.
Mobile clipping has become more important because short-form video discovery is heavily mobile-driven. Twitch has worked on making clips easier to edit and share in portrait format, which helps creators reach audiences beyond Twitch. For viewers, that means the best moments are easier to capture without opening a laptop like it is 2012.
Why Can’t I Create a Clip on Twitch?
Sometimes the clip button is missing, gray, or simply refuses to cooperate. Here are the most common reasons:
- The streamer has disabled clips for the channel.
- The streamer allows clips only from followers or subscribers.
- You are banned or timed out in that channel.
- The content category may not support clipping.
- The VOD or stream section may not be eligible.
- Your browser extension, app version, or cache is causing a technical issue.
- Twitch may be experiencing a temporary bug.
If the clip button works on one channel but not another, the issue is probably the streamer’s clip settings. If it does not work anywhere, try refreshing, logging out and back in, clearing your browser cache, updating the app, or switching devices.
Tips for Making Better Twitch Clips
Capture the Setup, Not Just the Punchline
Great clips usually need a little context. If the streamer laughs, include the joke. If the player wins a fight, include the risky decision before the win. If the chat explodes, include the reason chat exploded. Context turns a random moment into a story.
Keep the Clip Focused
Do not make viewers search for the good part. If the highlight happens at second 43, trim tighter. Online audiences are quick. They will leave a clip faster than a cat leaving a bath.
Use Titles That Explain the Moment
A title should help the clip travel. Use natural phrases such as “perfect timing,” “unexpected win,” “funniest reaction,” “streamer fails,” “chat challenge,” or “insane comeback” when they accurately describe the clip. Good titles help both users and search engines understand the content.
Think About Vertical Sharing
If you plan to post the clip on TikTok, YouTube Shorts, or Instagram Reels, check how it looks in portrait format. Make sure the important action is visible and not buried under overlays, chat boxes, or webcam frames.
How Streamers Can Control Twitch Clips
Streamers have several options for managing clips. Inside the Creator Dashboard, they can enable or disable clipping, limit who can create clips, review clips made from their channel, delete unwanted clips, and adjust settings related to sharing and visibility.
This control is important because clips represent the channel outside the livestream. A great clip can attract new viewers, but a misleading or low-quality clip can create confusion. Streamers should check clips regularly, feature the strongest moments, and remove anything that does not represent the channel well.
Experience Notes: What Actually Makes a Twitch Clip Worth Watching?
After watching how Twitch clips spread across communities, one thing becomes obvious: the best clips feel complete. They do not need a long explanation, a detective board, or a friend whispering, “Okay, wait, you need to know the backstory.” A great Twitch clip gives viewers enough information to understand why the moment matters almost immediately.
For example, a clip of a streamer silently walking through a game map may not do much. But if the same clip starts with the streamer saying, “I guarantee nobody is hiding here,” and two seconds later an enemy jumps out, suddenly the clip has structure. It has setup, surprise, and payoff. That is the tiny storytelling engine behind most viral Twitch moments.
Another experience-based tip: reactions matter. Viewers often share clips not only because of what happened in the game or stream, but because of how the streamer responded. A shocked laugh, a perfectly timed pause, a chat meltdown, or a calm “I meant to do that” after total disaster can make the clip memorable. When trimming, leave just enough room after the big moment for the reaction to land.
Titles also make a bigger difference than people think. A clip titled “nice” does not travel well. A clip titled “He Said This Boss Was Easy, Then Lost Instantly” gives people a reason to click. The title creates curiosity without needing clickbait nonsense. You are not promising that the clip will change someone’s life, cure their inbox, and reveal the secrets of the universe. You are simply making the moment easy to understand.
Creators should also build a habit of reviewing clips after each stream. Do not wait until the memory fades. Right after a broadcast, check which moments viewers clipped, which ones got shared, and which ones actually represent your channel. Sometimes the best clip is not the technically impressive moment; it is the human one. A funny mistake, a kind interaction with chat, or a surprising comeback can say more about a channel than a flawless play.
For viewers, the best clipping habit is to clip with intention. If you see something funny or impressive, clip it immediately, but take a few extra seconds to trim and title it properly. A clean clip helps the streamer, helps the community, and makes you look like the responsible historian of chaos. That is a noble role. Wear the invisible badge proudly.
Finally, remember that clips are part of a creator’s public footprint. Share clips that celebrate the channel, explain the moment honestly, and avoid taking content out of context. A good Twitch clip should feel like an invitation: “Come watch this creator; this is the kind of fun happening over here.” When clips are made well, they become tiny trailers for entire communities.
Conclusion
Learning how to create a clip on Twitch is simple: open a stream or VOD, click the clip button, trim the moment, title it, publish it, and share the link. The real skill is choosing the right moment and shaping it into something people instantly understand.
Whether you are a viewer saving a hilarious accident or a streamer building a library of highlights, Twitch Clips are one of the easiest ways to turn live moments into lasting content. Keep clips focused, title them clearly, review them often, and think about where they will be shared. A few seconds of smart editing can turn a passing livestream moment into the clip everyone sends around with, “You have to see this.”
SEO Metadata
Note: Twitch may update button placement, mobile menus, and Creator Dashboard options over time, so use this guide as a practical workflow and check your current Twitch interface if a label or icon appears slightly different.