If your front door looks a little too serious for fall, a turkey tulle wreath is here to fix that. It is festive, fluffy, cheerful, and just the right amount of goofy. In other words, it is the Thanksgiving equivalent of showing up with pie and excellent gossip.
The beauty of this project is that it looks impressive without requiring a fine arts degree, a workshop, or nerves of steel. A turkey tulle wreath uses simple craft supplies like tulle, a wreath form, felt, glue, and a few basic tools to create a front-door decoration that screams, “Yes, I decorate seasonally, and yes, I am fun.”
In this guide, you will learn exactly how to make a turkey tulle wreath from scratch, which supplies work best, how to avoid common mistakes, and how to customize the final look so it feels charming instead of chaotic. Whether you want a cute kid-friendly wreath or something a little more polished for your autumn porch, this tutorial will help you pull it off beautifully.
Why a Turkey Tulle Wreath Works So Well for Fall Decor
There is a reason this craft keeps popping up every autumn. Tulle has that soft, airy volume that instantly creates the look of turkey feathers without making you glue on 4,000 individual pieces of anything. It is lightweight, affordable, easy to fluff, and forgiving if your measuring skills are more “close enough” than “architect-approved.”
A turkey wreath also does double duty. It brings color to your front door while adding personality that a standard fall wreath sometimes lacks. Pumpkins are lovely. Leaves are classic. But a turkey with a ridiculous little face? Memorable. Guests notice it, kids love it, and neighbors may suddenly become suspiciously competitive.
Best of all, this is a beginner-friendly Thanksgiving craft. If you can tie a knot, cut strips, and resist hot-gluing your fingers together for at least twenty consecutive minutes, you are in good shape.
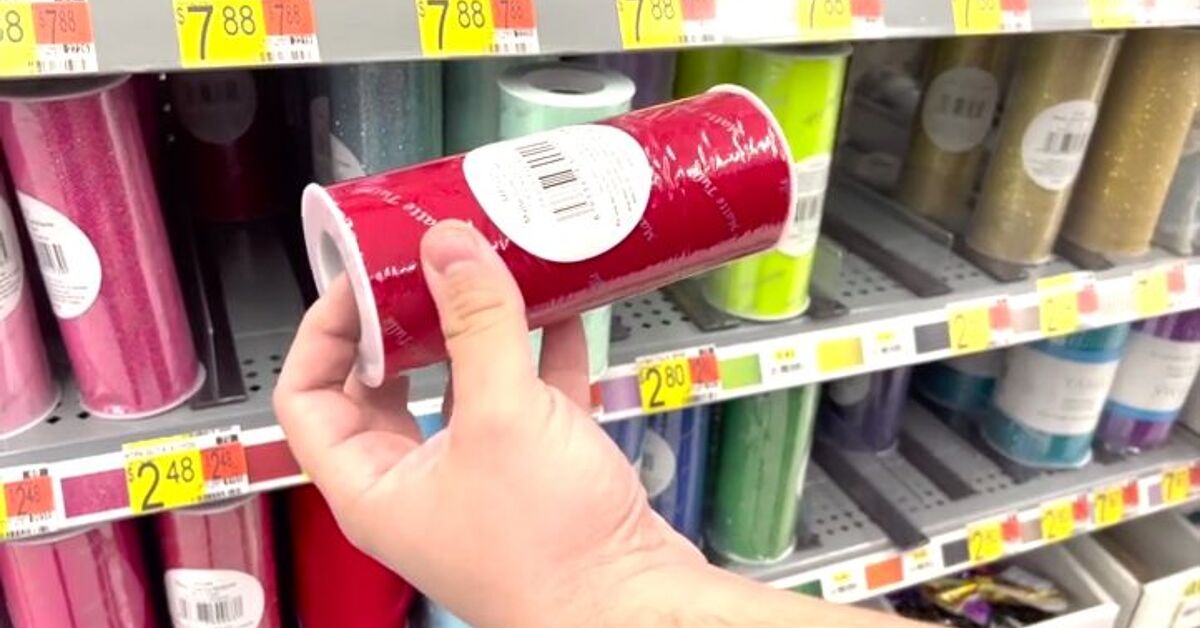
Supplies You Will Need
Before you begin, gather everything in one place. That way, you will not be halfway through feather fluffing when you realize the eyes are still in a shopping bag somewhere.
Basic Materials
- One wreath form, either foam, wire, or grapevine
- Tulle in fall colors such as red, orange, yellow, and brown
- Brown yarn or ribbon for the turkey’s body area
- Red felt for the snood
- Yellow or orange felt for the beak
- Googly eyes or painted foam balls for the eyes
- A medium foam ball if you want a raised turkey head
- Hot glue gun and glue sticks
- Scissors
- Toothpicks or floral picks for extra support
- Ribbon, tulle, or twine for hanging
Optional Extras
- Chenille stems or pipe cleaners
- Faux leaves
- Mini bow tie or ribbon bow
- Glitter accents if you are feeling brave and do not fear finding sparkle in January
- Low-temperature glue gun for a slightly gentler crafting experience
If you want the simplest route, use a foam or wire form and glue the face directly to the front. If you want a more dimensional, cartoon-style turkey, create a separate head from a painted foam ball and attach it to the wreath.
How to Choose the Best Wreath Base
The wreath base sets the tone for the whole project, so it helps to pick the right one from the start.
Foam Wreath Form
This is a great choice if you want a plush, full turkey. Tulle ties easily around it, and toothpicks can be pushed in to secure a head, beak, or eyes. It is ideal for beginners and for anyone making a playful wreath with lots of volume.
Wire Wreath Form
A wire form is lightweight and easy to hang. It is especially good if you plan to tie bundles of tulle directly around the frame. The finished look can be fluffier and less solid in the center, which many crafters love.
Grapevine Wreath
If you want a more rustic, polished, porch-friendly look, a grapevine wreath can be a nice option. It may take a little more patience to attach the tulle and face evenly, but the finished result can look extra textured and fall-ready.
For most people, a medium foam wreath form is the easiest place to start. It is stable, forgiving, and perfect for a turkey that looks more “adorable host” than “feathered crisis.”
Step-by-Step: How to Make a Turkey Tulle Wreath
Step 1: Plan Your Design
Lay your wreath flat and decide where the turkey’s face will go. Usually, the face sits at the bottom center, while the tulle feathers fan around the top two-thirds of the wreath. If you want a chest area, wrap the lower section in brown yarn or ribbon and leave that area uncovered by tulle.
This little planning step makes a huge difference. Without it, you may end up with a turkey that looks like it accidentally wore its tail on its chin.
Step 2: Prep the Face Pieces
If you are using a foam ball for the head, paint it brown and let it dry completely. Paint or attach the eyes, then cut a triangle-shaped beak from yellow or orange felt and a teardrop-shaped snood from red felt. If you prefer a flatter wreath, you can skip the separate head and glue the felt beak, snood, and eyes right onto the wrapped wreath.
Let paint dry all the way before assembly. Tacky foam and hot glue are not best friends.
Step 3: Cut the Tulle Efficiently
This is the part where crafters either feel brilliant or begin questioning their life choices. The good news is that there is a shortcut.
Wrap the tulle around a piece of cardboard cut to your preferred strip length, then snip both ends. This creates a stack of evenly sized strips quickly. For a full turkey tail, strips around 16 to 20 inches can work beautifully on larger wreaths. If you are making a smaller wreath, shorter pieces may look neater.
A good starting palette is red, orange, yellow, and brown. Alternate the colors in a repeating pattern so the feathers look balanced rather than random.
Step 4: Wrap the Body Area
If you want the turkey to have a visible chest, wrap the lower third of the wreath in brown yarn. Keep the yarn taut and smooth as you go, then secure the ends with hot glue. This creates contrast and helps the tulle feathers stand out more dramatically.
This step is optional, but it gives the finished wreath more character. Without it, the whole turkey can look like one giant puffball. A delightful puffball, yes, but still a puffball.
Step 5: Tie on the Tulle Feathers
Now the fun begins. Take one strip of tulle at a time, fold it in half, slide the folded end under the wreath form, and pull the loose ends through the loop to create a simple knot. Repeat all the way around the tail area, alternating colors as you go.
If you want a fuller look, double up the strips. Some crafters also tie three strips at a time in coordinating colors for extra volume. Keep going until the tail looks lush and even. Then fluff each piece so the tulle fans outward like soft feathers.
Stand back every few minutes to check balance. A wreath can look surprisingly symmetrical up close and completely unhinged from six feet away.
Step 6: Attach the Head and Face
If you made a separate head, insert toothpicks into the foam ball, add hot glue near the insertion points, and push it firmly into the center front of the wreath. Attach the beak and snood next, then add the eyes.
If you are working flat, glue the snood first, then the beak, then the eyes slightly above the beak. Keep the face centered, but do not stress about perfection. Part of the charm is a little personality. A slightly goofy turkey is often a better turkey.
Step 7: Add Hanging Support
Use a strip of matching tulle, ribbon, or twine to create a hidden hanger at the top. Make sure it is centered over the face so the wreath hangs straight. Test it before putting the wreath on the door. Nothing ruins autumn magic faster than a turkey that slides sideways and looks emotionally exhausted.
Easy Customization Ideas
One of the best things about a DIY turkey tulle wreath is how easy it is to personalize. You can keep it cute and simple, or make it look like the turkey has its own publicist.
Try a Color Theme
Classic fall shades are always a win, but you are not limited to the standard lineup. Burnt orange, burgundy, mustard, copper, and cream can create a more elegant version. Bright red, gold, and chocolate brown feel playful and kid-friendly.
Add Texture
Mix tulle with ribbon, faux leaves, burlap, or even a few feather picks. Texture helps the wreath feel layered and more expensive, even if most of it came from the craft aisle and a coupon strategy worthy of a financial thriller.
Dress Up the Turkey
Try adding a tiny bow tie, pilgrim hat, flower crown, or sign that says “Give Thanks” or “Gobble.” Just keep the accessories balanced. Cute is great. Looking like your turkey lost a bet is less ideal.
Common Mistakes to Avoid
Using Too Little Tulle
A skimpy wreath rarely looks stunning. Buy more tulle than you think you need. Extra fullness usually improves the final result.
Skipping the Layout
If you do not plan the color order and face placement first, the design can drift. A two-minute layout saves a lot of rework.
Making the Face Too Small
Tulle is fluffy and visually loud, so tiny facial features can disappear. Make the eyes and beak slightly larger than you think you need.
Hanging It Without Testing
Always test the hanger and balance indoors first. A beautiful wreath that hangs crooked will bug you every single time you walk past it.
How to Store Your Turkey Tulle Wreath
Once Thanksgiving is over and the pie crumbs have settled, store your wreath in a large plastic bag, wreath storage box, or roomy bin. Avoid crushing the tulle. If it gets a little flat, fluff it back up by hand next season. Keep it in a dry spot away from heavy pressure so your turkey does not emerge looking like it had a rough year.
Final Thoughts
Learning how to create a stunning turkey tulle wreath is really about combining simple materials with a playful idea and a little patience. You do not need advanced crafting skills. You just need a solid color plan, enough tulle to create drama, and a willingness to embrace a holiday decoration with serious personality.
The finished wreath can be sweet, funny, rustic, elegant, or gloriously over-the-top. That is the charm of it. It welcomes guests, adds seasonal curb appeal, and gives your front door a festive focal point that feels homemade in the best way.
So gather your supplies, cue up a playlist, clear a little crafting space, and make the kind of turkey that never has to worry about ending up on the dinner table. Frankly, that is a strong fall career move.
My Experience Making a Turkey Tulle Wreath
The first time I made a turkey tulle wreath, I assumed it would be a quick little afternoon craft. You know, one of those “I will casually whip this up and still have time to reorganize the pantry” projects. That was adorable. In reality, it turned into the kind of craft session where I discovered glue on my sleeve, tulle in my coffee zone, and a strong emotional investment in whether the turkey looked friendly or mildly judgmental.
Still, the experience was worth every minute. What surprised me most was how forgiving the project was. The first few strips of tulle looked awkward, and the face seemed a little too small. But once I kept adding layers, the whole design started to come together. That is the magic of this wreath. It often looks unimpressive at the halfway point, then suddenly turns into something charming once the tail fills out and the face is attached.
I also learned that color order matters more than I expected. On one version, I placed the darkest brown tulle too close together, and the tail looked heavy on one side. On another, I alternated red, orange, yellow, and brown more evenly, and the wreath instantly looked brighter and better balanced. It was a good reminder that small design choices can make a simple DIY project look much more polished.
The face turned out to be the funniest part. Tiny adjustments changed the entire personality of the turkey. Eyes set too high made it look startled. Eyes too close together made it look suspicious. A slightly tilted beak somehow made it look sarcastic, which, honestly, was impressive for a foam ball. Once I found the right placement, the wreath finally had that cheerful, goofy expression that makes people smile when they walk up to the door.
Another thing I noticed was how popular the wreath became with visitors. People commented on it far more than I expected. Kids especially loved it because it felt playful and easy to recognize. Adults liked that it was festive without being too formal. It hit that sweet spot between holiday decor and conversation starter. More than one person asked where I bought it, and I will admit there is something deeply satisfying about saying, “Oh, I made that,” while pretending the process was smoother than it actually was.
If I were making another one, I would absolutely prep all the pieces before I started assembling anything. Cutting the tulle, laying out the colors, making the face, and testing the hanger first makes the whole project less chaotic. I would also buy extra tulle from the beginning because “just enough” tulle usually turns out to mean “not quite enough to achieve maximum fluff.”
Overall, making a turkey tulle wreath felt like one of those rare crafts that is both funny and genuinely attractive when finished. It brought personality to the door, made the house feel more festive, and turned out to be a project I would happily repeat. It is creative without being fussy, seasonal without being boring, and memorable in a way that many fall decorations are not. That is why I keep coming back to it every time Thanksgiving decor season rolls around.