

Decorating an ice cream cake sounds easy until you discover that your canvas melts, your frosting freezes, and the birthday candles are being held by someone asking, “Is it ready yet?” Fortunately, a professional-looking frozen dessert does not require professional pastry training. It requires a cold cake, an organized workspace, and the willingness to return everything to the freezer before it begins resembling a dairy landslide.
This guide explains how to decorate an ice cream cake in 14 practical steps. You will learn how to prepare the cake, choose freezer-friendly frosting, smooth the surface, add a chocolate drip, pipe borders, arrange toppings, write a message, and serve clean slices. The techniques work for homemade cakes, store-bought ice cream cakes, birthdays, graduations, anniversaries, and those glorious Tuesdays when dessert needs no official excuse.
What You Need to Decorate an Ice Cream Cake
Gather everything before removing the cake from the freezer. A frozen dessert is not patient enough to watch you search three kitchen drawers for the piping tips.
Essential tools
- A chilled cake board, serving plate, or flat platter
- An offset spatula or straight icing spatula
- A bench scraper or icing smoother
- Piping bags or sturdy resealable plastic bags
- Piping tips, such as round, star, or shell tips
- A cake turntable, if available
- Paper towels and a clean kitchen towel
- A long, sharp knife for trimming and slicing
- Freezer space large enough to hold the decorated cake
Freezer-friendly decorating ingredients
- Stabilized whipped cream or frozen whipped topping
- Chocolate ganache, fudge sauce, or caramel sauce
- Crushed sandwich cookies, graham crackers, or waffle cones
- Sprinkles, chopped nuts, candy pieces, or chocolate curls
- Fresh berries added shortly before serving
- Extra frosting for borders, rosettes, lettering, and repairs
Whipped cream frosting is usually easier to spread and slice on an ice cream cake than a thick layer of traditional buttercream. Buttercream can become very firm in the freezer, while whipped frosting remains lighter. Stabilizing homemade whipped cream with an appropriate stabilizer helps it hold its shape and reduces weeping during storage.
How to Decorate an Ice Cream Cake in 14 Steps
-
Step 1: Freeze the Assembled Cake Until Completely Firm
Begin with an ice cream cake that is frozen solid. If you assembled the cake yourself, cover it well and freeze it for at least four hours, although overnight freezing produces a more dependable surface. The cake should not flex when you press gently against its wrapped side.
A firm cake is easier to unmold, trim, frost, and transfer. A partially frozen cake may shift between layers, especially when it contains softened ice cream, cookie crumbs, fudge, or cake layers. In technical baking language, that is called “Oh no, grab a plate.”
Set your freezer to approximately 0°F and make sure the shelf is level. Clear enough space so the decorated cake can return to the freezer without brushing against bags of frozen peas or acquiring a mysterious fish-stick garnish.
-
Step 2: Chill the Plate and Decorating Tools
Place the cake board, platter, offset spatula, and metal scraper in the freezer for 10 to 20 minutes. Cold tools slow surface melting and help the frosting remain stable while you work.
If you use a turntable, set a damp folded paper towel or a nonslip mat beneath the cake board. This keeps the board from sliding while you smooth the sides. You want the turntable to rotatenot the entire cake to attempt an escape.
-
Step 3: Unmold and Level the Cake
Remove the cake from its pan or packaging. If it was assembled in a pan lined with plastic wrap, pull gently on the wrap to release it. A warm towel held against the outside of a metal pan for several seconds can loosen stubborn edges, but do not apply heat for long.
Transfer the cake to the chilled board. Use a sharp knife to trim uneven cake layers, protruding cookie crust, or bulging ice cream. Work quickly and remove only what is necessary. Small gaps can be filled with frosting later, which is one of frosting’s finest personality traits.
Return the cake to the freezer for 15 to 30 minutes after trimming.
-
Step 4: Choose a Frosting That Handles the Cold
For an easy ice cream cake decoration, use stabilized whipped cream, whipped topping, or another frosting designed to remain soft when frozen. Prepare enough to cover the cake and create any borders or rosettes you plan to add.
Homemade stabilized whipped cream can be made with ingredients such as instant pudding mix, mascarpone, gelatin, or another tested stabilizer. Do not overwhip it. Stop when it holds firm peaks and spreads smoothly. Overwhipped cream can become grainy, and continuing beyond that point introduces you to homemade butter at a very inconvenient moment.
Keep the frosting refrigerated until the cake is ready. If using colored frosting, divide it into small bowls and tint it with gel food coloring. Gel coloring changes the consistency less than large amounts of liquid coloring.
-
Step 5: Apply a Thin Crumb Coat
Spread a thin layer of frosting over the top and sides of the frozen cake. This first coat fills small holes, traps crumbs, covers uneven edges, and creates a base for the final frosting layer.
Do not try to make the crumb coat beautiful. Its career is entirely behind the scenes. Use the offset spatula to push frosting into gaps, then scrape away the excess. If the ice cream begins softening or the frosting starts sliding, stop and freeze the cake for 20 to 30 minutes.
-
Step 6: Add and Smooth the Final Frosting Layer
Once the crumb coat feels firm, apply a thicker final layer of whipped frosting. Start on top, spreading the frosting slightly beyond the edge. Add frosting to the sides and rotate the turntable while holding a scraper vertically against the cake.
Use light, steady pressure. Wipe the scraper clean after each pass so crumbs and streaks do not travel around the cake like tourists who missed their exit. Pull excess frosting from the top edge toward the center with an offset spatula.
For a rustic finish, create waves or swirls with the back of a spoon. This style is forgiving, attractive, and particularly useful when your attempt at perfectly smooth sides has become a personal disagreement between you and the frosting.
-
Step 7: Freeze the Frosted Cake Again
Place the smoothly frosted cake in the freezer for at least 30 minutes. The exterior must become firm before you add drips, piping, or heavy toppings.
This freezing interval is not wasted time. Use it to fill piping bags, chop nuts, crush cookies, prepare ganache, wash tools, and remind nearby family members that opening the freezer every 45 seconds does not make dessert happen faster.
-
Step 8: Create a Controlled Chocolate Drip
A chocolate drip instantly makes an ice cream cake look polished. Prepare a pourable ganache or use a thick fudge sauce. Let homemade ganache cool until it is fluid but no longer warm. Warm chocolate can melt whipped frosting and carve channels into the frozen cake.
Test one drip on the back of the cake. Spoon a small amount near the top edge and watch how far it travels. If it races to the bottom, the mixture is too thin or warm. If it refuses to move, gently loosen it according to the recipe.
Once the consistency is correct, add drips at different intervals around the edge. Spread a thin layer of chocolate over the top, avoiding an excessively thick coating that will become difficult to cut when frozen.
-
Step 9: Pipe a Bottom Border
Fit a piping bag with a star, round, or shell tip and fill it no more than two-thirds full. Twist the open end to create pressure and keep the frosting from moving backward toward your wrist.
Pipe shells, dots, stars, or a rope border around the base. A bottom border conceals the seam where the cake meets the board and hides minor imperfections. It is the decorative equivalent of pushing clutter under the bed, except people compliment you afterward.
Keep the tip close to the cake and apply consistent pressure. If the frosting softens in your hands, refrigerate the piping bag for several minutes.
-
Step 10: Pipe the Top Border and Decorative Rosettes
Add a matching border around the top edge or pipe individual rosettes. To create a basic rosette, hold a star tip perpendicular to the surface, begin in the center, and pipe a tight spiral outward. Release pressure before lifting the tip.
Space the rosettes evenly by marking their positions lightly with a toothpick before piping. For a birthday ice cream cake, use one rosette per serving and place a candy, berry, or chocolate piece on each one.
You can also create alternating colors, pulled dots, simple stars, or scalloped shells. Choose one or two piping techniques rather than attempting every design you have ever seen online. A cake can be festive without looking as though the entire baking aisle fell onto it.
-
Step 11: Add Crunchy Toppings and Decorative Texture
Press crushed cookies, chopped nuts, waffle-cone pieces, sprinkles, chocolate shavings, or freeze-dried fruit onto the sides or top. Dry decorations generally hold up better in the freezer than ingredients containing a large amount of moisture.
For a clean side coating, hold the cake over a rimmed baking sheet and gently press the crumbs into the frosting. The baking sheet catches the excess, making it easier to reuse. Work in small sections so the frosting remains tacky enough for the pieces to stick.
Match the decorations to the ice cream flavor. Try crushed chocolate sandwich cookies with cookies-and-cream ice cream, toasted peanuts with chocolate-peanut butter cake, pistachios with strawberry ice cream, or graham cracker crumbs with lemon or cheesecake flavors.
-
Step 12: Add Candy, Fruit, or a Theme
Arrange larger decorations after the borders and crumbs are in place. Candy bars, sandwich cookies, miniature cones, chocolate shapes, macarons, and colorful candies can create height and make the cake appear more elaborate.
Use restraint with hard candy because frozen pieces may become difficult to bite. Cut large candy bars into small portions, and warn guests about any firm toppings. Softer brownies, cookie pieces, and mini marshmallows are usually easier to eat with frozen cake.
Fresh fruit adds color but may release moisture or become icy during extended freezing. Add delicate berries, sliced strawberries, or cherries shortly before serving. Pat fruit dry first so water does not bead across the frosting.
-
Step 13: Write the Message
Freeze the decorated top until firm before adding lettering. Use a small round piping tip and frosting, softened chocolate, or decorating gel. Practice the message on parchment paper first, especially when the cake belongs to someone whose name contains more letters than the available surface.
Mark the beginning, middle, and end of each line with a toothpick. Pipe slowly while keeping the tip slightly above the surface, allowing the line to fall into place. Avoid dragging the tip through the frosting.
If the lettering goes wrong, freeze the cake, lift off the mistake with a small knife, smooth the area, and try again. Cake decorating offers second chances as long as you have frosting and emotional resilience.
-
Step 14: Freeze, Garnish, and Serve
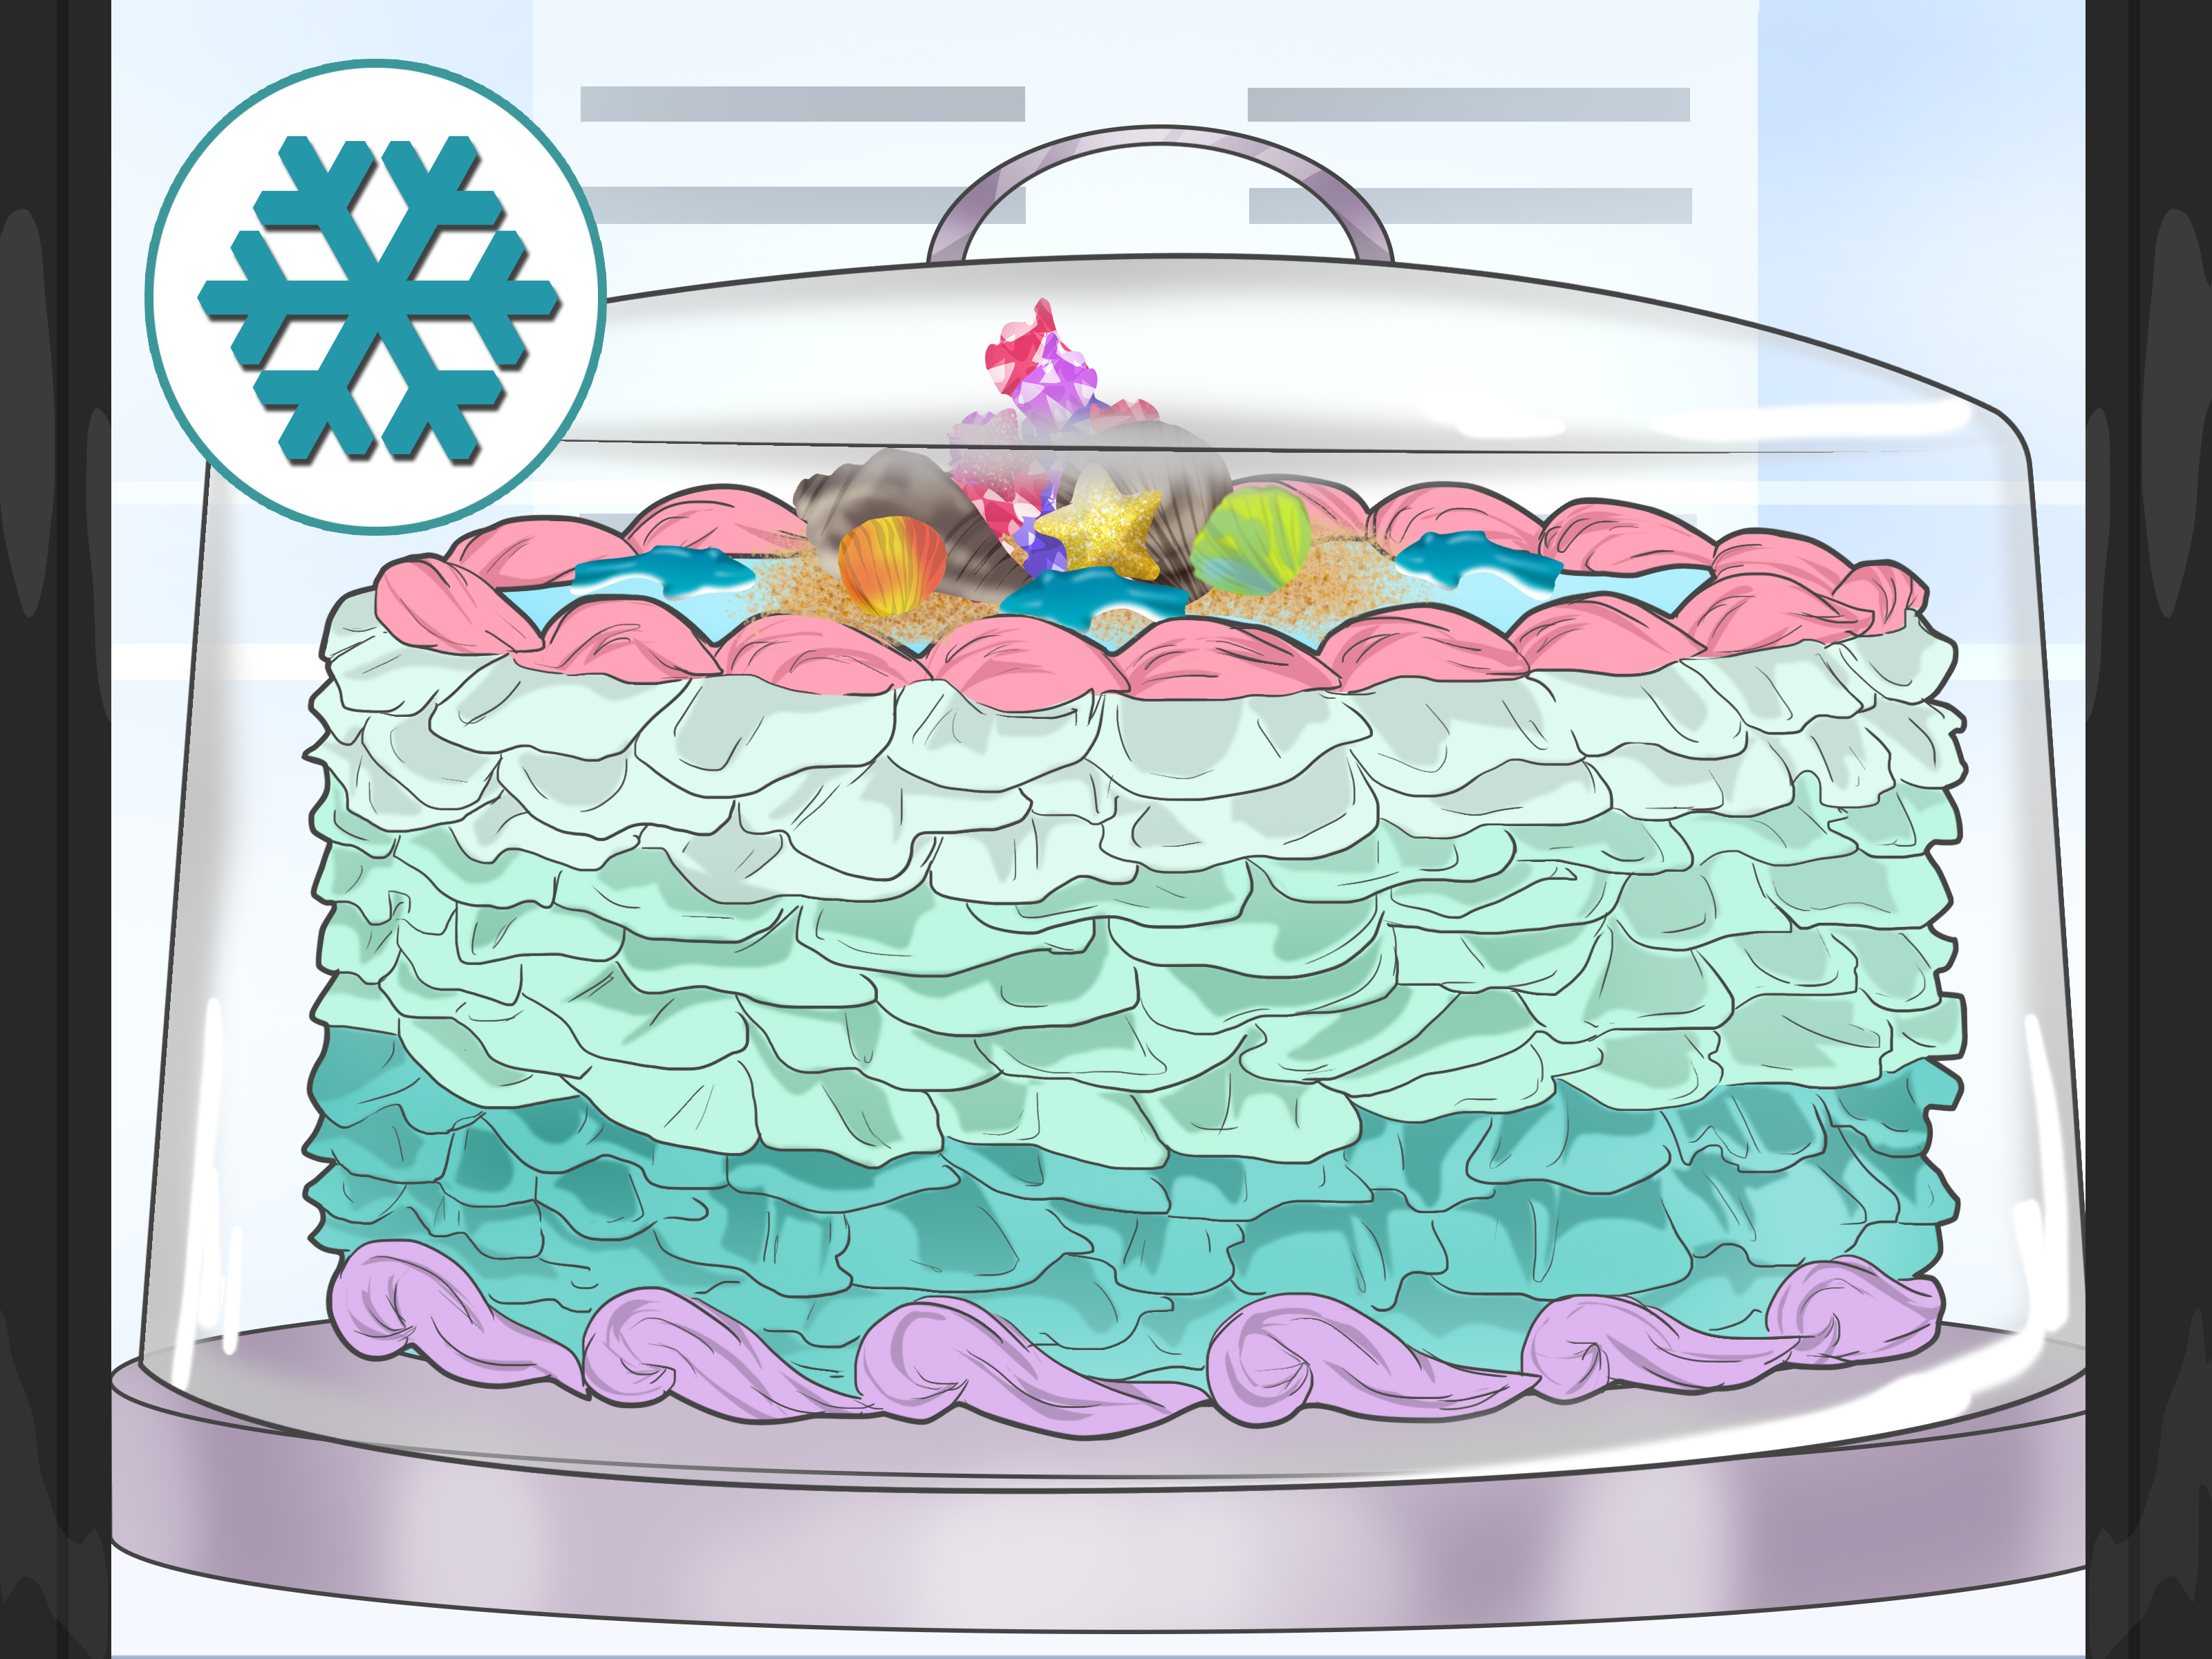
Freeze the completed cake for at least two hours or overnight. Protect it with a cake carrier, a tall container, or a loose covering that does not touch the decorations. Add candles, fresh fruit, delicate cookies, and fragile toppers shortly before presentation.
Before slicing, let the cake stand at room temperature for approximately 10 to 20 minutes, depending on its size, ingredients, and room temperature. It should soften enough to cut without losing its shape.
Dip a long knife in hot water, wipe it dry, and make the first cut. Clean and warm the knife between slices. The hot blade moves through frozen ice cream, cake, cookie layers, and chocolate more cleanly. Never leave the knife wet, or droplets may freeze on the cake.
Serve promptly and return uneaten portions to the freezer. Frozen foods should be stored at 0°F, and dairy-based desserts should not sit in warm conditions longer than necessary.
Easy Ice Cream Cake Decorating Ideas
Cookies-and-Cream Birthday Cake
Cover the cake with white whipped frosting, add a dark chocolate drip, pipe eight to twelve rosettes, and top each rosette with half a chocolate sandwich cookie. Press fine cookie crumbs around the bottom third of the cake.
Strawberry Celebration Cake
Tint the frosting pale pink, pipe white shells around the base, and add freeze-dried strawberry crumbs to the sides. Finish with fresh strawberries immediately before serving.
Chocolate-Peanut Butter Cake
Use chocolate ganache drips, peanut butter-flavored whipped frosting, chopped peanuts, and small pieces of peanut butter cups. Keep the candy pieces modest so guests do not need climbing equipment to reach the ice cream.
Rainbow Sprinkle Cake
Coat the cake in white frosting and press rainbow sprinkles around the base. Add multicolored rosettes and a bright topper. Use sprinkles that hold their color when exposed to moisture; some varieties bleed into whipped frosting.
Minimalist Chocolate Cake
Create smooth white sides, an even chocolate drip, six large rosettes, and a small mound of chocolate curls in the center. A restrained design often looks more professional than a crowded one.
Common Ice Cream Cake Decorating Problems
The frosting keeps sliding
The cake or frosting is probably too warm. Freeze the cake again and refrigerate the frosting. A thin crumb coat can also improve adhesion.
The cake is melting around the bottom
Move it to the freezer immediately. Once firm, wipe the cake board clean and repair the lower edge with a piped border or cookie crumbs.
The chocolate drip is too long
The ganache is too warm or thin. Let it cool and thicken before testing another drip. Always test on the back of the cake first.
The whipped cream looks grainy
It may have been overwhipped. Gently fold in a small amount of unwhipped heavy cream to improve the texture. Severely overwhipped cream may need to be replaced.
The decorations fall off
The frosting may have frozen before the decorations were attached. Add small dabs of fresh frosting as edible adhesive.
The cake is impossible to slice
Let it rest briefly and use a hot, dry knife. Thick frozen chocolate layers and large pieces of hard candy can make cutting more difficult, which is why thinner toppings are usually better.
Conclusion
Learning how to decorate an ice cream cake is mostly about managing temperature. Start with a fully frozen cake, use cold tools, choose a frosting that stays pleasant when frozen, and complete the design in short sessions. A crumb coat creates a tidy foundation, while borders, drips, crumbs, candy, and fruit add personality without requiring advanced pastry skills.
Do not worry about making every surface mathematically perfect. Once the cake has a smooth coating, a neat border, and a few coordinated toppings, it will look intentional and celebration-ready. More importantly, it will still be frozen when everyone gathers around itwhich is the real technical victory.
My Experience Decorating Ice Cream Cakes at Home
The first lesson I learned while decorating an ice cream cake was that confidence does not lower the temperature of a kitchen. I had assembled a chocolate cake with vanilla ice cream and a cookie-crunch center, and I assumed I could decorate it as casually as an ordinary layer cake. I placed it on the counter, opened several containers, searched for a piping tip, answered a phone call, and returned to find the bottom layer beginning to spread. The cake looked less like a birthday dessert and more like an architectural model demonstrating soil erosion.
I pushed it back into the freezer and changed my approach. During the next attempt, I prepared every component before removing the cake. The frosting was whipped, the piping bags were filled, the cookies were crushed, and the cake board was already cold. I worked for about five minutes at a time and froze the cake between stages. That one change made the process far calmer and produced sharper edges.
I also discovered that a rustic finish is not a consolation prize. On one cake, I could not make the whipped frosting perfectly smooth because the sides had several small gaps. Instead of repeatedly scraping the surface, I used the back of a spoon to create soft waves. I added chocolate drips, cookie crumbs, and large rosettes. Guests assumed the texture was an artistic choice. I accepted the compliments without calling a press conference to correct them.
Another useful experience involved ganache. I poured it onto a frozen cake while it was still slightly warm, believing that the cold surface would cool it instantly. The ganache did coolbut only after melting narrow paths through the frosting. Since then, I always test a single drip on the back. A controlled test reveals whether the chocolate is too warm, too thin, or too thick before it can redecorate the entire cake according to its own creative vision.
Piping directly onto frozen frosting also required practice. When the exterior was rock-hard, fresh decorations occasionally detached after freezing. The solution was simple: pipe borders soon after the final frosting layer firms but before it becomes completely icy. For larger cookies or candy pieces, a small dab of fresh frosting works like glue.
Fresh fruit taught me a separate lesson. Strawberries looked beautiful when placed on the cake before an overnight freeze, but their texture became noticeably icy. Now I prepare the entire cake in advance and add berries shortly before serving. Freeze-dried fruit is better for decorations that must remain on the cake for several hours because it provides strong color without adding much moisture.
Serving technique matters almost as much as decoration. At one party, I tried cutting the cake immediately after removing it from the freezer. The knife stopped halfway through the crunchy center while the cake board began sliding across the table. Letting the cake rest briefly and warming the knife in hot water made a dramatic difference. Clean cuts revealed the layers instead of compressing them into frozen rubble.
After decorating several ice cream cakes, my favorite formula is now simple: smooth whipped frosting, a restrained chocolate drip, a textured crumb coating around the base, evenly spaced rosettes, and one topping that identifies the flavor. It looks polished, travels reasonably well in a chilled carrier, and does not overwhelm the dessert.
The biggest takeaway is that successful ice cream cake decorating is not about speed. It is about preparation and pauses. Freeze the cake when it softens, chill the piping bag when the frosting loosens, and repair small mistakes instead of starting over. With a little patience, even a beginner can create a cake that looks impressive, slices cleanly, and remains recognizably cake-shaped until the candles are blown out.