

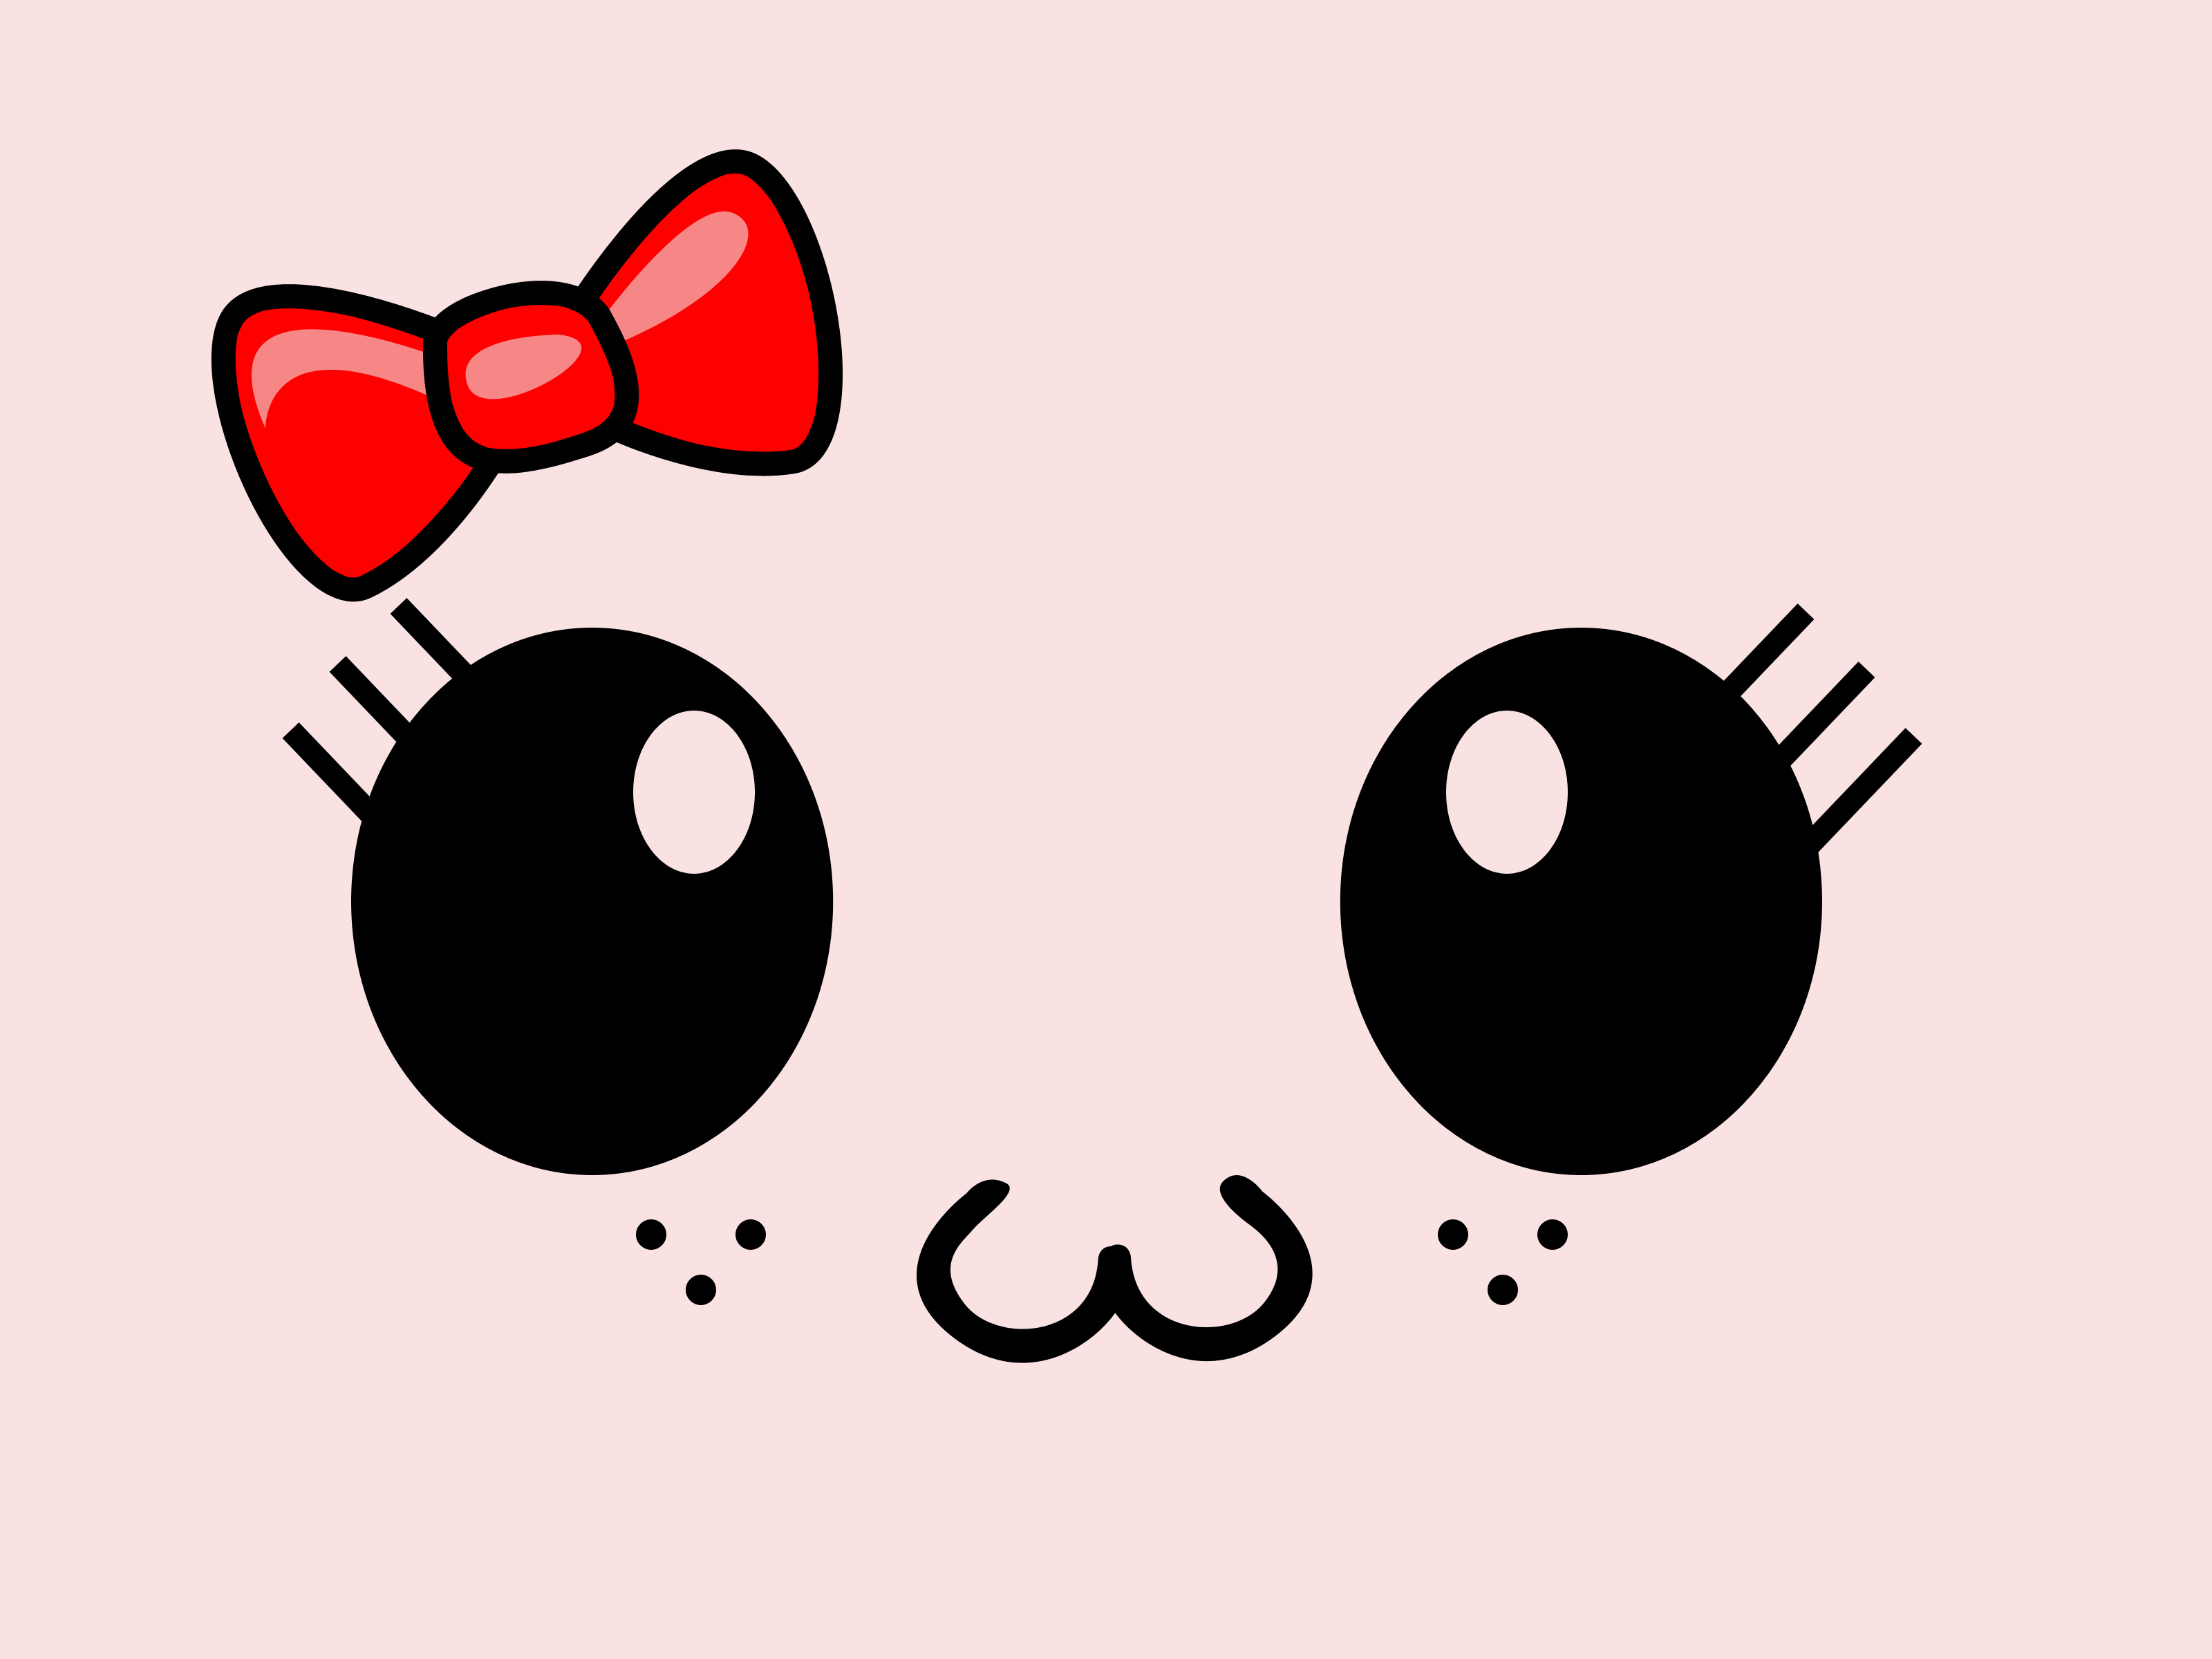
If you’ve ever looked at a kawaii drawing and thought, “How can something made of circles, sparkles, and pure joy be this powerful?” you are not alone. A cute kawaii face has a magical ability to look sweet, playful, and just a little bit dramaticlike it knows your snack drawer secrets and forgives you anyway.
The good news is that learning how to draw a cute kawaii face (girl) is much easier than it looks. You do not need a fancy tablet, ten years of manga practice, or a mysterious pencil blessed by the anime gods. You just need a pencil, paper, a willingness to draw a few goofy first attempts, and a basic understanding of what makes kawaii art look adorable.
In this guide, you’ll learn how to build a kawaii girl face in five simple steps. Along the way, we’ll cover facial proportions, eye placement, expression tricks, hairstyle ideas, and the tiny details that turn “nice sketch” into “I would absolutely put this on a sticker.”
What Makes a Kawaii Girl Face Look Cute?
Before jumping into the steps, it helps to know what gives kawaii art its signature charm. Kawaii style usually leans into softness and simplicity. Shapes are rounded instead of sharp. Features are reduced to the essentials. The eyes tend to be larger and more expressive, while the nose and mouth stay tiny and understated.
Think of the face as a visual cupcake: the eyes are the frosting, the blush is the sprinkles, and the tiny mouth is that little extra decoration that somehow makes the whole thing irresistible.
When drawing a cute kawaii girl face, keep these visual ideas in mind:
- Round or softly tapered face shape
- Large eyes with highlights
- Small nose and mouth
- Gentle eyebrows and soft cheeks
- Simple, readable expression
- Hair that frames the face in curved shapes
What You Need Before You Start
You can keep this incredibly simple. Here’s all you really need:
- A pencil
- An eraser
- Plain paper or a sketchbook
- A fineliner or darker pencil for clean outlines
- Optional: colored pencils, markers, or digital tools
If you’re a beginner, do yourself a favor and draw lightly at first. Construction lines are not your enemy. They are your friendly little scaffolding. They may not look glamorous, but they keep your face from sliding off into another zip code.
How to Draw a Cute Kawaii Face (Girl): 5 Steps
Step 1: Draw a Soft Head Shape and Basic Guidelines
Start with a circle. This will form the top of the head. Then extend the shape downward into a soft jaw and small chin. For a kawaii girl face, avoid making the chin too long or too sharp. You want it to look delicate, rounded, and youthful.
Next, draw one vertical guideline down the center of the face and one horizontal guideline across the lower half of the circle. These lines help you keep the features balanced. Even the cutest face on earth gets weird fast if one eye drifts north and the other starts a new life in the west.
At this stage, focus on symmetry and shape. The face should feel gentle, not angular. If you want an extra-sweet look, make the cheeks slightly fuller. That small change instantly gives the face a softer, more innocent feel.
Helpful tip: In kawaii and anime-inspired styles, the lower half of the face is often compact. A shorter chin usually reads as cuter than a long, realistic one.
Step 2: Place the Eyes FirstBecause They Do Most of the Heavy Lifting
The eyes are the stars of the show. On a kawaii face, they carry most of the emotion, personality, and sparkle. Place them below the horizontal guideline, leaving enough space between them for a tiny nose.
Draw the eyes larger than you would on a realistic face. You can make them oval, rounded, or slightly almond-shaped, but keep the lines soft. Thicker top lashes or a darker upper lid can make the eyes feel more feminine and expressive.
Inside each eye, add an iris and pupil. Then include one or two highlights. These little white shapes make the eyes look lively and glossy. Without highlights, the face can feel flat. With them, the character suddenly looks like she has opinions about dessert and probably wins every staring contest.
Above the eyes, add simple eyebrows. For a cute, friendly expression, keep them slightly curved and relaxed. Lower, angled brows can create sass. Raised brows can make the face look surprised or shy. Tiny changes here make a big difference.
Helpful tip: If your drawing still doesn’t feel cute, try making the eyes slightly taller and the eyebrows softer. That often fixes things faster than endlessly reworking the chin.
Step 3: Add a Tiny Nose, Small Mouth, and Sweet Expression Details
Now place the nose low on the face, centered between the eyes. In kawaii art, the nose is usually minimala dot, a tiny curve, or a very short line. This is not the time for dramatic nostril architecture.
Next, draw the mouth. Keep it small and simple. A little curved line works beautifully for a cheerful look. A tiny “w” mouth can create a playful expression. A small open mouth can make the face look surprised, excited, or bashful.
To make the face feel even more adorable, add blush marks or soft cheek circles under the eyes. These don’t need to be complicated. A pair of ovals, short diagonal lines, or pale pink shading can instantly boost the charm factor.
You can also add tiny eyelashes, a hint of lower lash line, or subtle dimples. Just do not overwork the face. Kawaii art thrives on simplicity. Too many details can crowd the expression and make the drawing lose that clean, sweet look.
Expression idea: For a classic cute girl face, try large bright eyes, a tiny smile, light blush, and gently curved brows. It’s the visual equivalent of a warm cookie.
Step 4: Frame the Face with Cute Hair
Hair is where your kawaii girl starts looking like an actual character instead of a floating emotional emoji. Begin by sketching the hairline, then add bangs and side pieces that frame the face.
Use long, curved lines instead of stiff straight ones. Kawaii hairstyles often have soft movement and simple clumps of hair rather than hundreds of individual strands. You are designing shapes, not auditioning for the role of Human Photocopier.
Bangs are especially useful because they make the face look youthful and help balance big eyes. You can draw blunt bangs, side-swept bangs, curtain bangs, or fluffy separated sections. Add a bow, clip, headband, or tiny heart accessory if you want extra personality.
Keep some hair volume above the head. A flat hairstyle can make the drawing feel stiff. A little puffiness adds life and gives the character a more polished silhouette.
Helpful tip: Let a few locks curve inward toward the cheeks. This frames the face and increases the cute factor without adding much complexity.
Step 5: Clean the Sketch, Ink the Lines, and Add Color
Once everything looks balanced, erase your rough guidelines and clean up the sketch. Go over the final lines with a darker pencil, pen, or digital brush. Keep the outline smooth and confident, but don’t worry if it’s not perfect. Kawaii art is forgiving. A little wobble can even add charm.
Now decide whether to leave it black and white or add color. Soft pinks, peaches, creams, browns, and pastel shades work especially well for cute kawaii faces. You can color the eyes with bright tones and leave tiny white highlights untouched to preserve that glossy sparkle.
Add gentle shading under the bangs, around the neck, or on the cheeks if you want more depth. Keep the shading light. This style usually looks best when it stays fresh, airy, and readable.
If you want the drawing to feel extra polished, finish with a few tiny details:
- Star or heart highlights in the eyes
- A soft pink blush
- A tiny hair shine line
- Simple background doodles like hearts, sparkles, or clouds
Congratulationsyou now have a cute kawaii girl face. She is adorable, expressive, and probably ready to star in a notebook margin, sticker sheet, journal page, or profile icon.
Common Mistakes Beginners Make
Every artist makes awkward drawings at first. That is normal. In fact, it is practically a rite of passage. Here are a few common problems and how to fix them:
- Eyes too small: In kawaii art, bigger eyes usually read better.
- Chin too long: Shorten the lower face for a softer, cuter look.
- Too much detail: Simplify the nose, mouth, and hair strands.
- Expression feels stiff: Adjust the eyebrows and mouth before redrawing everything else.
- Hair looks glued on: Add volume above the skull and let hair curve naturally around the face.
Easy Variations to Try After You Learn the Basic Face
Once you can draw one kawaii girl face, you can create lots of versions just by changing a few features. Try:
- A shy face with blushing cheeks and a tiny closed smile
- A cheerful face with crescent eyes and an open mouth
- A sleepy face with droopy lids and messy bangs
- A magical-girl look with starry eyes and ribbon accessories
- A chibi-style version with an even rounder face and exaggerated proportions
This is where drawing becomes especially fun. You are no longer copying a formula. You are building a visual language. One little eyebrow tilt, one different mouth shape, one puffier bang sectionand suddenly you have a whole new personality.
Practice Tips That Actually Help
If you want to improve quickly, draw the same face several times instead of making one drawing and declaring the pencil cursed. Repetition is powerful. Try sketching five quick faces in a row, changing only one feature each time. For example, keep the same head shape but experiment with different eyes.
You can also make mini expression sheets. Draw one base face, then duplicate it and test happy, shy, grumpy, surprised, sleepy, and excited versions. This teaches you how much emotion can come from tiny changes.
Another smart trick is to keep a “cute elements” page in your sketchbook. Fill it with eyes, mouths, blush styles, bangs, bows, and eyebrow shapes. Think of it as your adorable parts catalog.
What Beginners Usually Experience While Learning This Style
One of the most interesting things about learning how to draw a cute kawaii face is how quickly your emotions bounce around during the process. At first, many beginners feel confident because the style looks simple. Then they try drawing it and realize that “simple” is sneaky. A tiny shift in eye spacing can change the whole mood. A mouth placed too low can make the face look oddly serious. A hairstyle that seemed easy in your head may suddenly resemble a croissant having a difficult afternoon.
That is completely normal.
Most people experience a phase where every face looks almost cute, but not quite. The drawing may be technically fine, yet it lacks that sweet, lively spark. Usually, the problem is not talent. It is just that kawaii style depends on a few small design choices: larger eyes, softer lines, gentler cheeks, and cleaner expressions. Once those pieces start clicking, progress becomes much faster.
Another common experience is becoming weirdly obsessed with eyes. Beginners often spend more time adjusting the eyes than anything else, and honestly, that makes sense. The eyes set the tone. They control whether the character looks shy, cheerful, sleepy, mischievous, or ready to politely ask for more boba. Many artists discover that changing the eye highlights alone can make the face feel ten times cuter.
Hair is usually the next challenge. Early attempts can look stiff or disconnected from the head. But after a few practice rounds, artists begin to think less about drawing every strand and more about drawing larger flowing shapes. That shift is huge. It makes the hairstyle look cleaner, more stylized, and much more professional.
There is also a surprisingly fun point where beginners stop chasing perfection and start enjoying variation. Instead of trying to make one “correct” kawaii face, they begin exploring different moods and character types. Maybe one girl has round innocent eyes and short fluffy bangs. Another has a sly little smile, heart-shaped highlights, and twin buns. That is when the style really opens up. You realize you are not memorizing one faceyou are learning a system for designing many faces.
Many people also notice that drawing kawaii faces is relaxing. Because the style favors soft shapes and playful details, it can feel less intimidating than realistic portrait drawing. You can experiment more freely. You can exaggerate. You can redraw things without panic. And when a sketch turns out especially cute, it brings an immediate little jolt of joy that is hard not to love.
So if your first few attempts look a bit off, do not panic and do not exile your sketchbook. That awkward stage is part of the process. With practice, your lines get cleaner, your expressions get stronger, and your faces start developing real personality. One day you look down and realize, somewhat dramatically but truthfully, that you can now create cute little characters on purpose. That is a pretty delightful milestone.
Final Thoughts
Learning how to draw a cute kawaii face (girl) in 5 steps is really about mastering a few simple ideas: rounded construction, expressive eyes, tiny features, soft hair shapes, and clean finishing details. Once you understand those basics, you can create endless characters with different moods, styles, and accessories.
Start simple. Draw lightly. Let yourself make awkward versions. Then keep going. Cute art is not just about perfectionit is about clarity, emotion, and charm. And sometimes, yes, it is also about giving your character absurdly sparkly eyes and pretending that was always the plan.
Grab a pencil, draw one face today, and then draw another tomorrow. The more you practice, the more natural it becomes. Before long, your sketchbook will be full of tiny adorable people staring up at you like they already know they’re the main character.