Dyeing acrylic plastic sounds like one of those projects that should require a lab coat, a mysterious bubbling beaker, and someone yelling, “Stand back!” Fortunately, the real process is much friendlier. With the right dye, careful heat, and a little patience, you can tint acrylic pieces for jewelry, signs, cosplay props, display stands, miniatures, craft panels, drawer pulls, and decorative parts without turning your kitchen into a crime scene of permanent purple splashes.
Before we get rolling, let’s clear up one big point: acrylic plastic is not the same as acrylic fabric or acrylic paint. Acrylic plastic, also called PMMA, Plexiglas, or acrylic sheet, is a hard thermoplastic. It does not absorb color like cotton. Instead, heat helps the dye interact with the plastic surface, creating a translucent or stained effect. The result is usually more like colored glass than opaque paint, which is exactly why dyed acrylic can look so good when light passes through it.
This guide explains how to dye acrylic plastic in 14 practical steps using a hot-water dye bath. It also covers safety, preparation, troubleshooting, and real-world lessons that can save your project from becoming a warped, streaky, oddly festive coaster.
What You Need Before Dyeing Acrylic Plastic
The best results come from preparation. Acrylic can scratch, craze, warp, or develop cloudy spots if you treat it roughly. Gather everything first so you are not sprinting around with hot tongs and a dripping piece of red plastic like a very specific kitchen emergency.
Supplies
- Clear or light-colored acrylic plastic piece
- Synthetic dye, such as a dye made for polyester, acrylic, acetate, or other synthetics
- Large stainless steel or enamel pot used only for crafts
- Water
- Dish detergent
- Rubber gloves
- Tongs
- Thermometer that can read around 200°F
- Microfiber cloth
- Mild soap
- Paper towels or plastic sheet to protect the work area
- A bowl of warm soapy water
- A safe drying rack or clean towel
Important Safety Notes
Use a dedicated dye pot, not your favorite pasta pot. Textile dye is not food-grade, and once a pot becomes a dye pot, it should stay in the craft zone. Work in a ventilated area, wear gloves, and protect nearby counters from splashes. Hot dye looks innocent until it brands your countertop with a permanent memory.
Acrylic begins to soften at temperatures close to the dyeing range, so do not let the piece rest on the bottom of the pot, where heat is most direct. Thin acrylic is more likely to bend than thick acrylic. If your piece is delicate, oddly shaped, laser-cut, or already under stress, test a scrap first.
How to Dye Acrylic Plastic: 14 Steps
Step 1: Choose the Right Acrylic Piece
Start with clear, white, or very light-colored acrylic. Transparent acrylic gives the most jewel-like result. White acrylic may tint softly, while dark acrylic will barely show a color change. If the item has a protective film, leave it on while cutting or sanding, but remove it before dyeing.
Step 2: Test a Scrap First
If you have a leftover piece from the same sheet or product, dye that first. Acrylic varies by brand, thickness, finish, and manufacturing method. Cast acrylic and extruded acrylic may not behave exactly the same. A small test tells you how quickly the color develops and whether the part can handle the heat.
Step 3: Clean the Acrylic Gently
Wash the acrylic with mild soap and lukewarm water. Use a soft microfiber cloth, not paper towels, abrasive pads, or the rough side of a sponge. Dust and grease can block dye, causing pale patches or streaks. Avoid ammonia, acetone, gasoline, harsh solvents, and alcohol-heavy cleaners because they can damage acrylic or create tiny cracks called crazing.
Step 4: Remove Scratches Before Dyeing
Dye can emphasize scratches, especially on glossy clear acrylic. If the surface has rough edges or scuffs, polish or sand them before coloring. Work gradually with fine-grit sandpaper if needed, then rinse away all residue. Do not aggressively sand the entire surface unless you want a frosted finish.
Step 5: Protect Your Work Area
Cover counters and the area around the stove with newspaper, cardboard, or a plastic table cover. Keep paper towels nearby for spills, but do not use them to scrub acrylic. Put on gloves before opening the dye. This is not the moment to discover that “midnight navy” also describes your fingernails for the next three days.
Step 6: Fill the Pot With Enough Water
Add enough water to fully submerge the acrylic piece while leaving room to stir. The piece should move freely and should not wedge against the sides. A cramped dye bath creates uneven color. For small jewelry pieces, a smaller steel pot works well. For panels, choose the widest pot you can safely manage.
Step 7: Heat the Water Slowly
Bring the water to a low simmer, around 200°F. Do not chase a violent rolling boil. Acrylic can soften near this temperature range, so steady heat is safer than aggressive boiling. If you see the acrylic bending, bubbling, or touching the bottom of the pot, reduce heat immediately.
Step 8: Add Synthetic Dye
Shake liquid dye well before adding it. If you are using powder dye, dissolve it completely in very hot water first so grains do not cling to the acrylic. Add the dye to the pot and stir thoroughly. For a light tint, start with less dye. For a deep color, add more gradually. You can always make the bath stronger, but you cannot politely ask the plastic to forget what just happened.
Step 9: Add a Small Amount of Dish Detergent
Add about one teaspoon of dish detergent to help the dye bath spread evenly. This can reduce spotting by helping the liquid flow across the plastic surface. Stir gently so the water is mixed but not foamy enough to host a bubble party.
Step 10: Lower the Acrylic Into the Dye Bath
Use tongs to lower the acrylic into the hot dye. Keep it from touching the bottom of the pot. For small parts, a stainless steel mesh strainer can help keep pieces together while still allowing dye to circulate. Move slowly to avoid splashing.
Step 11: Stir and Move the Piece Often
Gently stir the dye bath and rotate the acrylic. The first 10 minutes are especially important for even color. If the piece sits still, the side touching the pot or another object may come out lighter. Movement helps prevent blotches, dark edges, and awkward “oops, it has a shadow” patterns.
Step 12: Check the Color Frequently
Lift the acrylic with tongs every few minutes to inspect the color. Wet acrylic often looks darker than it will after rinsing and drying. A pale tint may take only 5 to 10 minutes, while deeper shades may need 20 to 40 minutes. Very dark colors can require longer, but longer heat exposure also increases the chance of warping.
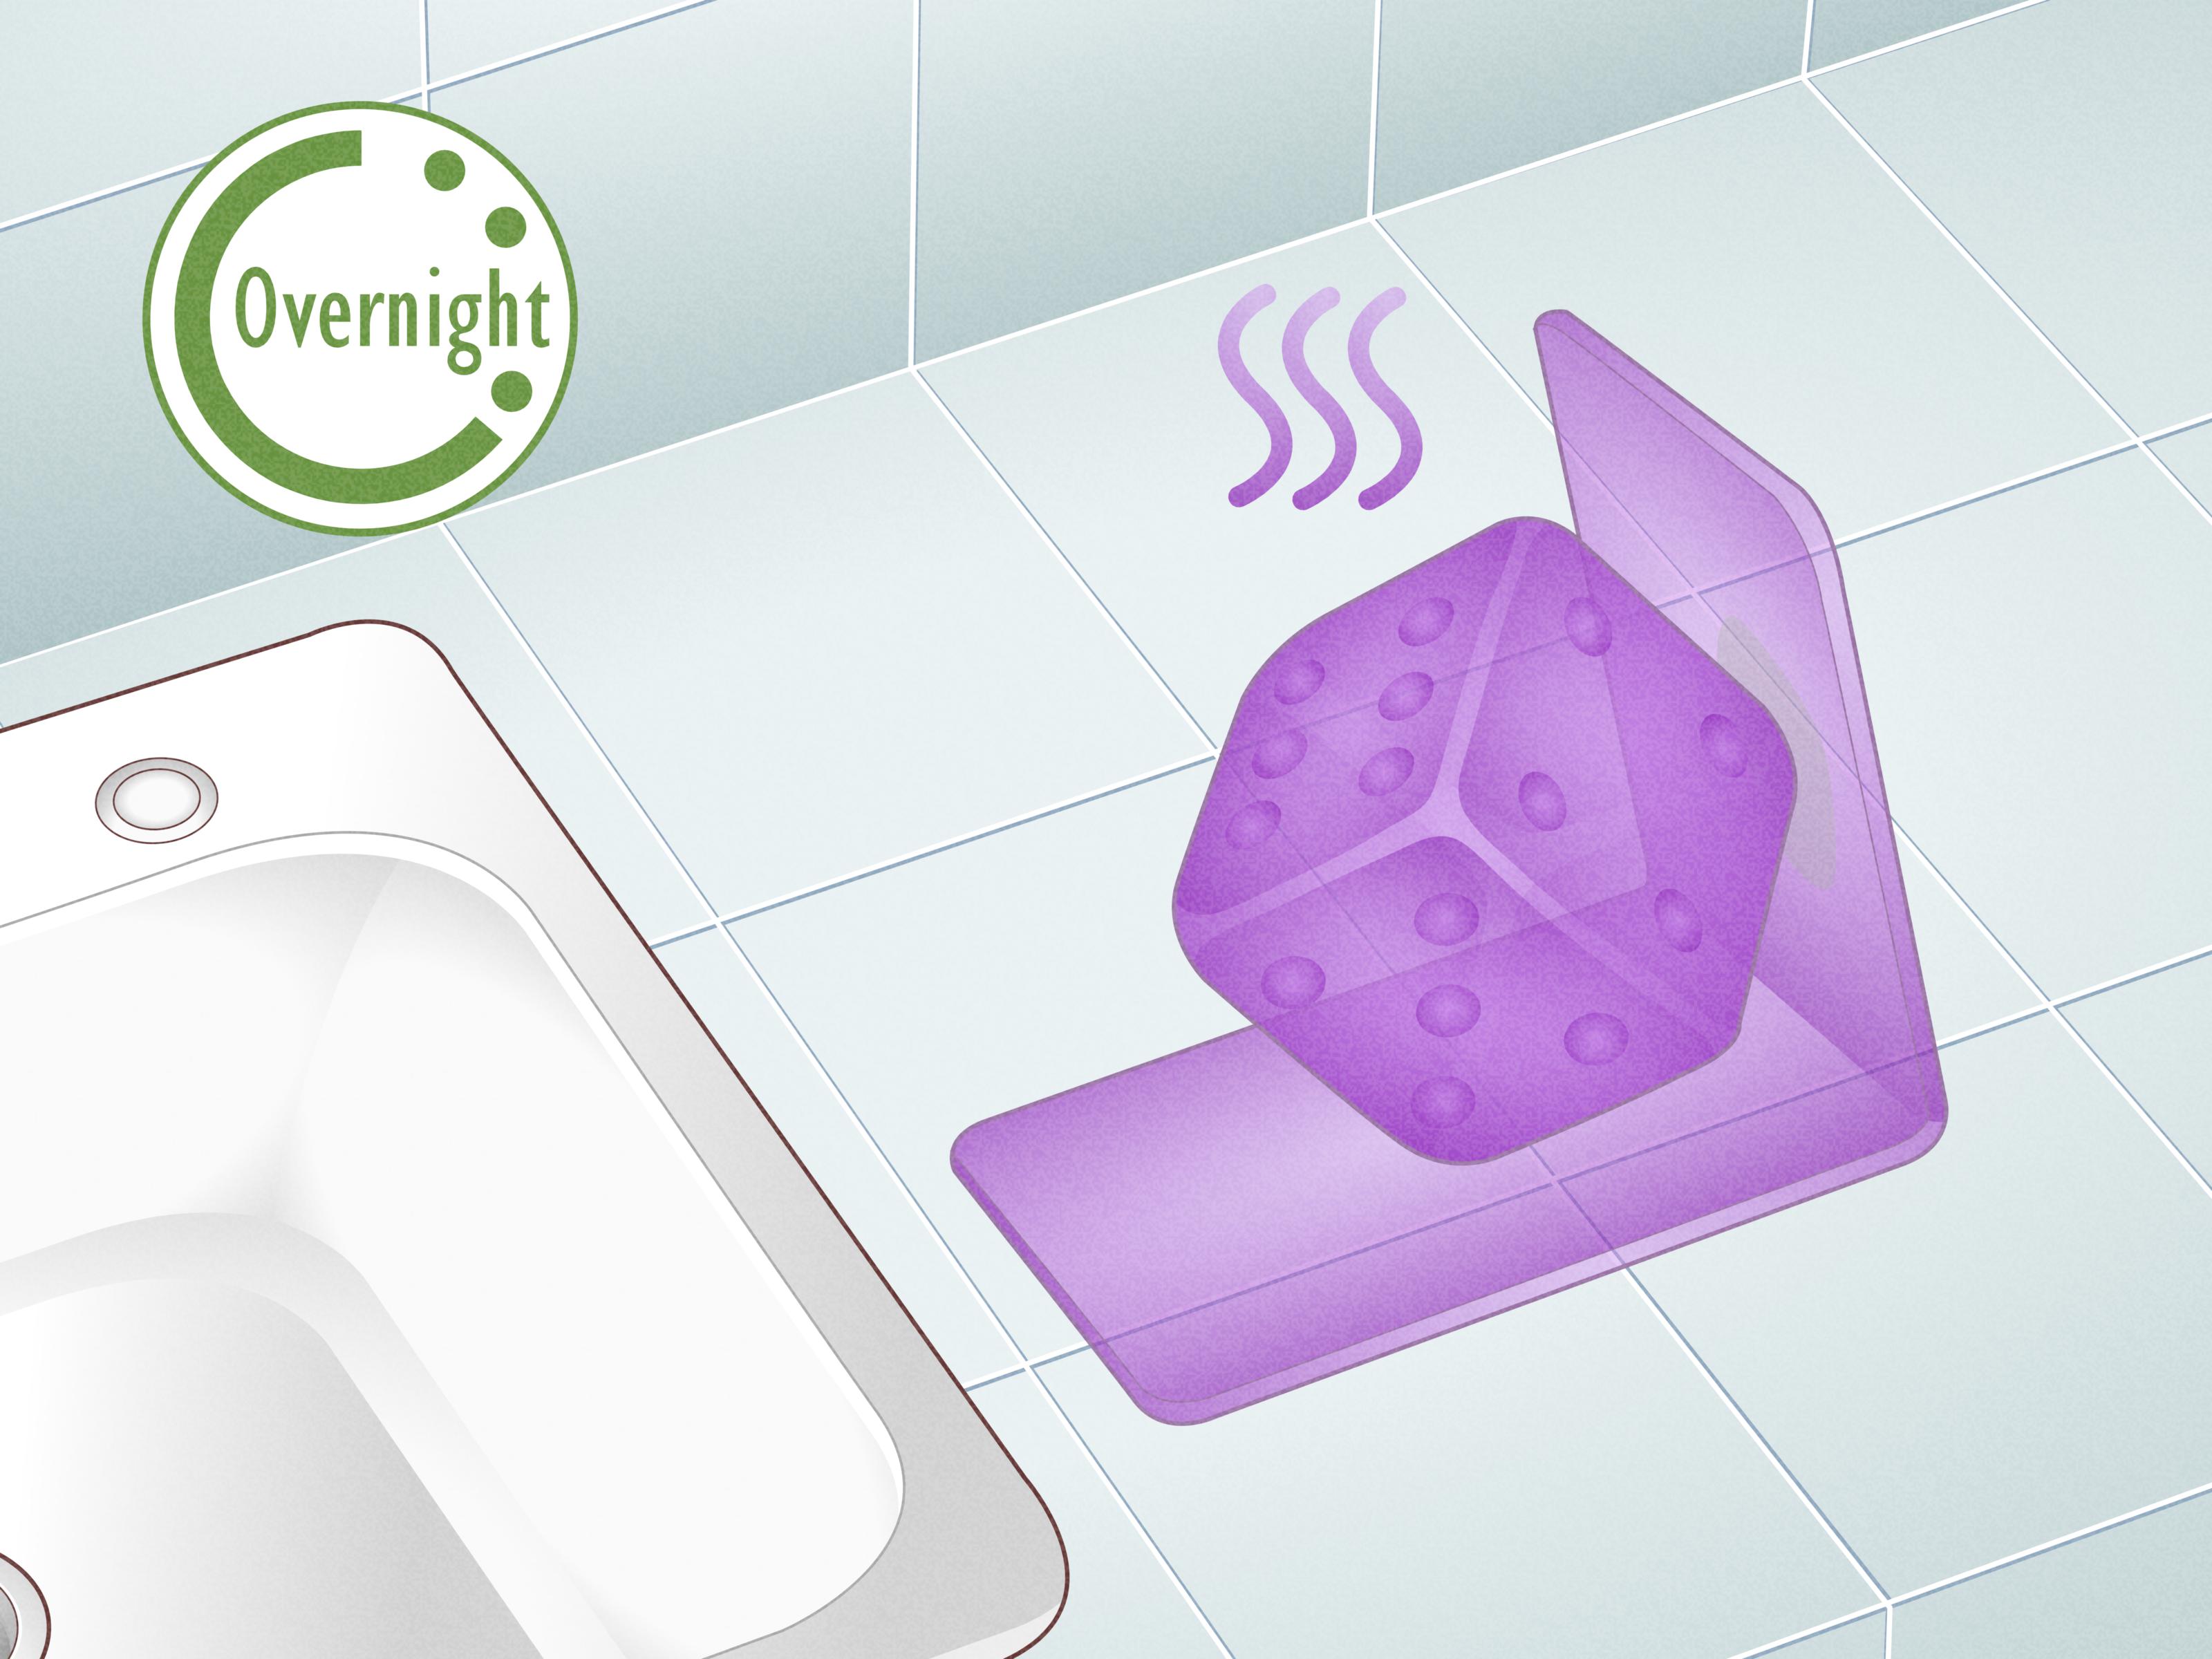
Step 13: Rinse and Wash the Dyed Acrylic
When the color looks right, remove the piece and place it in warm soapy water. Rinse gradually with warm water, then cooler water, until excess dye stops running. Do not shock thin acrylic with ice-cold water immediately after the hot bath, because sudden temperature changes can add stress.
Step 14: Dry and Inspect the Finish
Pat the acrylic dry with a soft cloth and let it air-dry completely. Inspect it in natural light. If the color is too light, you can repeat the dye bath. If it is uneven, a second shorter bath with gentle movement may help. If the surface is cloudy or crazed, the acrylic was likely exposed to too much heat, stress, or an incompatible cleaner before dyeing.
Best Dye Colors for Acrylic Plastic
Transparent acrylic tends to look beautiful in jewel tones: amber, ruby, teal, violet, smoke gray, and deep blue. Lighter colors produce a subtle stained-glass effect. Black can be tricky because many dyes lean purple, blue, or green when diluted. If you need a true opaque black, paint or vinyl film may be a better choice than dye.
For layered acrylic art, try dyeing several clear pieces in different strengths of the same color. A light blue panel stacked over a darker blue panel creates depth without needing complicated tools. This works especially well for signs, lamp inserts, cosplay gems, and decorative boxes.
Common Mistakes to Avoid
Using the Wrong Dye
Regular all-purpose dye may produce weak results on plastic. A synthetic dye is a better choice because it is formulated for difficult materials. Acrylic plastic is stubborn, so give it the dye equivalent of a persuasive speech.
Boiling Too Hard
High heat can warp acrylic. Keep the water near a controlled simmer and use a thermometer. The dye needs heat, but your plastic does not need a spa day in lava.
Skipping the Cleaning Step
Fingerprints, adhesive residue, polishing compound, and shop dust can all interfere with color. Clean first, dye second, celebrate third.
Expecting Opaque Results
Dye changes the color of the plastic surface, but it usually does not create a paint-like coating. If you want a solid, opaque finish, use plastic-safe spray paint, acrylic paint designed for plastics, or colored acrylic sheet instead.
Troubleshooting Dyed Acrylic
The Color Is Too Light
Return the acrylic to a stronger dye bath for another 10 to 20 minutes. Make sure the bath stays hot and the piece keeps moving. Light tinting is normal on some acrylic formulas.
The Color Is Uneven
Uneven color usually comes from poor cleaning, too little movement, or contact with the pot. Clean the piece again with mild soap, then try a second dye bath while rotating it more often.
The Acrylic Warped
The water was too hot, the piece touched the bottom, or the acrylic was too thin for the process. For future attempts, lower the heat slightly, suspend the piece in a strainer, and reduce dye time.
The Surface Looks Cloudy
Cloudiness can come from scratches, harsh cleaners, overheating, or stress cracks. Acrylic is clear and dramatic, which means it shows every mistake like a tiny plastic gossip columnist. Polish minor haze if possible, but severe crazing is usually permanent.
Real-World Experience: What Dyeing Acrylic Plastic Actually Feels Like
The first thing you notice when dyeing acrylic plastic is that the process rewards calm people. It is not difficult, but it does not love chaos. The dye bath sits there looking harmless, the acrylic piece looks clean and ready, and then five minutes later you realize the whole project depends on slow stirring, steady heat, and not getting impatient. That is the secret: most bad acrylic dye jobs are not caused by mysterious chemistry. They are caused by rushing.
In practice, small pieces are much easier than large panels. Charms, earrings, model parts, keychains, and tiny display pieces can be rotated easily with tongs. They color more evenly because the dye bath can surround them from all sides. Large flat pieces are more demanding. They want to float, lean against the pot, or trap bubbles underneath. If you are dyeing a panel, move it often and check both sides. A pale stripe down one edge usually means that edge was resting against something.
Color testing is also more important than people expect. A piece that looks perfect in the pot may dry lighter. On the other hand, leaving acrylic in too long can create a shade that is moodier than planned. If you are aiming for a delicate champagne tint and walk away to answer a text, you may come back to “dramatic antique orange.” Not always bad, but not always the assignment.
Another lesson: clear acrylic shows quality differences. A polished cast acrylic piece often looks richer after dyeing than a cheap scratched scrap from the bottom of a craft bin. Surface condition matters. If the piece is dusty, oily, or covered in tiny scratches, the dye does not magically hide that. It may highlight it. Clean acrylic behaves better, and polished edges can look especially beautiful after tinting because they catch the light like colored glass.
The most satisfying projects are the ones that use translucency on purpose. Dyed acrylic is excellent for sun catchers, LED diffusers, miniature windows, costume gems, display risers, and layered wall art. It is less ideal for parts that will be handled constantly, scraped, washed with harsh cleaners, or left in strong sunlight for long periods. Like many colorful things in life, it appreciates gentle treatment and a little respect.
If you are new to this, start with a scrap piece and a medium color such as teal, purple, or amber. These shades tend to show visible results without demanding perfect darkness. Once you understand timing, heat, and movement, you can experiment with gradients by dipping only part of the acrylic into the bath, then lowering it deeper every few minutes. The result can look surprisingly professional, even if your setup is just a craft pot, gloves, and a suspiciously colorful spoon.
Conclusion
Dyeing acrylic plastic is a creative way to turn plain clear pieces into custom tinted parts with a polished, glass-like look. The process works best when you use synthetic dye, keep the bath near a controlled simmer, clean the acrylic carefully, and move the piece often. The big rules are simple: test first, avoid harsh solvents, use a dedicated dye pot, and do not overheat the plastic.
Will every piece of acrylic dye perfectly? No. Acrylic has opinions. But with patience and a few test runs, you can create beautiful translucent colors for crafts, displays, signs, jewelry, props, and decorative projects. Treat the material gently, respect the heat, and remember that the difference between “custom artisan finish” and “plastic pancake” is often just a thermometer and five extra minutes of attention.