Your Xbox One is supposed to play games, not adopt them. But every once in a while, a disc decides to move in permanentlyright when you’re trying to swap to something else (usually when friends are watching, because of course). The good news: most “stuck disc” situations have a clean, low-drama fix. The even better news: you don’t need a screwdriver set and a YouTube engineering degree to get your game back.
This guide walks you through the safest, most effective ways to eject an Xbox One discstarting with the easy stuff and ending with the “paper clip hero” method. We’ll keep it practical, avoid sketchy tricks, and help you know when it’s time to call in professional help.
Before You Start: A 30-Second Reality Check
1) Make sure your Xbox can even take discs
This sounds obvious until it isn’t: the Xbox One S All-Digital Edition has no disc drive. If your console is all-digital, there’s nothing to eject (and also no slot for a disc to be stuck in). If you do have a disc slot, you’re in the right place.
2) Know what “stuck” looks like
- You press the Eject button and hear a whir/grind, but nothing comes out.
- The disc comes out a tiny bit, then slides back in like it changed its mind.
- The console is frozen or unresponsive and the eject button does nothing.
- You can hear the drive trying… and failing… like a tiny robot sighing.
3) Quick safety checklist
- Wash/dry your hands (fingerprints + discs = eternal smudgy regret).
- Clear space around the console so you can grab the disc if it partially ejects.
- Don’t force anything with knives, tweezers, or “whatever’s in the junk drawer.”
How to Eject an Xbox One Disc: 7 Steps
Follow these steps in order. Each one ramps up gently from “normal” to “manual override,” so you’re not accidentally skipping straight to the nuclear option.
Step 1: Confirm the console isn’t “all-digital” and that a disc is actually inside
Look at the front of your Xbox. If there’s a disc slot, great. If you’re unsure whether a disc is inside:
- Check the Home screen for a disc game tile (often shows the inserted game).
- Listen closely: a disc in the drive often makes a brief spin-up sound when you power on or launch a title.
- If the console was moved recently, the disc may be slightly mis-seateddon’t shake the console. We’ll handle it safely below.
Step 2: Use the regular Eject button (yes, really) and do it “the right way”
This step sounds basic, but it matters because disc drives can be picky:
- Turn the console on (or wake it) so it’s not mid-power-down.
- Press the Eject button oncefirm but gentle.
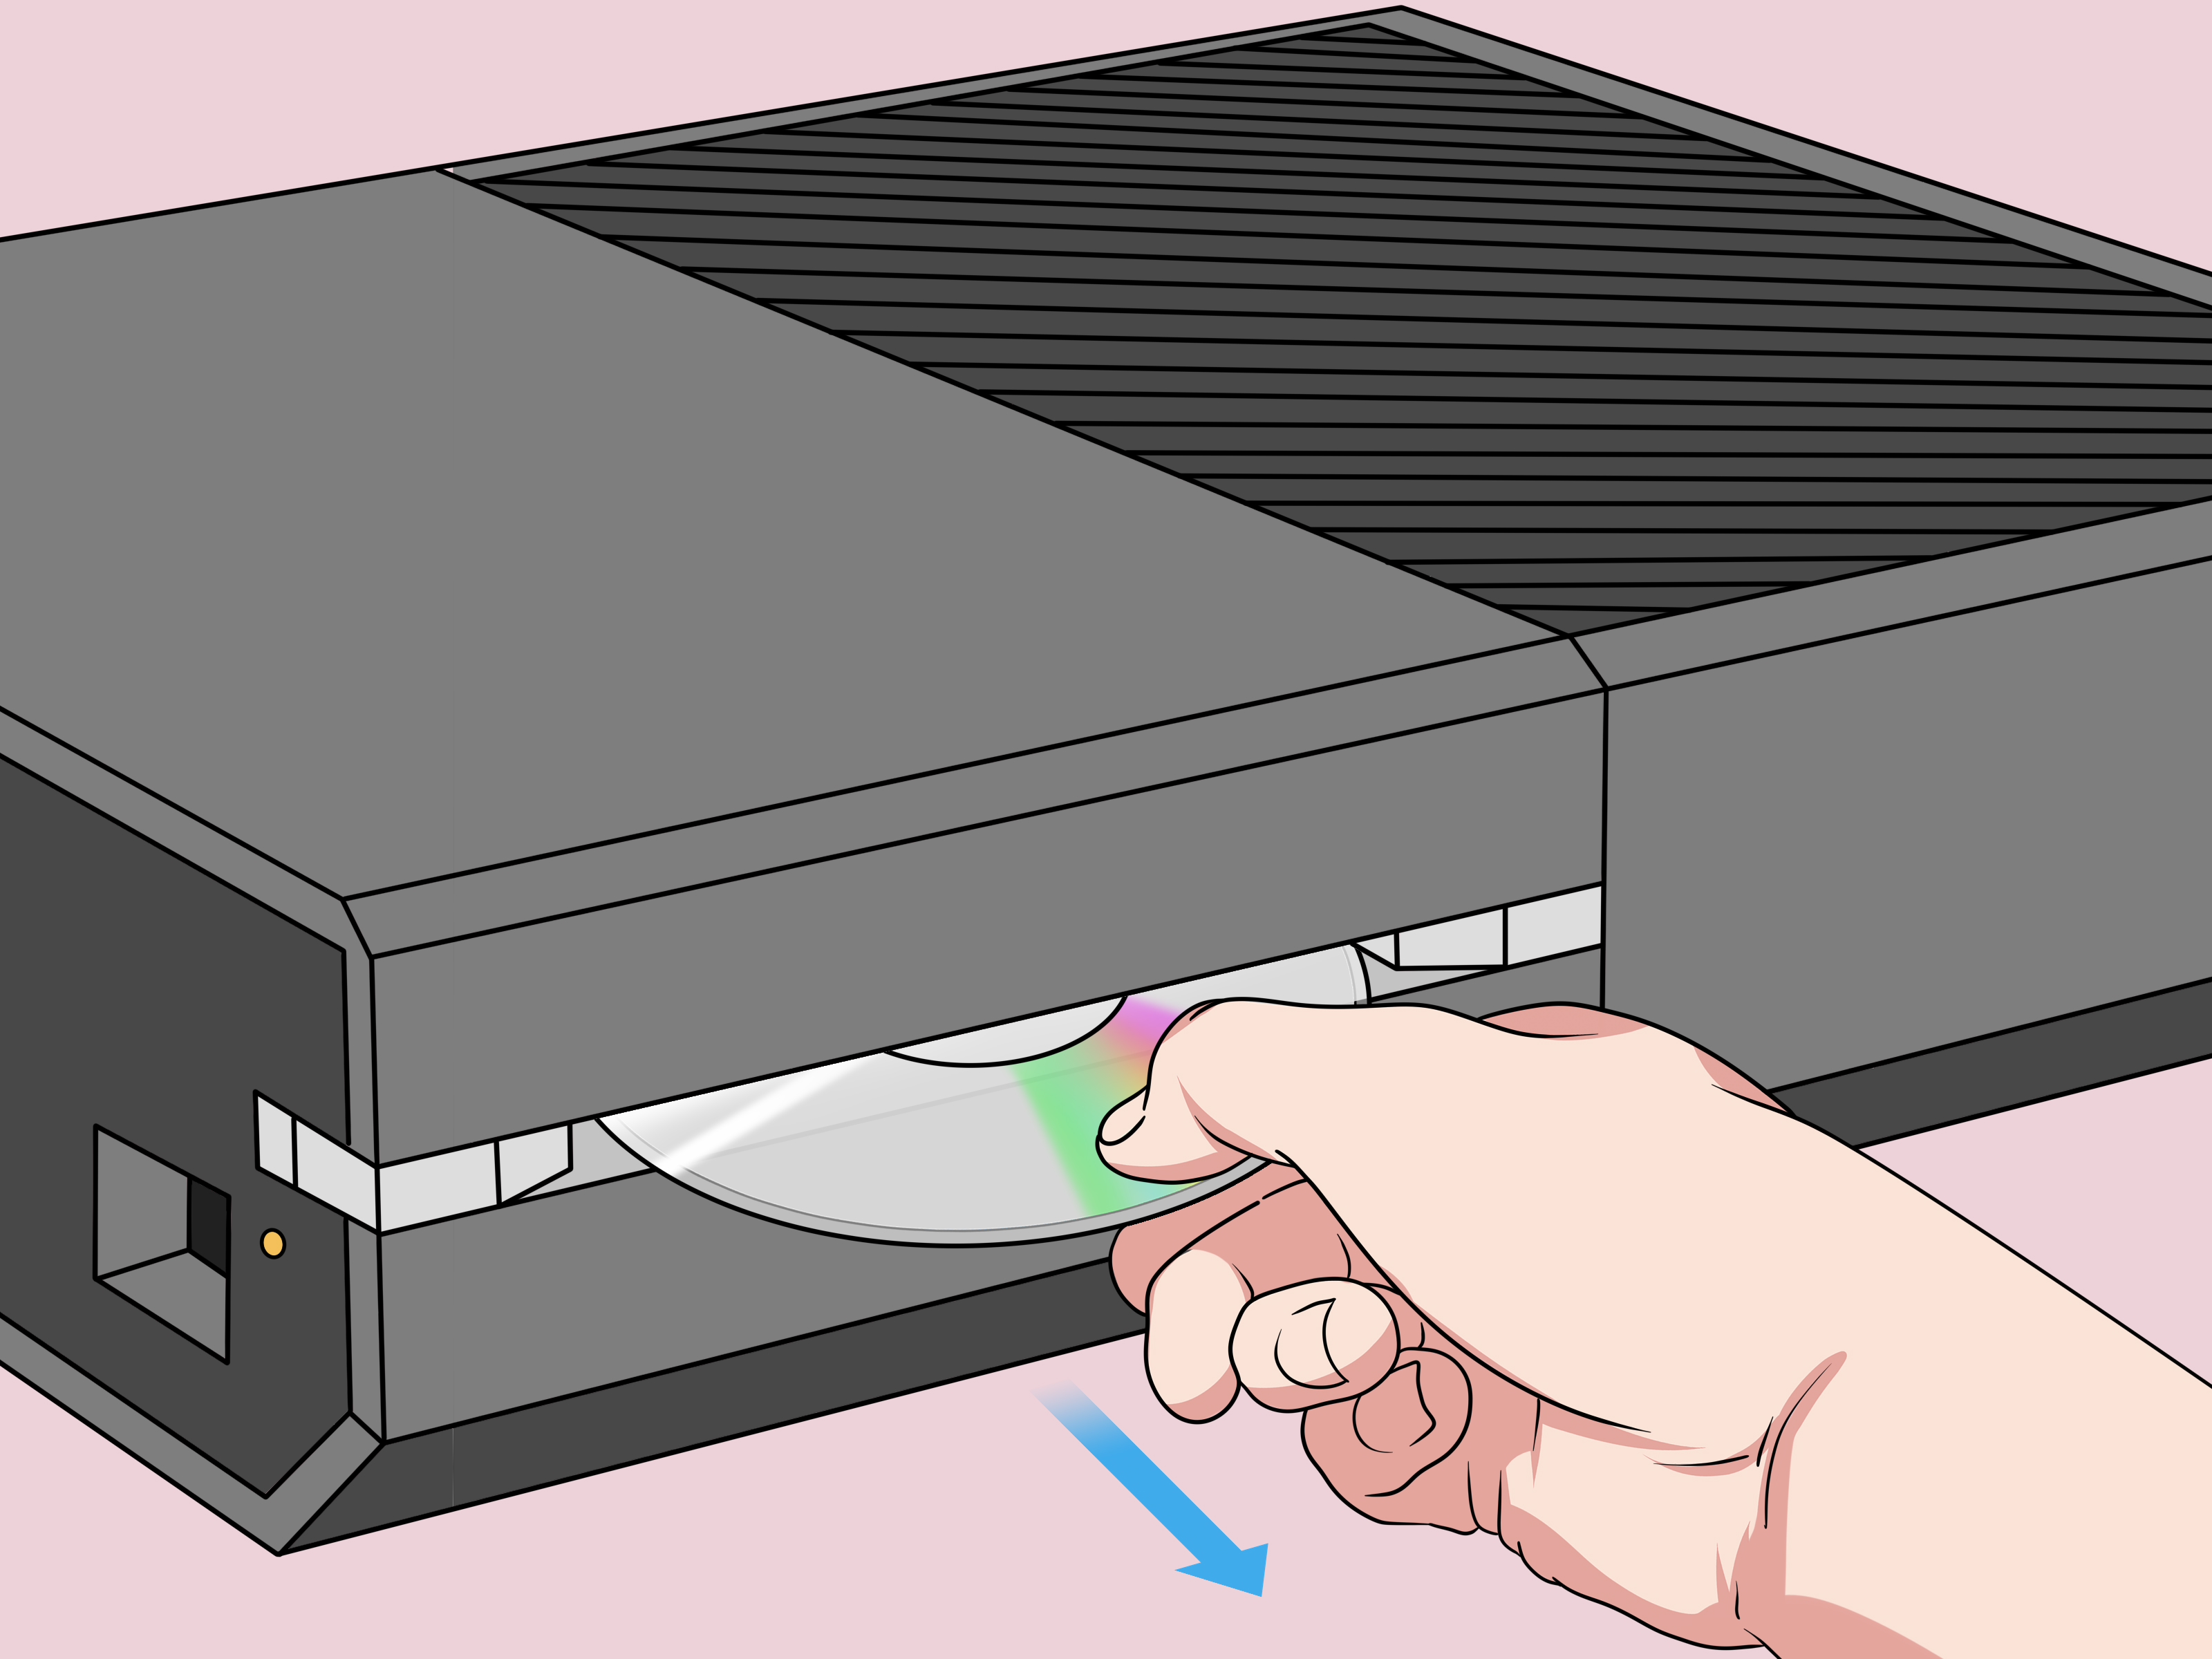
- When the disc starts to come out, support it with your hand and pull it out smoothly.
If the disc peeks out only a little, don’t pinch it with your fingernails like you’re trying to win a tiny claw machine prize. Use a clean microfiber cloth to grip and pull it out without scratching.
Step 3: Restart the Xbox, then try Eject again
A surprising number of stuck-disc moments are actually software hiccupsespecially if the console froze, hung on an app, or got stuck resuming from sleep. A restart resets the system without turning your console into a science project.
- Hold the Xbox button on your controller to open the power menu.
- Select Restart console.
- After it boots back up, press the Eject button again.
If you’re thinking, “But I already restarted it by turning it off and on,” that’s like saying you “restarted your laptop” by closing the lid. A real restart is a fresh reset, not a nap.
Step 4: Do a full power cycle (the “unplug and breathe” method)
If a restart didn’t help, go one level deeper: a full power cycle clears more stubborn glitches and resets power state.
- Press and hold the Power button on the console for about 10 seconds until it shuts down.
- Unplug the power cable from the console (and from the wall if you want to be extra thorough).
- Wait at least 10–30 seconds (this mattersgive it a moment).
- Plug it back in, turn it on, then press Eject.
If you have an original Xbox One with an external power supply (“power brick”), power cycling can be especially helpful when the console is acting haunted.
Step 5: Fix the common “physical” causeswithout being reckless
If the Xbox is trying to eject but can’t, the issue is often mechanical friction, dust, or an awkward disc. Try these safe tweaks:
- Check for gunk: Dust around the slot can interfere. Use a soft, dry cloth to wipe the area (no liquids).
- Remove thick labels: If someone put a label sticker on the disc (why?) it can snag inside slot-loading drives.
- Change orientation: If your console can be positioned vertically or horizontally, switching orientation can sometimes help a disc settle correctly.
- Don’t “yank” mid-motor: If the drive is actively pulling, wait a second, then try Eject again.
What not to do: don’t jam a card, knife, or screwdriver into the slot. That’s how “stuck disc” becomes “stuck disc + broken drive.”
Step 6: Use the manual eject hole (paper clip method)
If your Xbox One still won’t give up the disc, this is the official “manual override” approach on disc-capable Xbox One models. You’ll need a large paper clip (straightened) or a similar tool with about 2 inches (5 cm) of length.
- Power off the console completely and unplug all cables.
- Straighten the paper clip so you have a long, straight section.
- Find the manual eject hole:
- On many models it’s near the disc slot area, often along a side vent or beneath/near vent openings.
- Some Xbox One models mark the area with a small indicator (often orange) near where the hole is located.
- If you can’t spot it quickly, search “manual eject hole” + your exact model (Xbox One, Xbox One S, Xbox One X) for a diagram.
- Gently insert the paper clip into the manual eject hole until you feel resistance.
- Apply steady pressure. The disc should pop out partway.
- Remove the disc carefully (a microfiber cloth helps you grip without smearing or scratching).
Two important notes:
- Be patient: The hole can be tricky to locate on certain models because it blends into the vent pattern.
- Use steady pressure: Don’t stab or jab. You’re pressing a mechanism, not trying to win a sword fight.
Step 7: If it still won’t eject, stop forcing it and choose the right next move
If manual eject failsor the drive makes loud clicking/grinding noisesthere may be a mechanical problem (rollers, gears, or alignment). At this point, repeated force can turn a repairable issue into a “new console day.”
- If you’re under warranty: contact Xbox Support for repair options.
- Before sending a console in: always try to remove the disc first. Repair instructions often warn that discs aren’t guaranteed to be returned if left inside.
- If you’re out of warranty: consider a reputable local repair shop. Opening the console yourself can be risky unless you know what you’re doing.
Why Your Xbox One Disc Won’t Eject (The Usual Suspects)
Knowing the “why” helps you prevent repeat performances:
- Software hang: the system is frozen or stuck resuming from sleep.
- Power state glitch: the console needs a full power cycle to reset internal hardware state.
- Dust/debris: small particles can affect the slot-loading mechanism over time.
- Disc condition: sticky residue, warped discs, or thick labels can snag.
- Drive wear: older drives may struggle to grip/eject reliably.
How to Prevent a “Stuck Disc” Encore
- Keep discs clean: store them in cases, not on the coffee table under a pizza box.
- Give the console airflow: heat and dust are a rough combo for mechanical parts.
- Avoid moving the console with a disc spinning: if you have to move it, fully power down first.
- Skip sticker labels: slot-loading drives are not sticker-friendly.
- Don’t force “half-ejected” discs: if it’s struggling, restart/power cycle before pulling harder.
Real-World Experiences: What It’s Like When Your Xbox “Eats” a Disc (And What Usually Works)
If you’ve never dealt with a stuck Xbox One disc, congratulationsyou’re living in the blessed timeline. For everyone else, the experience is weirdly consistent: first you press Eject once, nothing happens, and you assume you missed the button. Then you press it again, harder, like the console responds to intimidation. It does not. That’s when the bargaining begins: “If you give me back this disc, I promise I’ll finally try that digital library thing.”
In a lot of cases, the culprit is a simple software hiccup. Players often report the same pattern: the Xbox was left in sleep mode, a streaming app froze, or a game crashedand suddenly the disc drive stops behaving like a normal disc drive. That’s why a proper Restart (not just a quick power toggle) fixes so many “stuck” situations. The drive itself isn’t always jammed; sometimes the system just isn’t sending the right signal to release it.
When a restart doesn’t do it, the full power cycle becomes the MVP. This is the moment where you unplug the console, stare at it for 10–30 seconds, and pretend you’re giving it time to reflect on its choices. But that wait actually matters: it helps reset power state and clears stubborn glitches. People who swear “unplugging didn’t work” often admit they replugged it immediatelybasically the tech equivalent of turning around in the doorway and declaring a vacation “over.”
Then there’s the scenario where the disc almost ejectslike it pokes out a half-inch and quits. This is where the “gentle grip” approach saves the day. A microfiber cloth gives you better hold without scratching the disc, and it keeps your hands from smearing fingerprints on the read surface. The key is not to yank like you’re starting a lawn mower. Slow, steady, straight out.
The paper clip method is the most dramatic because it feels like you’re doing a secret cheat code for hardware. The experience is also very… human: you hunt for a tiny hole that’s camouflaged inside a sea of vent holes, you question your eyesight, you question the designer, and then you finally find itonly to discover your paper clip is too short. (This is why guides emphasize using a larger paper clip with enough length.) Once the clip is long enough, you usually feel a bit of resistance, then the disc pops out just enough to grab.
What people regret most is trying “creative” methods firstsliding random objects into the slot, applying force at odd angles, or tapping the console like it’s a stuck vending machine. A light repositioning (switching the console from vertical to horizontal, or vice versa) can help, but anything beyond that risks damage. If the disc drive makes loud clicking or grinding, that’s your sign to stop experimenting. At that point, it’s less “stuck disc” and more “drive needs attention.”
Finally, one hard-earned lesson comes up again and again: if you’re going to send your Xbox in for repair, remove the disc first. Many repair processes warn that discs left inside aren’t guaranteed to come back. So if your favorite game is trapped, it’s worth taking the time to work through these steps carefully before you hand the console off.
Conclusion
Most Xbox One disc eject problems come down to one of three things: a temporary software glitch, a power-state issue, or a mechanical snag. That’s why the smartest approach is a calm escalation: try the eject button, restart, power cycle, then use the manual eject hole only when needed. If the drive is still refusing to cooperateor sounding like it’s chewing gravelpause the DIY attempts and move to support or repair options. Your goal isn’t just to get the disc out today; it’s to keep the disc drive working tomorrow.