Editor’s note: This guide is based on widely used traditional origami frog methods, beginner-friendly paper-folding practices, and real classroom craft tips. No source links are included so the article stays clean for web publishing.
Learning how to fold an origami frog is one of those small joys that proves paper has been secretly talented all along. One minute, you are holding a plain square sheet. A few folds later, you have a tiny paper amphibian that can sit proudly on a desk, decorate a card, orif you fold the back spring correctlyhop across the table like it has somewhere very important to be.
The origami frog is popular because it hits the sweet spot between easy and impressive. It is simple enough for beginners, kids, teachers, and anyone who still occasionally loses arguments with wrapping paper. But it also teaches several useful origami basics: clean creases, symmetry, squash-style shaping, layered folds, and spring folds. Once you understand this model, many other animal origami projects begin to feel less mysterious.
This tutorial walks you through 10 clear steps to make an origami frog using one square piece of paper. You do not need glue, scissors, tape, or a degree in frog engineering. A flat surface, patient fingers, and a willingness to redo a crease or two will do the job nicely.
What You Need to Make an Origami Frog
Before folding, gather a few basic supplies. Origami rewards preparation. It does not require much, but starting with the right paper makes the process much smoother.
- One square sheet of paper: Origami paper around 6 x 6 inches is ideal for beginners.
- A flat surface: A desk, table, or smooth floor works well.
- Optional markers: Use them to draw eyes, spots, or a very serious frog smile.
- Optional ruler or bone folder: Helpful for pressing crisp creases, though your fingernail works too.
Best Paper for an Origami Frog
Thin origami paper folds cleanly and makes a neat frog. Standard printer paper can work too, but it should be cut into a square first. If the paper is too thick, the final folds may become bulky, especially near the frog’s back legs. If the paper is too flimsy, the frog may look cute but jump like it just finished a large lunch.
For a jumping frog, medium-weight paper is best. It needs enough stiffness to create a spring but enough flexibility to handle multiple layers. If you are teaching kids, start with slightly larger paper because tiny folds can frustrate small hands.
How to Fold an Origami Frog: 10 Steps
Follow these steps slowly and crease each fold firmly. Origami is not a race, although once your frog is finished, it may try to become one.
Step 1: Start With a Square Sheet of Paper
Place your square paper on the table with the colored side facing down if your paper has one colored side. This way, the color will appear on the outside of the finished frog.
Turn the paper so it looks like a diamond, with one corner pointing toward you. Fold the paper in half from top to bottom, bringing the top corner down to meet the bottom corner. Crease well, then unfold it. Next, fold it in half from left to right, crease again, and unfold.
You should now have two crease lines crossing through the center. These guide folds help keep the frog balanced and symmetrical.
Step 2: Make Diagonal Creases
Now fold the paper diagonally from one corner to the opposite corner. Crease firmly, then unfold. Repeat with the other two corners. When you unfold the paper, you should see an “X” crossing through the center, along with the earlier horizontal and vertical creases.
These creases are like road signs for the paper. They tell it where to collapse later. Without them, the paper may still fold, but it will complain silently by becoming lopsided.
Step 3: Collapse the Paper Into a Triangle Base
Bring the left and right sides of the paper inward using the crease lines you made. The top and bottom points should come together naturally, forming a layered triangle. Press the shape flat.
This is often called a waterbomb base, a common starting form in origami. Do not worry about the name; no water or bombs are involved. You should now have a triangle with two flaps on each side.
Make sure the open edges are facing you and the main point of the triangle is facing away. If the triangle looks uneven, gently reopen it and collapse it again along the same creases.
Step 4: Fold the Front Legs
Look at the top layer of your triangle. Take the right corner of the top flap and fold it upward toward the top point of the triangle. Crease it firmly. Repeat with the left corner.
You should now see a diamond shape on the top layer. These folded flaps will become the frog’s front legs. Try to keep both folds even so your frog does not look like it skipped leg day on one side.
Step 5: Shape the Front Feet
Take one of the small flaps you just folded upward and fold it outward at an angle. This creates one front foot. Repeat on the other side, matching the angle as closely as possible.
The feet do not need to be perfect, but symmetry helps the finished frog sit nicely. If you want a more playful frog, angle the feet wider. If you want a sleeker frog, keep them closer to the body.
At this stage, the paper should begin to look less like a triangle and more like a creature with ambition.
Step 6: Turn the Paper Over
Flip the model over carefully. The front legs should now be underneath, resting against the table. You will work with the plain triangular side.
Fold the right side of the triangle toward the center line, then fold the left side toward the center line. The two edges should meet neatly in the middle. Crease both folds well.
This step narrows the body and gives the frog a more recognizable shape. It also prepares the lower layers for the back legs.
Step 7: Fold the Bottom Point Up
Take the bottom point of the model and fold it upward toward the top. The fold should land around the middle of the body, depending on the size of your paper and the shape you prefer.
Press the crease firmly. This fold begins to form the frog’s lower body. The paper may feel a little thick now, especially if you are using printer paper. That is normal. Go slowly and use your fingernail to sharpen the crease.
Step 8: Create the Back Legs
Fold the lower side flaps outward to form the frog’s back legs. These legs should angle away from the body, wider than the front legs. Think of how a real frog crouches before jumping: back legs wide, body low, attitude confident.
Crease both legs carefully. If one leg sticks out farther than the other, adjust it before moving on. The back legs help determine how stable the frog looks and how well it jumps.
Step 9: Make the Jumping Spring Fold
This is the magic step. Fold the frog’s lower body upward, then fold part of it back down in the opposite direction, creating a small accordion fold. This folded section acts like a spring.
Press the folds very firmly. The spring needs a sharp crease to work well. If the paper feels bulky, flatten it gently with your thumb. Do not crush the whole frog; just strengthen the fold where the back spring sits.
When you press the back of the frog and release it, this spring fold helps launch the frog forward. It may not win the Olympics, but it should hop well enough to impress nearby humans.
Step 10: Flip, Decorate, and Test Your Frog
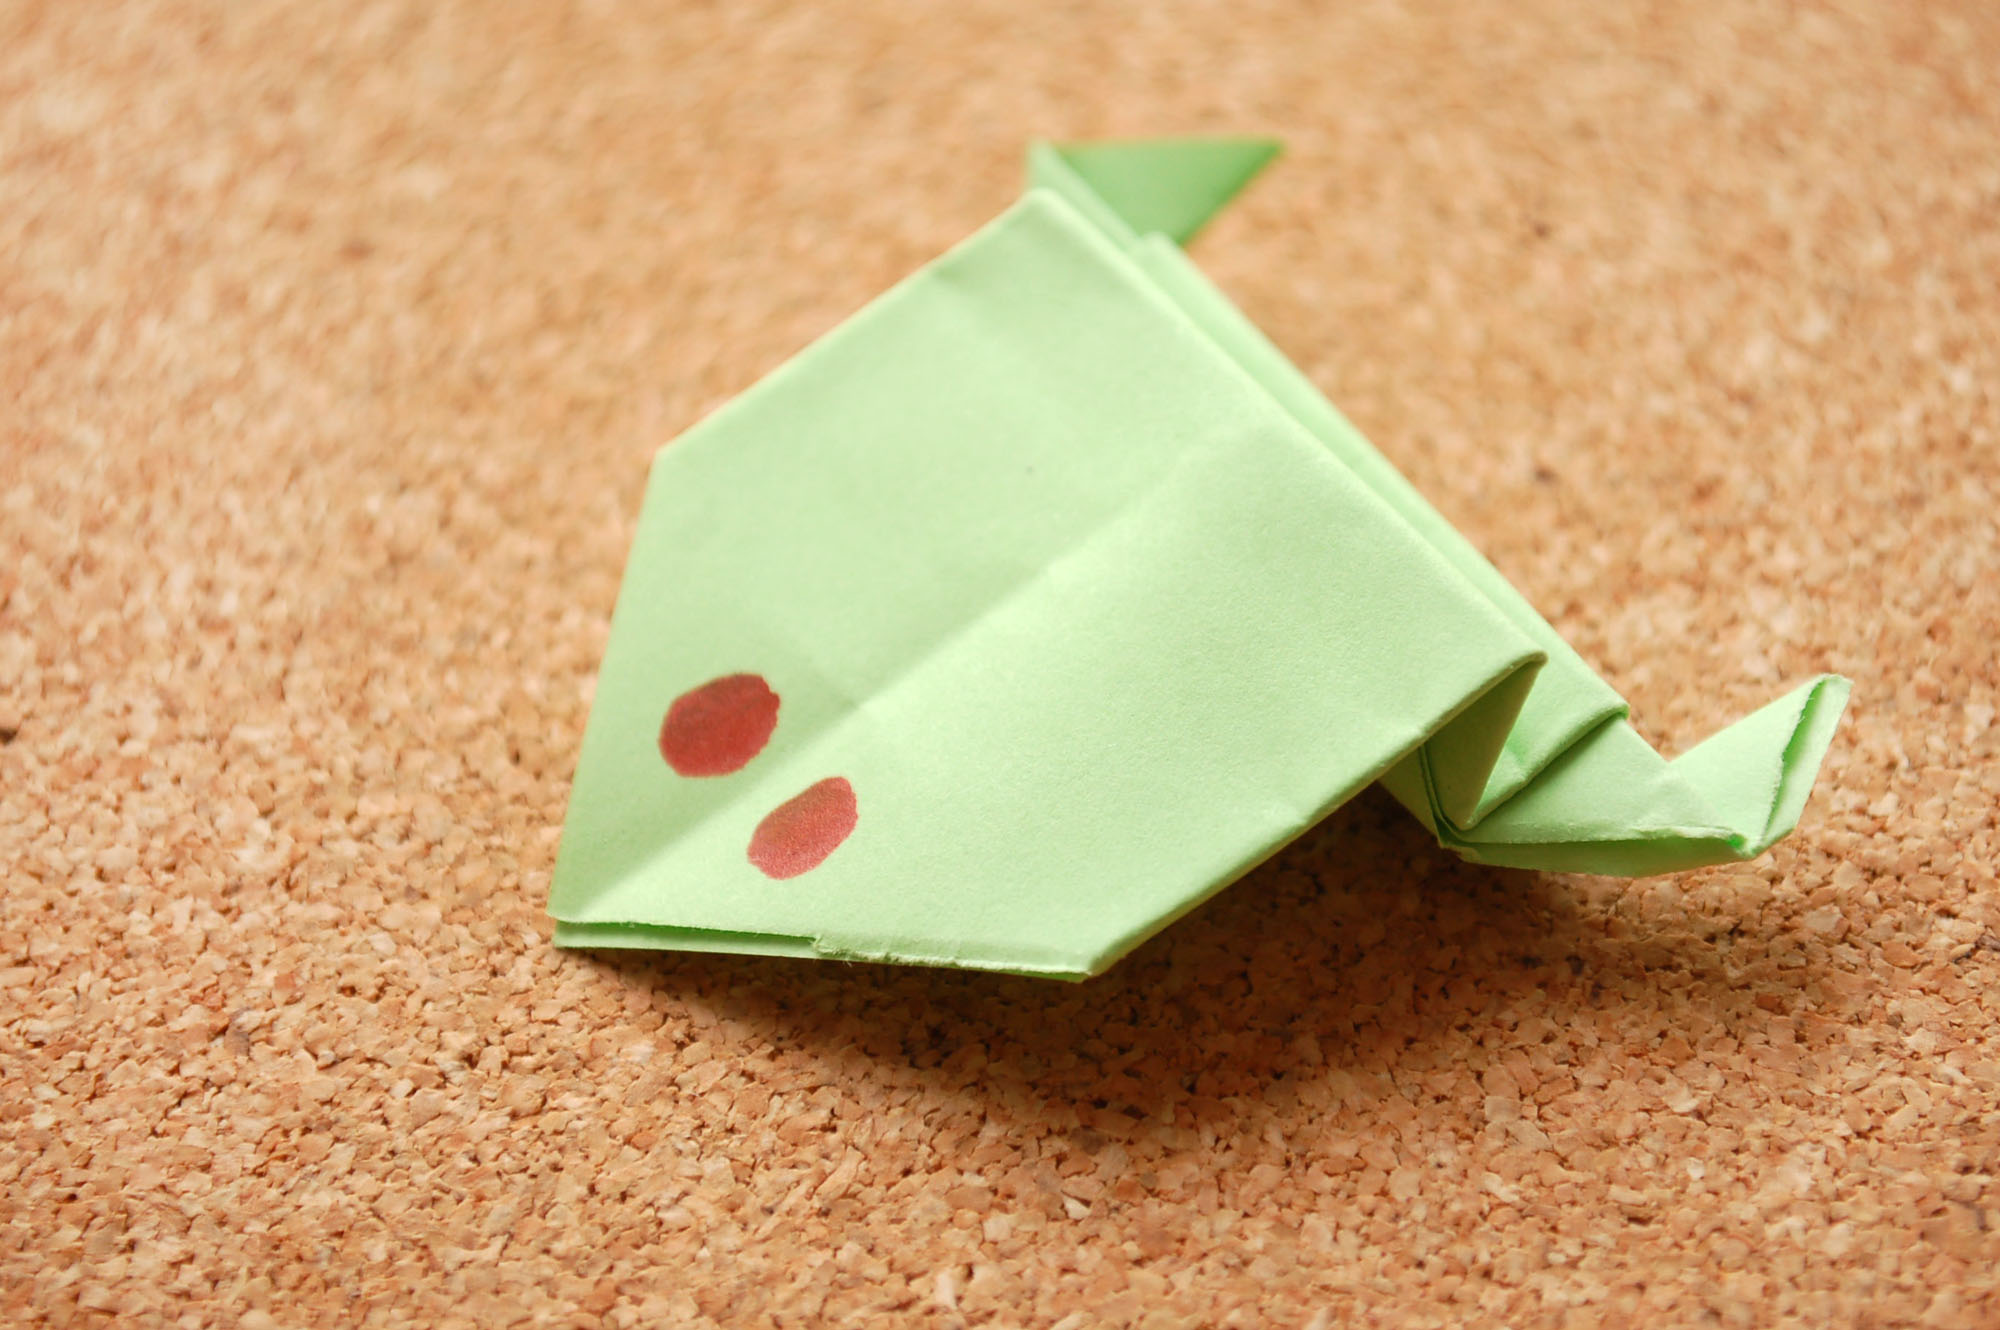
Turn your origami frog over. Adjust the legs so it sits flat. Add eyes, spots, a mouth, or a tiny crown if your frog clearly has royal energy.
To make it jump, place the frog on a flat surface. Press down gently on the back end with one finger, then slide your finger off quickly. The frog should spring forward. If it barely moves, sharpen the back fold and try again. If it flips wildly, congratulations: you have made an athletic frog with dramatic flair.
Troubleshooting: Why Is My Origami Frog Not Jumping?
If your frog refuses to jump, do not take it personally. Paper frogs are known for being moody until their spring fold is just right.
The Creases Are Too Soft
A jumping frog needs crisp creases, especially in the back fold. Press the spring fold again with your fingernail or the edge of a ruler. The sharper the crease, the better the stored tension.
The Paper Is Too Thick
Thick paper can make the final folds bulky. If the frog looks puffy and stiff, try thinner origami paper. Lightweight paper usually folds more cleanly and produces a better shape.
The Back Legs Are Uneven
If one back leg points higher or farther out than the other, the frog may jump sideways. Refold the legs so they match. A little sideways jump is charming; a full table dive is less ideal.
The Spring Fold Is Too Large or Too Small
If the accordion fold is too large, the frog may flip. If it is too small, the frog may barely move. Experiment with the fold size until the frog jumps forward instead of staging a paper gymnastics routine.
Fun Ways to Use Origami Frogs
Once you know how to make an origami frog, you can turn the activity into games, decorations, or classroom projects. Origami frogs are especially fun because they are interactive. They do not just sit there looking folded and mysterious; they move.
Host a Frog Jumping Contest
Make several frogs and line them up at the edge of a table. Each person gets three jumps. Measure whose frog travels the farthest. For extra fun, create categories such as “longest jump,” “highest flip,” and “most confused landing.”
Create a Paper Pond Scene
Cut out paper lily pads, draw water ripples, and place your frogs around the scene. This makes a cute craft display for classrooms, bedrooms, bulletin boards, or rainy afternoon projects.
Use Frogs for Learning Activities
Teachers can use origami frogs to practice sequencing, following directions, geometry vocabulary, symmetry, fine motor skills, and measurement. Students can fold frogs, predict jump distances, test different paper types, and record results. Suddenly, paper folding becomes art, math, science, and recess energy all at once.
Origami Frog Tips for Beginners
Beginner folders often focus on finishing quickly, but origami works best when you slow down. Every crease affects the next one. If the first folds are uneven, the final frog may look like it wandered out of a swamp during a windstorm.
- Line up corners before creasing: Do not press the fold until the edges match.
- Use both hands: Hold the paper steady with one hand and crease with the other.
- Practice with scrap paper: Save the fancy paper for your second or third frog.
- Fold on a hard surface: Soft surfaces create weak creases.
- Do not panic if it looks strange halfway through: Many origami models go through an awkward phase. Honestly, same.
Creative Origami Frog Variations
After mastering the basic paper frog tutorial, try changing the design. Use green paper for a classic frog, patterned paper for a party frog, or recycled magazine pages for a colorful surprise. You can draw big cartoon eyes, tiny nostrils, stripes, spots, or even a speech bubble that says “ribbit,” because subtlety is optional in frog art.
You can also adjust the leg angles. Wider back legs make the frog look more playful. Narrower folds create a cleaner, more compact frog. Smaller paper makes tiny frogs that are adorable but harder to fold. Larger paper is easier for beginners and better for group activities.
Experience Notes: What Folding Origami Frogs Teaches You
There is something surprisingly satisfying about folding an origami frog. At first, it seems like a simple craft: fold here, crease there, flip it over, hope for the best. But after making a few frogs, you start noticing little details that separate a floppy frog from a champion hopper.
The first lesson is patience. The paper does not care how quickly you want results. If you rush the early creases, the later folds will announce your impatience in the most obvious way possible. One leg will be higher, the body will twist, and the frog may look like it has just heard shocking news. Slowing down makes the entire project easier.
The second lesson is precision. Origami does not require expensive supplies, but it does reward careful hands. Matching corners, flattening folds, and checking symmetry make a huge difference. A tiny mistake near the beginning can grow into a noticeable wobble by the end. That does not mean every frog must be perfect. In fact, imperfect frogs often have the most personality. But cleaner folds usually create better jumps.
The third lesson is experimentation. Different paper changes the result. Thin origami paper folds beautifully but may not always jump as strongly. Printer paper can jump well if cut neatly, but it becomes thick near the final spring fold. Construction paper looks bold and colorful, but it may be too stiff for smaller frogs. Testing paper types turns the project into a mini science experiment, with fewer lab coats and more tiny amphibians.
Folding origami frogs is also a great group activity. In a classroom, it encourages students to listen carefully and follow steps in order. At home, it gives kids and adults something screen-free to do together. During craft time, you will often see people help each other without being asked: one person figures out the triangle base, another fixes the back legs, and someone else becomes the official jump-distance judge. It is teamwork, but with more ribbiting.
One of the best moments comes after the final fold. The frog is finished, but the project does not end there. Everyone immediately wants to test it. Some frogs hop forward neatly. Some flip onto their backs. Some spin sideways like they are avoiding responsibility. That playful unpredictability is part of the charm. The origami frog is not just decorative; it invites interaction.
After making several frogs, you may find yourself improving without trying too hard. Your creases become sharper. Your folds line up faster. You understand which parts need pressure and which parts need a gentle touch. That is the quiet magic of origami: the paper teaches your hands through repetition.
So if your first origami frog looks a little odd, keep it. Name it. Let it jump badly with dignity. Then fold another one. By the third or fourth frog, you will probably notice a big improvement. And before long, you may have an entire paper frog family sitting on your desk, silently judging your productivity but looking delightful while doing it.
Conclusion
Learning how to fold an origami frog in 10 steps is a fun, beginner-friendly way to explore paper folding. With one square sheet of paper, you can create a cute frog that sits, decorates, and even jumps when folded correctly. The key is to make clean creases, keep the legs balanced, and press the spring fold firmly.
Whether you are making a quick craft with kids, planning a classroom activity, decorating a paper pond, or simply trying to prove that office paper has hidden athletic potential, the origami frog is a perfect project. It is simple, playful, and just challenging enough to feel rewarding. Fold one frog, then fold another. Very soon, your table may become a tiny amphibian racetrackand honestly, there are worse problems to have.