A facial massage sounds like something reserved for spa days, cucumber water, and people who somehow own matching towel sets. But the good news is this: you can give yourselfor someone elsea relaxing, skin-loving facial massage at home with clean hands, a little slip from facial oil or moisturizer, and a few gentle techniques.
Facial massage may help ease tension in the jaw, forehead, temples, and neck. It can also temporarily reduce puffiness, encourage a healthy-looking glow, and turn a regular skincare routine into a tiny moment of peace. No, it will not magically erase 10 years overnight. If it did, we would all be massaging our cheeks in traffic. But when done correctly, it can make your skin feel refreshed, your face look more awake, and your nervous system whisper, “Thank you.”
This guide explains how to give a facial massage in 15 easy steps, including preparation, massage direction, pressure level, safety tips, and real-world experience-based advice so your routine feels luxurious without becoming complicated.
Before You Start: What Facial Massage Can and Cannot Do
Facial massage is best understood as a supportive skincare and relaxation technique. It may temporarily improve circulation, help move excess fluid that contributes to puffiness, relax facial muscles, and improve the way moisturizer or facial oil glides across the skin. Many people notice their face looks slightly brighter after massage because touch and movement can increase surface blood flow.
However, facial massage cannot permanently change your bone structure, replace medical acne treatment, cure rosacea, remove deep wrinkles, or tighten severely sagging skin. Think of it as skincare’s cozy sidekicknot a superhero with a cape and a dermatology license.
Who Should Avoid Facial Massage?
Skip facial massage or ask a dermatologist first if you have open wounds, active skin infections, severe acne flare-ups, sunburn, unexplained swelling, recent facial surgery, recent injectable treatments, or a skin condition that worsens with rubbing. If your skin burns, stings, turns unusually red, or feels irritated during massage, stop immediately.
What You Need for a Good Facial Massage
You do not need fancy spa equipment. Your hands are enough. Still, a few basics make the process smoother and safer:
- A gentle facial cleanser
- A soft towel
- Facial oil, serum, or moisturizer for slip
- Clean hands with short nails
- Optional: a clean facial roller or gua sha tool
- A mirror if you are massaging your own face
The key word is gentle. Facial skin is thinner and more delicate than the skin on many other areas of the body, especially around the eyes. You want smooth gliding, not aggressive tugging. If your face moves like pizza dough under your fingers, lighten up.
How to Give a Facial Massage: 15 Easy Steps
Step 1: Wash Your Hands Thoroughly
Start with clean hands. This may sound obvious, but your hands touch phones, keyboards, door handles, and mysterious crumbs you do not remember eating. Wash with soap and water before touching the face. If you are massaging someone else, this step is non-negotiable.
Step 2: Cleanse the Face Gently
Use a gentle, non-abrasive cleanser and lukewarm water. Avoid hot water because it can strip the skin and leave it feeling tight or dry. Apply cleanser with your fingertips in light circular motions, rinse well, and pat the skin dry with a soft towel.
Step 3: Set the Mood
You do not need a candlelit spa room, but a calm environment helps. Tie hair back, remove jewelry that may scratch the skin, and sit or stand comfortably. If you are giving someone else a facial massage, ask whether the pressure feels comfortable before you begin.
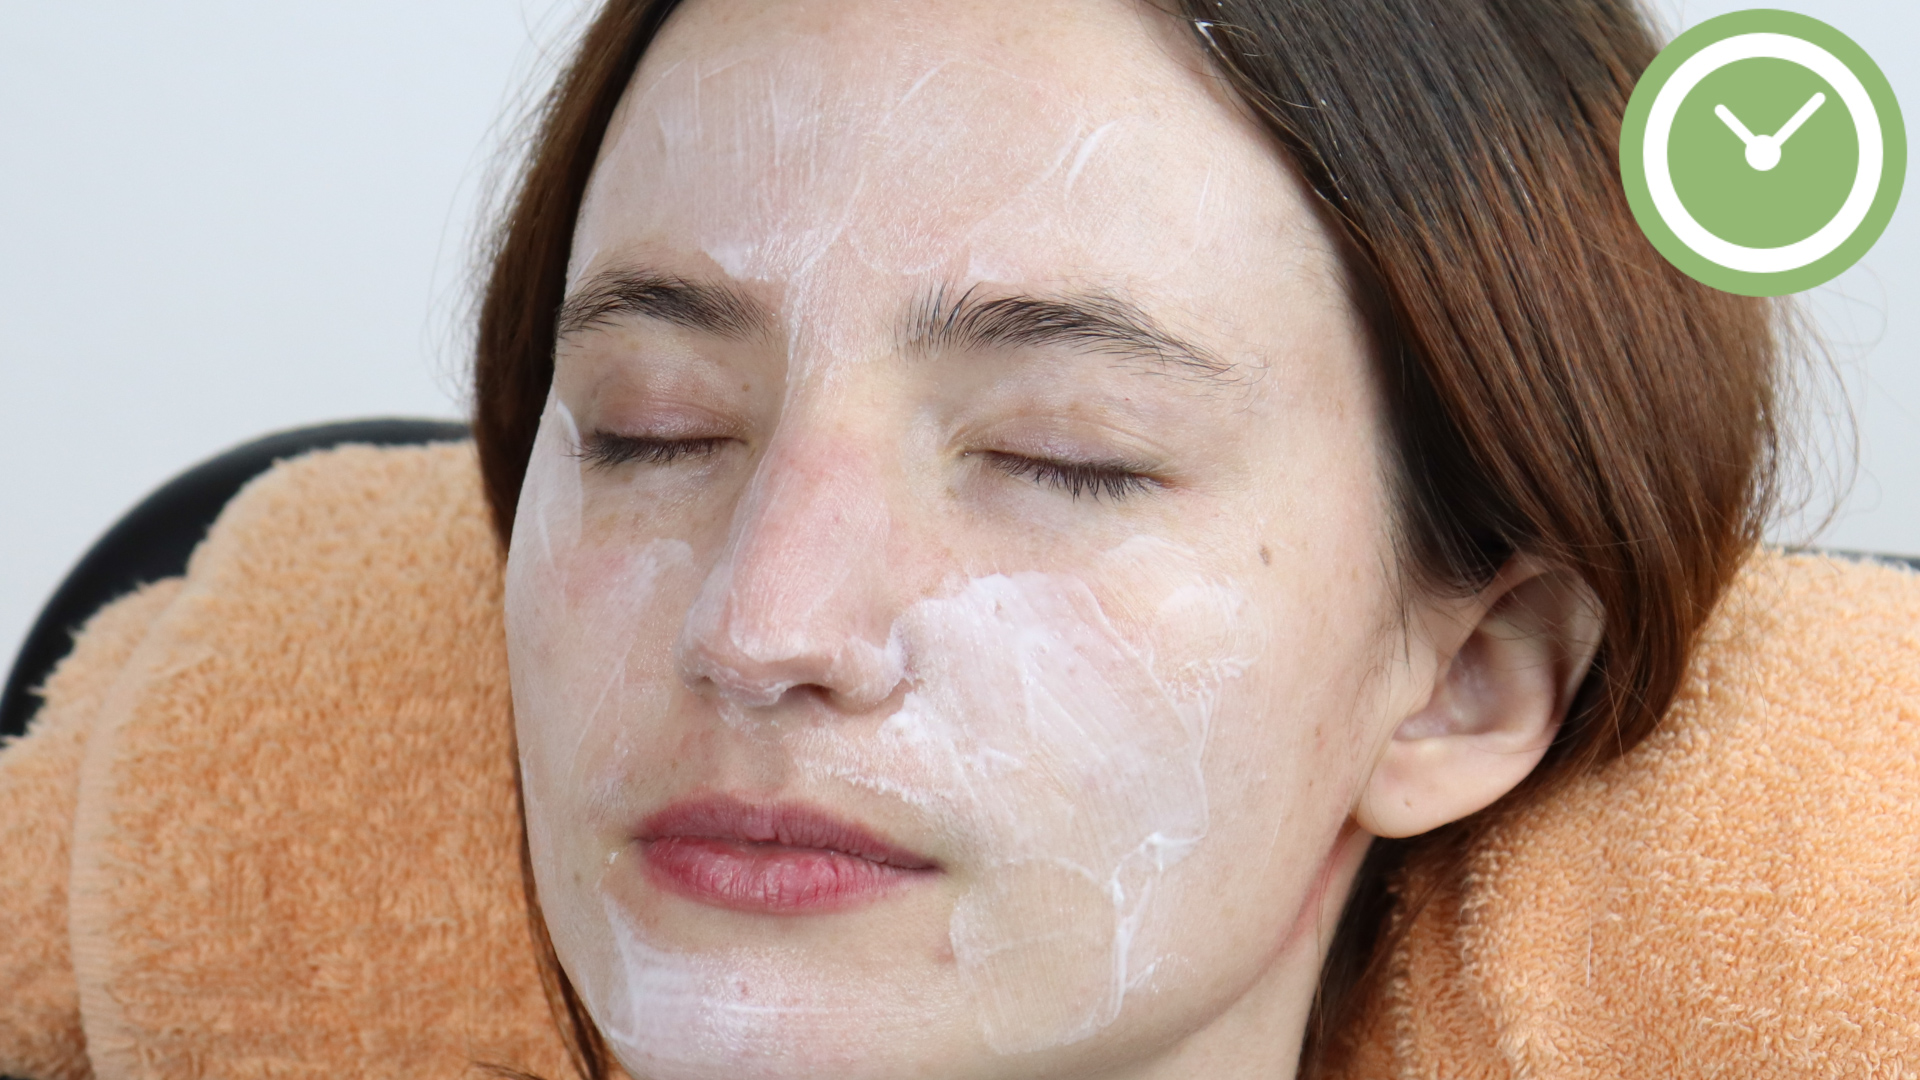
Step 4: Apply Facial Oil or Moisturizer
Place a small amount of facial oil, serum, or moisturizer on your fingertips and spread it evenly over the face and neck. This creates “slip,” which helps your fingers glide instead of dragging the skin. Choose a noncomedogenic product if you are prone to clogged pores.
Step 5: Begin at the Neck
Many good facial massages begin below the face. Place your fingertips on either side of the neck and use light downward strokes toward the collarbone. This can help relax the area and prepare the face for gentle lymphatic-style movements. Repeat 5 to 8 times.
Step 6: Massage the Jawline
Use your index and middle fingers to glide from the center of the chin outward along the jawline toward the ears. This area often holds tension, especially if you clench your jaw, chew gum, or have ever read an email that began with “Just circling back.” Repeat 5 to 10 times.
Step 7: Work the Chin and Lower Face
Using small upward circles, massage from the chin toward the corners of the mouth. Keep the motion slow and controlled. This step helps warm up the lower face and prevents you from pulling the skin downward.
Step 8: Glide Across the Cheeks
Place your fingertips beside the nose and sweep outward across the cheeks toward the ears. Use gentle pressure, especially if your cheeks are sensitive or prone to redness. Repeat on both sides 5 to 8 times. The movement should feel smooth and lifting, not forceful.
Step 9: Focus on the Smile Lines
Use your ring fingers or middle fingers to make tiny upward circles around the area beside the mouth and nose. Do not press hard. The goal is relaxation and circulation, not ironing your face like a shirt before a job interview.
Step 10: Massage Around the Nose
Use the pads of your fingers to make small circles along the sides of the nose. Then glide outward under the cheekbones. Some people find this especially soothing when their face feels puffy or congested. Keep pressure light and avoid pressing directly on painful sinus areas.
Step 11: Be Extra Gentle Under the Eyes
The under-eye area is delicate, so use your ring fingers because they naturally apply less pressure. Start near the inner corners of the eyes and lightly glide outward toward the temples. Avoid tugging, rubbing, or pushing product into the eyes. Repeat 3 to 5 times.
Step 12: Massage the Brow Area
Place your thumbs or fingertips at the inner brows and glide outward along the brow bone. This can feel wonderful if you hold tension in your forehead or spend long hours looking at screens. You can also make small circles at the temples for 10 to 20 seconds.
Step 13: Smooth the Forehead
Use both hands to sweep upward from the brows to the hairline. Then glide from the center of the forehead outward toward the temples. Repeat several times. Use steady, calming strokes rather than fast rubbing. Your forehead has done enough emotional labor already.
Step 14: Finish With Light Tapping
Use your fingertips to lightly tap across the cheeks, forehead, chin, and jaw. This should feel like soft raindrops, not typing your grocery list on your face. Tapping can give the skin a refreshed feeling and help end the massage without abruptness.
Step 15: Seal in Moisture and Protect the Skin
After the massage, apply moisturizer if needed. If it is daytime, finish with broad-spectrum sunscreen. Massage may make skin feel warm or slightly flushed, so sun protection is important before going outside. At night, you can follow with your regular evening skincare routine.
Best Facial Massage Techniques for Beginners
Use Upward and Outward Motions
Most facial massage movements should go upward and outward. This direction helps you avoid unnecessary downward tugging and makes the routine feel more lifting and refreshing.
Keep the Pressure Light to Medium
Facial massage should not hurt. Around the jaw and temples, medium pressure may feel good. Around the eyes, use feather-light pressure. If your skin looks angry afterward, you probably used too much force.
Move Slowly
Fast rubbing can irritate the skin. Slow movements give you more control, help you notice tension, and make the massage feel more intentional. Think “spa,” not “panic-cleaning before guests arrive.”
How Long Should a Facial Massage Last?
A simple facial massage can take 5 to 10 minutes. If you are new to it, start with 3 to 5 minutes two or three times a week. Sensitive skin may prefer shorter sessions. Oily or acne-prone skin may also do better with less frequent massage and lightweight products.
Daily facial massage is not necessary for everyone. Consistency matters, but so does listening to your skin. If your face feels irritated, dry, bumpy, or more inflamed, reduce frequency or pause the routine.
Facial Massage Benefits
May Reduce Temporary Puffiness
Light massage may help move excess fluid from areas such as the cheeks and under-eyes. This effect is usually temporary, but it can be helpful in the morning or after salty food, travel, or poor sleep.
May Improve the Look of Circulation
Gentle massage can increase surface blood flow, which may leave the skin looking warmer, brighter, and more awake. This is one reason many people enjoy facial massage before makeup.
May Relax Facial Tension
The jaw, temples, forehead, and brow area often hold tension. Facial massage can help these areas feel less tight, especially when paired with slow breathing.
May Support Product Application
Massage helps spread moisturizer or facial oil evenly. It can also make your skincare routine feel more enjoyable, which increases the chance you will actually do it instead of staring at your products like they are homework.
Common Facial Massage Mistakes to Avoid
Using Too Much Pressure
Hard pressure can irritate the skin, especially around the eyes and cheeks. More force does not equal better results. Your face is not a stubborn stain on a countertop.
Massaging Dirty Skin
Massaging over makeup, sunscreen, sweat, or dirt can spread buildup around the face. Always cleanse first, especially at night.
Skipping Product Slip
Dry massage may tug at the skin. Use a moisturizer, serum, balm, or oil that works for your skin type.
Expecting Permanent Sculpting
Facial massage can make the face look temporarily refreshed, but it will not permanently lift skin, shrink pores, erase wrinkles, or reshape your jawline. Enjoy the glow, but keep expectations realistic.
Facial Massage for Different Skin Types
Dry Skin
Use a richer moisturizer or facial oil and keep the massage slow and nourishing. Follow with a barrier-supporting cream if your skin feels tight.
Oily Skin
Choose lightweight, noncomedogenic products. Avoid heavy oils if they clog your pores. A gel moisturizer may provide enough slip without feeling greasy.
Sensitive Skin
Use minimal pressure and fragrance-free products. Limit massage to a few minutes and watch for redness, burning, or itching.
Acne-Prone Skin
Do not massage over painful cysts, open blemishes, or inflamed breakouts. Gentle touch aroundnot directly onactive acne is safer. If acne worsens, stop and speak with a dermatologist.
Experience-Based Tips for Giving a Better Facial Massage
The best facial massage often comes down to small details that do not sound glamorous but make a huge difference. First, warm your hands before touching the face. Cold fingers can make the person tense up immediately, and once the shoulders rise toward the ears, the relaxing spa mood has officially left the building. Rub your palms together for a few seconds, then begin slowly at the neck or jaw instead of jumping straight to the cheeks.
Second, pay attention to facial expressions. If you are massaging someone else and their eyebrows suddenly climb like they have seen a surprise credit card bill, your pressure may be too firm. Ask, “Is this pressure comfortable?” A good facial massage should feel soothing, not like a face workout coached by a drill sergeant.
Third, use enough product but not too much. Too little product causes dragging. Too much product makes your fingers slide everywhere and turns the face into a tiny slip-and-slide. Start with a pea-sized to dime-sized amount of moisturizer or a few drops of oil, then add more only if needed. For oily or acne-prone skin, lightweight lotions often work better than heavy oils.
Fourth, do not rush the jawline. Many people carry tension there from clenching, stress, or long hours at a desk. Slow glides from the chin to the ear can feel surprisingly relieving. If the jaw feels sore, use lighter pressure and avoid digging into the area. Facial massage should invite muscles to relax; it should not start a wrestling match with them.
Fifth, treat the eye area like fine silk. Use your ring finger, move slowly, and keep product away from the lash line. A common beginner mistake is trying to “push out” puffiness under the eyes. That area needs delicate sweeping motions, not pressure. If the skin moves too much under your finger, reduce force.
Sixth, build the massage around breathing. Try inhaling before a stroke and exhaling as you glide outward or downward along the neck. This simple rhythm makes the routine feel more calming and helps reduce the tendency to rush. It also turns facial massage into a mini stress-reset, which may be the most underrated benefit.
Finally, observe the skin afterward. A mild temporary flush can be normal, but burning, lasting redness, itching, or bumps are signs to stop or change products. The best routine is not the one with the most steps; it is the one your skin accepts happily. When in doubt, simplify. Clean skin, clean hands, light pressure, and a few mindful minutes can do more than an overly complicated routine that leaves your face irritated and your bathroom counter looking like a beauty store exploded.
Conclusion
Learning how to give a facial massage is simple, affordable, and surprisingly enjoyable. With clean hands, gentle pressure, the right amount of moisturizer or oil, and upward-outward movements, you can create a relaxing routine that helps the face feel refreshed and less tense. The key is to stay gentle, avoid irritated or broken skin, and remember that facial massage works best as part of a balanced skincare routinenot as a miracle cure.
Whether you use it in the morning to reduce puffiness or at night to unwind, facial massage can make skincare feel less like a chore and more like self-care. And honestly, any routine that helps your face relax after a long day deserves a permanent spot in the bathroom cabinet.