

Growing a pear tree from seed is one of those gardening projects that starts with a snack and ends with a surprisingly emotional relationship with a tiny plant. You eat a good pear, notice the glossy brown seeds inside, and suddenly your brain says, “What if I made an orchard?” That is how it begins. Not with a grand landscaping plan. With fruit and ambition.
The good news is that yes, you can grow pear trees from seed. The less glamorous news is that this is not the fastest path to a bowl of perfect Bartlett pears on your kitchen counter. Seed-grown pear trees take patience, a little science, and a willingness to accept that nature likes surprises. If you are okay with that, this can be a deeply satisfying project for gardeners, hobby growers, homeschool families, and anyone who enjoys watching a long game unfold.
This guide walks you through exactly how to grow pear trees from seed, from collecting viable seeds to stratifying, planting, caring for seedlings, and eventually moving young trees outdoors. Along the way, we will also cover what most first-timers do wrong, what kind of fruit you can realistically expect, and why growing pears from seed is a bit like opening a mystery box with leaves.
Can You Really Grow a Pear Tree from Seed?
Absolutely. Pear seeds can germinate and grow into real trees. But there is one important catch: a pear grown from seed usually will not be identical to the pear the seed came from. That is because pears are commonly cross-pollinated, which means the seed carries a shuffled mix of genetics rather than a carbon copy of the parent tree.
In plain English, planting a seed from a delicious supermarket pear may give you a healthy pear tree, but it may not give you that exact same fruit. It could produce smaller fruit, firmer fruit, later-ripening fruit, or fruit that tastes only mildly exciting. Gardening, in this case, doubles as genetic roulette.
Still, people grow pear trees from seed for plenty of good reasons. Some want a fun propagation project. Some want hardy seedlings that can later be used as rootstock. Some simply enjoy growing fruit trees from scratch. And every once in a while, a seedling turns into something surprisingly worthwhile. In fact, some well-known pears have seedling origins, which is a comforting reminder that even orchard legends had awkward beginnings.
What to Expect Before You Start
1. This is a long-term project
If you are hoping for pears next summer, this project is going to humble you. Seed-grown pear trees often take several years to flower and fruit. That does not mean the process is not worth it. It just means this is a slow-burn gardening adventure, not an overnight success story.
2. Your future tree may be large
Unlike many nursery pear trees that are grafted onto rootstocks selected for size control, a tree grown from seed can become vigorous and full-sized. Translation: cute seedling now, ladder situation later. Plan accordingly.
3. Growing from seed is best for gardeners who enjoy the process
If your main goal is guaranteed fruit quality, buying a grafted pear tree is the smarter move. If your goal is learning, experimenting, and possibly growing your own rootstock or unique backyard tree, seed growing is a wonderful option.
Step 1: Collect Pear Seeds the Right Way
Start with fully ripe pears. You can use homegrown pears, farmers market pears, or even supermarket pears, though seeds from locally adapted fruit often give you a better shot at vigorous growth in your climate.
Cut the pear open and remove the seeds. Choose seeds that look plump, firm, and healthy. Discard shriveled, pale, or damaged seeds. Then wash off any clinging fruit pulp. This matters more than people think. Leftover sugary pulp can invite mold, and mold is not your seed’s best friend.
After washing, let the seeds air dry briefly on a paper towel for a day or so. Do not bake them on a sunny windowsill like tiny garden croutons. You just want the surface moisture gone, not the life spirit.
Step 2: Cold Stratify the Seeds
This is the step that separates successful growers from people staring angrily at a pot of nothing. Pear seeds need a period of cold, moist conditions before they will germinate. This process is called stratification, and it mimics winter.
Without stratification, many pear seeds simply stay dormant. They are not dead. They are just refusing to participate.
How to Stratify Pear Seeds
- Moisten a medium such as peat moss, vermiculite, sand, or a paper towel. It should be damp, not dripping.
- Place the seeds into the medium.
- Put everything into a sealed plastic bag or covered container.
- Store it in the refrigerator for about 60 to 90 days.
- Check every couple of weeks to make sure the medium stays slightly moist and does not develop heavy mold.
A refrigerator is the easiest place to do this because it provides the consistent chill pear seeds need. Keep the seeds away from the freezer and away from the crisper drawer where they may accidentally get turned into a side project for your lettuce.
If mold appears, remove the seeds, rinse them gently, replace the medium, and continue. Some seeds may begin to crack or even show a tiny root near the end of stratification. That is your sign that it is time to plant.
Step 3: Plant the Stratified Seeds
Once the chilling period is done, plant the seeds in small pots or seed trays filled with a light, well-draining seed-starting mix. Pear seeds generally do well when planted about 1 inch deep. Water the soil so it is evenly moist but not soggy.
Set the containers in a bright location with warm temperatures. A sunny windowsill can work, but bright indirect light or grow lights are often better because seedlings stay more compact and less floppy. Nobody wants a pear seedling that looks like it just pulled an all-nighter.
Germination time varies. Some seeds sprout within a few weeks. Others take longer, because seeds enjoy reminding gardeners that biology is not a vending machine.
Indoor Seedling Tips
- Keep the soil evenly moist, never waterlogged.
- Provide strong light for at least several hours a day.
- Make sure containers have drainage holes.
- Use a fan or gentle air movement if seedlings are indoors for a long time.
Step 4: Care for Young Pear Seedlings
When seedlings emerge, the goal shifts from “please sprout” to “please do not collapse.” Young pear trees need a careful balance of moisture, light, and airflow.
Water when the top of the potting mix starts to feel slightly dry. Avoid keeping the soil constantly soaked, because that can encourage damping-off and root problems. At the same time, do not let seedlings dry out so hard that they begin a dramatic wilt performance every afternoon.
Once seedlings develop a few sets of true leaves, you can begin feeding them lightly with a diluted balanced fertilizer. Go easy. Overfeeding a baby tree is like giving an espresso shot to a toddler. Fast growth is not always healthy growth.
If multiple seeds were planted in one container, thin or transplant the seedlings so each has enough space. Crowded roots and crowded leaves make for unhappy plants.
Step 5: Harden Off and Move Outdoors
Before transplanting young pear trees outside, they need to be hardened off. This means gradually introducing them to outdoor conditions over about a week or two. Start with a few hours in filtered shade, then slowly increase their time outside and their exposure to sun and breeze.
This step matters because indoor-grown seedlings are basically pampered little house celebrities. Moving them straight into full sun and wind is a recipe for shock.
Choose the Right Planting Site
Pear trees like:
- Full sun for the best growth and future fruit production
- Well-drained soil because soggy roots can cause trouble fast
- Slightly acidic to neutral soil
- Good air circulation, which can help reduce disease pressure
- Avoidance of frost pockets, since pears bloom fairly early
If you are planting more than one pear tree and hope for fruit later, give them enough space. Seed-grown trees can become large, so do not tuck them two feet apart like decorative herbs. They are not basil. They are future architecture.
Step 6: Understand Pollination and Fruiting
Many pear trees need another compatible pear variety nearby for good pollination and fruit set. This is one reason seed-grown pears can be tricky. Even if your tree grows beautifully, it may need a second pear in the neighborhood to produce well later on.
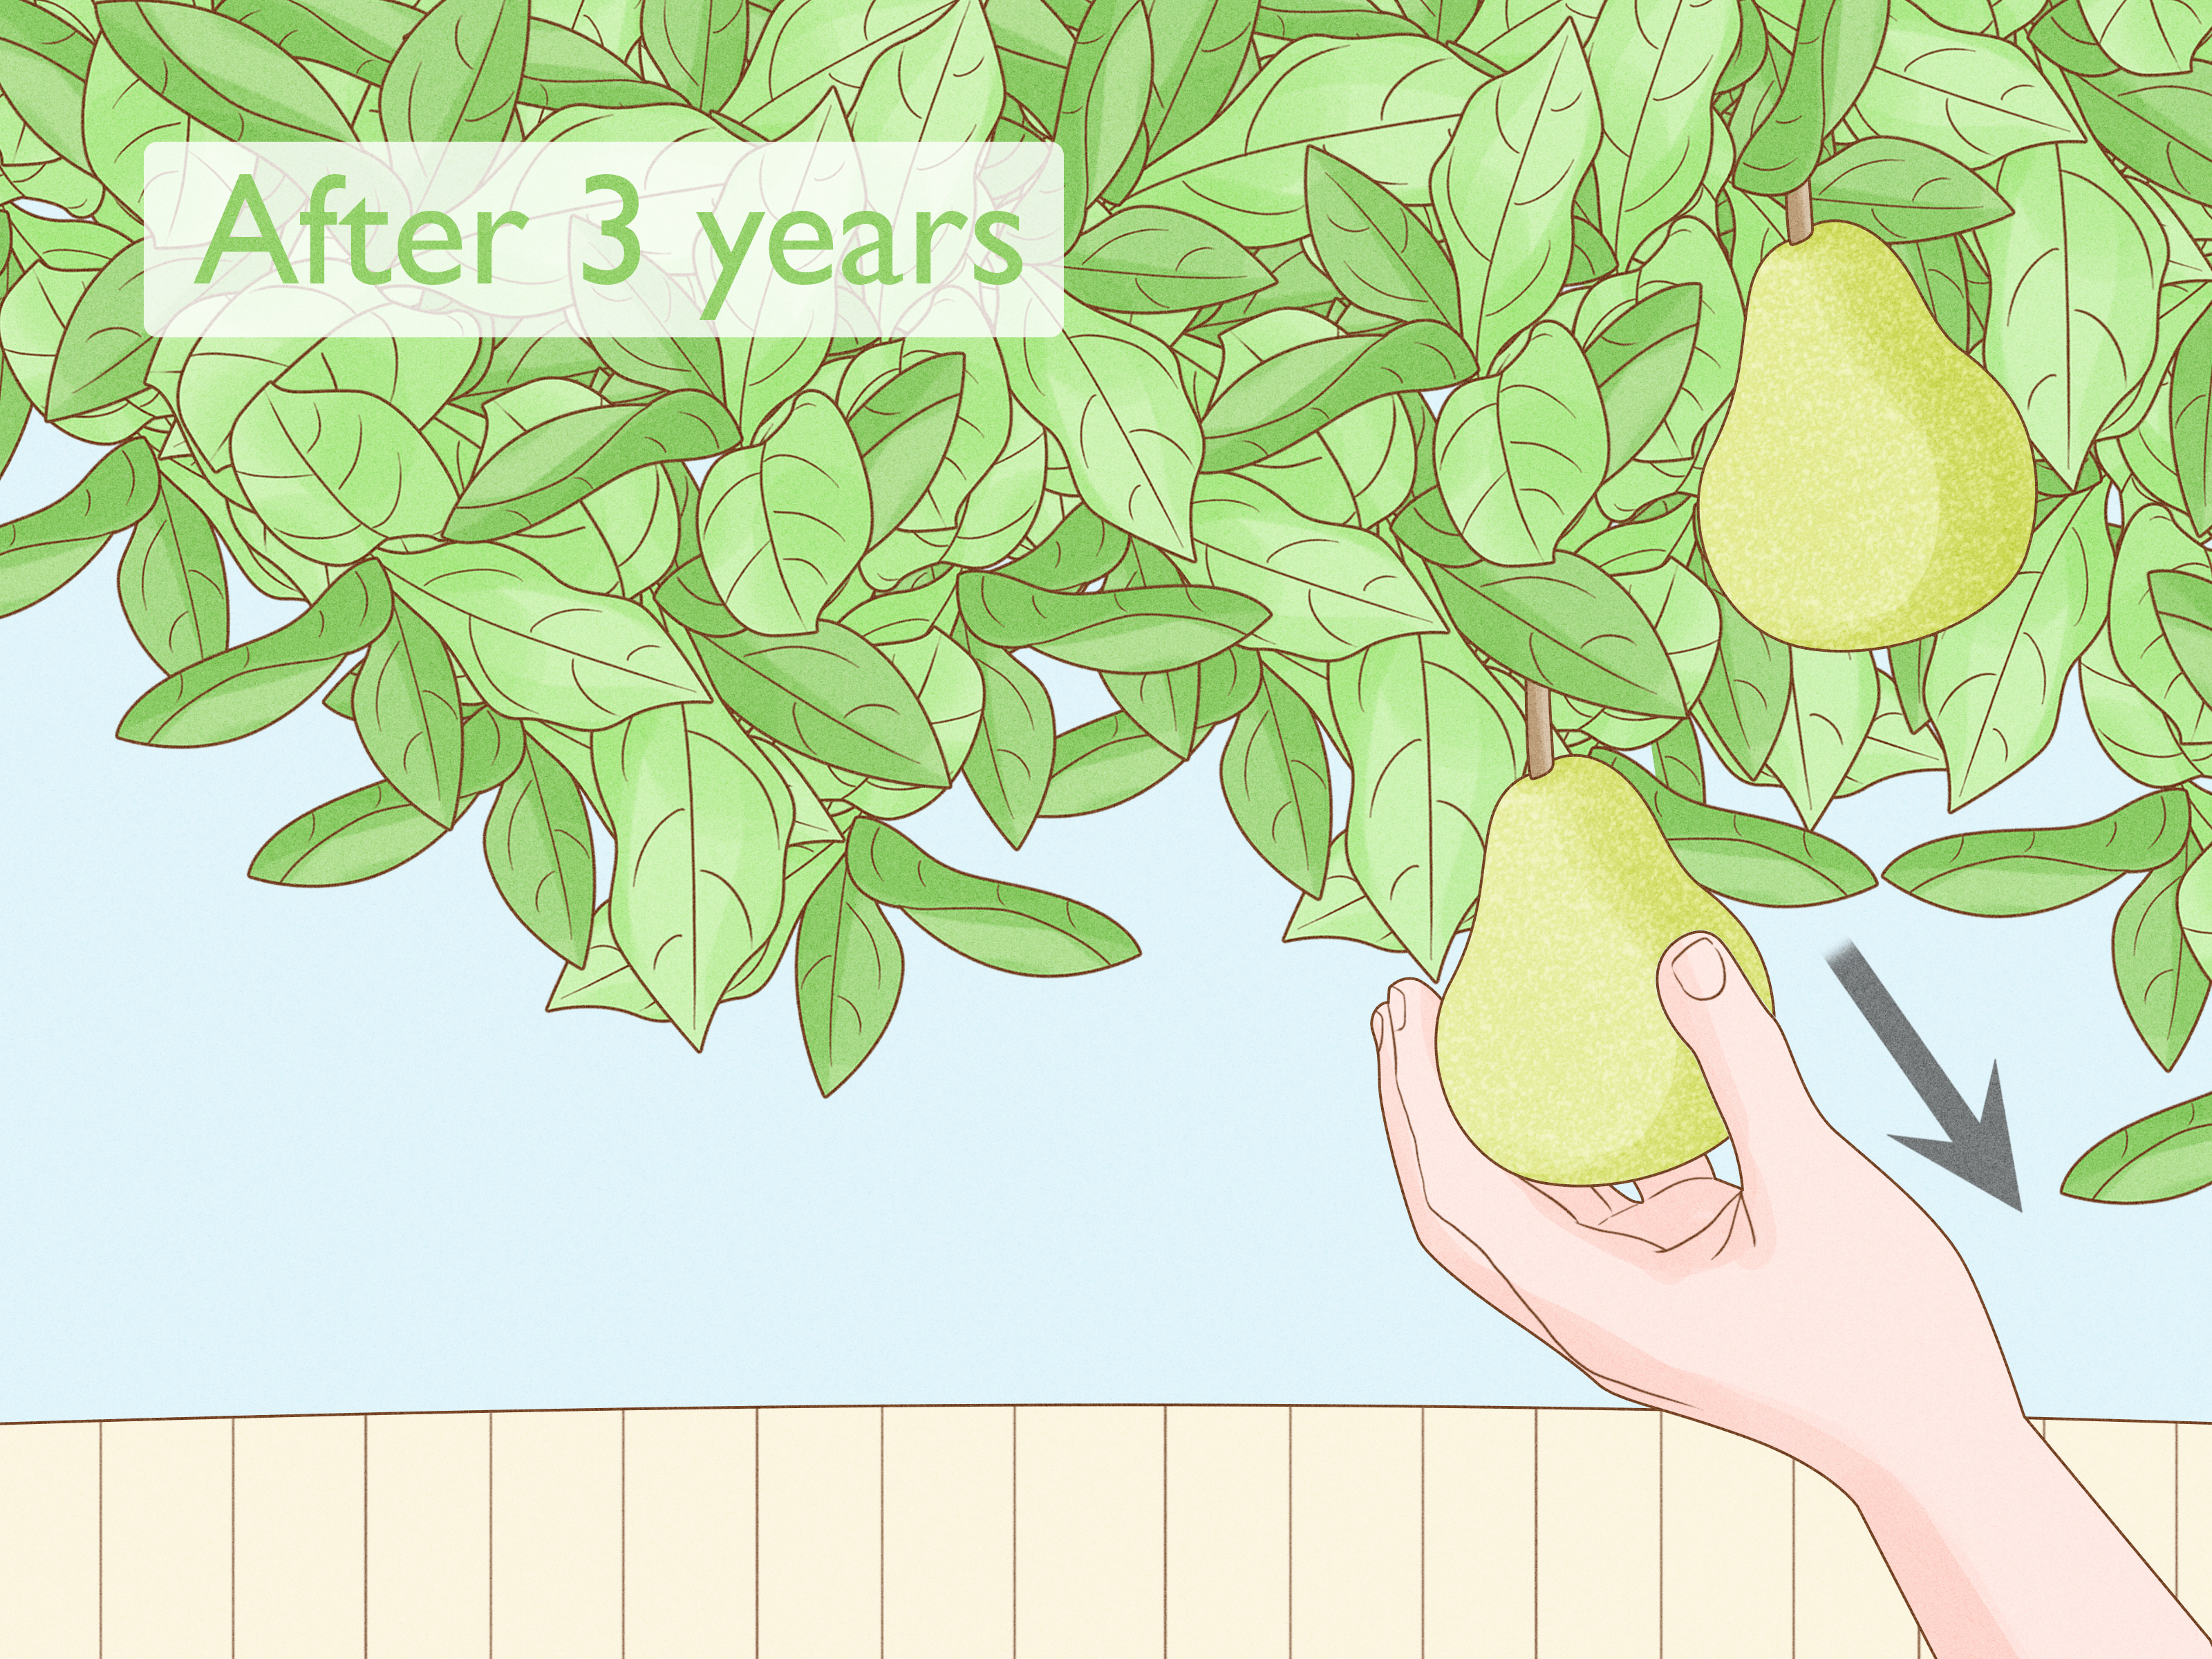
Also, keep expectations realistic. A seed-grown pear tree may take several years to begin flowering. Some growers see blossoms in the three- to ten-year range, depending on genetics, vigor, climate, and care. So yes, this is gardening with a calendar and a sense of humor.
Will the Fruit Be Any Good?
Maybe. Maybe not. And that is the honest answer.
A pear tree grown from seed can produce edible fruit, but the quality is unpredictable. Some seedlings make small, gritty, or bland pears. Some produce decent fruit. A rare few turn out excellent. This unpredictability is exactly why commercial pears are propagated by grafting rather than seed.
If your seedling grows into a strong, healthy young tree but you do not love the fruit, you still have options. You can keep it as an ornamental tree, use it as wildlife habitat, or graft a known pear variety onto it later. In other words, a disappointing fruit can still lead to a useful tree. That is a nice life lesson, honestly.
Common Mistakes When Growing Pear Trees from Seed
Skipping stratification
This is the classic mistake. No winter simulation, no reliable germination.
Using soggy soil
Wet, airless soil can rot seeds and suffocate seedlings. Moist is good. Swamp is not.
Expecting parent-quality fruit
Seed-grown pears are genetically unique. Treat them as new individuals, not cloned reruns.
Planting in shade
Pear trees tolerate many things, but deep shade is not one of their favorite hobbies. Sun matters.
Forgetting disease pressure
Fire blight can be a real issue for pears in some regions. Good airflow, good site selection, and attention to tree health go a long way.
Should You Grow Pear Trees from Seed or Buy a Grafted Tree?
The answer depends on your goal.
If you want dependable fruit, known flavor, manageable size, and a faster harvest, buy a grafted pear tree from a reputable nursery. That is the practical choice.
If you want a rewarding propagation project, a future rootstock, or the excitement of raising a unique tree from scratch, growing a pear tree from seed is absolutely worth trying. That is the adventurous choice.
Many experienced gardeners do both: they plant a grafted tree for reliable fruit and also grow a few seedlings just for curiosity. That is probably the most satisfying arrangement of all. One tree pays the bills. The other one brings the drama.
A Simple Timeline for Growing Pear Trees from Seed
- Fall or winter: collect seeds from ripe pears
- Winter: stratify seeds in the refrigerator for 60 to 90 days
- Late winter or spring: plant chilled seeds indoors
- Spring to summer: grow seedlings in pots and gradually harden them off
- Late spring or early fall: transplant healthy young trees outdoors in suitable climates
- Years later: evaluate growth, flowering, and fruit quality
Final Thoughts
If you are wondering how to grow pear trees from seed, the process is simple in theory and beautifully unpredictable in practice. Collect healthy seeds, give them a cold-moist stratification period, plant them in a light growing mix, care for the seedlings patiently, and move them into a sunny, well-drained spot when they are strong enough.
Will you get the exact pear you started with? Almost certainly not. Will you get a living tree you raised from the inside of a piece of fruit? Very possibly yes. And that is pretty magical.
Growing pears from seed is not the quickest route to fruit, but it is one of the most satisfying routes to understanding how fruit trees really work. It teaches patience, observation, and the fact that nature does not care about your preferred timeline. Which, depending on the day, is either deeply wise or mildly rude.
What It’s Really Like to Grow Pear Trees from Seed: A Gardener’s Experience
The experience of growing pear trees from seed is very different from buying a tidy nursery tree with a label and a guaranteed variety name. A nursery tree arrives like a professional. A pear seedling arrives like potential. It is smaller, slower, and far more mysterious. That is exactly what makes the experience memorable.
In the beginning, the project feels almost too simple. You save a few seeds from a ripe pear, tuck them into a moist medium, and slide them into the refrigerator. Then comes the oddest phase of gardening: waiting for something important to happen in the same appliance that holds sandwich ingredients. Every time you open the fridge, you feel like a scientist with produce.
When the first seed cracks after stratification, the excitement is ridiculous compared with the size of the event. It is just a tiny white root tip. But it feels huge. You plant it gently, check the pot every day, and start developing the kind of emotional investment usually reserved for playoff games and text messages that say “we need to talk.”
Once the seedling appears, the experience becomes a study in small victories. A new leaf unfolds. The stem thickens a little. The plant survives a repotting. These are not flashy milestones, but they are deeply satisfying. You start noticing how different each seedling looks. One grows straight and confident. Another leans dramatically toward the light like it is auditioning for theater.
The longer you grow pear seedlings, the more patient you become. They teach you to appreciate progress measured in seasons rather than weekends. They also teach humility. Sometimes one seedling thrives for no obvious reason while another pouts despite your best efforts. You begin to understand why fruit growers talk so much about rootstocks, site conditions, airflow, and genetics. Suddenly all those “boring” details become the whole game.
There is also a special kind of satisfaction in planting a young pear tree outdoors after months of indoor care. By that point, it no longer feels like a random plant. It feels like a project with history. You remember the fruit it came from, the refrigerator bag, the first sprout, the days you rotated the pot toward the light, and the moment it handled its first real breeze outside. Planting it in the ground feels less like gardening and more like graduation.
Of course, the uncertainty never disappears. You do not know exactly how the tree will grow or what kind of fruit it may eventually make. But that uncertainty becomes part of the charm. Growing pear trees from seed is not just about getting pears. It is about participating in the whole story of a tree from its earliest possible chapter. That experience is slower, messier, and far more personal than buying a finished product. For many gardeners, that is the real reward.