If you have ever stared at an old .pst file and wondered whether it contains treasured business history or just fifteen years of newsletters you never opened, welcome to the club. PST files are Outlook’s version of a storage closet: useful, mysterious, and occasionally terrifying. The good news is that importing PST files into Office 365or, more accurately, Microsoft 365is absolutely doable. The trick is choosing the right method before your migration turns into a coffee-fueled detective story.
This guide explains how to import PST files to Office 365 for both everyday users and Microsoft 365 administrators. We will walk through the classic Outlook method for a single mailbox, the Microsoft Purview method for bulk organizational imports, common mistakes, and practical lessons that save time, bandwidth, and sanity. In other words, this is the PST survival guide nobody frames on the wall but everybody ends up needing.
What Is a PST File, and Why Import It to Office 365?
A PST fileshort for Personal Storage Tableis an Outlook data file that can hold email messages, attachments, contacts, calendar items, and more. These files usually show up after a mailbox export, a backup, a computer replacement, or a migration from an older mail system.
Importing that data into Office 365 makes sense for a few big reasons. First, users want old mail inside the live mailbox instead of buried on a laptop from the Jurassic era. Second, organizations often need legacy email in Exchange Online for compliance, eDiscovery, retention, or legal review. Third, storing business mail in the cloud is simply easier than maintaining a museum of USB drives labeled “Important Mail Final Final Really Final.”
Before You Import PST Files to Office 365
Before clicking anything dramatic, do a little prep work. PST imports go much better when the file is clean, the destination is ready, and the method matches the situation.
1. Decide Which Scenario You Are In
- Single user import: You want to bring one PST into one mailbox. Use classic Outlook.
- Bulk admin import: You need to import multiple PST files into multiple Microsoft 365 mailboxes. Use Microsoft Purview with network upload or drive shipping.
This matters because the tools are very different. A personal import is basically a desktop wizard. A tenant-wide import is a full admin workflow with permissions, CSV mapping, and Azure storage.
2. Check the Condition of the PST File
If Outlook complains that the data file cannot be opened, or the folder structure looks like it lost a fight, repair the PST before importing it. A damaged PST can lead to skipped items or failed jobs. Back up the file first, then use Outlook’s Inbox Repair tool, often known as SCANPST. Think of it as a tune-up before asking the file to move across town.
3. Know the Practical Limits
For Microsoft 365 admin imports, huge PST files are technically possible, but Microsoft recommends keeping each uploaded PST at or under about 20 GB for better performance. Mail items larger than the Exchange Online message size limit can be skipped, and deeply nested folder structures can also cause import problems. Translation: just because a PST exists does not mean it is emotionally or technically prepared for migration.
4. Make Sure the Destination Mailbox Has Room
If you are importing to a mailbox or archive mailbox, confirm available storage. Large imports can hit quota issues. For long-term retention projects, many organizations import to archive mailboxes as part of a broader archiving strategy, but mailbox sizing still matters. A mailbox with no free space is like trying to move a couch into a studio apartment. The math wins every time.
Method 1: Import a PST File to Office 365 with Classic Outlook
This is the best route for individuals or small teams that need to import one PST into one mailbox. It is direct, familiar, and far less intimidating than the admin workflow.
When to Use This Method
- You have access to the user’s mailbox in Outlook.
- You only need to import one or a few PST files.
- You want the data to appear directly in that user’s mailbox folders.
Important Note About New Outlook
Here is where many people trip over the rug. New Outlook for Windows has evolving PST support, but importing mailbox or calendar content from a PST into a mailbox still belongs to classic Outlook. New Outlook can work with PST files in limited ways, but for a full mailbox import, classic Outlook is still the proper tool right now. So if you are in new Outlook, flip back to classic Outlook before you start.
Steps to Import a PST File in Classic Outlook
- Open classic Outlook on the Windows computer that is connected to the Office 365 mailbox.
- Click File.
- Select Open & Export, then choose Import/Export.
- Select Import from another program or file.
- Choose Outlook Data File (.pst).
- Browse to the PST file.
- Choose how to handle duplicates:
- Replace duplicates with items imported
- Allow duplicates to be created
- Do not import duplicates
- Select the top-level folder in the PST and make sure Include subfolders is checked.
- Choose whether to import into the current folder or into the same folder in the target mailbox.
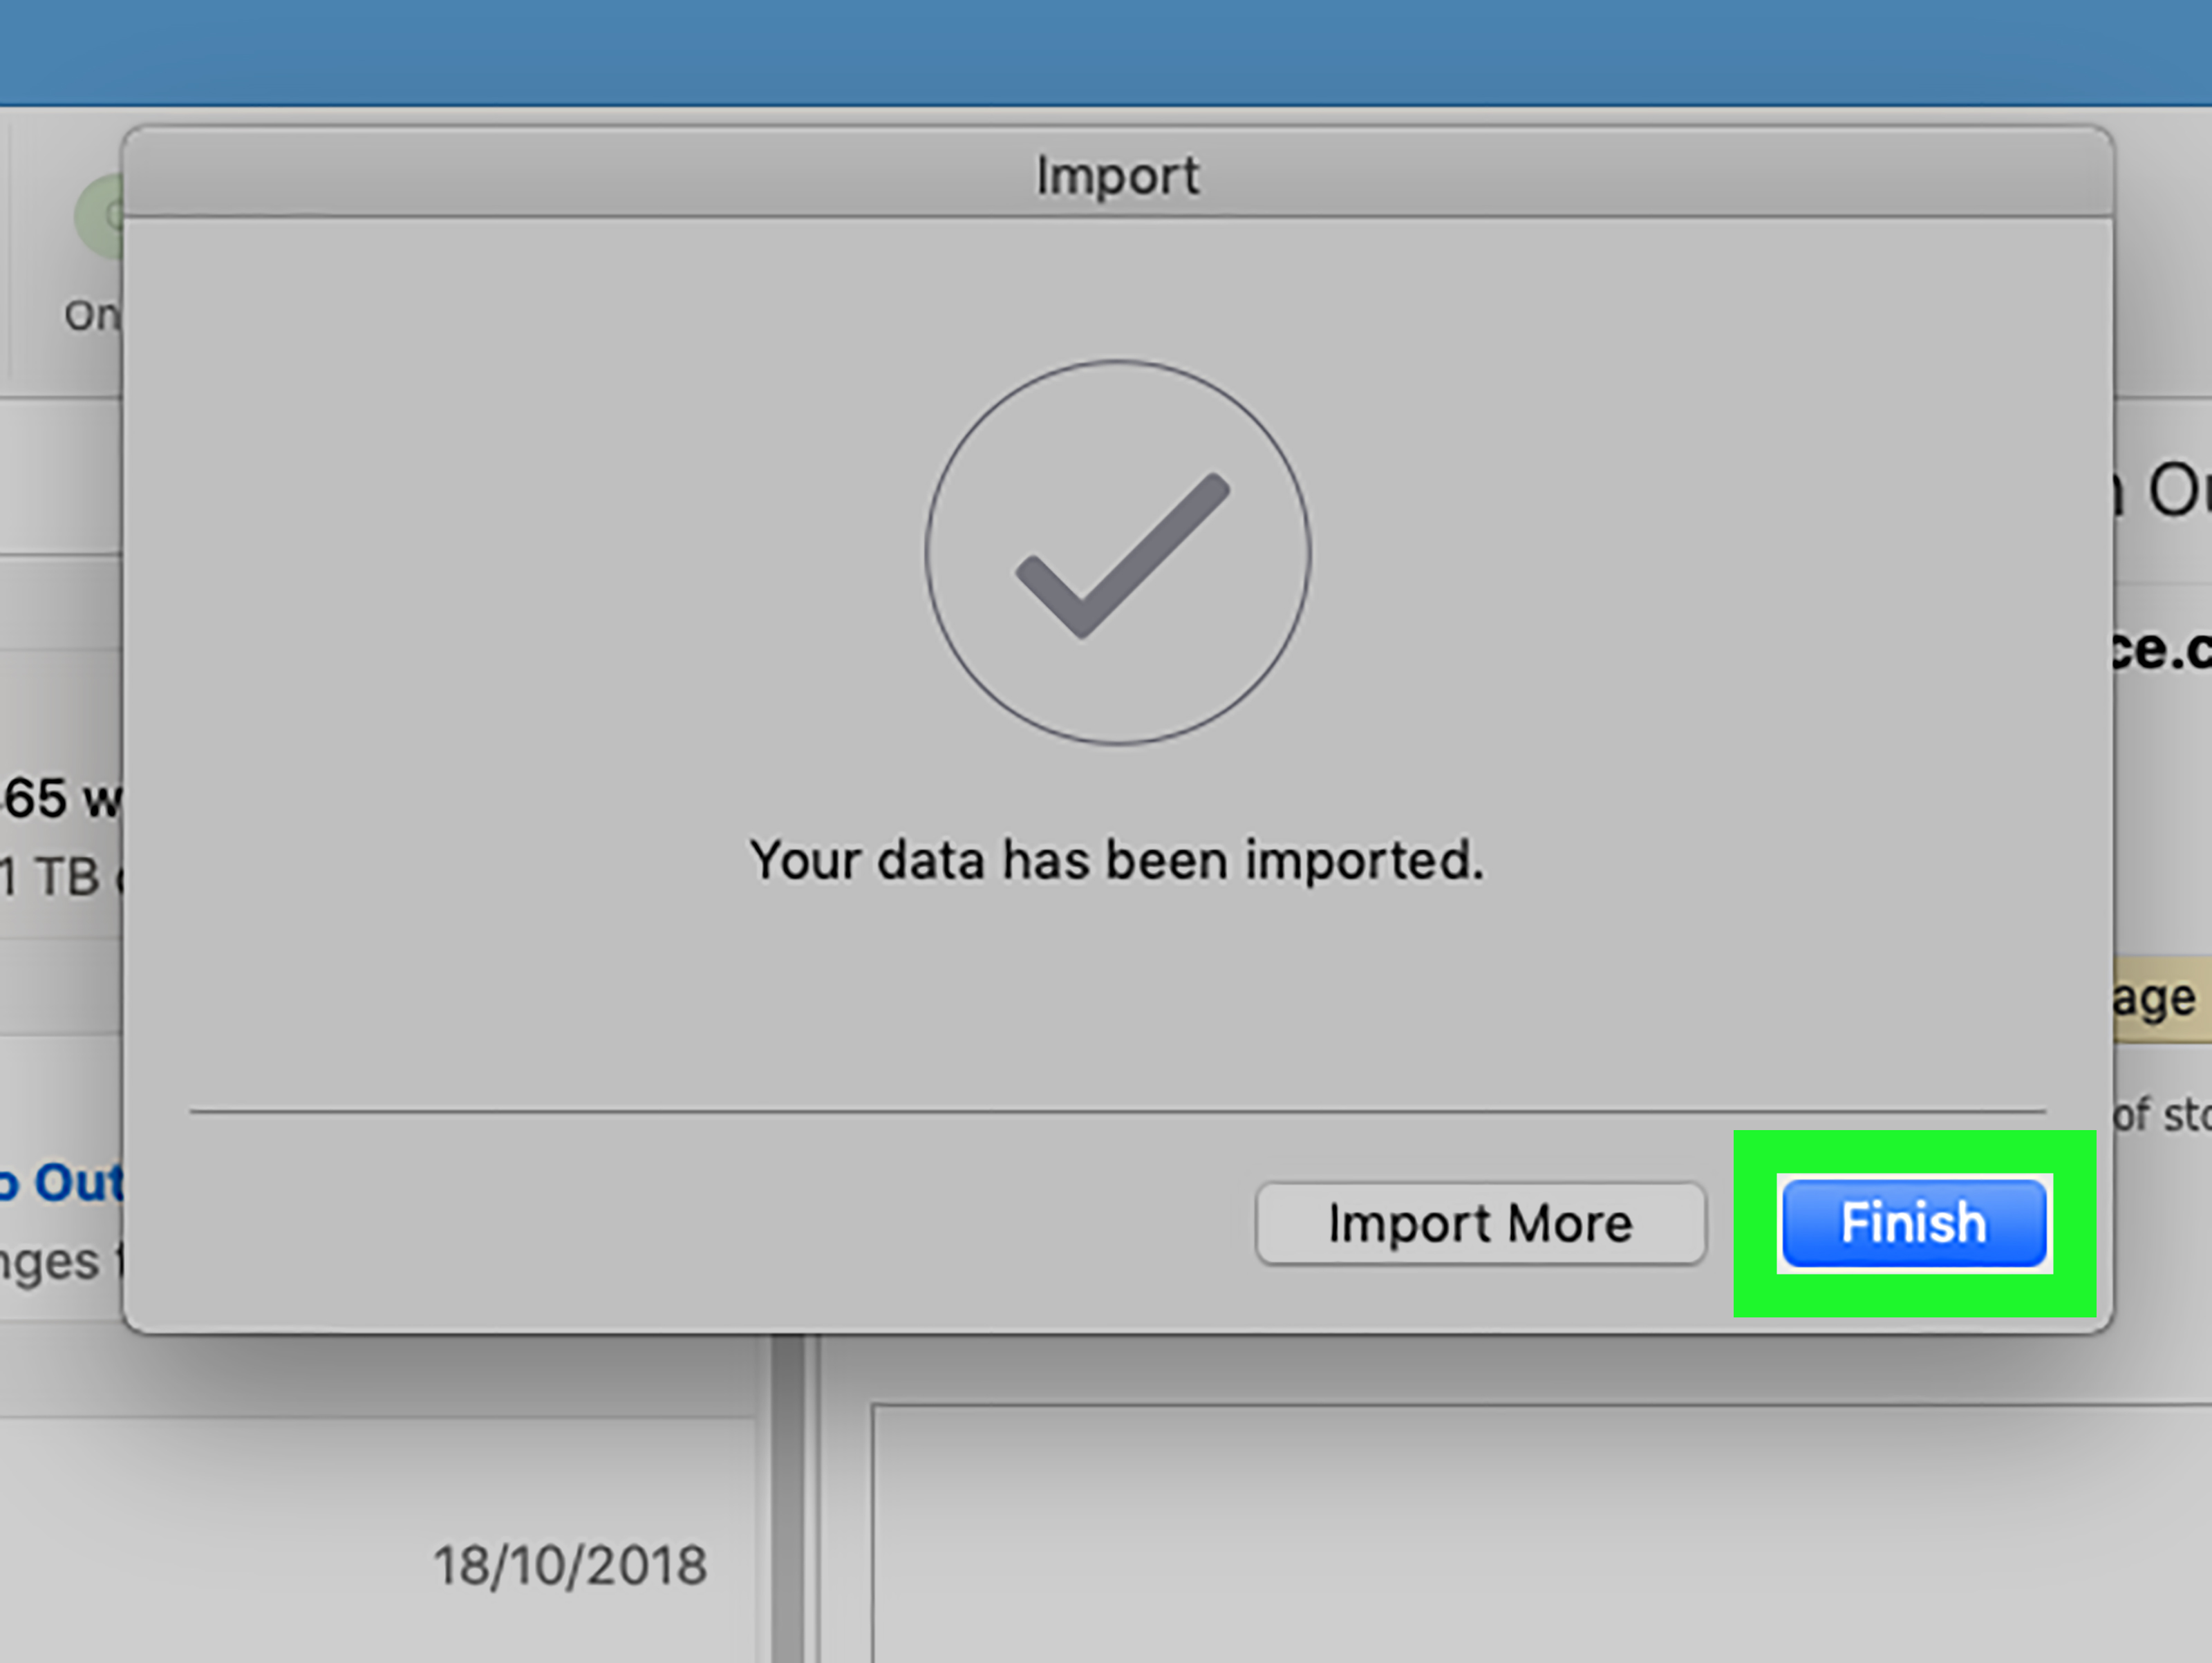
- Click Finish and let Outlook do its thing.
If you only need a few messages, contacts, or folders, you do not always need a full import. You can also open the PST and drag items manually. Sometimes a surgical move is smarter than launching a full bulldozer.
What Gets Imported?
Typically, email, attachments, contacts, and calendar items stored in the PST can be imported. However, some metadata does not come along for the ride. Things like folder views, permissions, rules, blocked senders lists, and AutoArchive settings are not the stars of this show. They stay behind.
Method 2: Bulk Import PST Files to Office 365 with Microsoft Purview
If you are an administrator handling many mailboxes, classic Outlook is not your friend. It is your intern with a nice smile and no forklift. For organizational imports, the native Microsoft path is the Microsoft Purview Import service.
When to Use Microsoft Purview
- You need to import many PST files at once.
- You are migrating archive data for multiple employees.
- You need better control over mapping, filtering, and compliance.
- You want a supported Microsoft 365 bulk import workflow.
Permissions You Need
To create import jobs, Microsoft requires the right admin permissions. In practical terms, the account usually needs the necessary Exchange Online roles such as Mailbox Import Export and Mail Recipients, or equivalent high-level administrative access. In a healthy environment, this should be delegated carefully. Giving everyone giant admin keys is not security. It is chaos with a nametag.
The Two Purview Import Options
Microsoft offers two ways to import PST files into Office 365 through Purview:
- Network upload: Upload PST files over the network to Microsoft-provided Azure storage, then create an import job.
- Drive shipping: Copy PST files to a supported BitLocker-encrypted hard drive and physically ship it to Microsoft.
For most modern organizations, network upload is the default choice. Drive shipping is more useful when you are dealing with a mountain of PST data, slower connectivity, or a migration window that laughs at your upload speed.
How Network Upload Works
Step 1: Start a New Import Job in Microsoft Purview
In the Purview portal, go to the import area and create a new PST import job. Microsoft gives you a SAS URL and a Microsoft-approved version of AzCopy. That SAS URL is essentially the golden ticket to a private Azure storage location for your organization. Treat it like a password, not like a sticky note decoration.
Step 2: Upload the PST Files
Use the provided AzCopy tool to upload your PST files to the Azure storage location. This is the supported method. Azure Storage Explorer is useful for viewing uploaded files later, but it is not the supported upload method for the import itself.
Step 3: Create the CSV Mapping File
This is where the magic becomes administrative. The CSV mapping file tells Microsoft which PST goes to which mailbox. Common columns include the workload, file path, PST file name, mailbox, whether the destination is an archive mailbox, and the target root folder.
Some details are surprisingly picky:
- File names are case-sensitive.
- File paths are case-sensitive.
- The mapping file supports up to 500 rows per import job.
- Each PST file name in the job should be unique.
If you have more than 500 PST files, split the work into multiple mapping files and multiple import jobs. It is not glamorous, but neither is staring at a validation failure for two hours.
Step 4: Validate and Create the Import Job
Upload the CSV file to the import job and run validation. If the mapping file passes, the job is created and Microsoft starts analyzing the data. The status will move through stages such as analysis in progress and analysis completed.
Step 5: Filter the Data Before Importing
This is one of the best parts of the Purview workflow. Microsoft’s Intelligent Import feature can analyze the PST data and let you filter what actually gets imported. For example, you can:
- Import only items from a certain date range or age range
- Import selected message types
- Exclude messages sent to or received from specific people
That means you do not have to dump every dusty artifact into a mailbox just because it exists. You can import the useful history and leave the digital fossils behind.
Step 6: Start the Import
After filtering, start the job. Microsoft then imports the PST data into the target mailboxes or archive mailboxes. For very large jobs, patience becomes a project requirement. Microsoft documents a typical ingestion rate of around 24 GB per day, although real-world speed varies by workload and environment.
How Drive Shipping Works
Drive shipping follows the same general import logic, but instead of uploading over the network, you prepare a supported hard drive and send it to Microsoft.
Use Drive Shipping When:
- You have a very large amount of PST data
- Your internet connection would make network upload painfully slow
- You want to avoid prolonged upload windows for large migration batches
What to Know
- The drive must meet Microsoft’s supported hardware requirements.
- The data volume must be formatted properly, usually with NTFS.
- The drive must be BitLocker-encrypted.
- Shipping typically uses approved carriers such as FedEx or DHL, depending on region.
- After Microsoft receives the drive, upload to Azure can take several business days before import analysis begins.
This method is not exactly glamorous, but when you are facing terabytes of archive mail, it can be the difference between a controlled migration and a dramatic staring contest with your WAN link.
Common PST Import Problems and How to Avoid Them
1. The Job Is Slow or Looks Stuck
Large PST files slow everything down, especially when several files are being imported into the same target mailbox. Splitting oversized PST files into smaller chunks often helps. So does reducing the amount of junk before upload.
2. Items Are Skipped
Corrupted content can be skipped during import. If that happens, repair the PST locally, re-upload it, and create a fresh import job. This is one reason experienced admins test a sample PST before launching a full migration campaign.
3. Duplicate Messages Appear
Duplicates are tricky. Reimporting the same PST into the same target folder usually avoids duplicate creation, because Microsoft tracks previously imported items. But if similar content exists natively in the mailbox, or if overlapping content lives in different PST files, duplicates can still happen. Translation: duplicate control is smart, not magical.
4. CSV Mapping Errors
A wrong mailbox value, mismatched file name case, or bad file path can break validation. If the log mentions ambiguous mailbox matches, the environment may have conflicting SMTP addresses or soft-deleted objects. In those cases, admins often map by mailbox GUID instead of a simple SMTP address.
5. Quota Errors
If there is not enough room in the target mailbox or archive mailbox, the import can fail. Check storage before importing, especially when old PST files are larger than expected. And yes, they are almost always larger than expected.
Best Practices for a Cleaner Office 365 PST Migration
- Repair first, import second. A healthy PST saves time.
- Test one mailbox before many. Pilot imports reveal surprises early.
- Keep file names organized. Clear naming beats mystery files named archive_old2_final_reallyfinal.pst.
- Use filters when possible. Not every ancient message deserves cloud citizenship.
- Document your mapping. Especially in multi-user migrations.
- Watch retention behavior. Post-import retention and archive settings should be reviewed so older content is not mishandled.
Real-World Experiences with Importing PST Files to Office 365
In real migrations, the technical steps are only half the story. The other half is what people learn the hard way after the first import job humbles them. One of the most common experiences is discovering that the “small PST” is not actually small. A user will casually say, “It’s just my old Outlook file,” and then you find out it is 18 GB, contains mail from three former jobs, and has a folder tree that looks like a family genealogy chart. That is why experienced admins almost always inspect PST size, folder structure, and age before promising a quick turnaround.
Another common lesson is that users and administrators often want different outcomes. Users usually want everything imported because, in theory, every message might matter someday. Administrators, meanwhile, want to reduce clutter, improve search quality, and avoid stuffing production mailboxes with a decade of low-value mail. That tension is exactly why Microsoft’s filtering options are useful. In practice, many teams land on a middle ground: import recent business mail to the primary mailbox, send older archives to an archive mailbox, and leave obvious junk behind.
There is also a surprisingly human side to PST migration. Old mailboxes are full of forgotten contracts, customer history, legal notices, project approvals, and sentimental nonsense like farewell emails from 2014. Once the import is complete, users often feel immediate relief because their history is searchable again from the cloud instead of being trapped in a local file on one specific machine. The emotional translation is simple: “Oh good, I do not need that retired laptop anymore.”
From the admin side, one of the biggest wins comes from doing a pilot import first. A single test mailbox reveals whether the CSV mapping is accurate, whether the target folder structure makes sense, whether duplicates are likely, and whether the mailbox has enough capacity. Teams that skip the pilot usually end up learning these things in production, which is an expensive way to gain wisdom.
Many migration teams also discover that importing everything is not always the smartest answer. Sometimes opening the PST for reference is enough. Sometimes dragging over only a few folders is faster than a full import. Sometimes a compliance team only needs a filtered date range. The best experience usually comes from matching the method to the business goal rather than treating every PST like a full-blown migration event.
Finally, the cleanest projects are the ones with boring documentation. That may not sound exciting, but it works. Naming conventions, mailbox lists, file inventories, target folders, pilot results, and retention decisions save an enormous amount of confusion later. PST imports have a reputation for being messy because people often begin with “We’ll figure it out as we go.” That sentence should make every admin hear suspense music. A simple checklist and a tested process beat heroics every time.
Final Thoughts
If you only need to import one PST into one mailbox, classic Outlook is the simplest answer. If you are handling a real migration project with multiple mailboxes, Microsoft Purview is the supported path for bulk PST import to Office 365. Either way, the smartest move is preparation: check the file, choose the right method, validate the destination, and do not assume every old PST deserves a dramatic reunion with the modern cloud.
Office 365 PST migration is not glamorous, but it does not have to be painful either. With the right workflow, your old Outlook data can stop living in digital exile and start being useful again. And that, frankly, is a beautiful thing.