Note: This article is written for web publishing and synthesizes practical guidance from reputable U.S. home improvement, tile manufacturer, and tile-industry resources. Always follow the instructions on your specific mortar, membrane, grout, tile, and sealer products.
Laying tile on concrete sounds like one of those projects that should be wonderfully simple. Concrete is hard. Tile is hard. Put one hard thing on another hard thing and enjoy your new floor, right? If only home improvement were that polite.
The truth is that concrete can be an excellent base for tile, but only when it is clean, dry, flat, stable, and properly prepared. Skip the prep work, and your beautiful porcelain floor may eventually reward you with cracked grout, loose tiles, hollow spots, or that one tile in the hallway that clicks every time someone walks over it like a tiny ceramic alarm bell.
This guide explains how to lay tile on concrete the right way, from checking the slab and planning the layout to setting tile, grouting, sealing, and avoiding common mistakes. Whether you are tiling a basement, laundry room, kitchen, entryway, bathroom, or concrete patio, the secret is not brute strength. It is patience, planning, and refusing to believe that “good enough” is good enough when the floor will be staring at you for the next decade.
Can You Lay Tile Directly on Concrete?
Yes, tile can often be installed directly over a concrete slab, provided the concrete is suitable. A concrete subfloor is strong, rigid, and cement-based, which makes it a better tile substrate than many flexible surfaces. However, “concrete” is not automatically the same as “ready for tile.”
Before installing ceramic, porcelain, or stone tile on concrete, inspect the slab carefully. It should be structurally sound, free of paint or sealers, dry enough for tile installation, and flat enough for the tile size you plan to use. Small defects can usually be repaired. Serious moisture problems, active cracks, major settlement, or crumbling concrete need professional evaluation before you start spreading mortar.
When Concrete Is a Good Tile Base
Concrete is usually a good candidate for tile when it is fully cured, solid, clean, and level. A garage slab converted into living space, a basement floor, or a slab-on-grade kitchen can all work well if the surface is prepared correctly. Porcelain tile is especially popular over concrete because it is dense, durable, and highly resistant to moisture.
When You Should Not Tile Directly Over Concrete
Do not rush into tile installation if the slab has active water seepage, large uneven areas, structural movement, oily contamination, adhesive residue, curing compounds, or cracks that continue to widen. Tile is tough, but it is not a superhero cape for a bad slab. If the concrete moves, the tile assembly can move with it, and tile does not enjoy gymnastics.
Tools and Materials You Will Need
Gathering everything before you begin keeps the project moving smoothly. Nothing ruins a productive afternoon like discovering you own five screwdrivers, three tape measures, and zero tile spacers.
Basic Tools
- Tape measure
- Chalk line
- Level or long straightedge
- Notched trowel
- Margin trowel
- Rubber grout float
- Tile cutter or wet saw
- Mixing bucket
- Drill with mixing paddle
- Sponge and clean water buckets
- Knee pads
- Safety glasses and gloves
Materials
- Tile
- Thin-set mortar suitable for concrete and your tile type
- Tile spacers or leveling clips
- Crack isolation or uncoupling membrane, if needed
- Concrete patch or self-leveling underlayment
- Primer, if required by the leveling product
- Grout
- Flexible sealant for movement joints and perimeter gaps
- Grout sealer, if using cement-based grout that requires sealing
Step 1: Inspect the Concrete Slab
Start by removing old flooring, baseboards, loose adhesive, dust, and debris. Once the concrete is exposed, study it like a detective investigating a suspiciously lumpy floor.
Look for cracks, hollow or weak areas, uneven patches, paint, grease, old glue, sealers, moisture stains, and powdery surfaces. Tap questionable areas with a hammer. Solid concrete usually sounds firm; loose or hollow sections may need repair.
Hairline cracks are common in concrete and may not be a deal-breaker, but they should not be ignored. Cracks can transfer through mortar and tile, especially if the slab continues to move. For many concrete tile installations, a crack isolation membrane or uncoupling membrane is smart insurance.
Step 2: Test for Moisture
Concrete can hold and transmit moisture, especially in basements and slab-on-grade homes. Too much moisture can interfere with mortar, grout, adhesives, and some membranes. It can also create long-term problems under the tile assembly.
A simple homeowner test is to tape a square of clear plastic to the concrete and leave it for about 24 hours. If condensation forms underneath or the concrete darkens, moisture may be present. This is not a full professional moisture test, but it is a useful warning sign.
If you see persistent dampness, water seepage, efflorescence, or musty odor, stop and solve the moisture issue first. Tile can handle water on top, but hidden moisture pressure from below is a different villain entirely.
Step 3: Clean the Concrete Thoroughly
Thin-set mortar needs to bond to the concrete. Dust, paint, grease, curing compounds, soap, wax, and old adhesive can act as bond breakers. In plain English, they get between the mortar and the slab and say, “Nope, these two shall not meet.”
Sweep and vacuum the floor thoroughly. Scrape away loose material. Degrease oily spots with a cleaner recommended for concrete, then rinse and let the surface dry. Avoid leaving soap residue behind.
If the concrete has paint, sealer, or a slick surface, mechanical abrasion may be necessary. Grinding, shot blasting, or scarifying can expose a better bonding surface. For small DIY areas, a concrete grinder with proper dust control may be enough. For large spaces, professional surface preparation may be worth every penny.
Step 4: Repair Cracks, Holes, and Low Spots
Tile needs a flat, stable base. Patch holes and chips with a concrete repair product compatible with tile installation. Follow the product directions for mixing, application thickness, drying time, and whether primer is required.
For low areas or uneven slabs, use a self-leveling underlayment designed for tile. Despite the name, self-leveling compound does not magically behave while you sip coffee. It needs proper mixing, priming, spreading, and sometimes light guiding with a gauge rake or smoother.
High spots should be ground down. Large-format tiles, such as 12-by-24-inch porcelain, demand a flatter surface than small tiles. The bigger the tile, the less forgiving the floor becomes. A small hump under a large tile can create lippage, poor mortar coverage, or a tile that rocks like a wobbly restaurant table.
Step 5: Decide Whether You Need a Membrane
Many successful tile installations over concrete use a membrane between the slab and the tile. A membrane can help manage minor movement, reduce crack transfer, and improve performance in wet areas when the right product is used.
Crack Isolation Membrane
A crack isolation membrane helps prevent small cracks in the concrete from telegraphing directly into the tile above. It does not repair structural movement, but it can protect tile from minor in-plane movement.
Uncoupling Membrane
An uncoupling membrane allows a small amount of independent movement between the tile layer and the concrete. It is often used on concrete slabs, especially when cracks are present or when the installer wants an added layer of protection.
Waterproofing Membrane
Bathrooms, laundry rooms, and other wet spaces may benefit from a waterproofing membrane. Remember that tile and grout are water-resistant, not waterproof as a complete assembly unless the system underneath is designed for that purpose.
Install any membrane exactly according to the manufacturer’s instructions. Mortar type, trowel size, overlap, seam treatment, and curing time all matter.
Step 6: Plan the Tile Layout
Good tile layout is the difference between a professional-looking floor and a floor that looks like it lost an argument with the walls. Rooms are rarely perfectly square, so do not simply start against one wall and hope the universe is feeling generous.
Find the center of the room by measuring both directions and snapping intersecting chalk lines. Dry-lay tiles along the lines with spacers to preview the layout. Your goal is to avoid tiny slivers of tile at walls, doorways, tubs, cabinets, or other highly visible edges.
Adjust the layout so cut tiles on opposite sides are reasonably balanced. In a hallway, entryway, or kitchen, pay special attention to sight lines. The first thing people see should not be a crooked grout line waving hello.
Choose the Right Grout Joint
Grout joint width depends on tile size, tile variation, style, and manufacturer recommendations. Rectified porcelain can often use narrower grout joints, while handmade or rustic tile usually needs wider joints to accommodate size variation.
Do not skip grout joints entirely. Tiles need space for slight size differences and movement. A butt-jointed tile floor may look sleek for ten minutes, then become a maintenance headache wearing designer shoes.
Step 7: Mix the Thin-Set Mortar
Use a thin-set mortar approved for your tile and concrete substrate. Porcelain tile generally requires a mortar with strong bonding performance. Large-format tile may require a large-and-heavy-tile mortar to reduce slump and support the tile properly.
Mix the mortar in a clean bucket using the amount of water specified on the bag. Add powder to water, not the other way around, unless the product says otherwise. Mix until creamy, let it slake if directed, then remix without adding extra water.
Do not mix more mortar than you can use within its pot life. Mortar that begins to stiffen should not be rescued with extra water. That is not “refreshing” the mix; it is weakening it.
Step 8: Spread Mortar Correctly
Work in small sections so the mortar does not skin over before tiles are placed. Use the flat side of the trowel to key mortar into the concrete, then comb fresh mortar with the notched side. Hold the trowel at a consistent angle so the ridges are even.
Comb the mortar in straight lines, not swirls. Straight ridges make it easier for air to escape when the tile is pressed into place. For larger tiles, back-butter the tile by spreading a thin coat of mortar on the back before setting it.
Periodically lift a tile to check mortar coverage. Poor coverage can lead to hollow spots, cracked tiles, and weak bonding. Wet areas and floors generally require excellent coverage, especially at corners and edges.
Step 9: Set the Tile
Place each tile into the mortar and move it slightly perpendicular to the trowel ridges to collapse the ridges and improve contact. Do not slide tiles around wildly, or mortar will pile up in grout joints and create uneven support.
Use spacers or leveling clips to keep grout joints consistent. Check alignment often with your chalk lines and straightedge. Tile installation is a constant conversation between the layout, the level, and your knees.
Remove excess mortar from the face of the tile and from grout joints as you work. Mortar is much easier to clean while fresh. Once it hardens, it becomes a tiny concrete monument to procrastination.
Step 10: Cut Tiles Around Edges and Obstacles
Measure carefully before cutting. For straight cuts, a manual tile cutter may work well for many ceramic and porcelain tiles. For thicker porcelain, stone, curves, notches, or precise cuts around pipes and door jambs, a wet saw is often the better choice.
Leave appropriate expansion gaps at walls, cabinets, pipes, columns, and other fixed objects. These gaps are usually hidden by baseboards, shoe molding, transitions, or flexible sealant. Do not fill perimeter gaps with hard grout.
Undercutting door jambs often gives a cleaner result than trying to cut tile perfectly around trim. Slide a scrap tile and underlayment or membrane piece beside the jamb to set the cutting height, then use an oscillating tool or jamb saw.
Step 11: Allow the Mortar to Cure
Once the tile is set, protect the floor from traffic while the mortar cures. Many standard mortars require at least 24 hours before grouting, but product instructions vary. Temperature, humidity, tile size, mortar type, and slab conditions can all affect curing.
Do not rush this step. Walking on tile too soon can break the bond or shift tiles out of alignment. Your floor is not being dramatic; it is curing.
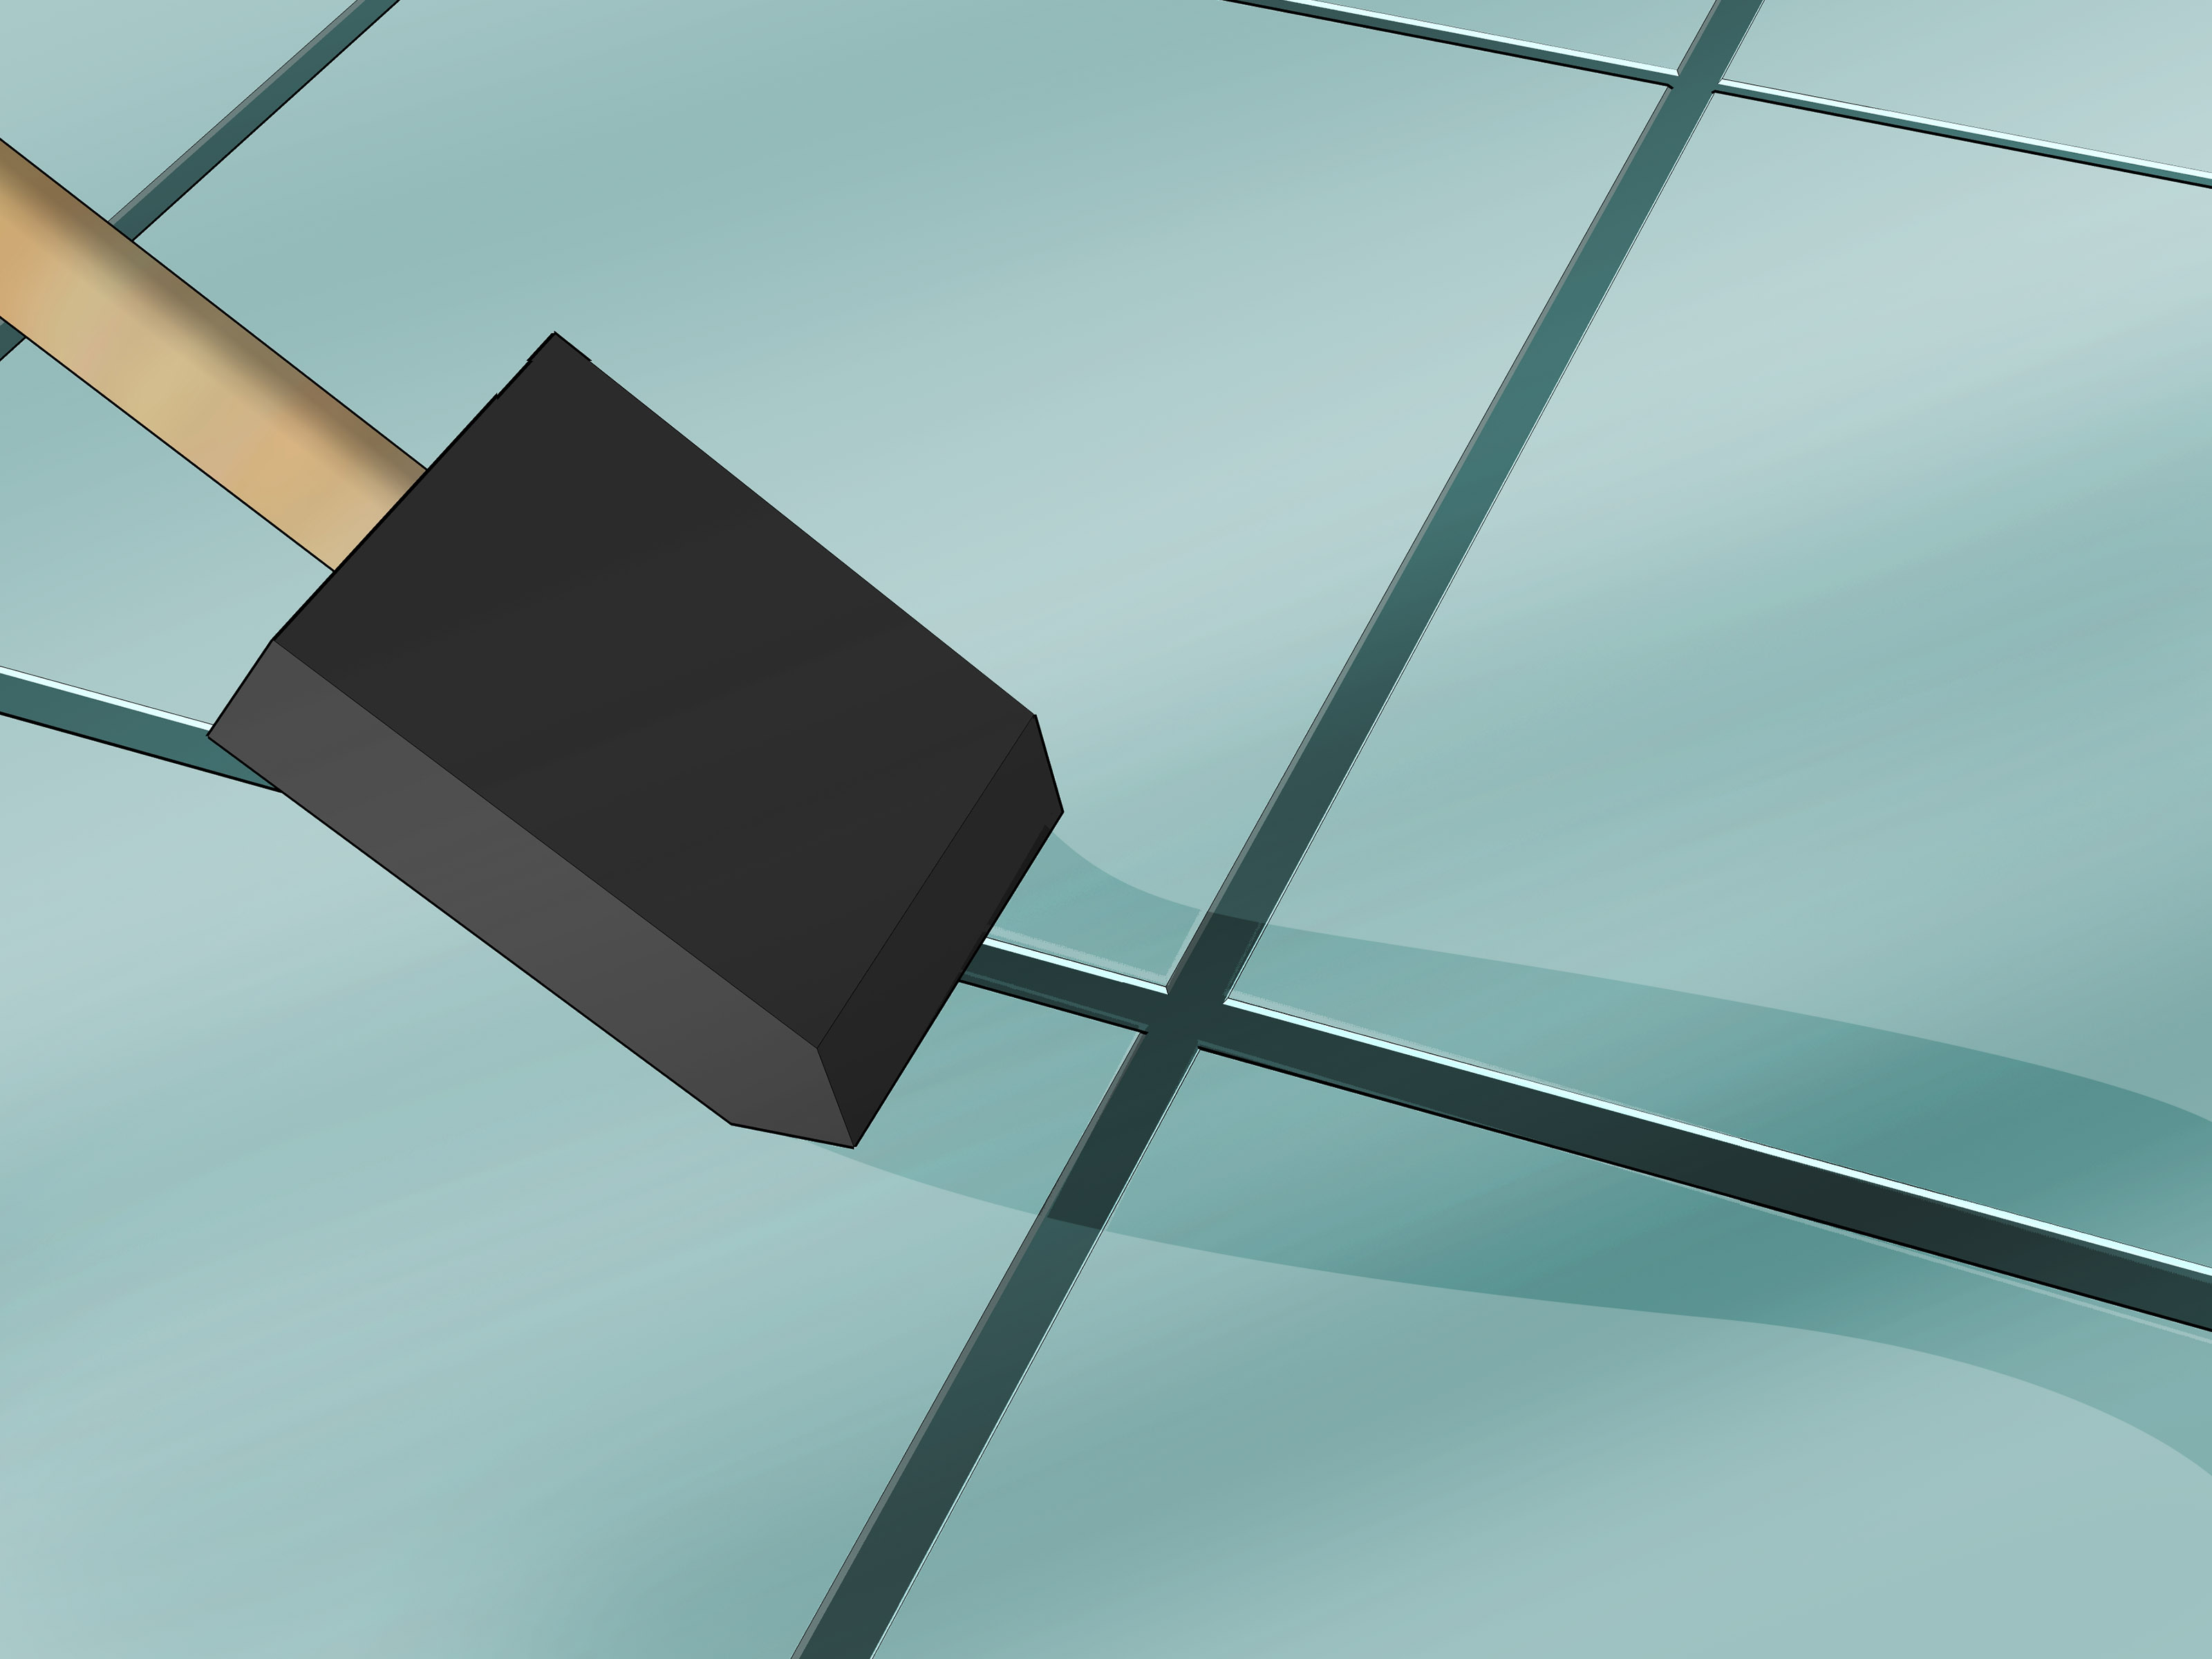
Step 12: Grout the Tile
Remove spacers and clean the grout joints. Mix grout according to the manufacturer’s directions. Spread it diagonally across the joints with a rubber grout float, packing the joints fully.
After the grout firms slightly, wipe the tile surface with a damp sponge. Rinse the sponge often and avoid flooding the joints with water. Too much water during cleanup can weaken cement-based grout or cause color inconsistency.
When haze appears, polish the tile with a clean microfiber cloth. For stubborn haze, use a grout haze remover compatible with your tile and grout type, but only after the grout has cured long enough for cleaning products.
Step 13: Seal and Finish
Some grouts, such as many cement-based grouts, benefit from sealing after curing. Other grouts, including some premixed and epoxy options, may not require sealer. Always check the grout instructions.
Reinstall baseboards, transitions, and trim after the grout has cured. Fill perimeter joints and changes of plane with a flexible sealant rather than hard grout. This helps accommodate normal movement and reduces cracking at edges.
Common Mistakes to Avoid When Laying Tile on Concrete
Skipping Surface Prep
Most tile failures begin before the first tile is set. A dusty, sealed, oily, painted, or uneven slab can sabotage the installation. Preparation is not the boring part of tiling; it is the part that keeps the pretty part from failing.
Ignoring Cracks
Concrete cracks are common, but tile does not like being installed directly over moving cracks. Use the correct crack isolation strategy and never bridge active structural cracks without professional advice.
Using the Wrong Mortar
Not all mortars are equal. Large-format tile, porcelain, stone, membranes, and exterior applications may require specific mortar types. Read product labels carefully.
Starting Against a Crooked Wall
Walls can be impressively dishonest. Snap layout lines and dry-lay tiles before setting anything permanently.
Forgetting Movement Joints
Tile assemblies need movement accommodation at perimeters, transitions, changes in plane, and sometimes within large fields of tile. Hard grout packed against every wall can contribute to cracking or tenting.
Best Tile Types for Concrete Floors
Porcelain tile is one of the best choices for concrete because it is dense, durable, and suitable for high-traffic areas. It is commonly used in kitchens, bathrooms, basements, mudrooms, and patios when rated for the location.
Ceramic tile is usually easier to cut and often more affordable, making it a good option for light-to-moderate traffic areas. Check the tile’s floor rating before installation.
Natural stone tile can look beautiful over concrete, but it requires more care. Stone may need special mortar, sealing, flatter substrate conditions, and more maintenance than porcelain or ceramic.
Indoor vs. Outdoor Tile on Concrete
Outdoor concrete tile installations face extra challenges: temperature swings, direct sun, rain, freeze-thaw cycles in some climates, and drainage issues. Use exterior-rated tile, exterior-approved mortar, and grout suitable for the environment. The concrete should slope away from the house so water does not sit on the tile surface.
For patios, porches, and outdoor walkways, slip resistance matters. Glossy indoor tile can become dangerously slick outside. Choose tile designed for exterior walking surfaces, especially around pools or wet entries.
Experience-Based Tips for Laying Tile on Concrete
Here is the part many instruction guides politely understate: tile work rewards patience and punishes confidence when confidence is not backed by preparation. The first practical lesson is to spend more time on the concrete than you think is necessary. A beginner often wants to open boxes and start setting tile immediately because that feels like progress. Experienced installers know the real progress happens when the slab is cleaned, flattened, patched, and checked twice.
One useful habit is to mark problem areas directly on the floor. Circle low spots, high spots, cracks, and stains with a pencil or marker before repairs begin. This turns the slab into a map. Instead of vaguely thinking, “There is a dip somewhere near the washer,” you know exactly where the floor needs attention. This is especially helpful in basements and laundry rooms, where concrete can slope toward drains or settle unevenly over time.
Another experience-based tip is to open several boxes of tile at once and mix pieces as you install. Tile shade variation is normal, especially with stone-look porcelain, handmade-style ceramic, and natural stone. If you install one box at a time, you may end up with a visible color block in the middle of the room. Blending tiles from multiple cartons creates a more natural, intentional look.
Dry layout is also worth the trouble. Lay a few rows with spacers before mixing mortar. Stand at the doorway and look across the room. Check where cuts land near cabinets, tubs, thresholds, and focal walls. A layout that seems fine on paper may look awkward in real life. Moving the starting line by two inches can sometimes prevent tiny edge cuts that scream “weekend panic project.”
When spreading mortar, smaller work areas are better for DIY installers. Professionals move fast because they have years of muscle memory. A homeowner tiling after work on a Saturday should not spread mortar across half the room and then race against the clock. Spread only enough mortar for a few tiles until you understand the open time. If mortar skins over, scrape it up and apply fresh mortar. Setting tile into dry, skinned mortar is asking for weak bonding.
Back-buttering large tiles is another habit that improves results. It adds time, but it also improves contact between tile and mortar. This matters on concrete because even a floor that looks flat may have small surface variations. Lifting a tile occasionally to check coverage may feel annoying, but it tells the truth. If the ridges are not collapsed or the corners lack mortar, adjust your technique before the whole floor is installed.
Do not underestimate cleanup. Keep a margin trowel, sponge, and bucket nearby while setting tile. Remove mortar from grout joints before it hardens. Clean the tile face as you go. Future you, holding a scraper and muttering at midnight, will appreciate present you for being responsible.
Knee pads are not optional for sanity. Concrete and tile are unforgiving surfaces, and a floor installation requires hours of kneeling, shifting, reaching, and standing back up. Good knee pads, gloves, and eye protection make the job safer and less exhausting. Tile installation is already a workout; there is no need to make it a punishment.
Finally, build in extra time. Many tile problems happen because someone rushes the curing schedule. Mortar needs time. Grout needs time. Sealer may need time. A finished tile floor is exciting, but walking on it too early can undo hours of careful work. Treat curing time as part of the installation, not an optional delay. The floor will look better, last longer, and make you feel much smarter every time you walk across it.
Conclusion
Learning how to lay tile on concrete is less about secret tricks and more about doing the fundamentals well. Start with a clean, dry, flat, stable slab. Repair cracks and low spots. Use the right mortar and membrane when needed. Plan the layout before committing. Set tiles carefully, maintain consistent joints, allow proper curing time, and finish with grout and sealant suited to the space.
Concrete can be a strong, long-lasting base for tile, but it demands respect. Give the slab the preparation it deserves, and your tile floor can deliver years of beauty, durability, and easy cleaning. Skip the prep, and the floor may eventually file a complaint in the form of cracks, loose tiles, and grout drama. Choose patience. Your future floor will thank you quietly, which is exactly how a good floor should behave.