“`
There are crafts, and then there is slimethe squishy little superstar that somehow turns a kitchen table into a science lab, a sensory bin, and occasionally a crime scene for glitter. The good news? You do not need a shopping cart full of mysterious supplies to make it. With the right pair of ingredients, you can whip up simple homemade slime that stretches, squishes, drips, bounces, or behaves like it has a tiny personality problem.
This guide explains how to make 2-ingredient slime using six easy DIY recipes, from classic glue slime to no-glue cornstarch slime. Some recipes create stretchy slime, while others make oobleck-style or cloud-dough-style sensory slime. That is important because “2-ingredient slime” is a bit like “easy dinner”the exact texture depends on what you use. Glue plus activator gives you a more traditional stretchy slime. Cornstarch plus water gives you a dramatic science blob that acts solid when squeezed and liquid when relaxed. Both are fun. One is just more likely to make you say, “Wait, is this alive?”
Before the fun begins, a quick safety note: slime is for hands, not mouths. Always supervise younger kids, wash hands before and after play, avoid slime if someone has cuts or irritated skin, and never use slime ingredients near the eyes. Skip borax powder in kid-friendly home recipes unless an adult knows exactly what they are doing. The recipes below focus on simple, practical options that are easier to measure and manage.
What Makes 2-Ingredient Slime Work?
Slime works because certain ingredients change how liquids move. In classic glue slime, school glue contains long polymer chains. When an activator is added, those chains connect and form a stretchy network. That network traps moisture, which gives slime its famous pull-and-squish texture. In cornstarch slime, there is no polymer cross-linking in the same way. Instead, tiny starch particles suspend in liquid and create a non-Newtonian mixture, meaning it changes behavior depending on pressure.
That is the science version. The kitchen-table version is simpler: if it sticks to everything, add a little more dry ingredient or knead longer. If it crumbles like sad moon dust, add a tiny splash of liquid. If it looks perfect, stop touching the recipe like a mad scientist and enjoy your victory.
Basic Supplies You Need
For these easy slime recipes, you may need a mixing bowl, spoon or craft stick, measuring cups, a clean tray, and an airtight container. Keep paper towels nearby because slime has a talent for traveling. Optional add-ins like food coloring, glitter, foam beads, or confetti are fun, but they technically make the recipe more than two ingredients. If you want true two-ingredient slime, save the sparkle parade for another day.
Recipe 1: Cornstarch and Water Slime
Best for: Science play, oobleck texture, younger sensory activities
This is the legendary “is it a liquid or is it a solid?” slime. It is technically oobleck, but it earns a spot here because it is one of the easiest two-ingredient slime recipes on earth. It is also wonderfully dramatic. Tap it quickly and it feels firm. Let it rest in your hand and it drips like melted frosting.
Ingredients
- 1 cup cornstarch
- 1/2 cup water
Steps
- Add cornstarch to a bowl.
- Slowly pour in water while stirring.
- Mix until the slime feels thick but still flows when you tilt the bowl.
- Adjust with 1 teaspoon of water at a time if it is too dry.
- Add 1 tablespoon of cornstarch if it becomes too runny.
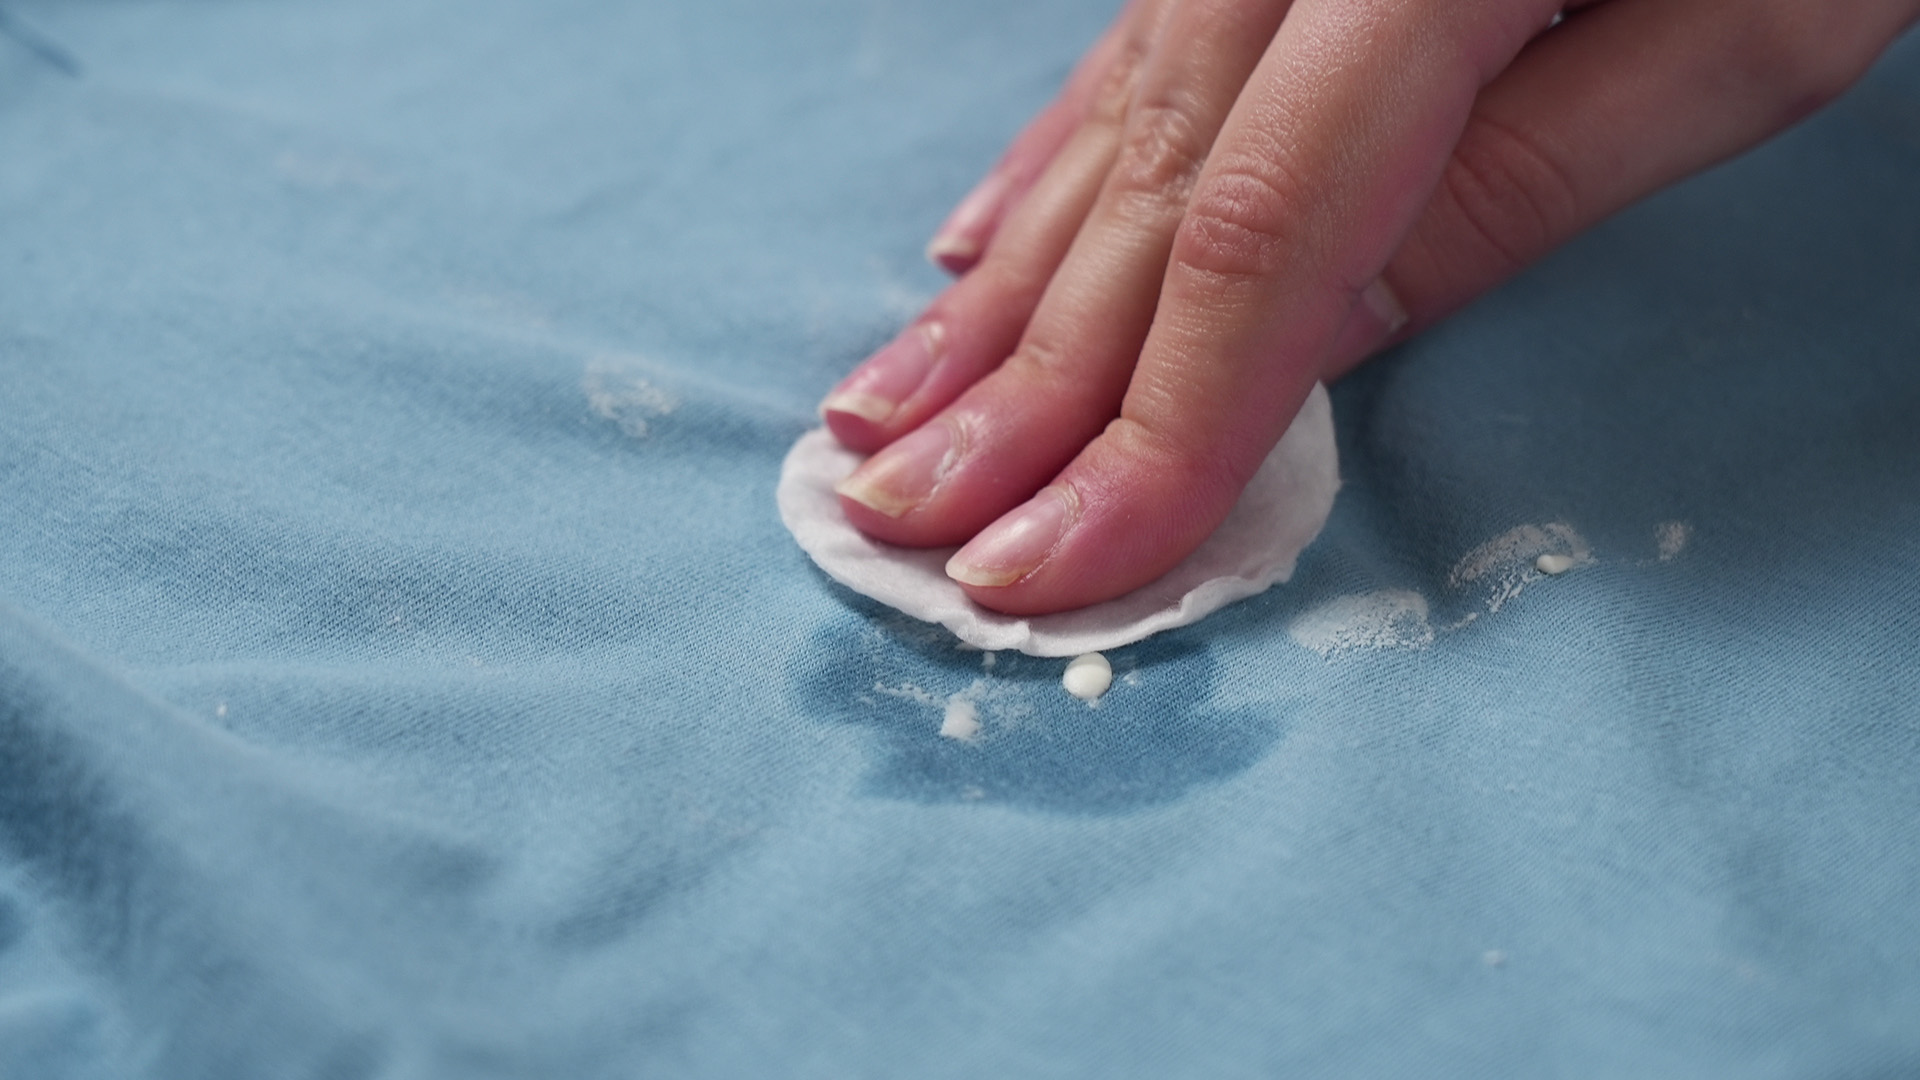
This slime does not stretch like glue slime, but it is unbeatable for hands-on science. It is also easy to clean once dryjust let spills harden, scrape them up, and wipe the surface. Do not pour large amounts down the sink because cornstarch can settle and clog drains. Your plumbing did not sign up for slime club.
Recipe 2: Shampoo and Cornstarch Slime
Best for: No-glue slime with a soft, moldable feel
If you want slime without glue, shampoo and cornstarch are a classic pair. The shampoo adds moisture and scent, while cornstarch thickens everything into a soft, stretchy dough-like slime. Thicker shampoos usually work better than watery ones. Clear shampoo may create a glossy look, while creamy shampoo gives a softer texture.
Ingredients
- 1/2 cup thick shampoo
- 1 cup cornstarch
Steps
- Pour shampoo into a bowl.
- Add cornstarch gradually, stirring after each addition.
- When the mixture becomes thick, knead it with your hands.
- If it sticks too much, dust in more cornstarch.
- If it cracks, add a few drops of shampoo and knead again.
This recipe is flexible, which is a polite way of saying it may behave differently depending on your shampoo. A moisturizing shampoo can make the slime softer. A gel shampoo can make it stretchier. A super-thin shampoo may make you question your life choices. Start small, adjust slowly, and remember that slime rewards patience more than panic.
Recipe 3: Conditioner and Cornstarch Cloud Slime
Best for: Silky, fluffy, cloud-dough-style slime
This two-ingredient slime recipe feels soft, smooth, and almost fancy. Hair conditioner gives it a silky texture, while cornstarch creates body. The result is more like cloud dough or butter slime than stretchy glue slime, but it is excellent for sensory play. It also smells nice, assuming you do not choose a conditioner called “Volcanic Mint Thunderstorm” and accidentally create a spa day for your nostrils.
Ingredients
- 1/2 cup hair conditioner
- 1 cup cornstarch
Steps
- Add conditioner to a bowl.
- Mix in cornstarch little by little.
- Stir until the mixture clumps together.
- Knead for 2 to 3 minutes until smooth.
- Adjust with more cornstarch for firmness or more conditioner for softness.
This recipe is especially good when you want a low-mess slime alternative. It is not ideal for long stretching, but it is satisfying to squeeze, fold, roll, and press. Store it in an airtight container, but check it before reuse. If it smells strange, dries out, or changes texture, toss it. Homemade slime is not a family heirloom.
Recipe 4: School Glue and Liquid Starch Slime
Best for: Classic stretchy slime with only two ingredients
This is one of the simplest ways to make traditional slime with two ingredients. White school glue provides the polymer base, and liquid starch acts as the activator. The result is stretchy, squishy slime that feels closer to store-bought slime than cornstarch recipes do. Because liquid starch may contain borate compounds, this recipe is best for older kids with adult supervision.
Ingredients
- 1/2 cup white school glue
- 1 to 2 tablespoons liquid starch
Steps
- Pour glue into a bowl.
- Add 1 tablespoon of liquid starch and stir slowly.
- When the mixture begins pulling away from the bowl, knead it.
- Add more liquid starch 1/2 teaspoon at a time only if it stays very sticky.
- Knead for several minutes before adding more activator.
The biggest mistake with glue slime is adding too much activator too fast. Slime often looks sticky before it becomes smooth. Kneading helps the texture develop. If you dump in extra starch too early, the slime can turn rubbery and stiff. Think of activator like hot sauce: useful, powerful, and not something you pour blindly while hoping for the best.
Recipe 5: Glitter Glue and Slime Activator
Best for: Sparkly slime with built-in color
This recipe keeps things simple by using glitter glue as the color, sparkle, and glue base all in one. Pair it with a ready-made slime activator, and you have a true two-ingredient slime that looks party-ready without extra food coloring or loose glitter. That means less cleanup, fewer supplies, and fewer tiny sparkles appearing on your face three days later for no reason.
Ingredients
- 1 bottle glitter glue, about 5 to 6 ounces
- 1 to 2 tablespoons slime activator
Steps
- Empty the glitter glue into a bowl.
- Add 1 tablespoon slime activator.
- Stir until the slime begins to form.
- Knead with clean hands until smooth.
- Add tiny amounts of activator only if the slime remains too sticky after kneading.
Store-bought slime activators are convenient because they are made for slime projects, but they should still be handled carefully. Read the label, do not ingest the mixture, and keep it away from toddlers and pets. For the best texture, use fresh glue. Old glue can make slime clumpy, stringy, or weirdly stubbornbasically the craft equivalent of a printer jam.
Recipe 6: Model Magic and Lotion Butter Slime
Best for: Soft, spreadable, butter-slime-style play
This recipe is not a classic liquid slime, but it creates a soft, stretchy, spreadable butter-slime-style texture using only two ingredients. Lightweight modeling compound gives structure, while lotion softens it. It is great for kids who like squishing and folding more than dripping and stretching.
Ingredients
- 1 small pack lightweight modeling compound
- 1 to 2 tablespoons lotion
Steps
- Place the modeling compound on a clean tray.
- Add 1 tablespoon lotion.
- Knead until the lotion is fully absorbed.
- Add more lotion a little at a time for a softer texture.
- Stop when it spreads smoothly without becoming greasy.
This is a good choice when you want less mess than glue slime. It is also easy to customize if you later decide to add color or glitter. Just remember that adding extras means it is no longer a strict two-ingredient recipe. The slime police probably will not knock on your door, but accuracy matters.
How to Fix Common 2-Ingredient Slime Problems
If the slime is too sticky
Knead first. Many homemade slime recipes become less sticky after a few minutes of handling. For cornstarch recipes, add more cornstarch 1 tablespoon at a time. For glue slime, add only a tiny amount of activator and knead again.
If the slime is too stiff
Add more of the liquid ingredient. For shampoo slime, add a few drops of shampoo. For conditioner slime, add a small dab of conditioner. For glue slime, try kneading with slightly damp hands before adding anything else.
If the slime breaks instead of stretches
It may be over-activated or too dry. Add moisture slowly and knead well. Glue slime that has too much activator may never return to perfect stretchiness, but it can often become a decent putty.
If the slime smells odd
Throw it away. Homemade slime is not meant to last forever. Store slime in airtight containers, keep it off carpets and fabric, and toss it after a few days or when the texture changes.
Safety Tips for Homemade Slime
Slime is fun, but it still deserves basic safety rules. Do not eat slime, even if it smells like strawberries, cupcakes, or suspiciously delicious shampoo. Keep slime away from eyes, mouths, pets, and very young children. Wash hands after play. If anyone develops redness, itching, or irritation, stop using the slime and wash the skin with soap and water.
Avoid mixing random household chemicals. Laundry products, cleaning sprays, detergents, and powders are not automatically safe just because they are found at home. Use simple recipes, measure carefully, and label containers so nobody mistakes slime for food. This is especially important with colorful slime, which can look like candy to younger kids.
Storage and Cleanup Tips
Store slime in small airtight containers or resealable bags. Keep one recipe per container so textures do not turn into a mysterious mega-blob. For glue slime stuck on clothes, remove as much as possible before washing. For cornstarch slime spills, let the mixture dry, scrape it up, and wipe the area clean. For glitter slime, use tape or a lint roller to catch the sparkle escapees.
Set a slime zone before you begin. A tray, washable tablecloth, or plastic mat can save you from discovering slime under a notebook, on a chair, or somehow on the dog. Slime has no respect for boundaries unless you create them first.
My Real-Life Experience Making 2-Ingredient Slime
The first thing I learned from making 2-ingredient slime is that “easy” does not always mean “identical every time.” Slime is simple, but it is also a tiny chemistry project wearing a craft hat. The brand of glue matters. The thickness of shampoo matters. Even the mood of the person stirring seems to matter, though science has not yet confirmed the “impatient spoon effect.”
The cornstarch and water recipe is the one I recommend when you want maximum fun with minimum stress. It is fast, cheap, and surprisingly educational. Kids can punch it, scoop it, drip it, and watch it change behavior right in their hands. It is not stretchy, but it delivers that “wow” moment almost instantly. The only trick is cleanup. If you keep it on a tray and avoid the sink, everything stays manageable.
Shampoo and cornstarch slime is a little more unpredictable, but that is part of the fun. A thick shampoo makes a soft, stretchy dough, while a thinner shampoo can make the mixture sticky and loose. My best results came from adding cornstarch slowly and kneading longer than expected. At first, it looked like a lumpy mistake. After two minutes, it turned smooth. After five minutes, it became the kind of squishy thing people keep poking even after saying, “Okay, I’m done.”
Conditioner and cornstarch slime is my favorite for calm sensory play. It feels smooth and soft, and it usually smells better than the average craft project. It is not the slime you choose for dramatic stretching across the room. It is the slime you choose when you want something relaxing, moldable, and less likely to attach itself to your sleeve like a needy octopus.
For classic stretchy slime, glue and liquid starch or glitter glue and activator work best. The lesson here is restraint. Add activator slowly. Stir slowly. Knead before judging. The first time many people make glue slime, they panic because it sticks to their fingers. Then they add too much activator, and suddenly they have a rubber puck. Good slime needs a little patience. It is like bread dough, except less edible and more likely to sparkle.
The butter-slime-style modeling compound and lotion recipe is great for anyone who dislikes sticky messes. It spreads, squishes, and folds beautifully. It also feels less chaotic than glue slime, which makes it a nice option for younger kids under supervision or for quick indoor play. My advice is to add lotion in small amounts. Too much lotion makes it greasy, and then you have invented not slime, but regret.
Overall, the best 2-ingredient slime recipe depends on your goal. For science, choose cornstarch and water. For no-glue fun, choose shampoo or conditioner with cornstarch. For stretchy slime, choose glue and activator. For low-mess squishing, choose modeling compound and lotion. The secret is not finding one perfect recipe. The secret is knowing what each recipe does welland keeping slime off the carpet like your security deposit depends on it.
Conclusion
Learning how to make 2-ingredient slime is a fun way to combine creativity, sensory play, and simple science. With only two supplies, you can create oobleck, cloud slime, shampoo slime, classic glue slime, glitter slime, or butter-slime-style dough. The recipes are easy enough for beginners, but each one teaches something different about texture, measurement, and patience.
Start with the recipe that matches your goal. Want a science experiment? Make cornstarch and water slime. Want stretch? Try glue and activator. Want soft, low-mess play? Go with conditioner and cornstarch or modeling compound and lotion. Keep the safety rules simple, supervise kids, wash hands, and store slime properly. Do that, and your DIY slime session should be more “creative family fun” and less “why is there glitter in the refrigerator?”