In Minecraft, few items are as tiny, cheap, and dramatically powerful as flint and steel. It fits in one inventory slot, requires only two ingredients, and can do everything from lighting a cozy campfire to opening a purple doorway into the Netherbecause apparently your relaxing block game needed a dimension full of lava, angry pigs, and questionable life choices.
If you are searching for how to make flint and steel in Minecraft, the good news is that the recipe is simple: combine one flint and one iron ingot. The even better news is that you do not need a full crafting table. Since the recipe uses only two items, you can craft it right in your inventory crafting grid. Still, making it efficiently requires knowing where to find gravel, how to get iron, and how to use your new fire-starting gadget without turning your wooden starter house into a smoky memory.
This guide walks through the complete Minecraft flint and steel recipe in 9 practical steps, then explains what to do with it, how to avoid common mistakes, and why every survival player should keep one handy before building a Nether portal.
What Is Flint and Steel in Minecraft?
Flint and steel is a utility item used to create fire. Players commonly use it to light Nether portals, ignite TNT, relight campfires, light candles, and trigger controlled burns. It is one of those Minecraft tools that feels optional right up until the moment you are standing in front of a completed obsidian portal with no way to turn it on.
Despite the name, Minecraft does not require an item called steel. The recipe uses an iron ingot and flint. Think of the “steel” part as Minecraft being poetic, old-fashioned, or just a little mysteriouslike villagers charging emeralds for suspiciously ordinary bread.
Materials Needed to Make Flint and Steel
Before crafting, collect these two ingredients:
- 1 Flint: Usually obtained by breaking gravel blocks.
- 1 Iron Ingot: Usually obtained by smelting raw iron or iron ore in a furnace or blast furnace.
That is the entire shopping list. No diamonds, no blaze rods, no crying obsidian, no dramatic boss battle. Just one sharp rock and one piece of processed iron.
How to Make Flint and Steel in Minecraft: 9 Steps
Step 1: Find Gravel
To get flint, start by looking for gravel. Gravel is common in caves, riverbeds, beaches, ocean floors, windswept areas, and underground patches. It looks like a gray, speckled block and behaves like sand, meaning it falls when unsupported. If a chunk of gravel drops on your head in a cave, congratulationsyou have met Minecraft physics, and it is not gentle.
For beginners, riverbanks and shallow caves are often the easiest places to gather gravel safely. Bring a shovel if you have one, because shovels break gravel much faster than bare hands.
Step 2: Break Gravel Until Flint Drops
When you break gravel, it usually drops itself, but it has a chance to drop flint instead. If you do not get flint on the first few tries, keep going. That is normal. Minecraft likes to make you work for small gray pebbles.
A useful trick is to place the gravel blocks back down and break them again. Each break gives another chance for flint to appear. This is especially helpful early in survival mode when you may not want to wander far from your base at night.
Step 3: Mine Iron Ore or Collect Raw Iron
Next, you need iron. Look underground for iron ore or deepslate iron ore. In modern Minecraft, breaking iron ore drops raw iron, which can then be smelted into iron ingots. You can mine iron ore with a stone pickaxe or better. A wooden pickaxe will not do the job properly, and Minecraft will quietly judge you for trying.
Iron appears in many underground areas, caves, and mountains. If you are still early in your world, bring torches, food, and a backup pickaxe. One iron ingot is all you need for flint and steel, but mining extra iron is always smart because iron is used for buckets, armor, tools, shields, rails, hoppers, and about half of your future “why did I not bring this?” moments.
Step 4: Smelt Raw Iron Into an Iron Ingot
Place raw iron in a furnace or blast furnace with fuel such as coal, charcoal, wood, or other burnable materials. After smelting, you will receive an iron ingot. If you already found iron ingots in a chest, village, dungeon, shipwreck, mineshaft, or ruined portal chest, you can skip the smelting process.
For speed, a blast furnace smelts ores faster than a regular furnace. However, a normal furnace works perfectly fine if you are still living the humble dirt-hut lifestyle.
Step 5: Open Your Inventory or Crafting Table
Now that you have one flint and one iron ingot, open your inventory. Because the recipe uses only two ingredients, you can craft flint and steel in the small 2×2 player crafting grid. You do not need a crafting table, though using one is fine if you are already standing beside it.
This is a beginner-friendly detail many players miss. Flint and steel is one of the easiest utility tools to craft quickly while exploring.
Step 6: Place Flint and Iron in the Crafting Grid
Put one flint and one iron ingot into the crafting grid. In current versions, the recipe is flexible, so the items do not need to be placed in one strict pattern. Many players place them diagonally because the classic recipe image often shows that layout, but the key point is simple: one flint plus one iron ingot equals flint and steel.
When the flint and steel icon appears in the result slot, drag it into your inventory or hotbar.
Step 7: Add Flint and Steel to Your Hotbar
Move your new flint and steel into your hotbar so it is ready to use. This is especially helpful if you are about to light a Nether portal, relight a campfire, or ignite TNT from a safe distance. “Safe distance,” by the way, means farther than you think. TNT has a way of turning confidence into a crater.
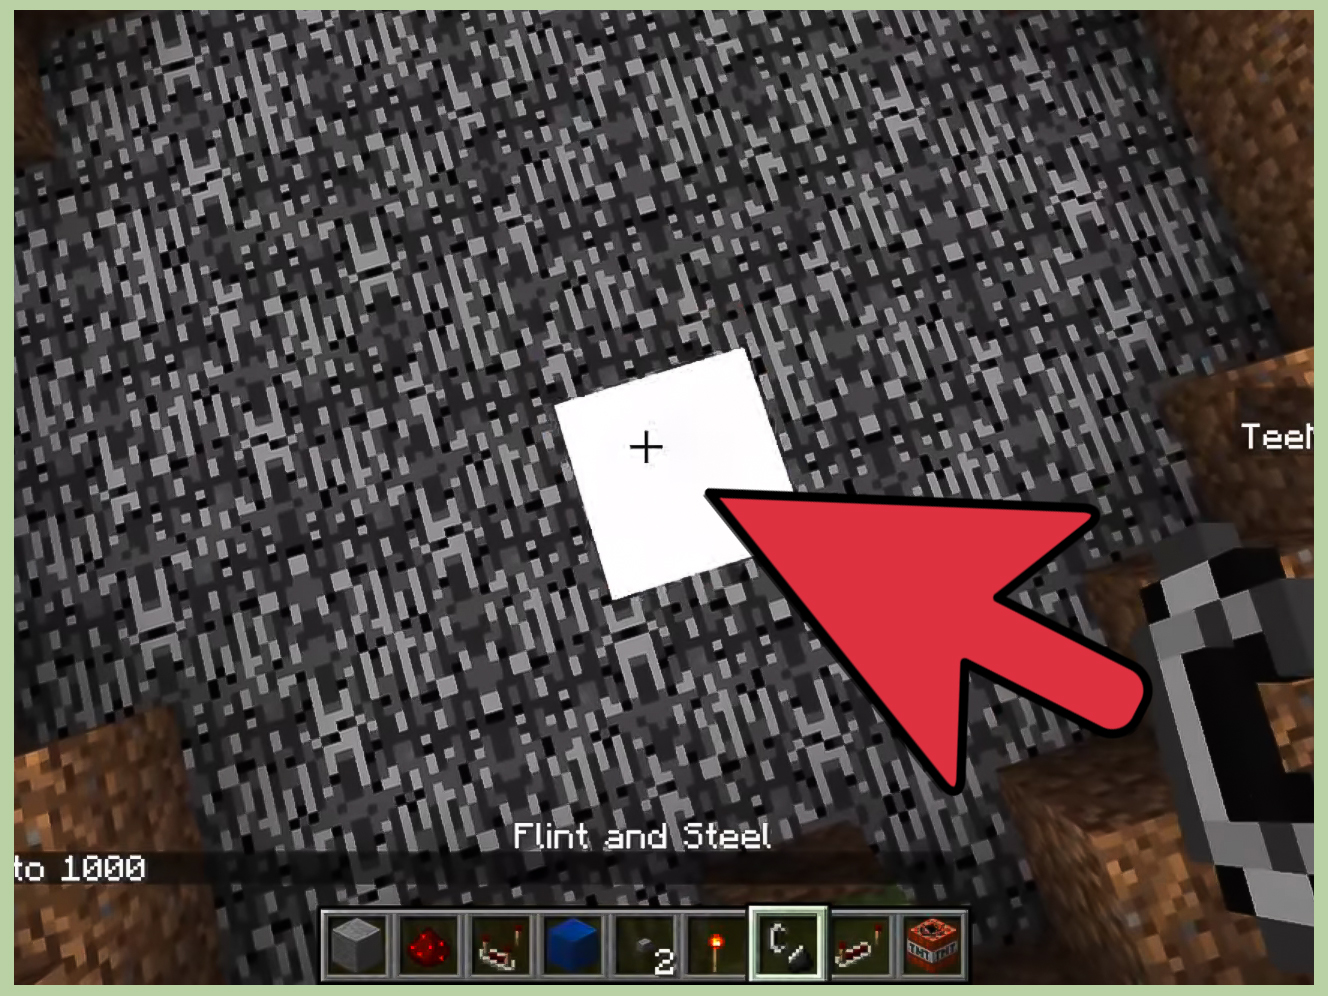
Step 8: Use Flint and Steel Carefully
To use flint and steel, select it and interact with a block. On Java Edition, this usually means right-clicking. On Bedrock Edition or mobile, use the platform’s normal interaction control. When used on a valid surface, flint and steel creates fire.
Be careful around wood, leaves, wool, grass, and other flammable blocks. Fire can spread, and it does not care that you spent three hours building your roof. If your house is made of wood, do not test flint and steel indoors unless your decorating style is “panic.”
Step 9: Light a Nether Portal or Save It for Later
The most famous use for flint and steel is activating a Nether portal. Build a vertical obsidian frame, then use flint and steel inside the frame to create fire. If the portal is built correctly, the center fills with purple portal blocks. Step through, and you will travel to the Nether.
A minimum Nether portal frame is 4 blocks wide and 5 blocks tall, including corners. The corners are optional, so experienced players often build the smallest functional frame using 10 obsidian blocks. Once lit, the portal becomes your gateway to Nether resources such as quartz, glowstone, nether wart, blaze rods, and danger with excellent lighting.
Flint and Steel Recipe Summary
Here is the recipe in its simplest form:
- Recipe: 1 flint + 1 iron ingot
- Crafting location: Inventory crafting grid or crafting table
- Main uses: Fire, Nether portals, TNT, campfires, candles
- Best early-game purpose: Activating your first Nether portal
Best Uses for Flint and Steel
Lighting a Nether Portal
This is the big one. A Nether portal without flint and steel is just an expensive obsidian picture frame. Once you light the inside of the frame, the portal activates and opens access to one of Minecraft’s most important dimensions.
Igniting TNT
Flint and steel can ignite TNT, making it useful for mining, clearing land, traps, or chaotic experiments that end with someone saying, “I thought I was far enough away.” Use TNT responsibly, especially near chests, farms, villagers, pets, or anything you love.
Relighting Campfires
If a campfire has been extinguished, flint and steel can relight it. This is useful for decorative builds, smoke signals, outdoor kitchens, and cozy survival camps. Campfires are also great for cooking food without consuming fuel.
Lighting Candles and Cakes With Candles
Flint and steel can light candles, including candles placed on cakes. This gives builders more control over mood lighting, birthday scenes, medieval halls, spooky mansions, and romantic dining rooms where the main course is probably suspicious stew.
Controlled Burning
Sometimes you may want to clear leaves, burn unwanted wooden structures, or create a fire effect in a build. Flint and steel makes that possible, but always control the area first. Fire spread can quickly jump from “small landscaping project” to “entire forest evacuation.”
How to Get Flint Faster
If gravel refuses to drop flint, try these methods:
- Use a shovel: It breaks gravel faster, saving time.
- Re-place gravel: Break the same gravel blocks repeatedly until flint drops.
- Use Fortune: Fortune improves the chance of flint dropping from gravel.
- Avoid Silk Touch: Silk Touch causes gravel to drop itself instead of flint.
- Check villages: Fletcher villagers may be useful if you are trading for flint-related resources.
For most early-game players, the simplest method is still the best: find a gravel patch, use a shovel, and keep breaking blocks until you get the drop.
Common Mistakes to Avoid
Mistake 1: Looking for “Steel”
There is no standard steel ingot item required for this recipe. Use an iron ingot. If you have been searching caves for steel, you can stop now and pretend it was “research.”
Mistake 2: Using the Wrong Pickaxe for Iron
You need at least a stone pickaxe to properly mine iron ore. If you break iron ore with the wrong tool, you may waste the block. Upgrade from wooden tools before mining valuable ore.
Mistake 3: Lighting Fires Near Your Base
Do not casually click flint and steel inside a wooden house, forest base, wool statue, barn, library, or anything else flammable. Minecraft fire spread can be surprisingly aggressive.
Mistake 4: Forgetting Durability
Flint and steel has durability, so it wears down with use. If you are going on a long Nether trip, bring an extra one or carry spare flint and iron. Nothing says “bad planning” like being trapped in the Nether beside an unlit portal while a ghast laughs in the distance.
Can You Find Flint and Steel Without Crafting?
Yes. Flint and steel can sometimes be found as loot, especially in places connected to Nether exploration, such as ruined portal chests and Nether fortress chests. However, crafting is usually faster and more reliable. Since the recipe is so cheap, most players make it long before they find one naturally.
Is Flint and Steel Worth Carrying?
Absolutely. Flint and steel is lightweight, cheap, and useful in several situations. It is especially valuable once you begin traveling through the Nether. A ghast can disable a portal by destroying the portal blocks, and if that happens, flint and steel may save your trip. Without it, you may need to find another way to start fire or build a new escape plan.
For survival players, keeping one flint and steel in your ender chest, travel kit, or Nether chest is a smart habit. It is not glamorous, but neither is getting stranded in a lava dimension with three porkchops and regret.
Extra Player Experience: What Making Flint and Steel Teaches You
The first time many players make flint and steel, it feels like a tiny milestone. You are no longer just punching trees, hiding from skeletons, and cooking food one porkchop at a time. You have crossed into the “I can manipulate fire” phase of survival Minecraft, which is both useful and mildly concerning.
In a typical survival world, flint and steel often appears right before the first Nether trip. The pattern is familiar: you mine iron, build a bucket, find lava, make obsidian, assemble a portal frame, and suddenly realize the whole grand adventure depends on one little item. That moment is a great example of Minecraft’s design. The game gives you enormous goals, but the solution often comes down to simple resources used creatively.
One practical experience is learning patience while farming flint. Gravel can be oddly stubborn. You may break five blocks and get flint immediately, or you may break twenty and start wondering if the game has developed a personal grudge. This teaches a useful Minecraft lesson: always gather more than you think you need. If you need one flint, collect a few. If you need one iron ingot, smelt several. Future you will be grateful, especially when present you falls into a cave and loses half the inventory.
Another experience is learning fire control. Many players discover flint and steel by testing it on the nearest block. Sometimes that block is grass. Sometimes it is a tree. Sometimes it is the wooden wall of a lovingly built starter house. The lesson arrives quickly: fire is a tool, not a toy. Before using flint and steel near a build, clear nearby flammable blocks or switch off fire spread if you are playing in a world where that rule is acceptable.
Flint and steel also changes how players think about exploration. Once you carry it into the Nether, you feel better prepared. If a portal goes out, you can relight it. If you find a ruined portal, you may be able to activate it. If you need to scare yourself with TNT mining, you have the ignition tool ready. It becomes part of a reliable travel kit alongside food, blocks, a shield, a pickaxe, torches, and maybe a spare pair of pants for when the ghast fireball lands too close.
For builders, flint and steel opens creative possibilities. Campfires, candles, fireplaces, and dramatic lighting all benefit from controlled ignition. A medieval tavern feels warmer with lit candles. A campsite feels alive with a smoking campfire. A Nether-themed build looks better with carefully placed flames on netherrack. The trick is designing safely, using nonflammable blocks around permanent fire, and testing builds before adding valuable decorations nearby.
In short, making flint and steel teaches resource gathering, crafting, preparation, caution, and creativity. It is a small recipe with a big personality. One flint and one iron ingot can open a portal, start an explosion, relight a campfire, decorate a room, or accidentally create the saddest insurance claim in Minecraft history.
Conclusion
Learning how to make flint and steel in Minecraft is simple, but the item itself is surprisingly important. You only need one flint and one iron ingot, and you can craft it directly in your inventory. Once made, flint and steel becomes your go-to tool for lighting Nether portals, igniting TNT, relighting campfires, lighting candles, and managing fire-based builds.
The best approach is to collect gravel early, mine and smelt iron, craft flint and steel before your first Nether trip, and use it carefully around anything flammable. It may be small, but in survival mode, this little tool can be the difference between a smooth adventure and a very long walk home through danger, lava, and poor decisions.