Note: This article is based on synthesized guidance from reputable U.S. public health, consumer safety, and household-care sources. It is written for everyday home use, not as a medical, commercial cosmetic, or antibacterial product claim.
Introduction: The Tiny Bathroom Upgrade That Feels Fancy but Costs Pennies
Foaming hand soap has a way of making a sink feel strangely upgraded. One pump, one fluffy cloud of bubbles, and suddenly washing your hands feels less like a chore and more like something a boutique hotel would politely charge you $18 for. The good news? You do not need a luxury refill, a chemistry degree, or a secret handshake from the soap industry. You can make foaming hand soap at home in minutes with a foaming dispenser, liquid soap, and water.
The main keyword here is beautifully simple: how to make foaming hand soap. The answer is also beautifully simple: dilute liquid hand soap or castile soap with water in the right type of pump bottle. The dispenser mixes the liquid solution with air as it pumps, creating that soft, airy foam people love. The foam is not magic. It is engineering wearing a bubble hat.
Homemade foaming hand soap is popular because it can save money, reduce plastic waste, and let you control the scent and feel. A bottle of regular liquid soap can stretch into several foaming refills because the foam pump does much of the “volume” work using air. Still, the goal is not to make soap weaker until it becomes scented water with ambition. The goal is to create a balanced mixture that lathers well, rinses cleanly, and helps you wash your hands properly.
Plain soap and water remain a practical choice for routine handwashing. Public health guidance generally emphasizes that plain soap is effective for everyday hand hygiene when used correctly. Antibacterial soap is not necessary for most home sinks, and good technique matters more than having a label that sounds like it belongs in a superhero movie. Wet, lather, scrub, rinse, and dry. Your foaming soap is simply the friendly delivery system.
What Is Foaming Hand Soap?
Foaming hand soap is a diluted soap solution designed for a special foaming pump. Unlike a regular pump, which simply pushes liquid upward, a foaming dispenser pulls in air and blends it with the soap mixture. That is why the soap comes out as foam instead of a thick gel or liquid stream.
This is also why you cannot simply pour thick liquid soap into any dispenser and expect it to foam. A regular pump gives you regular soap. A foaming pump gives you bubbles. It is not the soap alone doing the trick; it is the combination of soap, water, air, and the pump mechanism.
Foaming Soap vs. Regular Liquid Soap
Regular liquid soap is usually thicker and more concentrated. Foaming hand soap is thinner because it has been diluted with water. When used in the right dispenser, that thinner texture is exactly what allows the pump to create foam. Too much soap can clog the pump or produce heavy foam that collapses quickly. Too much water can make the foam weak and sad, like it has just read its own performance review.
A common starting ratio is about 1 part liquid soap to 4 parts water. Some people prefer a slightly richer mixture, such as 1 part soap to 3 parts water, especially if using very thin soap. Others use less soap for a lighter foam. The ideal ratio depends on your soap brand, water type, dispenser, and personal preference.
Ingredients and Supplies You Need
Before you start, gather everything you need. The ingredient list is short, which is part of the charm. This is not one of those DIY recipes that begins with “harvest moonlight in a copper bowl.”
Basic Supplies
- 1 empty foaming hand soap dispenser: Reuse a clean foaming soap bottle or buy a refillable foaming pump bottle.
- Liquid castile soap or gentle liquid hand soap: Unscented soap is easiest to customize.
- Water: Distilled or filtered water is best if you want a cleaner, longer-lasting mixture.
- Measuring spoon or cup: Helpful for keeping the ratio consistent.
- Optional carrier oil: Jojoba oil, sweet almond oil, or fractionated coconut oil can add a softer feel.
- Optional essential oils: Use sparingly and only if your skin tolerates fragrance.
The Best Basic Recipe
For an 8-ounce foaming soap bottle, use this beginner-friendly formula:
- 6 ounces distilled or filtered water
- 2 tablespoons liquid castile soap or gentle liquid hand soap
- Optional: 1/2 teaspoon jojoba oil or glycerin
- Optional: 3 to 6 drops essential oil
This recipe gives you a mild, practical homemade foaming hand soap that works well for bathroom and kitchen sinks. You can adjust it after testing. If the foam feels too watery, add a little more soap. If it feels too thick or the pump struggles, add a little more water.
How to Make Foaming Hand Soap: 6 Steps
Step 1: Clean and Rinse the Foaming Dispenser
Start with a clean foaming soap dispenser. If you are reusing a bottle, rinse it thoroughly with warm water until the old soap residue is gone. Pump warm water through the nozzle a few times to clear the internal tube. This matters because dried soap can clog the pump and make your fresh batch come out like a confused sneeze.
Let the bottle drain for a moment. It does not have to be laboratory sterile, but it should be clean. For best results, make small batches that you can use within a few weeks, especially if you are using water and fragrance ingredients at home.
Step 2: Add Water First
Pour water into the dispenser first, filling it about three-quarters of the way. This is the step that saves you from creating a bubble volcano. If you add soap first and then blast it with water, the bottle can fill with foam before you are done. It is not dangerous, but it is messy and mildly dramatic.
Leave space at the top for the pump and for air. The air space helps the foaming mechanism work properly. Distilled water is a smart choice because it has fewer minerals than tap water. Filtered water is also fine for most households.
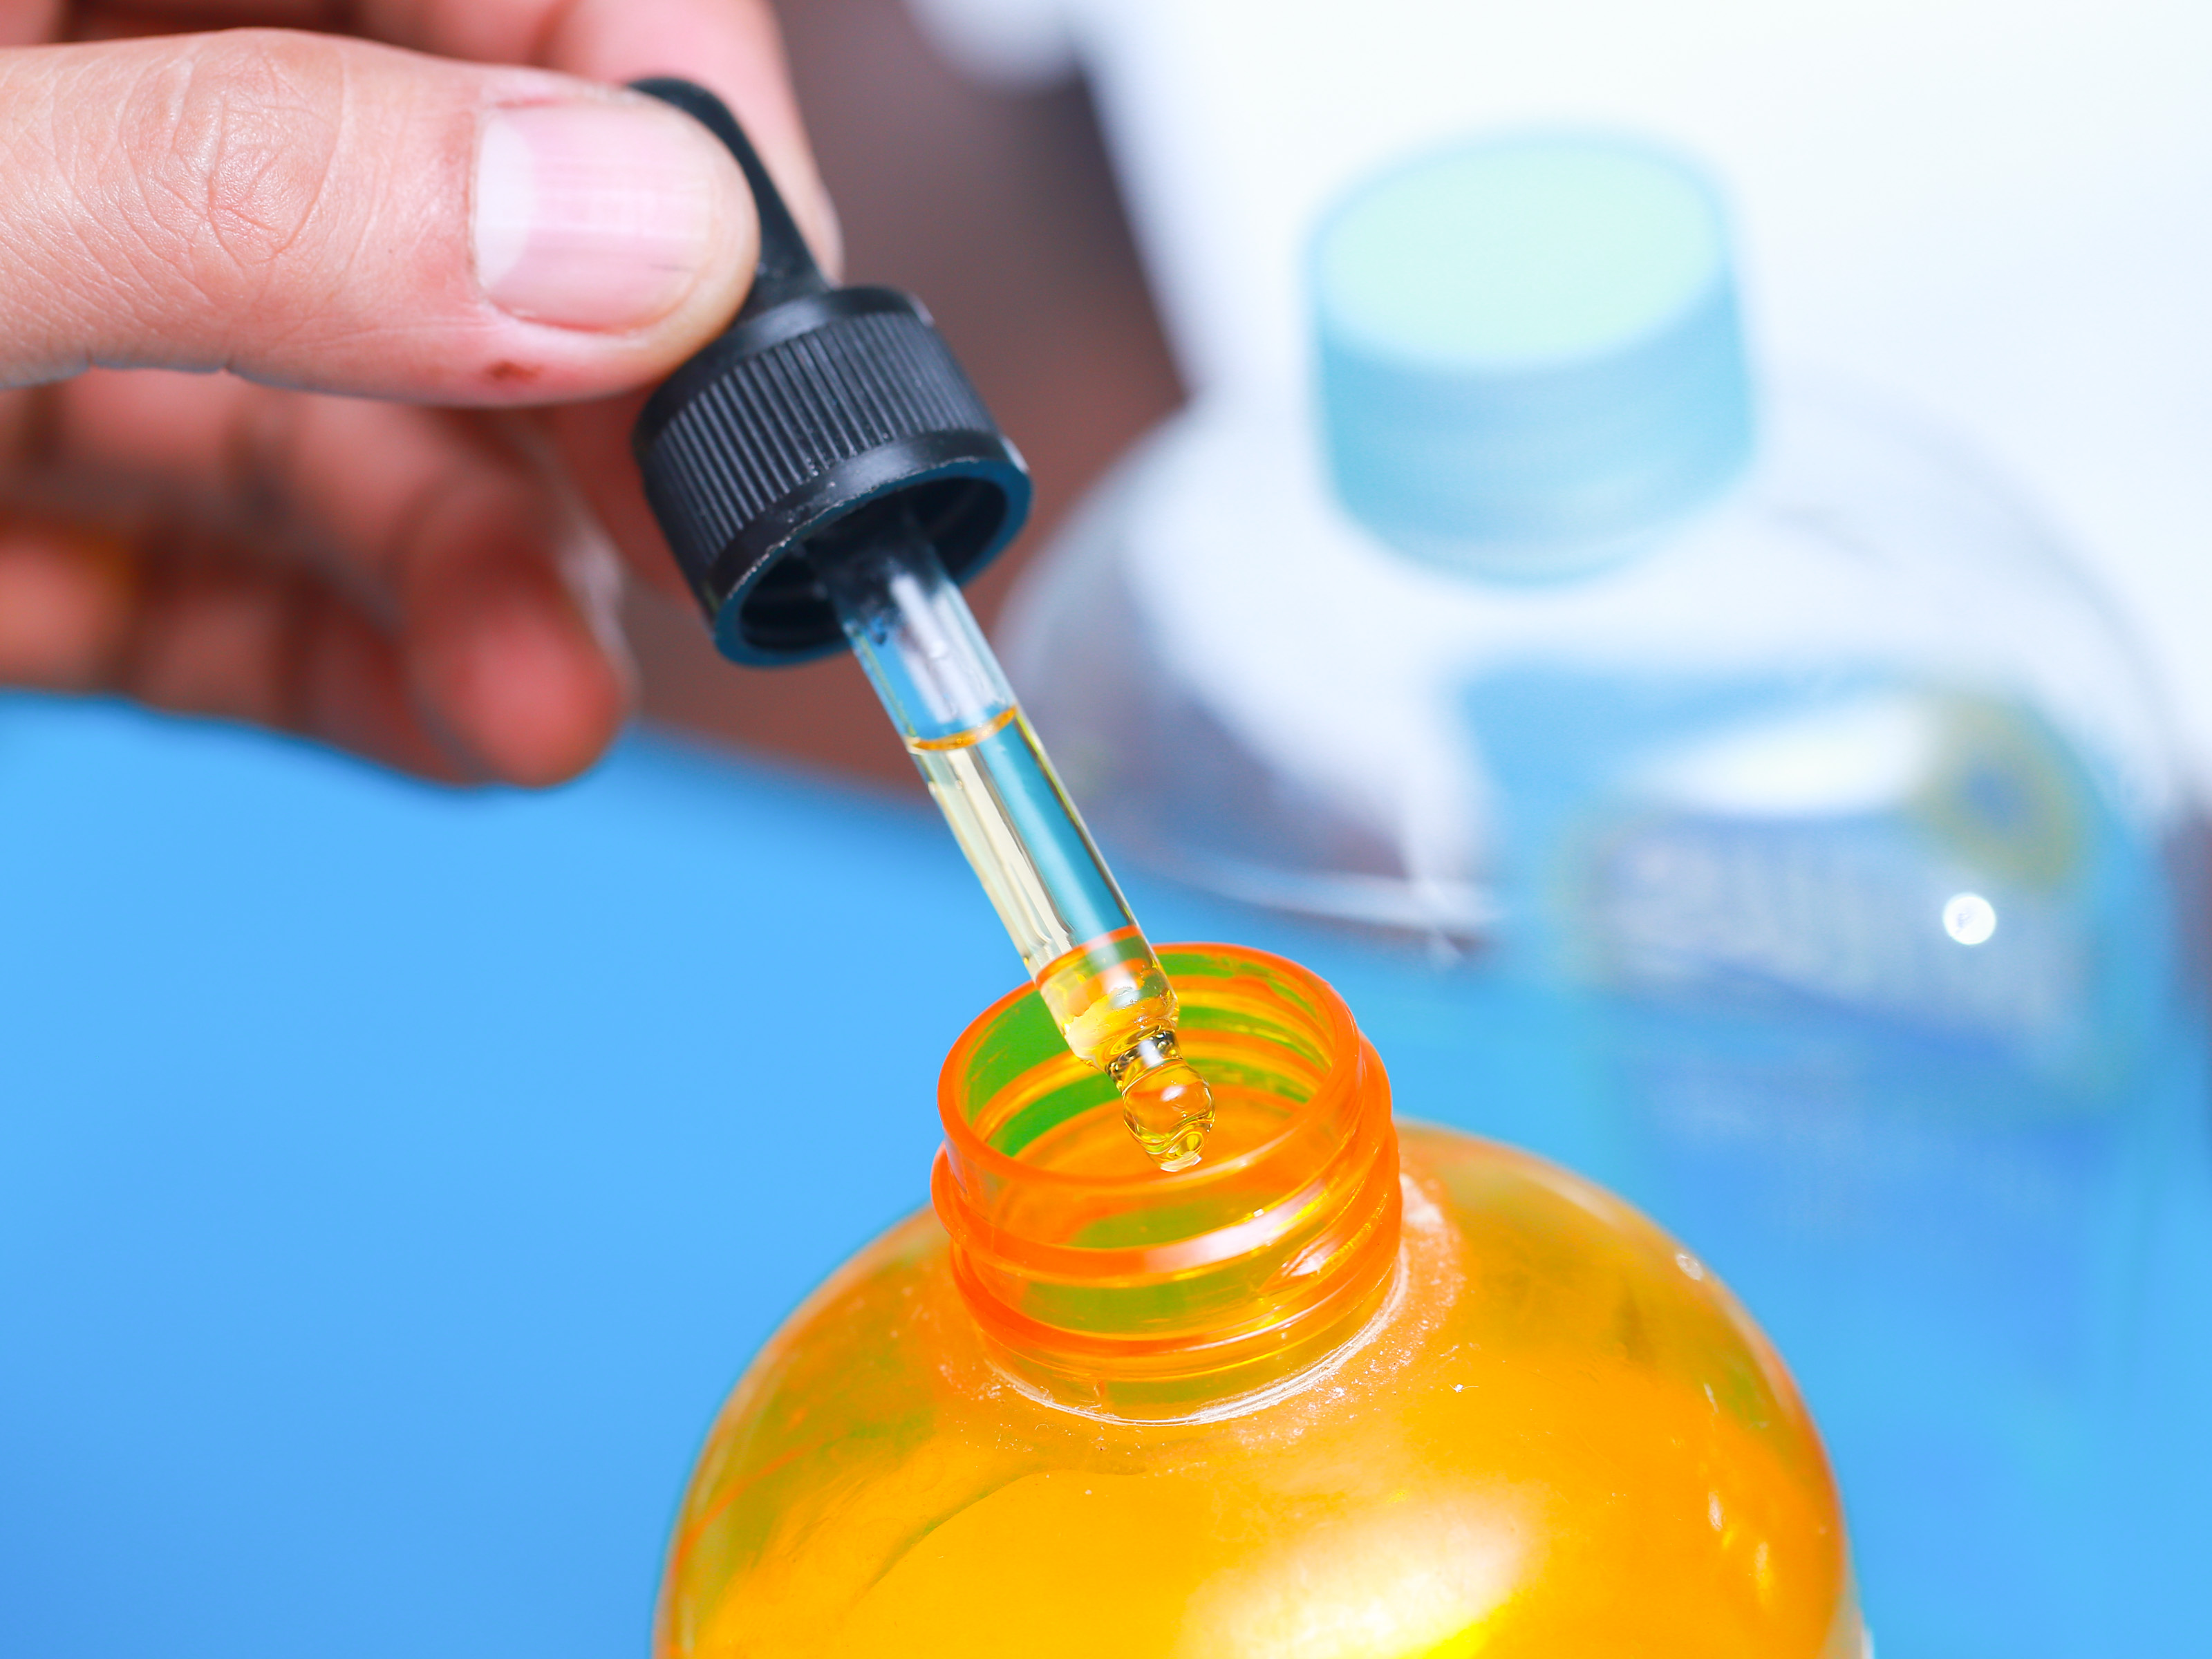
Step 3: Add Liquid Soap
Add your liquid soap. For an 8-ounce bottle, 2 tablespoons is a good starting point. If your bottle is larger, keep the ratio close to 1 part soap and 4 parts water. Castile soap is a popular option because it is concentrated, versatile, and easy to find unscented. A gentle liquid hand soap can also work as long as it is not too thick, creamy, or packed with exfoliating particles.
Avoid dish soap for regular handwashing unless the product is specifically gentle enough for skin. Dish soap is designed to cut grease, which is great for pans but not always delightful for hands that already feel like autumn leaves.
Step 4: Add Optional Moisturizing Ingredients
If you want a softer feel, add a small amount of jojoba oil, glycerin, or another skin-friendly ingredient. Keep it modest. About 1/4 to 1/2 teaspoon for an 8-ounce bottle is usually enough. Too much oil may separate, coat the pump, or make the foam heavy.
Glycerin can help the soap feel less drying, while jojoba oil is lightweight and skin-friendly for many people. However, sensitive skin is picky. It has opinions. If your skin reacts easily, skip the extras and use a fragrance-free soap.
Step 5: Add Scent Carefully
Essential oils are optional. If you use them, start small: 3 to 6 drops per 8-ounce bottle. Lavender, sweet orange, lemon, peppermint, and tea tree are common choices, but fragrance is not automatically gentle just because it came from a plant. Essential oils can irritate skin, especially for children, people with eczema, and anyone with fragrance sensitivity.
For a kitchen sink, citrus scents can feel fresh. For a bathroom, lavender or unscented soap is a safe classic. Do not add strong fragrance oils in large amounts. Your hand soap should smell pleasant, not announce itself from another ZIP code.
Step 6: Close, Swirl, Test, and Adjust
Screw the pump back on tightly. Instead of shaking aggressively, gently swirl the bottle until the ingredients combine. Vigorous shaking creates unnecessary foam inside the bottle, which can make the first few pumps inconsistent.
Now test it. Pump once or twice. If the foam is rich and holds together, congratulations: you have made foaming hand soap. If the foam is thin, add a teaspoon more soap and swirl again. If the pump feels sticky or the foam is dense, add a splash of water. Tiny adjustments are better than dumping in half the bottle and hoping the soap gods approve.
How to Use Foaming Hand Soap Correctly
Making the soap is only half the story. Using it properly is what actually helps clean your hands. Wet your hands first, apply the foam, and scrub all surfaces: palms, backs of hands, between fingers, thumbs, fingertips, and under nails. Continue scrubbing for about 20 seconds. Then rinse under clean running water and dry your hands with a clean towel or air dryer.
Foam can make handwashing easier because it spreads quickly. That is one reason many families like it for children. The bubbles make the process feel fun, and anything that convinces a kid to wash their hands without a courtroom negotiation deserves applause.
When Should You Wash Your Hands?
Use your homemade foaming hand soap after using the bathroom, before eating, before preparing food, after coughing or sneezing, after touching garbage, after handling pets, and whenever hands are visibly dirty. Soap and water are especially important when hands are greasy, grimy, or covered in mystery substances from the bottom of a backpack.
Common Mistakes to Avoid
Using a Regular Pump Bottle
A regular soap pump will not create true foam. You need a foaming dispenser. If your mixture is perfect but your bottle is wrong, the result will be watery soap, not foam.
Making the Mixture Too Thick
More soap does not always mean better soap. Too much soap can clog the foaming pump or produce sticky foam. Start with a lighter mixture and adjust upward if needed.
Adding Too Much Essential Oil
Essential oils are concentrated. A few drops can be plenty. Too much can irritate skin, overpower the scent, or separate in the bottle.
Making Huge Batches
Homemade soap mixtures contain added water and do not include the same preservation systems as commercial products. Make small batches and use them within a reasonable time. If the soap smells odd, changes texture, or looks cloudy in a strange way, discard it and make a fresh batch.
Using Harsh Add-Ins
Do not add bleach, rubbing alcohol, vinegar, hydrogen peroxide, baking soda, or random “cleaning hacks” to hand soap. Your sink is not a science fair volcano station. Keep hand soap gentle and skin-appropriate.
Best Soap Types for Homemade Foaming Hand Soap
The best soap for homemade foaming hand soap is mild, liquid, and easy to dilute. Unscented castile soap is one of the most common choices because it blends well with water and allows scent customization. Gentle liquid hand soap can also work, especially if you already have a brand your skin likes.
Avoid thick lotion soaps, creamy body washes, exfoliating soaps, and products with beads, scrubs, or heavy moisturizers. These can clog the pump. Also avoid products marketed with unnecessary antibacterial claims for everyday home use. Plain soap and good handwashing technique are enough for routine cleaning.
Fragrance-Free Option for Sensitive Skin
For sensitive skin, choose fragrance-free liquid soap and skip essential oils. This is the least glamorous version, but often the most comfortable. Your hands do not need to smell like a botanical garden to be clean.
Kid-Friendly Option
For kids, keep the recipe simple: water plus gentle soap. Use a fun dispenser if you want extra motivation. Avoid strong essential oils, and teach children to scrub for the full recommended time. Foam makes it easier to see where the soap has spread, which can help kids cover their hands more completely.
Money-Saving Benefits of DIY Foaming Hand Soap
One of the biggest reasons people learn how to make foaming hand soap is cost. A refillable foaming dispenser can turn a small amount of concentrated soap into many uses. Since the bottle is mostly water, one container of liquid soap can last much longer than it would in a regular pump.
For example, if you use 2 tablespoons of liquid soap in an 8-ounce foaming bottle, a 32-ounce bottle of castile soap can make many refills. The exact savings depend on the soap you buy, but the pattern is consistent: buying a larger bottle of gentle liquid soap and diluting it for a foaming pump usually costs less per refill than purchasing single-use foaming soap bottles.
There is also less packaging waste. Reusing the same dispenser reduces the number of plastic bottles you throw away. If you choose a sturdy glass or reusable plastic dispenser, the setup can last for years with proper cleaning.
Simple Scent Ideas for Homemade Foaming Hand Soap
Keep scent blends simple. The best homemade foaming hand soap smells clean without competing with dinner, perfume, lotion, and the candle someone lit because “company might stop by.”
Fresh Citrus
Add 3 drops sweet orange essential oil and 2 drops lemon essential oil to an 8-ounce bottle. This blend works well near the kitchen sink.
Soft Lavender
Add 4 drops lavender essential oil for a calm, classic bathroom soap. It is simple and familiar.
Minty Clean
Add 2 drops peppermint essential oil and 3 drops lavender essential oil. Use peppermint lightly because it can feel strong on sensitive skin.
Fragrance-Free Everyday
Use only unscented liquid soap and water. It is clean, practical, and less likely to bother sensitive skin. Sometimes boring is just another word for “my hands are not irritated.”
Troubleshooting: Why Is My Foaming Soap Not Foaming?
The Pump Is Clogged
Run warm water through the pump. Fill a cup with warm water, place the pump tube into it, and press the pump several times. This can clear dried soap from the mechanism.
The Mixture Is Too Thick
Add more water and swirl. Thick soap cannot move through the foaming pump properly.
The Mixture Is Too Thin
Add a small amount of soap, about 1 teaspoon at a time, until the foam improves.
The Bottle Is Overfilled
Leave space at the top. The foaming pump needs room for the pump mechanism and air.
The Soap Is Not Compatible
Some soaps simply do not foam well. Very creamy or lotion-heavy soaps may never create the fluffy texture you want. Try castile soap or a simpler liquid hand soap.
Extra Experience: Lessons Learned from Making Foaming Hand Soap at Home
After making homemade foaming hand soap a few times, you start to notice small details that separate a great batch from a “technically, this is soap” batch. The first lesson is that the dispenser matters more than most people expect. A cheap pump can work, but a sturdy foaming dispenser usually creates better foam and lasts longer. If the pump feels flimsy on day one, it may not become more heroic by day thirty.
The second lesson is to measure at first, then customize later. Many people begin by eyeballing the recipe, which works sometimes. Other times, it creates a bottle that is either too watery or too thick. Starting with 2 tablespoons of soap in an 8-ounce bottle gives you a reliable baseline. Once you know how your soap behaves, you can adjust confidently. Think of it like cooking pasta: the first time, follow directions; later, you can become the person who “just knows.”
Another real-life tip is to label your refill bottle if you make more than one version. A bathroom blend, a kitchen blend, and a fragrance-free blend can look identical. Labels prevent confusion, especially if someone in the house has sensitive skin. You do not need fancy labels. Masking tape and a marker are not glamorous, but they are undefeated.
Water quality also changes the experience. Tap water usually works for quick batches, but distilled water can make the mixture feel cleaner and more consistent. If your tap water is hard, you may notice cloudiness or weaker foam. Distilled water is inexpensive and useful if you plan to keep the soap for a few weeks.
Do not overdo moisturizing oils. This is one of the most common beginner mistakes. A little jojoba oil or glycerin can make the soap feel nicer, but too much makes the foam heavy and may leave residue on the sink. The soap should rinse cleanly. If your hands feel coated, reduce the oil next time.
For families, foaming soap can make handwashing easier to encourage. Kids often like the texture, and adults appreciate that one pump spreads quickly. Place the dispenser where it is easy to reach, keep a towel nearby, and remind everyone that foam still needs proper scrubbing time. Foam is fun, but it is not a teleportation device for germs.
Finally, keep expectations realistic. Homemade foaming hand soap is not meant to be a hospital-grade disinfectant or a luxury cosmetic serum. It is a practical, affordable, refillable hand soap for everyday use. When made with a good ratio, a clean bottle, and gentle ingredients, it does the job nicely. It also gives you the tiny satisfaction of looking at a full soap dispenser and thinking, “I made that,” which is a small domestic victory worth enjoying.
Conclusion: A Better Foam Without the Fancy Price Tag
Learning how to make foaming hand soap is one of the easiest home upgrades you can try. With a foaming dispenser, water, and gentle liquid soap, you can create a refill in minutes. The best recipe starts simple: add water first, mix in liquid soap, include optional moisturizing ingredients only if needed, scent lightly, and adjust the ratio until the foam feels right.
The biggest secret is not a secret at all: the foaming pump does the hard work. Your job is to give it a thin, balanced soap mixture it can turn into fluffy foam. Keep your batches small, avoid harsh add-ins, use fragrance carefully, and wash your hands with proper technique. Do that, and your homemade foaming soap will be practical, budget-friendly, and pleasantly bubbly.
In other words, your sink gets an upgrade, your wallet gets a break, and your hands get clean. That is a rare household win where nobody has to assemble furniture or read a 47-page manual.