Mushroom chips are what happens when vegetables decide they are tired of being the “responsible side dish” and want to become the snack everyone keeps stealing from the tray. They are crisp, savory, earthy, light, and just dramatic enough to make potato chips look overconfident. Best of all, you do not need a restaurant kitchen, a culinary degree, or a mysterious gadget from a midnight infomercial. With fresh mushrooms, a little oil, seasoning, and steady heat, you can make a crunchy snack that works as an appetizer, salad topper, soup garnish, party nibble, or movie-night upgrade.
This guide explains how to make mushroom chips in six simple steps, with practical advice for oven baking, air frying, seasoning, storing, and troubleshooting. The goal is not merely to cook mushrooms until they shrink into tiny brown coins of sadness. The goal is to remove moisture slowly enough for flavor to concentrate, while encouraging the edges to crisp without burning. Once you learn the method, you can use shiitake, oyster, cremini, portobello, king oyster, or even sliced button mushrooms. Each type brings its own personality: shiitake gets nutty and intense, oyster mushrooms turn delicate and wispy, and portobello slices become almost bacon-like when seasoned with smoky spices.
If you have ever opened a package of mushrooms and thought, “These are fine, but they need a cape,” mushroom chips are the cape.
What Are Mushroom Chips?
Mushroom chips are thin pieces of mushrooms cooked until crisp or semi-crisp. Unlike deep-fried snack chips, homemade mushroom chips can be baked or air-fried with a modest amount of oil. The texture depends on the mushroom variety, slice thickness, temperature, and cooking time. Some batches come out shatteringly crisp like vegetable chips; others are chewy-crisp, closer to mushroom jerky. Both are delicious, and both disappear faster than anyone admits.
The basic technique is simple: clean the mushrooms, slice or tear them evenly, coat lightly with oil and seasoning, arrange them in a single layer, cook until browned and dry, then cool so they firm up. The cooling step matters more than most people expect. Hot mushroom chips can feel slightly flexible, but after a few minutes, they usually crisp as steam escapes. In other words, do not judge them straight from the oven. They are still having a tiny spa moment.
Best Mushrooms for Chips
Not all mushrooms behave the same way under heat. Some are naturally meaty and dense; others are thin and feathery. For the best mushroom chips recipe, choose mushrooms that are fresh, firm, and not slimy. Avoid mushrooms with a sour smell, heavy wet spots, or wrinkled caps. Crispy mushroom chips begin at the grocery store, not the baking sheet.
Shiitake Mushrooms
Shiitake mushrooms are one of the best choices for homemade mushroom chips. Their caps crisp beautifully, and their deep umami flavor becomes more concentrated as moisture evaporates. Remove the tough stems before slicing. Those stems are better saved for broth than forced into chip duty like unwilling interns.
Oyster Mushrooms
Oyster mushroom chips are light, delicate, and slightly chewy at the center with crisp edges. They are excellent when torn by hand into bite-size pieces. Their irregular shapes create extra edges, and extra edges mean extra crunch. That is snack mathematics.
Portobello Mushrooms
Portobellos work well when sliced thinly, about 1/8 inch thick. They have a hearty texture and pair beautifully with smoked paprika, soy sauce, garlic powder, and black pepper. If the gills are very dark and moist, scraping them out can help prevent sogginess.
Cremini or Button Mushrooms
Cremini and white button mushrooms are easy to find, affordable, and mild. They contain plenty of water, so slice them evenly and give them enough room on the pan. If they overlap, they steam instead of crisp. Steaming is wonderful for dumplings, not for chips.
Ingredients You Need
For a basic batch of oven-baked mushroom chips, gather the following:
- 1 pound fresh mushrooms, such as shiitake, oyster, cremini, or portobello
- 1 1/2 to 2 tablespoons olive oil or avocado oil
- 3/4 teaspoon kosher salt, plus more to taste
- 1/2 teaspoon garlic powder
- 1/2 teaspoon smoked paprika or regular paprika
- 1/4 teaspoon black pepper
- Optional: red pepper flakes, nutritional yeast, Parmesan, soy sauce, lemon zest, thyme, or ranch seasoning
The secret is restraint. Mushrooms are sponges with opinions. Too much oil makes them heavy; too much salt pulls out moisture too fast; too much seasoning can burn. Start light. You can always add more flavor after cooking, but you cannot politely ask burned garlic powder to leave.
How to Make Mushroom Chips: 6 Steps
Step 1: Choose Fresh, Dry Mushrooms
Start with mushrooms that are firm, plump, and dry to the touch. Fresh mushrooms should smell earthy, not sour or funky. If they feel slimy, look collapsed, or smell unpleasant, skip them. Mushroom chips are all about concentrated flavor, and concentrating bad flavor is not a life goal.
For the crispiest results, choose mushrooms with broad surfaces and moderate moisture. Shiitake caps, oyster clusters, and thin portobello slices are especially good. If using mixed mushrooms, separate thicker pieces from thinner ones so you can remove the delicate pieces earlier if needed.
Step 2: Clean and Dry Them Thoroughly
Mushrooms often carry small bits of growing medium, so cleaning matters. For most cultivated mushrooms, use a soft brush, clean towel, or slightly damp paper towel to remove dirt. If mushrooms are very dirty, give them a quick rinse under cool water, then dry them extremely well. Use towels or a salad spinner if necessary.
This drying step is not optional. Surface moisture delays browning and encourages steaming. A mushroom going into the oven wet is basically wearing a raincoat to a tanning salon. It may eventually get there, but the process will be awkward.
Step 3: Slice or Tear Evenly
For shiitake, remove the stems and slice the caps about 1/8 to 1/4 inch thick. For portobellos, remove tough stems and slice thinly. For oyster mushrooms, trim the dense central base and tear the caps into bite-size pieces. Cremini and button mushrooms should be sliced thinly from top to bottom.
Even thickness helps everything cook at the same speed. Thin pieces become crispier, while thicker pieces become chewy and concentrated. If you like chips that snap, slice thinner. If you prefer a mushroom jerky texture, go slightly thicker. Either way, do not pile random chunks on the tray and hope for democracy. The oven rewards discipline.
Step 4: Season Lightly and Coat Evenly
Place the mushrooms in a large bowl. Add oil, salt, pepper, garlic powder, and paprika. Toss gently with your hands or a flexible spatula until the mushrooms are evenly coated. The surface should look lightly glossy, not drenched. If oil pools at the bottom of the bowl, you have gone too far. No judgment, but the mushrooms are now wearing moisturizer instead of seasoning.
For deeper umami, add 1 teaspoon of low-sodium soy sauce or tamari. For a cheesy flavor, add nutritional yeast after baking, or sprinkle a small amount of grated Parmesan during the final few minutes of cooking. For heat, use crushed red pepper or cayenne. For a bright finish, toss the finished chips with lemon zest.
Step 5: Bake or Air Fry Until Crisp
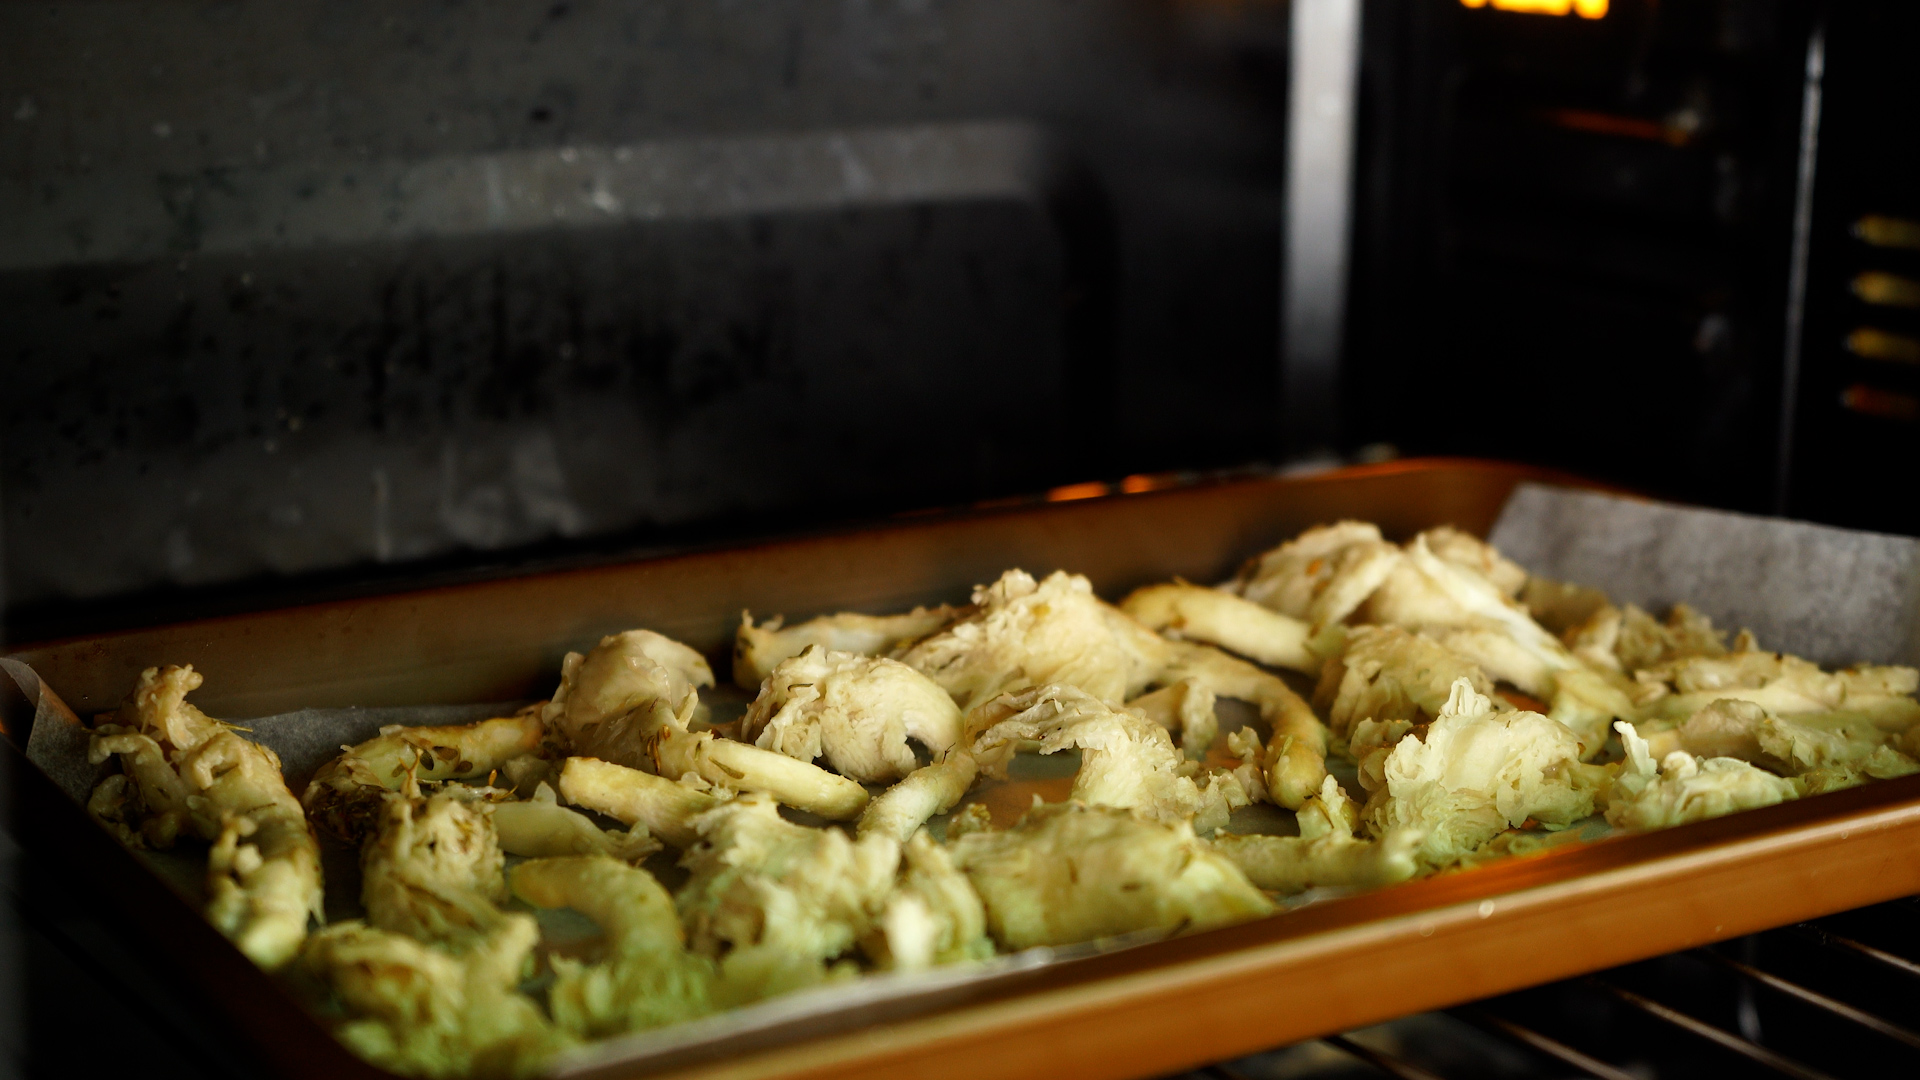
For oven mushroom chips, preheat the oven to 375°F. Line two baking sheets with parchment paper, or use lightly greased metal sheet pans for stronger browning. Spread the mushrooms in a single layer with space between pieces. Do not overlap. Crowding traps steam, and steam is the sworn enemy of crunch.
Bake for 20 to 35 minutes, flipping or stirring once halfway through. Thin oyster mushrooms may finish closer to 15 to 20 minutes, while portobello or cremini slices may need 30 minutes or more. Watch closely during the final 10 minutes. Mushrooms can go from golden to “well, that was educational” faster than expected.
For air fryer mushroom chips, preheat to 350°F to 375°F. Arrange mushrooms in a single layer and cook for 8 to 15 minutes, shaking the basket every 4 to 5 minutes. Air fryers vary widely, so start checking early. Work in batches if needed. A crowded air fryer basket produces soft mushrooms, not chips.
Step 6: Cool, Taste, and Store Correctly
Transfer the mushroom chips to a wire rack or clean plate and let them cool for 5 to 10 minutes. This is when the texture improves. Taste and add a final pinch of salt, lemon zest, nutritional yeast, or herbs. Serve immediately for the best crunch.
If storing, let the chips cool completely first. Place them in a loosely covered container for short-term storage if they are still slightly chewy, or an airtight container if fully dry and crisp. For the best flavor and texture, enjoy them the same day. If they soften, re-crisp them in a 325°F oven or air fryer for a few minutes.
Flavor Variations for Homemade Mushroom Chips
Smoky BBQ Mushroom Chips
Toss mushrooms with smoked paprika, garlic powder, onion powder, black pepper, a small pinch of brown sugar, and salt. This version is especially good with portobello or king oyster mushrooms. The result tastes like a campfire snack without requiring you to own flannel.
Parmesan Garlic Mushroom Chips
Use olive oil, garlic powder, black pepper, and a little Parmesan near the end of baking. Add the cheese too early and it may burn, so sprinkle it on during the last 3 to 5 minutes. Finish with parsley if you want the chips to look fancy enough for guests.
Spicy Chili-Lime Mushroom Chips
Season with chili powder, cayenne, salt, and a touch of oil. After baking, toss with lime zest. Do not add lime juice before baking unless you want softer chips. Zest gives brightness without adding much moisture.
Ranch-Style Mushroom Chips
Use dried dill, garlic powder, onion powder, parsley, black pepper, and a pinch of salt. Add a small amount of buttermilk powder if you have it. This is the flavor that convinces people who claim they “do not really like mushrooms” to suddenly hover near the snack bowl.
Common Mistakes to Avoid
Using Too Much Oil
Oil helps browning, but too much prevents crisping. Mushrooms should be lightly coated. If they look soaked, add more sliced mushrooms or blot gently before cooking.
Skipping the Drying Step
Wet mushrooms steam first, brown later, and sometimes never crisp at all. Dry them well before seasoning. This single step can make the difference between crispy mushroom chips and warm mushroom laundry.
Overcrowding the Pan
Use two baking sheets instead of one crowded pan. Space allows moisture to escape. When mushrooms sit on top of each other, they trap steam and become soft.
Cooking at Too High a Temperature
A very hot oven may burn thin edges before the centers dry. Moderate heat gives mushrooms enough time to release moisture and develop flavor. If your chips brown too quickly, lower the oven to 325°F and continue cooking.
Storing Before Fully Cool
Warm chips release steam. If you trap that steam in a container, crispness vanishes. Cool completely before storing. Crunch is delicate; treat it with respect.
How to Serve Mushroom Chips
Mushroom chips are excellent on their own, but they also make a clever topping. Scatter them over creamy soups, baked potatoes, avocado toast, grain bowls, risotto, ramen, scrambled eggs, or Caesar salad. They add savory depth without making a dish heavy. Think of them as edible punctuation: small, crisp, and very good at making a point.
For entertaining, serve them with a dip such as garlic yogurt, spicy mayo, hummus, ranch, or lemon-tahini sauce. If you want a vegan snack board, pair mushroom chips with roasted chickpeas, olives, cucumber slices, pickled vegetables, and seeded crackers. For a cozy dinner, use them as a crunchy garnish on mushroom soup. Yes, mushroom chips on mushroom soup is mushroom-on-mushroom behavior. No, we are not apologizing.
Nutrition and Practical Benefits
Mushrooms are naturally low in calories and bring savory umami flavor, which makes them useful in snacks where you want big taste without relying only on salt or fat. They also contain nutrients such as B vitamins, minerals, and antioxidants, though exact nutrition varies by variety and preparation. When baked or air-fried with a small amount of oil, mushroom chips can be a lighter alternative to many packaged snacks.
That said, homemade mushroom chips are still a snack, not a magic spell. Season them thoughtfully, watch the salt, and enjoy them as part of a balanced eating pattern. Their biggest advantage may be satisfaction: they deliver crunch, flavor, and that deeply savory note that makes your brain say, “Yes, this is the snack we were looking for.”
of Real Kitchen Experience: What Actually Makes Mushroom Chips Better
The first time I made mushroom chips, I treated them like potato chips. I sliced them, tossed them with oil, spread them on a pan, and expected crisp perfection. What came out was tasty, but not exactly chip-like. Some pieces were crisp, some were chewy, and a few were doing an impression of damp cardboard. The lesson was immediate: mushrooms are not potatoes. They are mostly water, and they need a little patience before they become crunchy.
The biggest improvement came from drying the mushrooms carefully. Even when mushrooms look dry, they can carry surface moisture from packaging or cleaning. After wiping or rinsing them, I now lay them on a clean towel while the oven preheats. Ten extra minutes makes a visible difference. The mushrooms brown faster, shrink more evenly, and taste less diluted. This small pause is especially helpful with cremini and button mushrooms, which hold more moisture than shiitake or oyster mushrooms.
Another useful lesson is that thinner is not always better. Paper-thin slices can crisp quickly, but they also burn quickly. Slightly thicker slices, around 1/8 inch, give a better balance of crunch and flavor. With oyster mushrooms, tearing works better than slicing because the natural edges become crispy and irregular. Those frilly edges are the best part. They are the mushroom equivalent of the corner brownie.
Seasoning after baking can also be smarter than seasoning heavily before baking. Salt is necessary, but too much at the start pulls out moisture quickly. Strong seasonings like garlic powder, chili powder, and Parmesan can darken if baked too long. A light base seasoning before cooking, followed by a finishing sprinkle afterward, gives cleaner flavor. My favorite finish is smoked paprika, nutritional yeast, and lemon zest. It tastes savory, bright, and slightly cheesy without needing much actual cheese.
Batch size matters too. One pound of mushrooms looks like a lot when raw, then shrinks into a snack that two people can finish while pretending they are “just tasting.” If you are making mushroom chips for a party, cook more than you think you need. Use multiple sheet pans and rotate them halfway through. If one pan is browning faster, move it to a cooler rack or pull off the crisp pieces early.
Finally, mushroom chips are best eaten fresh. They can be stored, but the texture is most exciting within the first hour. If they soften, a few minutes in the air fryer brings them back surprisingly well. They may not return to their original glory, but they will still be delicious. In my kitchen, the best storage method is simple: put them on the table and watch them vanish. It is not scientific, but it has a perfect success rate.
Conclusion
Learning how to make mushroom chips is less about memorizing a rigid recipe and more about understanding moisture, spacing, and timing. Choose fresh mushrooms, dry them well, slice or tear them evenly, season with restraint, cook in a single layer, and let them cool before serving. Those six steps turn humble mushrooms into a crisp, savory snack with endless flavor possibilities.
Whether you prefer smoky portobello chips, delicate oyster mushroom chips, or nutty shiitake chips, the method is flexible and forgiving once you respect the basics. Keep the pan uncrowded, do not drown the mushrooms in oil, and trust the cooling time. Soon you will be putting mushroom chips on soups, salads, bowls, and possibly eating them straight off the tray while saying, “These are for everyone.” Sure they are.