If you love fireworks but prefer your celebrations without smoke, sparks, or your neighbor’s dog filing a formal complaint, origami fireworks are a delightfully clever alternative. They bring the same burst of color and excitement, but they live on your table, wall, mantel, or party backdrop instead of disappearing in three dramatic seconds. Even better, they are made from paper, patience, and a few satisfying folds that make you feel wildly competent.
This guide will show you how to make origami fireworks in a way that feels approachable, fun, and actually useful for real-life decorating. We are not talking about one stiff little star that looks like it lost a fight with a sticky note. We are talking about layered, dimensional paper fireworks that can be used for party decor, holiday centerpieces, classroom projects, window displays, gift toppers, and festive wall art.
The best part is that you do not need to be an origami wizard. If you can fold paper in half, press a crease, and keep going when one corner looks a bit rebellious, you are fully qualified. This tutorial combines classic origami habits with decorative paper-craft techniques so your finished fireworks look polished, playful, and worth showing off.
What Are Origami Fireworks?
Origami fireworks are folded paper designs that mimic the shape, energy, and layered look of fireworks exploding in the sky. Some versions are modular, meaning they are made from several folded pieces joined together. Others use folded stars, accordion pleats, or fan-like bursts arranged in clusters so they resemble a firework bloom.
For a web-friendly, beginner-approved project, the easiest approach is to build a decorative firework display from three simple folded elements:
- a central burst made from accordion-folded paper,
- small folded stars that act like sparks,
- extra layered pieces that add motion and depth.
Think of it as origami with a little stage presence. Traditional folds do the heavy lifting, while smart arrangement gives the finished design that wow factor.
Why This Paper Craft Works So Well
Origami fireworks are popular for good reason. They look intricate, but the folding is repetitive in the best possible way. That means once you make one section, your hands quickly learn the rhythm. It is the craft equivalent of eating one potato chip and suddenly finding yourself emotionally invested in the whole bag.
They also work for a surprising number of occasions. Red, white, and blue versions are perfect for patriotic holidays. Gold and silver look gorgeous for New Year’s Eve. Bright rainbow combinations turn into birthday decor. Metallic paper makes them feel fancy, while scrapbook paper makes them feel cheerful and casual.
Because the designs are lightweight, you can tape them to a wall, hang them with thread, attach them to a wreath, or cluster them in a centerpiece without much effort. They also store flat or nearly flat, which is a miracle in the craft universe.
Materials You Need
You do not need a giant craft haul for this project. Start simple.
Basic Supplies
- Origami paper or lightweight scrapbook paper
- Paper strips for mini stars
- Scissors
- Glue stick or double-sided tape
- Ruler
- Pencil
- Bone folder or the back of a spoon for crisp creases
- Optional string, thread, or clear fishing line for hanging
Best Paper Choices
If you want clean folds, choose paper that is thin enough to crease sharply but sturdy enough to hold shape. Standard origami paper is ideal. Lightweight cardstock can work for larger display pieces, but it can get bulky if you make tight folds. Double-sided paper is especially nice because the color shows from more than one angle.
For mini spark stars, narrow paper strips work best. You can buy pre-cut star strips or cut your own from copy paper, wrapping paper, or shiny craft paper. Metallic strips make the finished display look like it came prepared for applause.
Before You Fold: Origami Basics That Make a Huge Difference
A lot of paper frustration comes from rushing the prep. Origami fireworks look better when your folds are crisp, symmetrical, and deliberate. That sounds serious, but really it just means do not fold paper like you are trying to close an overstuffed burrito.
Use Sharp Creases
Every fold sets up the next one. Press each crease firmly with your fingernail, a ruler edge, or a bone folder. Soft folds create floppy shapes, and floppy shapes do not exactly scream “spectacular midnight sky.”
Measure First, Then Cut
If your pieces are wildly different sizes, your finished firework will lean into chaos instead of charm. Use a ruler so your folded sections match and your layers look intentional.
Practice Valley and Accordion Folds
Most decorative firework shapes rely on basic valley folds and accordion pleats. An accordion fold is simply folding paper back and forth in even sections. It is easy, satisfying, and surprisingly dramatic once expanded.
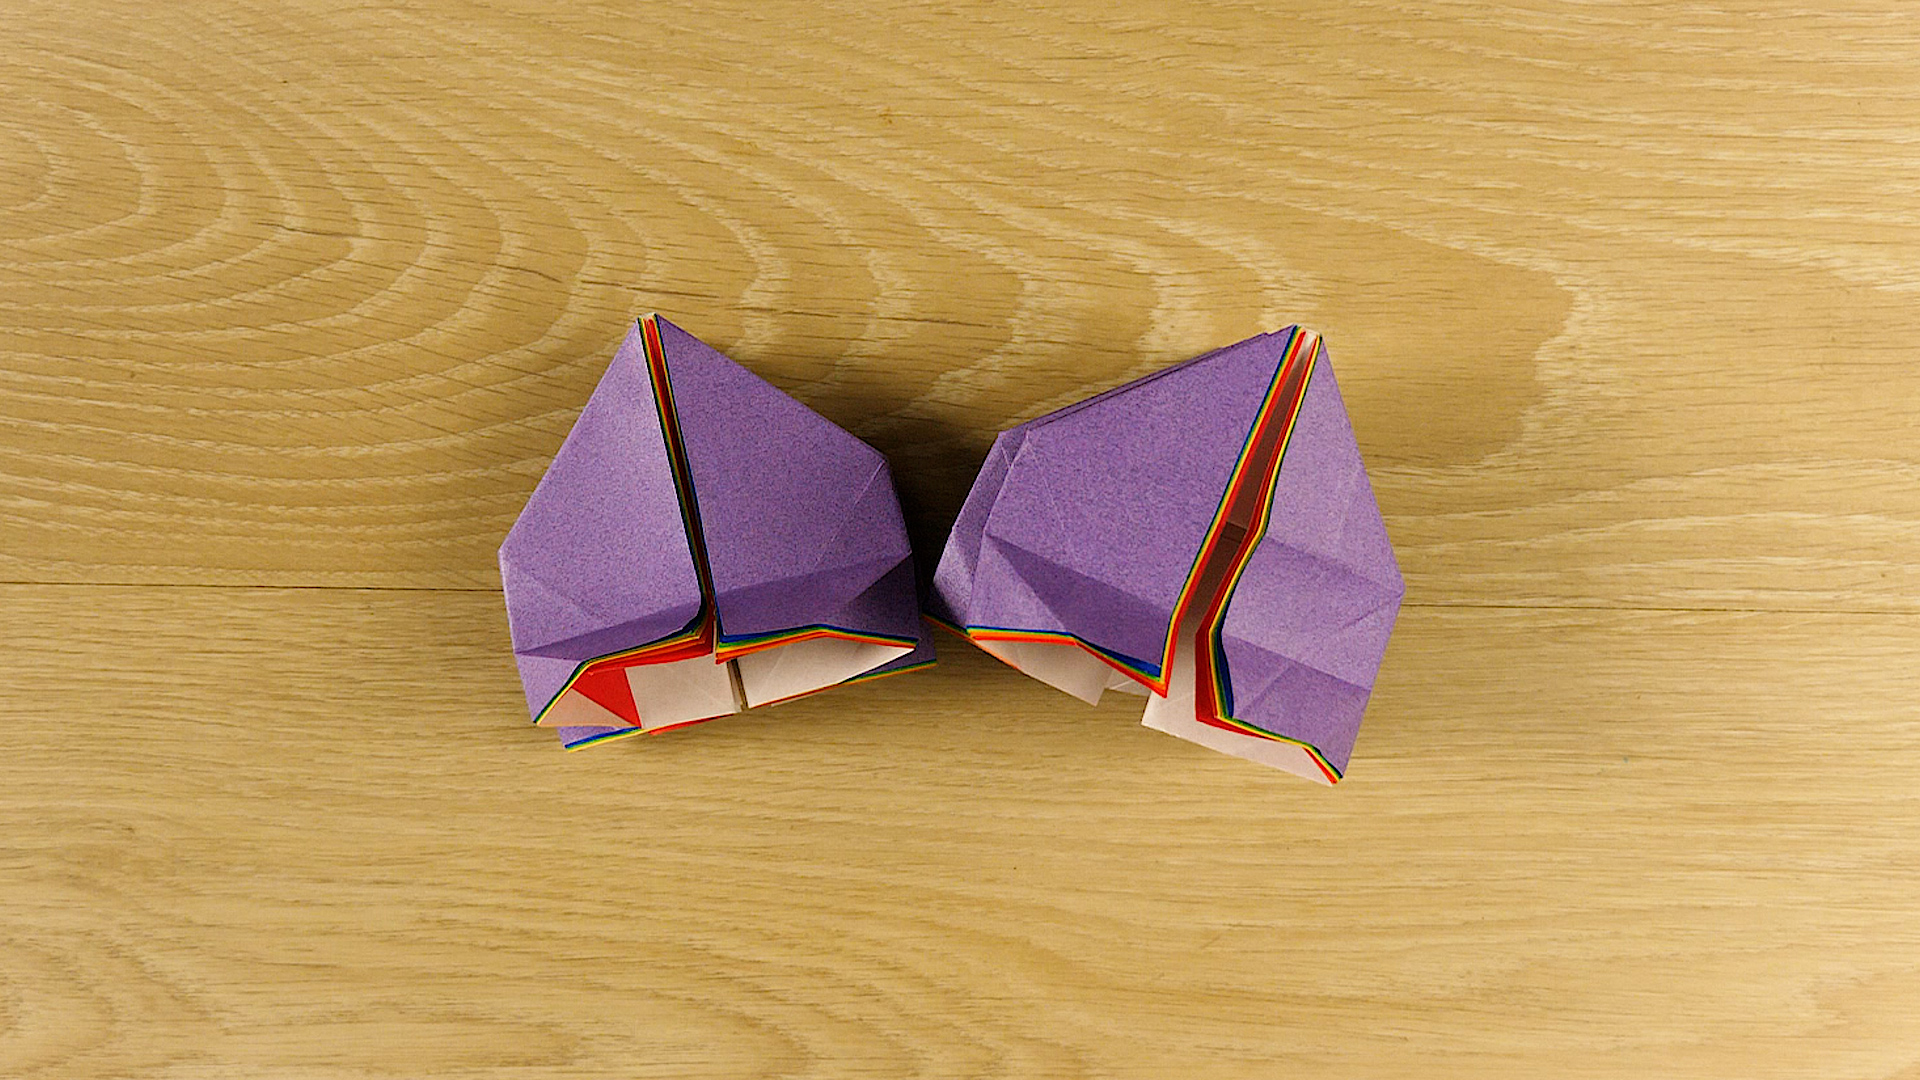
How to Make the Main Origami Firework Burst
This is the star of the show: a layered circular burst that looks like a firework frozen mid-explosion.
Step 1: Cut Your Paper Rectangles
Start with 3 rectangles of paper in the same size for one large burst. A good beginner size is about 3 by 10 inches. You can go larger for wall decor or smaller for gift toppers. If you want a fuller firework, cut 4 rectangles instead of 3.
Step 2: Accordion Fold Each Rectangle
Fold each rectangle back and forth in even sections, about half an inch wide. Keep the folds as even as possible. This creates the fan structure that gives the firework its radiating look.
Step 3: Fold Each Strip in Half
Once each rectangle is fully pleated, fold it in half widthwise so it opens like a fan. Crease the center well. This midpoint becomes the anchor for each burst segment.
Step 4: Secure the Inner Edges
Glue or tape the inner sides of each folded strip together so each one becomes a fan shape. Repeat with all sections. You should now have three fan wedges.
Step 5: Join the Fans Together
Glue the outside edges of the fans together, one by one, until they form a full circle. Press gently and hold the center until the shape stays flat. If you are using four pieces, the result will look extra full and festive.
Step 6: Reinforce the Center
Cut a small paper circle and glue it over the center on the front or back. This helps hold the rosette shape and gives you a perfect spot to add a contrasting color or metallic detail.
Congratulations. You have made the main burst. It already looks charming, which is annoyingly efficient for a craft project.
How to Add Folded Paper Sparks
A firework without sparks is just a polite circle. To create that explosive, celebratory look, add small folded stars around the main burst.
Option 1: Puffy Lucky Stars
Use narrow paper strips to make mini five-sided stars. Wrap one end into a loose knot, flatten it into a pentagon, then keep wrapping the long tail around the shape until the strip is used up. Tuck in the end and gently pinch the sides to puff the star.
These tiny stars are ideal for decorating around the burst like little flashes of light. Make them in different sizes and colors for a more natural firework effect.
Option 2: Flat Folded Stars
If you want something flatter and easier to glue, fold simple paper stars from strips or from square paper. These work especially well when you are creating wall art or scrapbook embellishments and want less bulk.
How to Arrange the Sparks
- Glue 5 to 12 stars around each burst
- Place some close to the center and some farther out
- Mix metallic and matte paper for contrast
- Use odd numbers for a more natural composition
The goal is not perfect symmetry. Real fireworks are dramatic, not tidy little office diagrams.
How to Make a Layered Firework Display
One origami firework is cute. A cluster of them looks intentional, stylish, and party-ready. This is where the project goes from “nice craft” to “wait, you made that?”
Create Different Sizes
Make at least three bursts in different diameters. Use larger ones as focal points and smaller ones as accent pieces.
Use a Color Story
Pick a palette before you begin. Some easy combinations include:
- red, white, and blue for July celebrations,
- gold, black, and silver for New Year’s Eve,
- pink, orange, and yellow for birthdays,
- navy, purple, and teal for a modern party backdrop.
Layer for Depth
Glue one burst slightly over another, then add stars, narrow folded strips, or tiny paper diamonds between them. This creates movement and gives the illusion that the fireworks are bursting outward.
Display Ideas
- Wall backdrop for parties
- Front-door wreath accents
- Table centerpiece picks
- Gift topper clusters
- Window decorations
- Classroom bulletin board decor
Common Mistakes and How to Fix Them
The Burst Will Not Stay Open
This usually means the glued seams are not secure enough. Use a stronger adhesive, press longer, or reinforce the back with a paper circle.
The Folds Look Uneven
Slow down and measure your first few pleats. Once the rhythm clicks, the rest become much more even.
The Paper Feels Too Thick
Switch to lighter paper. Thick paper can look impressive until it starts behaving like a cardboard sandwich.
The Whole Thing Looks Flat
Add layered stars, mix paper finishes, and vary the sizes. Fireworks are all about dimension and surprise.
Creative Variations to Try
Metallic Night-Sky Fireworks
Use black cardstock as a background and mount gold, silver, and white bursts on top. It looks elegant and dramatic with very little extra work.
Kids’ Craft Version
Use larger paper pieces and fewer folds. Let kids decorate the centers with stickers, glitter glue, or drawn spark trails.
Minimalist Decor Version
Make all-white bursts with subtle cream or gray layers. This version works beautifully for winter decor or modern party styling.
Hanging Mobile Version
Punch a tiny hole near the top of each finished burst and hang them at different heights with clear thread. When they move slightly in the air, they really do feel a little magical.
Why Origami Fireworks Are More Than Just Party Decor
There is something quietly wonderful about a project like this. You start with flat paper, a few folds, and mild uncertainty. Then suddenly you are holding something that looks energetic and festive and strangely impressive for an object made while sitting at a kitchen table.
Origami fireworks are also a nice reminder that beauty does not have to be loud or expensive. Real fireworks are over in a flash. Paper fireworks linger. They brighten a room, spark conversation, and can be reused whenever you want a little extra joy without buying another bag of disposable decorations.
Experiences and Real-Life Joys of Making Origami Fireworks
Making origami fireworks is one of those crafts that sneaks up on you. At first, it looks like a simple decorative project. You gather paper, sit down for “just twenty minutes,” and tell yourself you are only making one sample piece. Then, two hours later, your table is covered in folded fans, glittery stars, a suspicious amount of paper scraps, and you are suddenly very opinionated about crease sharpness. It is a whole experience.
One of the best parts is how quickly the project shifts your mood. Folding paper has a repetitive, calming rhythm that makes your brain settle down. When you accordion fold strip after strip, it becomes almost meditative. You stop thinking about notifications, errands, and that one email you are avoiding. Your attention narrows to color, shape, and symmetry. That tiny creative focus can feel surprisingly refreshing.
Origami fireworks also tend to create excellent accidental memories. They are the kind of project families make before a holiday dinner, teachers use during a classroom celebration, or friends pull out during a crafting night when everyone claims they are “not artistic” and then becomes wildly competitive about whose paper burst looks the fanciest. Someone always says, “Mine looks weird,” right before producing the coolest one in the room.
There is also a real sense of satisfaction in seeing flat supplies become dimensional decor. Unlike some crafts that look better in theory than in real life, paper fireworks usually reward effort pretty quickly. Even a beginner version can look festive and charming. Once you hang several together or cluster them on a wall, the effect is bigger than the individual pieces. That transformation is exciting. It feels like you made something special instead of just passing time.
Another lovely part of the experience is the freedom to improvise. Maybe you planned a classic red, white, and blue arrangement, but then you spot a sheet of holographic paper and suddenly your project becomes a disco celebration in outer space. Great choice. Origami fireworks welcome that kind of creative detour. You can make them elegant, playful, dramatic, minimal, or gloriously over-the-top.
They are especially meaningful for people who want celebratory decor without noise, mess, or waste. Not every setting works for real fireworks, and not every person enjoys the chaos of booming displays. Paper versions offer a softer kind of celebration. They still feel festive, but they are calmer, reusable, and easier on the senses. That makes them a thoughtful option for classrooms, apartments, family gatherings, and cozy at-home celebrations.
And then there is the oddly delightful aftereffect: once you learn how to make origami fireworks, you start seeing possibilities everywhere. Gift wrapping? Add a mini burst. Party wall looking blank? Fireworks. Need a cheerful craft for a rainy afternoon? Fireworks again. It becomes one of those versatile paper projects you return to because it is fun, forgiving, and reliably pretty.
In other words, making origami fireworks is not just about the final decoration. It is about the calm of folding, the joy of experimenting, the laughter when something folds sideways, and the pride of finishing a project that looks much fancier than the materials suggest. That is a pretty great trade for a few sheets of paper.
Conclusion
If you have been wondering how to make origami fireworks, the answer is refreshingly simple: start with paper, use crisp folds, build one burst at a time, and let layering do the magic. Whether you create a single rosette-style firework or a full wall of folded explosions, this craft gives you a festive result without being difficult, messy, or expensive.
It is decorative, beginner-friendly, easy to customize, and genuinely fun to make. In other words, it checks every box a good craft should. So grab some paper, make a few folds, and let your tabletop celebration begin.