If you just unboxed a NutriBullet and are staring at the cup, the blade, and the motor base like they’re pieces from a tiny kitchen spaceship, relax. A NutriBullet is one of the easiest personal blenders to use once you understand the rhythm: load it correctly, don’t overfill it, blend briefly, and clean it before your smoothie turns into wall spackle.
This step-by-step blending guide walks you through how to use a NutriBullet the right way, from setting it up to making your first smoothie, avoiding rookie mistakes, and keeping the machine in good shape. Whether you’re using it for breakfast shakes, post-workout smoothies, sauces, or quick meal prep, the goal is the same: smoother blends, less mess, and zero “why is this thing leaking?” drama.
What a NutriBullet Actually Does
A NutriBullet is a personal blender designed for quick blending in single-serve cups or, on some models, a larger pitcher. It works especially well for smoothies, protein shakes, soft sauces, dressings, and blended fruit-and-vegetable drinks. In plain English, it takes ingredients that would normally require a fork, knife, cutting board, and a motivational speech, and turns them into something sip-friendly in under a minute.
That speed is exactly why so many people love it. You can blend directly in the cup, swap the blade for a lid, and head out the door. It is a blender for real life: small kitchens, rushed mornings, lazy afternoons, and those evenings when chewing sounds like a little too much effort.
Before You Blend: Know the Main Parts
1. Motor Base
This is the heavy bottom piece with the power cord. It contains the motor and does the hard work. Keep it dry, keep it stable, and never dunk it in water unless you’re trying to invent a very bad appliance documentary.
2. Cup or Pitcher
Most NutriBullet models come with one or more blending cups. Some larger models also include a vented pitcher. The cup is for single-serve blending; the pitcher is for bigger batches and, on compatible models, more advanced blending jobs.
3. Extractor Blade
This screws onto the cup before blending. It should be attached snugly, but not with the rage of someone opening a pickle jar at midnight. Hand-tight is enough.
4. Lid or To-Go Cap
Once you’re done blending, remove the blade and swap on the drinking lid or storage lid. That’s one of the best parts of a NutriBullet: fewer dishes and fewer excuses.
Step-by-Step: How to Use a NutriBullet
Step 1: Set It Up on a Flat, Dry Surface
Place the motor base on a clean, dry countertop. Make sure it has a little breathing room and isn’t wobbling on a dish towel or parked half on the edge of the counter like it’s living dangerously.
Before your first use, rinse the cups and lids with warm, soapy water. If the blade is removable, clean it carefully by hand. Always unplug the motor base before wiping it down or cleaning around it.
Step 2: Choose Ingredients That Blend Well
NutriBullets shine with smoothies and soft blends. Great beginner ingredients include bananas, berries, mango, spinach, yogurt, milk, almond milk, protein powder, peanut butter, chia seeds, oats, and soft avocado.
Use caution with very hard, extra-frozen, or dry ingredients. A NutriBullet is not the right place to jam in a mountain of rock-hard ice, boiling soup, whole bones, or mystery freezer bricks that could survive an apocalypse. If your ingredients are especially tough, cut them into smaller pieces first and include enough liquid to help everything circulate.
Step 3: Load the Cup in the Right Order
This is where many first-time users go slightly off the rails. On traditional NutriBullet cup models, the blade screws onto the top of the cup and the cup is then flipped onto the base. That means ingredient order matters.
A smart basic order looks like this:
Leafy greens and soft ingredients first, fruit next, powders or seeds after that, ice or frozen ingredients in moderation, and liquid last. Yes, liquid last. It feels wrong until you remember the cup gets flipped over, so the liquid ends up closest to the blade when blending starts.
Most importantly, stop at the max fill line. That line is not decorative. It is there to protect texture, motor performance, and your dignity. Overfilling leads to poor blending, leaks, and sometimes a countertop that looks like a spinach crime scene.
Step 4: Add Enough Liquid
A NutriBullet needs liquid to blend efficiently. Water, milk, plant milk, coconut water, kefir, and yogurt all work well depending on the recipe. If you want a thicker smoothie, use a little less liquid. If ingredients get stuck, add a little more.
For beginners, start with about 3/4 to 1 cup of liquid for a standard single-serve smoothie, then adjust based on how thick you want it. The goal is movement. If the contents are just sitting there like they’ve unionized, the mix probably needs more liquid.
Step 5: Screw On the Blade
Place the extractor blade on the cup and twist until it is secure. Do not cross-thread it. Do not leave it loose. Do not assume “close enough” is a valid engineering standard. A secure seal helps prevent leaks and gives the machine the best shot at a smooth blend.
Step 6: Flip, Lock, and Blend
Turn the cup upside down, place it onto the motor base, and twist or press according to your model’s design. Many NutriBullet models lock into place for hands-free blending.
Most everyday smoothies blend in about 30 to 60 seconds. Watch the texture as it changes. You’ll usually hear the blend go from loud and chunky to smoother and more even. That’s your sign the ingredients are cooperating.
On standard cup-based NutriBullet models, longer is not always better. Short blending cycles are usually enough. If your blend needs more time, stop, let things settle, and then run another short cycle rather than making the machine do a marathon session for your breakfast.
Step 7: Check the Texture
If the smoothie looks creamy and uniform, you’re done. If it looks chunky or ingredients are stuck, stop blending before doing anything else. Then try one of these fixes:
Add a splash more liquid, shake the cup gently with the blade attached and the unit off, or pulse again for a few seconds. If frozen fruit is causing a traffic jam, reduce the amount next time or thaw it slightly before blending.
Step 8: Remove the Cup Safely
Twist the cup off the base once the motor has fully stopped. Set it upright on the counter before removing the blade. If the contents seem pressurized or unusually warm, let them settle for a moment first. Then unscrew the blade carefully and point it away from your face. No smoothie is worth a dramatic kitchen moment.
Step 9: Drink, Store, or Serve
If you’re heading out, swap on the to-go lid. If you’re serving at home, pour into a glass and pretend you are the sort of person who always has fresh fruit in neat little bowls. If you made extra, refrigerate it in a sealed container and drink it soon for the best texture and flavor.
A Beginner-Friendly NutriBullet Smoothie Formula
If you want a simple system, use this basic framework:
1 part liquid
1 part soft ingredients such as yogurt or banana
1 1/2 to 2 parts fruit or veggies
1 small add-in such as nut butter, chia seeds, oats, or protein powder
Example:
1 cup almond milk, 1 banana, 1 cup frozen berries, 1 handful spinach, and 1 tablespoon peanut butter.
That combination is balanced, beginner-friendly, and far less likely to turn into green cement than a random “healthy” experiment involving six powders and a heroic amount of kale.
Common NutriBullet Mistakes to Avoid
Overfilling the Cup
The max fill line matters. Too much food leaves too little room for circulation, and that leads to uneven texture, strain on the motor, and leaks.
Using Too Little Liquid
If ingredients are stuck, the problem usually is not that your NutriBullet has betrayed you. It is that the blend needs more liquid.
Adding Hot Ingredients to a Standard Cup
This is a major safety issue. Standard NutriBullet cups are generally for cool or room-temperature ingredients. Some larger vented pitcher models are exceptions, but the single-serve cup is not the place for hot soup, hot coffee, or anything steaming.
Using Excessive Ice or Super-Hard Frozen Food
A small amount is usually fine with enough liquid, but packing the cup with hard frozen chunks can lead to poor blending and extra wear. Frozen fruit usually works better than a cup full of ice.
Running It Too Long
A NutriBullet is built for quick blends, not endless blending sessions. If it is not smooth after a short cycle, stop and fix the ingredient balance rather than brute-forcing the machine into submission.
Ignoring the Blade Seal
If the blade is not attached securely, leaks can happen. Check the gasket and the threading regularly. A smoothie belongs in the cup, not sneaking into the base.
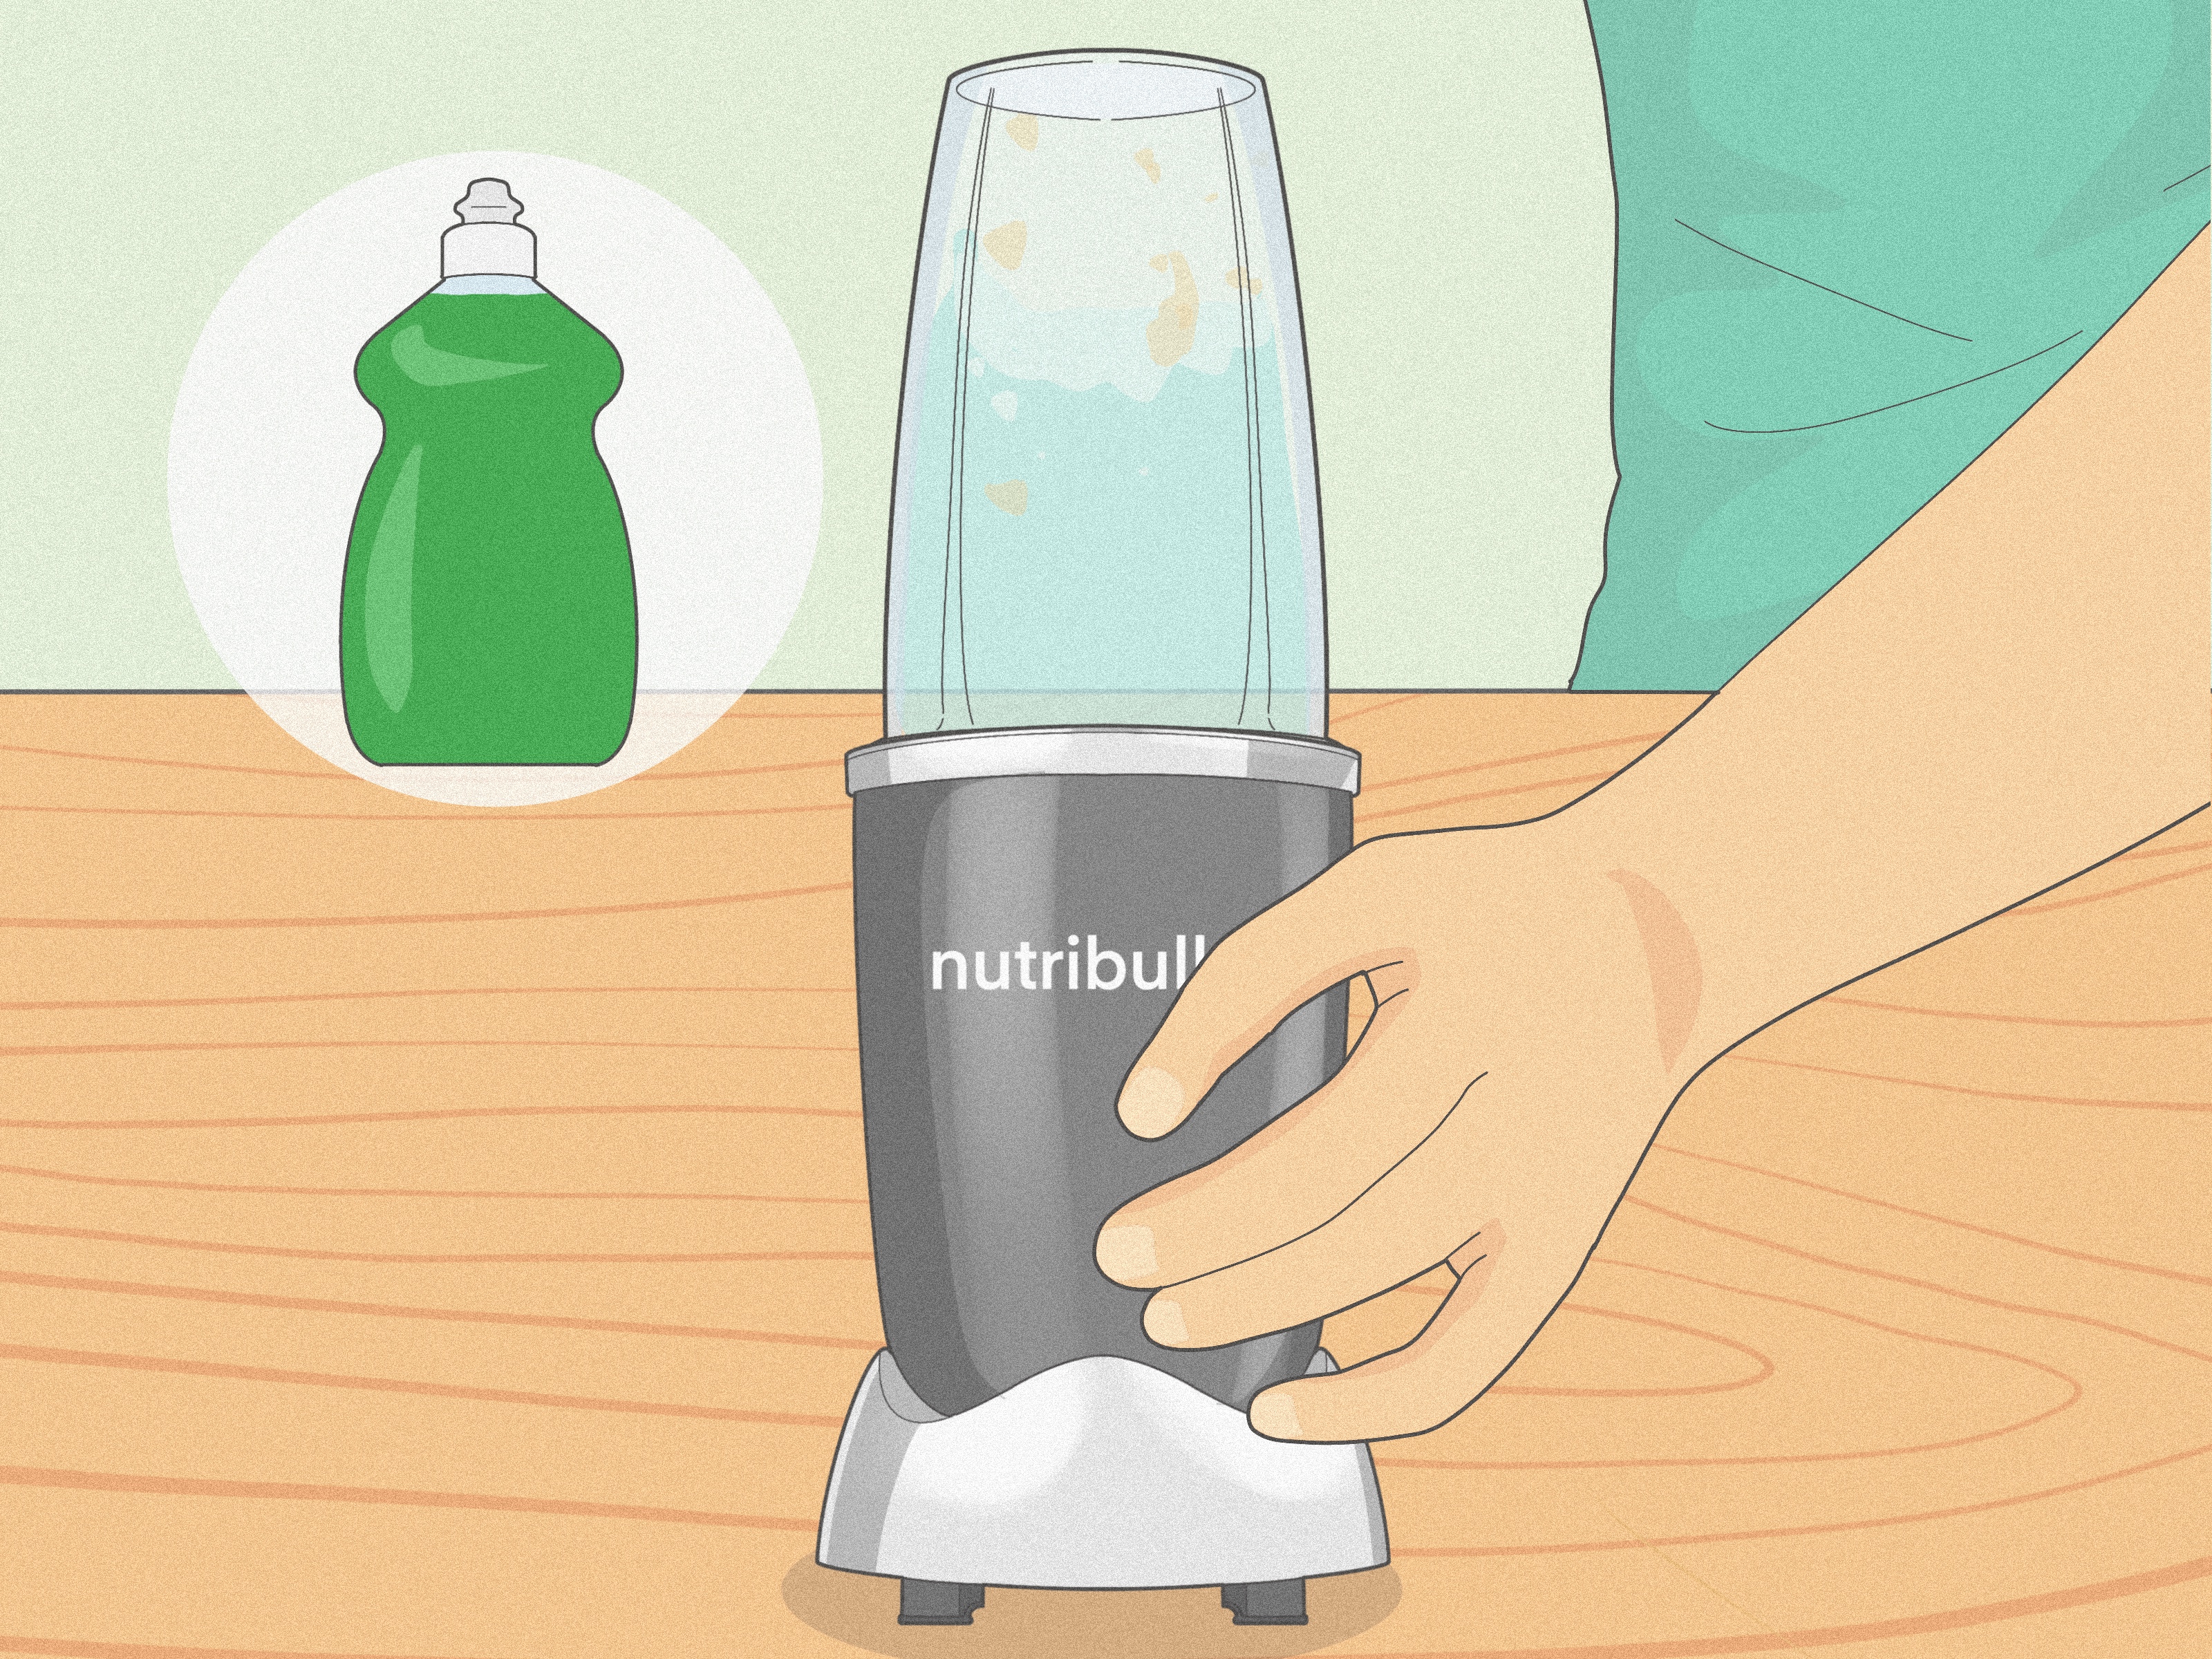
How to Clean a NutriBullet Properly
Good cleaning habits make a huge difference. A NutriBullet is very easy to clean if you do it right away. It becomes less easy if you let banana, protein powder, and peanut butter dry into a material roughly equivalent to countertop grout.
Quick Cleaning Method
Rinse the cup immediately after use. Wash the blade carefully by hand with warm, soapy water. Wipe the motor base with a damp cloth only after unplugging it.
Self-Clean Shortcut
If residue is stuck, fill the cup with warm water and a drop of dish soap, attach the blade, and blend briefly. Then rinse and wash again by hand. It is basically a tiny bubble bath for your blender.
What Not to Do
Do not submerge the motor base. Do not get reckless around the blade. Do not wait three days to clean it unless you want your next smoothie to carry subtle notes of old almond butter and regret.
What You Can Make in a NutriBullet Besides Smoothies
Once you learn how to use a NutriBullet, it becomes more than a breakfast machine. You can also make:
Protein shakes, salad dressings, marinades, dips, light sauces, pancake batter, overnight oat blends, smoothie bowls, and small batches of purees.
That said, keep your expectations realistic. A personal blender is great for fast, small jobs. It is not always the best tool for giant batches, very thick nut butters, or dry grinding unless your specific model includes attachments designed for that purpose.
Step-By-Step Example: Your First Everyday Smoothie
Ingredients
1 handful spinach
1/2 banana
1 cup frozen mixed berries
1 tablespoon peanut butter
3/4 to 1 cup almond milk
Directions
1. Add spinach to the cup.
2. Add banana and peanut butter.
3. Add frozen berries.
4. Pour in almond milk, stopping below the max line.
5. Screw on the blade firmly.
6. Flip onto the motor base and blend for 30 to 45 seconds.
7. If needed, stop and add a splash more milk.
8. Blend again until smooth.
9. Remove the blade, add the lid, and enjoy.
This kind of formula is forgiving, tasty, and practical. It also teaches you the core NutriBullet habit: balance your liquid, don’t overstuff the cup, and let the machine do quick, efficient work.
Real-World NutriBullet Experiences: What People Learn After the First Few Weeks
One of the most common experiences with a NutriBullet is realizing that success has less to do with fancy recipes and more to do with tiny habits. New users often assume the machine can blend anything if they just press harder, wait longer, or glare at it with enough confidence. Then comes the first thick, stubborn, unmoving smoothie. That is usually the moment the lesson clicks: this blender likes smart loading, not brute force.
After a few weeks of regular use, most people start developing a personal rhythm. They figure out which ingredients make a smoothie creamy, which ones turn it watery, and which “healthy add-ins” are actually just expensive ways to make breakfast taste like lawn clippings. Bananas become the reliable friend. Frozen berries become the dependable backup singer. Spinach quietly sneaks in without making a scene. Kale, on the other hand, often arrives like an uninvited motivational speaker.
Another real-life lesson is that the NutriBullet works best when it fits your routine. People who love it usually set themselves up for easy wins. They portion smoothie ingredients in freezer bags, keep protein powder nearby, and know exactly where the lids live. People who stop using it often do so for one simple reason: friction. If the cups are hidden in a deep cabinet, the blender base is buried behind a toaster, and the cleanup feels annoying, the NutriBullet starts collecting dust faster than “someday” exercise equipment.
There is also a learning curve around texture. Early blends are often either too thick or too thin. Too thick, and the ingredients sit there in stubborn silence while the blade spins below like it has given up on humanity. Too thin, and the smoothie becomes fruit soup. Over time, users learn that thickness is not random. It is mostly liquid control. That’s why experienced NutriBullet owners tend to pour conservatively at first, then add a splash more only if the blend needs help.
Cleanup is another place where experience matters. On day one, people say, “This is so easy to wash.” On day ten, somebody forgets the cup in the sink with dried yogurt welded to the sides. That is when the truly wise become immediate-rinse people. The happiest long-term users are not necessarily the healthiest or the most organized. They are just the ones who rinse the cup before sitting down to drink the smoothie.
Many users also discover that a NutriBullet changes how they eat simply because it lowers the barrier to making something decent. A smoothie with fruit, greens, protein, and healthy fat is not magic, but it is a lot better than skipping breakfast and inhaling crackers at 10:42 a.m. The machine becomes a convenience tool as much as a nutrition tool. It makes the good choice easier, and in real kitchens, easier usually wins.
And then there is the emotional side of it, which sounds dramatic for a blender, but stay with me. A NutriBullet often earns its place not because it is glamorous, but because it is dependable. It helps on rushed school mornings, work-from-home afternoons, gym days, and “I cannot cook one more thing today” evenings. It becomes the appliance people reach for when they want something fast, familiar, and mildly virtuous. That kind of reliability is why so many owners keep using it long after the shiny new-appliance excitement wears off.
Final Thoughts
Learning how to use a NutriBullet is simple once you understand the basics: use the right ingredient order, include enough liquid, stay below the max line, blend in short cycles, avoid hot ingredients in standard cups, and clean it right away. That is the whole game.
Once you get comfortable, a NutriBullet can become one of the most useful tools in your kitchen. It is quick, compact, beginner-friendly, and ideal for smoothies, shakes, sauces, and small blended meals. Treat it well, load it smartly, and it will make your mornings faster, your cleanup easier, and your blender confidence weirdly impressive.