

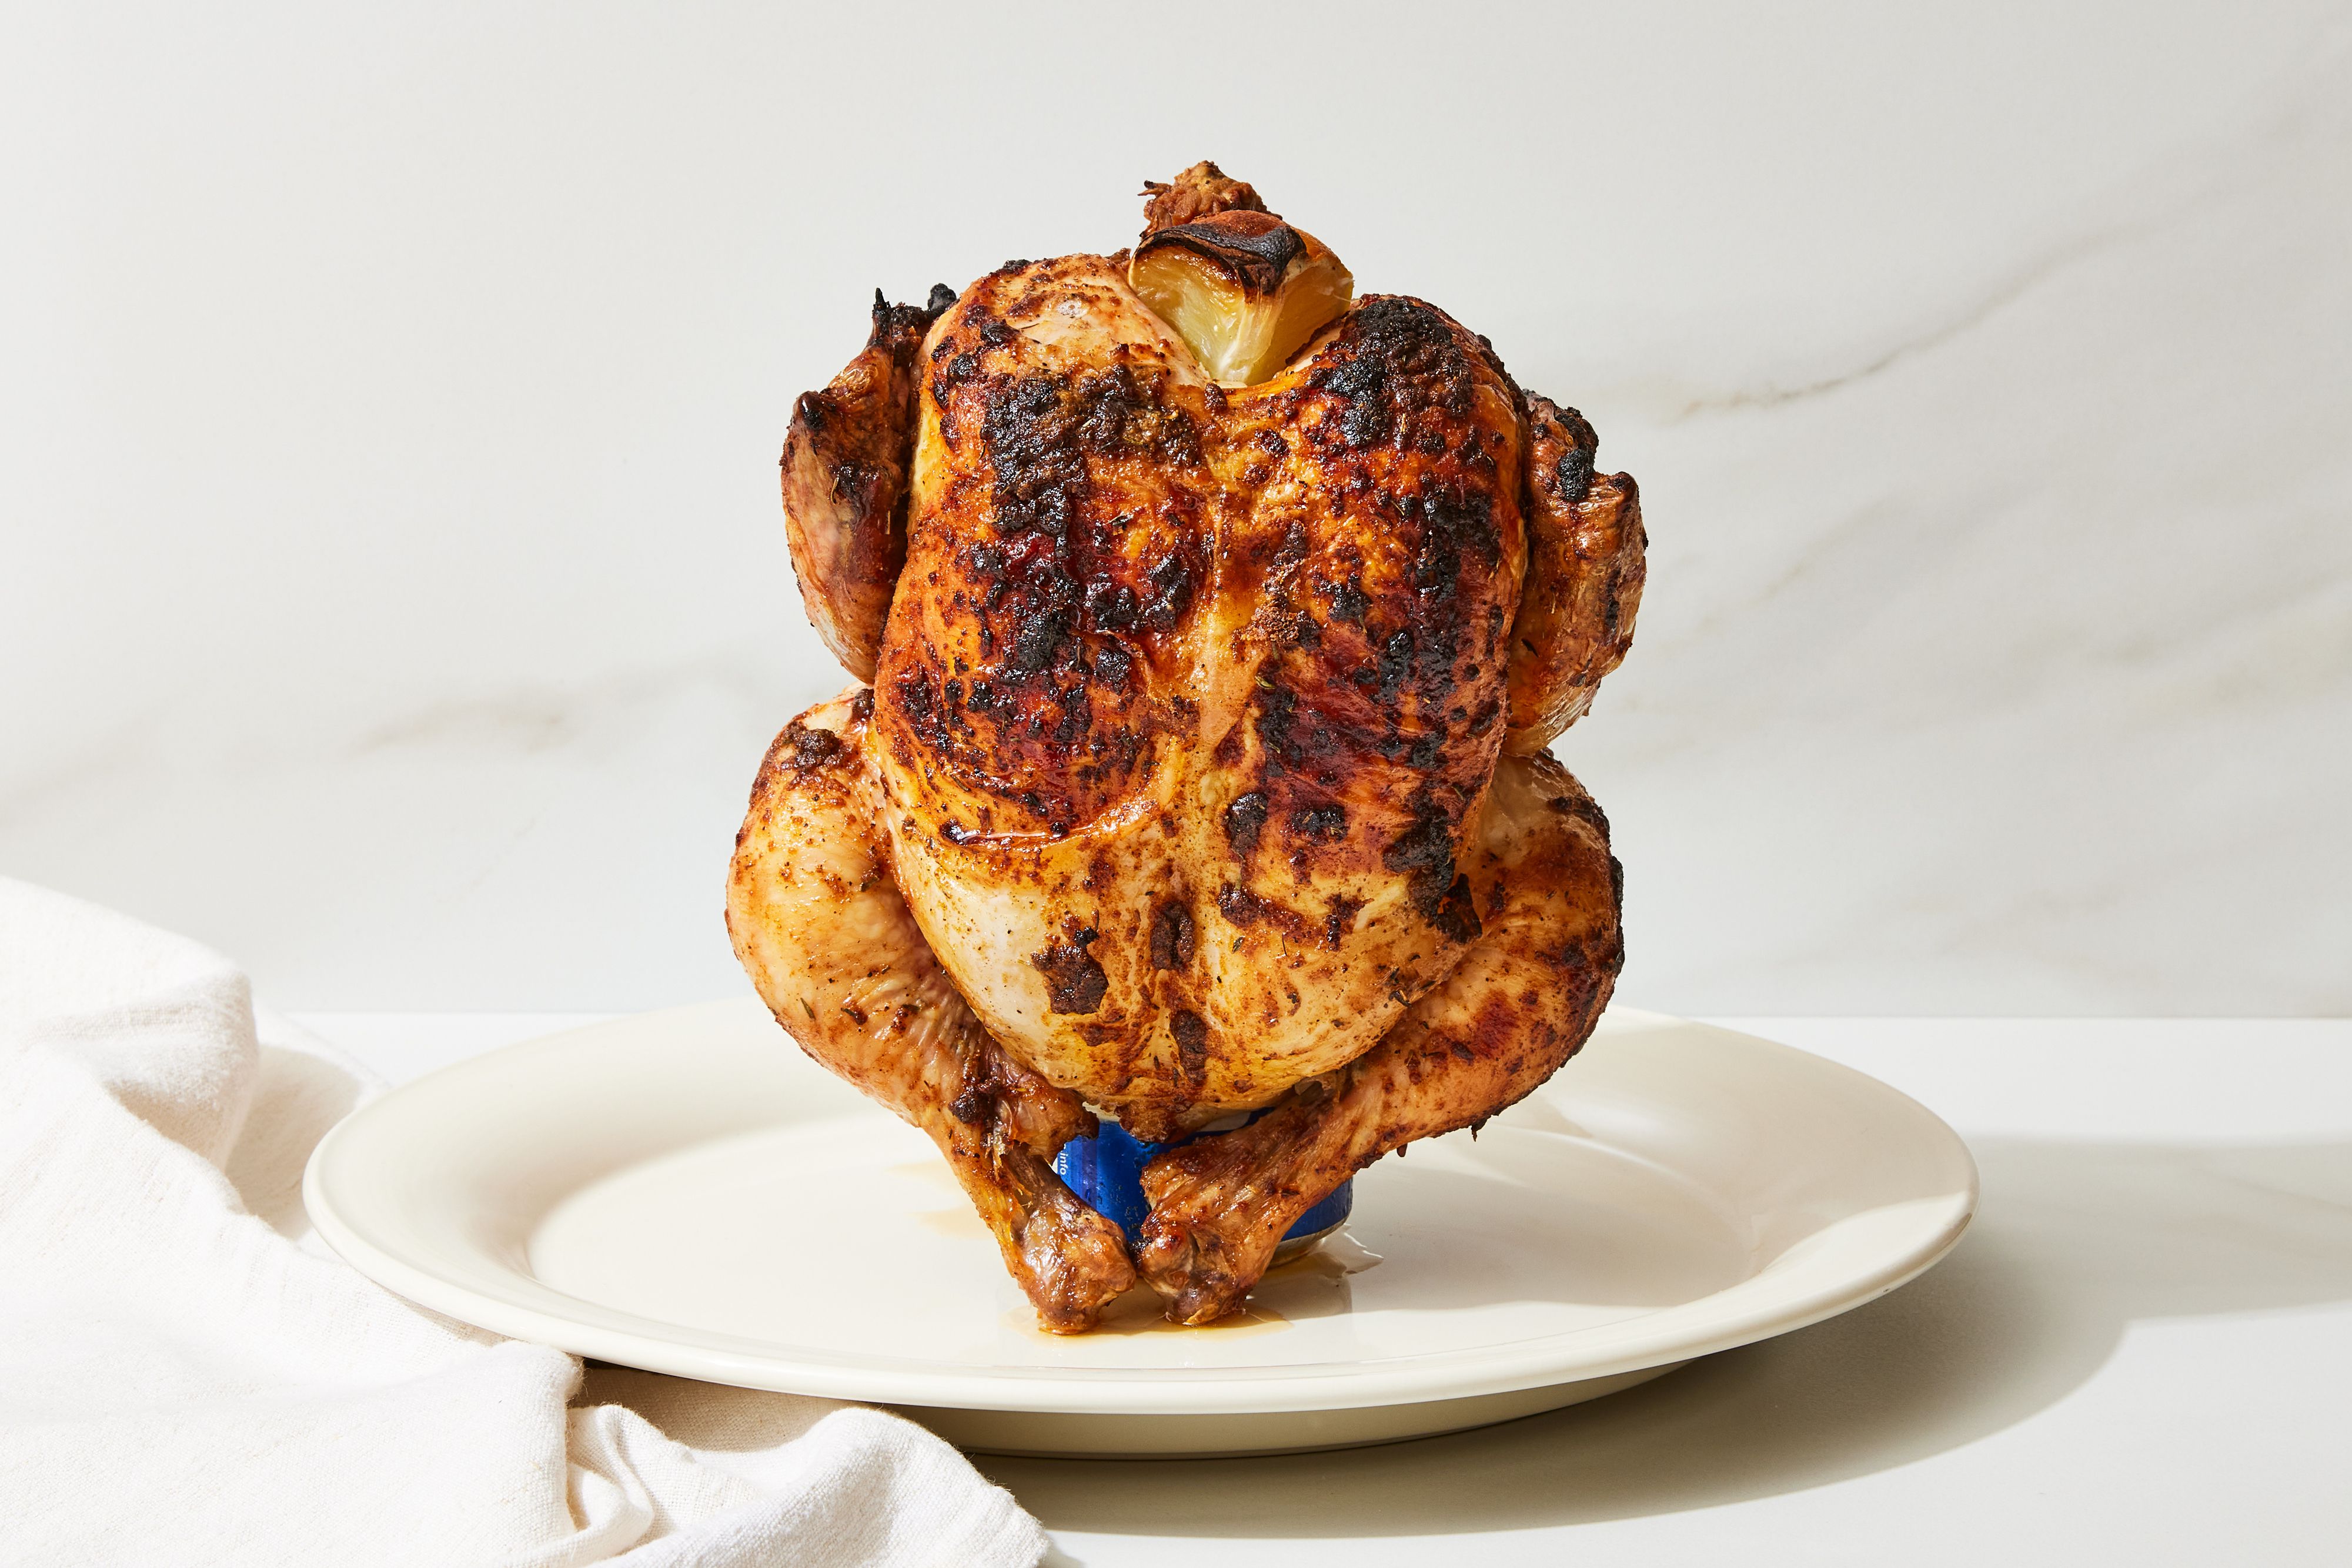
“Beer can chicken” is one of those recipes that sounds like a backyard legend: stand a chicken upright on a can, grill it, andboomjuicy meat, crispy skin,
and a crowd that suddenly thinks you’re the mayor of Summer. The classic name sticks, but you don’t actually need alcohol to pull this off.
The real magic is vertical roasting + steady indirect heat + proper seasoning + not overcooking.
This guide gives you a juicy beer-can-style chicken using a non-alcoholic can (sparkling water, cola, ginger ale, or even
broth in a can-safe holder). You’ll get that dramatic “standing chicken” look, plus a reliable method that prioritizes flavor, texture, and food safety.
Why “Beer Can Chicken” Tastes So Good (Even Without Beer)
Let’s clear the smokeliterally. Many grill experts point out that a can inside the chicken doesn’t magically “steam” the meat into juiciness the way the myth goes.
Most of the juiciness comes from smart fundamentals:
- Vertical posture helps heat circulate around the bird more evenly than laying it flat.
- Indirect heat cooks gently, giving the breast a better chance to stay tender.
- Dry brining (salting ahead) improves seasoning and moisture retention.
- Hot finish or steady medium heat helps render fat for crisp skin.
- A thermometer prevents the #1 cause of dry chicken: “Oops, I cooked it forever just to be sure.”
Quick Recipe Snapshot
Time & Yield
- Prep: 15–20 minutes (plus optional dry-brine time)
- Cook: 60–90 minutes (varies by grill and bird size)
- Rest: 10–15 minutes
- Serves: 4–6
Equipment
- Grill with a lid (gas or charcoal) or smoker/pellet grill
- Instant-read thermometer
- Drip pan (recommended)
- Vertical chicken roaster (best) or can-style poultry stand
- Tongs + heat-safe gloves
Safety note: Instead of placing a bird directly on a printed beverage can, use a vertical roaster designed for chicken.
If you’re using a “can” method, choose a food-safe holder made for grilling. You still get the upright effect without making your dinner flirt with mystery inks.
Ingredients (Juicy Beer-Can-Style Chicken, Alcohol-Free)
Main
- 1 whole chicken (3.5–5 lb), giblets removed
- 1 can non-alcoholic liquid: sparkling water, cola, ginger ale, or lemon-lime soda (12 oz)
- 1–2 tbsp neutral oil (avocado, canola, or grapeseed)
Dry Brine (Highly Recommended)
- 1 tbsp kosher salt (use slightly less if using fine/table salt)
- 1 tsp baking powder (optional, helps crisp skin)
All-Purpose BBQ Rub (Balanced + Not Too Sweet)
- 2 tsp smoked paprika
- 1 tsp garlic powder
- 1 tsp onion powder
- 1 tsp black pepper
- 1 tsp dried oregano or thyme
- 1/2 tsp cayenne (optional)
- 1–2 tsp brown sugar (optional, for extra browning)
Optional Aromatics
- 1/2 lemon (wedged)
- 2–3 crushed garlic cloves
- Fresh herbs (rosemary, thyme)
Step-by-Step: Juicy Beer-Can-Style Chicken on the Grill
Step 1: Dry Brine for Juiciness (Best if Done 8–24 Hours Ahead)
- Pat the chicken very dry with paper towels.
- Mix kosher salt + baking powder (if using). Sprinkle all over the skinbreast, back, thighs, and wings.
- Place on a rack over a sheet pan and refrigerate uncovered 8–24 hours.
Why it works: salting early helps seasoning penetrate and improves texture, while dry air in the fridge starts drying the skin for better crisping later.
(Think of it as a spa day for poultryminus the cucumber eye masks.)
Step 2: Season Like You Mean It
- If you dry brined, you can go light on additional salt in your rub.
- Rub the chicken lightly with oil.
- Apply your spice rub generously, pressing it onto the skin.
Step 3: Prep the Grill for Indirect Heat
Aim for a grill temperature around 325–375°F. You want steady heat, not a flame-thrower audition.
- Gas grill: Turn on one side (or the outer burners) and keep the other side off. Place the chicken on the “off” side.
- Charcoal grill: Bank coals to one side (or use a two-zone setup). Place chicken on the cool side with a drip pan underneath.
- Pellet grill/smoker: Set to 350°F for a simple version, or start low then finish hot (see smoker variation below).
Step 4: Set Up the “Can” (Without Alcohol)
- Open your can of sparkling water/cola/ginger ale. Pour out (or drink) about 1/3 so it doesn’t geyser.
- Place the can into your vertical roaster/holder.
- Add optional aromatics (lemon wedge, garlic, herbs) to the holder if your setup allows.
The point isn’t “soda flavor infusion.” The point is the upright roast. The liquid helps stabilize temperature inside the holder and keeps the setup from overheating.
Bonus: it smells great while it cooks.
Step 5: Mount the Chicken (Carefully)
- Lower the chicken cavity onto the roaster so it stands upright.
- Tuck wing tips behind the shoulders (prevents burning).
- If your bird looks wobbly, adjust the legs so it stands like it pays rent.
Step 6: Cook Until Perfect (Thermometer Wins)
Grill with the lid closed. Start checking at 55–60 minutes for a smaller bird; 75+ minutes for larger ones.
- Target doneness: 165°F in the thickest part (commonly checked in breast and/or thigh, avoiding bone).
- If the skin browns too fast: lower grill temp slightly or rotate the bird farther from heat.
- If you want extra-crisp skin: raise heat to ~400°F for the last 5–10 minutes (watch closely).
Step 7: Rest, Then Carve
- Move the chicken to a tray.
- Rest 10–15 minutes (this helps juices redistribute).
- Carefully remove the roaster/holdersteam is hot, and chicken grease is basically lava with ambition.
- Carve: remove legs/thighs, then wings, then slice the breast.
Smoker Version: Extra Juicy with a Crisp Finish
If you love smoke flavor but still want crackly skin, use a two-stage approach:
- Stage 1 (smoke): 225–250°F for 45–75 minutes (until the skin starts taking on color).
- Stage 2 (finish hot): 350–400°F until the chicken reaches safe doneness.
Low-and-slow alone can leave chicken skin rubbery. Finishing hot renders fat and tightens the skin into that “snap” people chase.
Oven Option (Yes, It Works Indoors)
No grill? No problem. You can roast it upright in the oven using a vertical roaster:
- Preheat oven to 400°F.
- Place roaster on a rimmed baking sheet (catch drips).
- Roast 60–90 minutes, checking temperature early.
- Rest 10–15 minutes before carving.
Flavor Variations (Pick Your Backyard Personality)
1) Sweet Heat “Cookout Classic”
- Add 1 tbsp brown sugar + 1 tsp chili powder to the rub
- Use cola in the holder for a subtle caramel aroma
2) Lemon-Herb “Sunday Roast Energy”
- Swap paprika for extra thyme + rosemary + lemon zest
- Use sparkling water + lemon wedge in the holder
3) Texas-Style Peppery Bark
- Go heavy on black pepper + garlic powder
- Skip sugar; finish hot for a bold crust
Common Mistakes (And How to Avoid Sad Chicken)
Mistake 1: Cooking by Time Only
Grills vary. Chickens vary. Wind exists. Use a thermometer and you’ll stop living in fear.
Mistake 2: Too Much Direct Heat
Direct flames scorch skin before the inside is ready. Indirect heat is your “juicy” insurance policy.
Mistake 3: Skipping the Dry Brine
Can you still make a tasty chicken without it? Sure. But dry brining is the difference between “pretty good” and “why is this so juicy?”
Mistake 4: Not Resting
Cutting immediately is like popping a water balloon and then wondering where your water went.
Food Safety & Handling (Unsexy, but Non-Negotiable)
- Don’t rinse raw chicken. It can spread germs around your sink and counters.
- Separate raw chicken from ready-to-eat foods (cutting boards, plates, utensils).
- Cook thoroughly using a thermometerguessing is not a cooking technique.
- Chill leftovers promptly. Refrigerate within 2 hours (sooner if it’s hot out).
Serving Ideas (Make It a Whole Thing)
- Classic: coleslaw, corn on the cob, potato salad
- Healthier: grilled veggies, cucumber salad, roasted sweet potatoes
- Next-day magic: chicken tacos, BBQ chicken sandwiches, chicken salad
FAQ: Juicy Beer Can Chicken Recipe
Does the “can” make the chicken juicier?
The upright position and indirect heat are the big winners. The can/holder is mainly a sturdy way to keep the bird vertical.
Can I do this without a can at all?
Absolutely. If your goal is the best texture with less fuss, consider spatchcocking (butterflying) the chicken and grilling it flat over indirect heat.
It often cooks faster and more evenly. But if you want the “standing chicken show,” a vertical roaster is a great tool.
How do I get the skin extra crispy?
- Dry brine uncovered in the fridge
- Use a touch of baking powder with the salt
- Finish hot (briefly) at the end
- Avoid basting early (it cools the skin and slows browning)
Experience Notes: What People Learn After Making Can-Style Chicken a Few Times (Extra ~)
The first time most people try “beer can chicken,” they expect a dramatic flavor transformationlike the chicken went to a spa, did a cleanse,
and came back speaking fluent barbecue. The second time? They realize the real win is how forgiving this method can be when you cook with a lid closed
and stick to indirect heat. The upright position makes it easier to avoid that classic tragedy where the breast is overdone while the thighs are still negotiating their contract.
One of the most common “aha” moments is how much prep matters more than the can. Cooks who start patting the chicken dry, salting ahead,
and using a simple rub often report the biggest jump in juiciness and flavor. It’s not flashy, but it works. Another lesson: a chicken that goes onto the grill
slightly colder than room temp will still cook beautifullyas long as you don’t crank the heat and panic. Chicken loves calm, steady heat. It hates drama.
People also learn quickly that skin can be moody. On humid days, or when the chicken is handled a lot, skin can soften and resist crisping.
That’s why many backyard cooks start leaving the bird uncovered in the fridge overnight and get picky about drying the surface.
Once you taste that first “bite-through” skin, you’ll understand why some folks talk about baking powder like it’s a secret ingredient handed down by grilling elders.
(It’s not magicit’s sciencebut it feels like magic when it works.)
Another real-world note: grill setups vary. On a gas grill, hot spots are common, and many cooks end up rotating the chicken and the drip pan once or twice
to keep browning even. On charcoal, the fire might fade sooner than expected, so experienced grillers keep extra coals ready.
On pellet grills, the temperature is steady but the skin might need that higher-heat finish to get truly crisp. After a couple tries, most people stop chasing an exact cook time
and start cooking to temperaturebecause that’s the moment you graduate from “hope-based grilling” to “I meant to do that.”
Finally, there’s the crowd factor. Can-style chicken is a conversation starter. Someone always asks what’s in the holder,
someone else swears their uncle’s method is better, and a third person says, “Wait, is the chicken standing up?” like they’ve never seen gravity before.
The best part is how versatile it becomes: once you nail the basics, you can shift flavorslemon-herb one week, peppery BBQ the next, spicy-sweet after that
without changing the cooking method. That’s why can-style chicken sticks around: it’s simple, adaptable, and it makes you look like you’ve got the backyard under control,
even if you’re secretly checking the thermometer like it’s a life support machine.
Conclusion
If you want a juicy beer-can-style chicken, focus on what actually moves the needle: dry brine, indirect heat, steady grill temperature, and cooking to a safe doneness
with a thermometer. Use a vertical roaster and a non-alcoholic can liquid for the classic upright roast without needing alcohol at all.
You’ll get tender meat, crisp skin, and the kind of backyard credibility that makes people offer to “help” (meaning: taste-test) before you’re even done carving.