Some desserts whisper. This one walks into the room wearing sunglasses indoors, makes direct eye contact, and casually says, “Yes, I am mostly butterthanks for noticing.”
The Million Dollar Pound Cake is a Southern classic: rich, velvety, proudly old-fashioned, and somehow both dense and tender. It’s a “seven-ingredient” kind of cake that relies on technique instead of a long shopping list. No fancy leaveners doing backflips herejust air whipped into butter, sugar, and eggs like they’re training for the Baking Olympics.
What Is Million Dollar Pound Cake?
Million Dollar Pound Cake is essentially a classic pound cake that tastes “expensive” (translation: buttery, fragrant, and dangerously sliceable). Traditional pound cake got its name from equal weights of butter, sugar, eggs, and floursimple pantry staples turned into something far greater than the sum of their parts.
The “million dollar” version usually keeps things straightforward: butter, sugar, eggs, flour, milk, vanilla, and almond extract. It’s not trying to be trendy. It’s trying to be the cake people request for potlucks, holidays, brunch, and any gathering where you want compliments without handing out your full life story.
Why This Recipe Works
1) It uses air as the leavener
Unlike cakes that lean on baking powder or baking soda, a traditional Million Dollar Pound Cake relies on proper creamingbeating butter and sugar until light and fluffy. Those tiny air bubbles expand in the oven and lift the batter into a fine, tight crumb that still feels plush.
2) Low-and-slow baking protects the crumb
Pound cake batter is thick and rich. Baking at a lower temperature for longer helps the center bake through without over-browning the crust. The payoff: a golden exterior and a slice that looks like it should be photographed.
3) The ingredient list is short, so technique matters (in a good way)
With fewer ingredients, each step counts. Room-temperature butter and eggs mix more evenly. Alternating flour and milk reduces overmixing. And stopping the mixer as soon as the flour disappears helps keep the cake tender.
Ingredients
This is the classic, old-school lineup. No secret powders. No mysterious “cake enhancer.” Just the basics, handled correctly.
For the cake
- 1 lb (4 sticks) unsalted butter, softened to cool room temperature
- 3 cups granulated sugar
- 6 large eggs, room temperature
- 4 cups all-purpose flour, plus more for the pan
- 3/4 cup milk, room temperature (whole milk is ideal)
- 1 tsp vanilla extract
- 1 tsp almond extract (classic “bakery” aroma)
Optional but smart: a small pinch of fine salt if you want the flavors to pop a bit more, especially if you’re using unsalted butter. Many classic versions skip it, but salt is the stage crew of bakingit makes everyone else look better.
Equipment & Pan Options
Best choice: 10-inch tube pan
A tube pan gives a thick batter more surface area and an escape route for heat, which helps it bake evenly. It also produces that iconic tall, dramatic cake silhouette.
Bundt pan substitute
A large (10–12 cup) Bundt pan usually works well. Grease it meticulouslyevery ridge, every nookbecause Bundt pans are famous for holding grudges.
Other helpful tools
- Stand mixer or strong hand mixer (you’ll be creaming for real)
- Rubber spatula (scrape the bowl like you mean it)
- Long wooden pick or skewer (for doneness testing)
- Wire rack (cooling matters more than your patience)
Step-by-Step Instructions
Read through once before starting. Pound cake is not hard, but it does reward people who don’t improvise while half the butter is already in the bowl.
1) Prep the oven and pan
- Preheat the oven to 300°F.
- Grease a 10-inch tube pan thoroughly with shortening or softened butter, then dust with flour. Tap out excess.
2) Beat the butter until creamy and lighter in color
Beat softened butter at medium speed until creamy. Depending on your mixer, this can take a few minutes. You’re not just mixingyou’re building structure with air.
3) Gradually add sugar and cream until fluffy
Add sugar slowly while beating at medium speed. Keep going until the mixture looks lighter and fluffier (not gritty sand, not melted soup). Scrape the bowl at least once or twice.
4) Add eggs one at a time
Add each egg and beat just until the yolk disappears before adding the next. This prevents the batter from breaking and keeps the emulsion smooth.
5) Alternate flour and milk (start and end with flour)
- Add about 1/3 of the flour on low speed; mix just until mostly incorporated.
- Add about 1/2 of the milk; mix briefly.
- Repeat, ending with the final flour addition.
Stop mixing as soon as you don’t see dry flour. If there are small lumps, finish with a gentle stir using a spatula instead of “fixing” it by mixing for two more minutes and accidentally inventing pound cake-flavored bread.
6) Stir in extracts
Add vanilla and almond extract and stir just to combine. The almond extract is the quiet MVPit gives that unmistakable “this came from a fancy bakery” vibe.
7) Bake low and slow
- Pour batter into the prepared pan and smooth the top.
- Bake at 300°F for about 1 hour 40 minutes.
- Check doneness with a long wooden pick inserted in the centerif it comes out clean (or with a few moist crumbs), you’re good.
8) Cool properly (this is not optional)
- Cool in the pan on a wire rack for 10–15 minutes.
- Run a thin knife along the edges if needed, then turn out onto a rack.
- Cool completely before slicing for the cleanest, most tender crumb.
Optional Vanilla Glaze (Worth It)
The cake is fantastic plain, but a simple glaze gives it a polished look and a sweet finish. Also: it’s an excellent distraction if your cake top cracked. (Pound cakes crack. It’s their love language.)
Quick glaze
- 1 cup powdered sugar
- 2–3 tbsp milk (or a mix of milk and a little lemon juice)
- 1/2 tsp vanilla extract
- Pinch of salt (optional)
Whisk until smooth, drizzle over a fully cooled cake, and let it set. If you want a thicker “bakery drip,” use less liquid. If you want a thinner glaze, add a teaspoon of milk at a time until it behaves.
Flavor Variations & Add-Ons
Once you nail the classic, you can dress it up without turning it into a completely different cake. Think “tuxedo,” not “full costume change.”
Lemon-bright
- Add 1–2 tbsp lemon zest to the sugar before creaming (rub together for extra aroma).
- Swap part of the milk in the glaze for lemon juice.
Almond-vanilla “wedding cake” vibe
- Keep almond extract as written, and add 1/2 tsp more vanilla.
- Top with sliced toasted almonds after glazing.
Berry-friendly
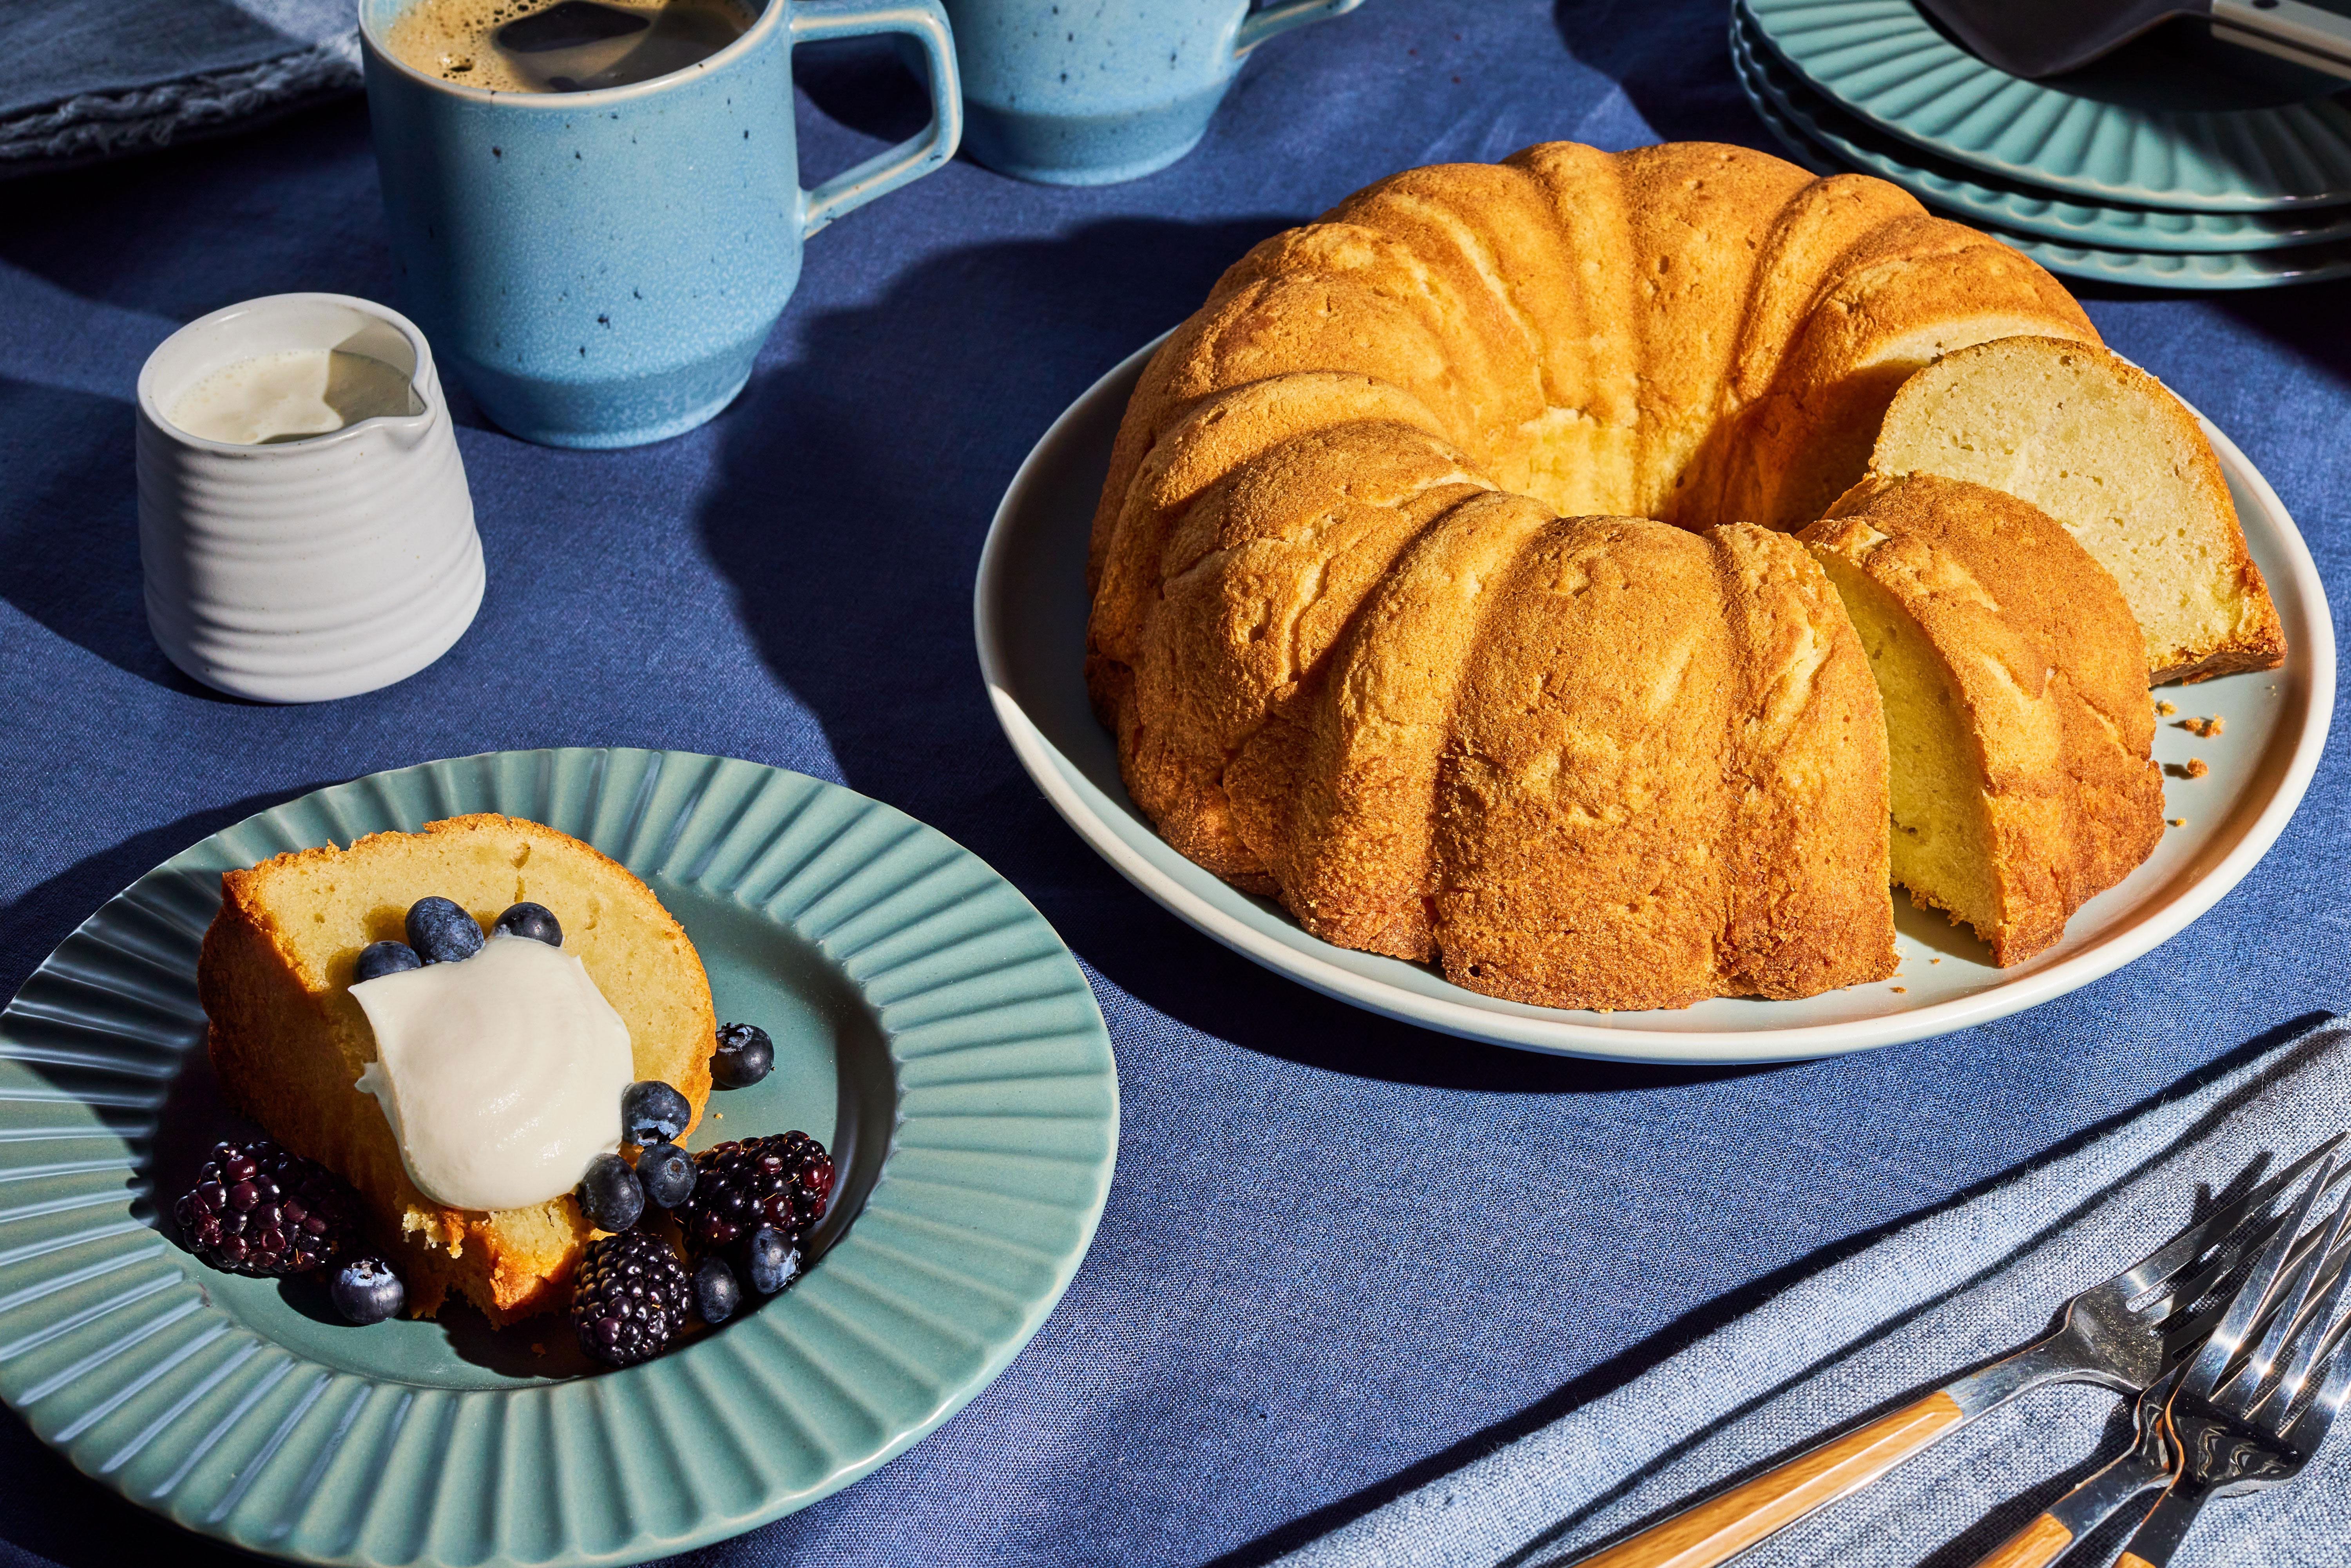
- Serve with macerated strawberries (berries + sugar + 10 minutes) and whipped cream.
- Or toast slices lightly and top with warm berry compote.
“Brunch hero” upgrade
- Slice and toast lightly, then add a little butter and jam.
- Yes, butter on butter cake. This is America. We have freedom.
Troubleshooting (Save Your Cake)
My cake is dry.
The usual suspects: too much flour (packing the measuring cup), overbaking, or slicing while hot. Next time, spoon-and-level flour (or weigh it), start checking doneness earlier, and cool completely before cutting.
My cake sank in the middle.
This can happen if the batter was overbeaten after adding flour, the oven door was opened repeatedly early on, or the cake wasn’t fully baked in the center. Keep mixing gentle once flour is added, and test the center with a long pick.
The cake stuck to the pan.
Grease thoroughly and flour every inch. For extra insurance, some bakers add a parchment round (or liner where practical) and still grease/flour. Also, unmold after 10–15 minutestoo soon and it can tear, too late and it can cling.
The crumb looks tight or rubbery.
That often points to overmixing after flour was added or ingredients that were too cold to emulsify smoothly. Let butter, eggs, and milk come to room temp, cream well, then mix gently once flour enters the chat.
Serving Ideas
- Classic: plain slice + coffee (the undefeated combo)
- Company-ready: glaze + berries + lightly sweetened whipped cream
- Dessert mode: warm slice + vanilla ice cream + caramel sauce
- Leftover glow-up: toast slices and use as a base for fruit and yogurt
Storage & Freezing
Pound cake keeps beautifully. Wrap well and store at room temperature for several days. For longer storage, freeze slices (or the whole cake) tightly wrapped; thaw at room temperature. It’s the kind of cake that actually behaves better than most people on day two.
FAQ
Do I really need a stand mixer?
It helps a lot because creaming properly takes time and power. A hand mixer can work, but plan to cream longer and scrape the bowl more often.
Can I use salted butter?
Yesmany home bakers do. If you use salted butter, skip any added salt and keep the extracts as written.
Why 300°F instead of 350°F?
Lower heat gives the dense batter time to bake through evenly without the outside getting too dark too fast. This is especially helpful in deep pans like tube pans.
Can I bake this in loaf pans?
Often, yesdivide batter between two standard loaf pans and start checking earlier. Timing depends on pan size and oven behavior, so use the doneness test rather than the clock.
Real-Life “Baker Experiences” (What You’ll Notice When You Make This Cake)
If you’ve never baked a true old-fashioned pound cake, the first “experience” is psychological: the batter looks like it could patch drywall. That’s normal. It’s thick, luxurious, and slightly intimidating the culinary equivalent of a leather armchair. You’ll scoop it, you’ll wonder if it needs more liquid, and you’ll briefly consider adding baking powder “just in case.” Resist the urge to panic-modify. This cake’s texture is built on creaming and patience, not emergency measures.
Next comes the mixer moment: creaming butter and sugar long enough feels like you’re doing something wrong because modern recipes often rush you along. With this cake, you’ll actually see the transformation: yellow butter turns paler, the mixture grows fluffier, and the bowl looks like it’s holding a cloud that somehow weighs five pounds. That’s your structure. It’s the difference between a slice that feels velvety and one that feels like it’s auditioning to be a doorstop.
You’ll also notice the “egg phase” can look a little sketchy if you add eggs too quickly. The batter might seem slightly curdled for a minuteespecially if the eggs are cooler than the butter. The good news is that slow additions and a scrape-down usually bring it back together. If you’ve ever watched a sauce break and felt personally attacked, the feeling is similar… but the solution here is simpler: room-temperature ingredients, one egg at a time, and a calm heart.
Another very real experience: the aroma. Pound cake smells like the bakery section of a grocery store decided to go legit and start using real butter. The almond extract doesn’t scream “almond”; it whispers “nostalgia” and “Sunday best.” If you add glaze, you’ll get that sweet vanilla perfume that makes people wander into the kitchen “just to see what’s happening.” (They are lying. They are there for cake.)
While it bakes, you’ll likely see a crack form on top. That’s not failure; it’s character. Dense batters expand, the crust sets, the interior keeps rising, and the top splits like it has something to say. Many pound cake lovers actively want that crack because it signals a proud rise and a satisfying crust.
Cooling is the final test of human patience. Slice too early and the cake can feel gummy because the structure hasn’t finished setting. Wait until fully cool and the crumb becomes clean, fine, and sliceableperfect for plating, gifting, or “accidentally” eating a second piece because the first one was “just a thin slice.” If you want the best texture, this is the experience to embrace: letting the cake rest is part of the recipe.
Finally, the day-two experience is a pleasant surprise. Many cakes fade overnight; this one often tastes even better after it sits. The crumb settles, the flavors round out, and the cake becomes the kind of dependable dessert you can serve with zero stress. It’s equally at home with whipped cream and berries, or just a fork and a quiet moment where you pretend you’re “only having a bite” while taking a slice the size of your palm.
Conclusion
A great Million Dollar Pound Cake doesn’t need tricksjust quality ingredients, room-temperature patience, and enough creaming to build a batter full of tiny air bubbles that bake into a rich, tender slice. Make it once, learn your oven, and you’ll have a go-to cake that works for birthdays, brunches, holidays, and “I just need something buttery” emergencies.