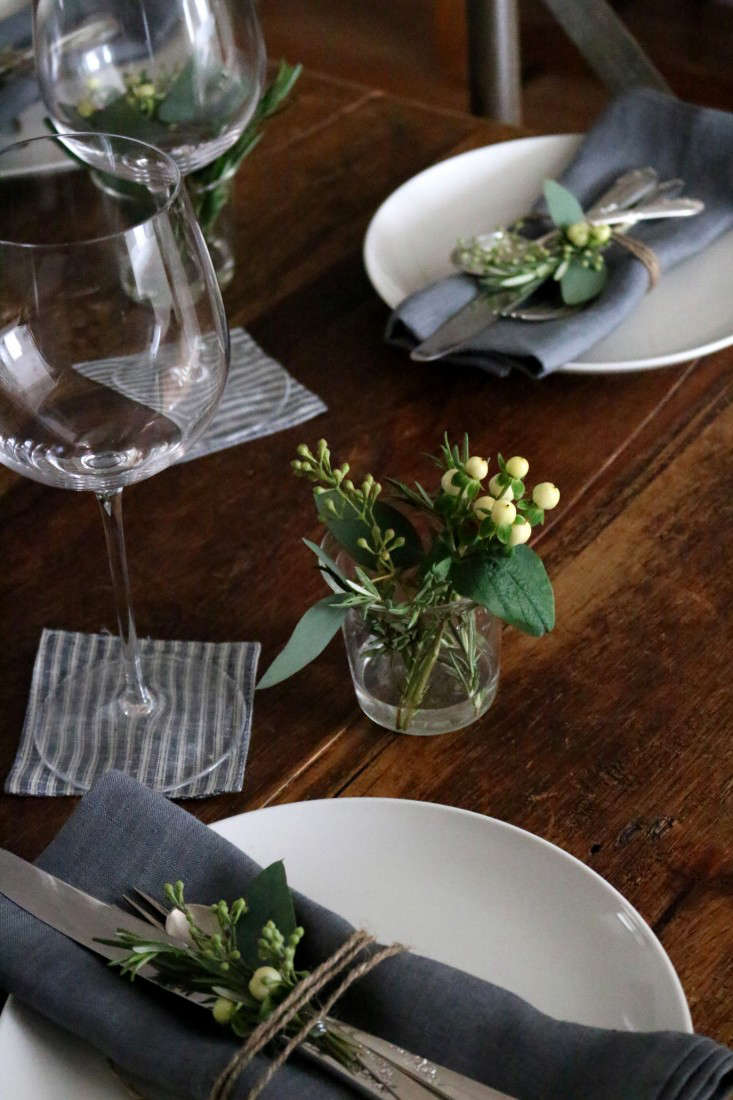
Harvest season has a way of making every gardener feel like both a genius and a raccoon in a panic. One day you are admiring a few innocent tomato blossoms, and the next day your kitchen counter looks like a farmers market that lost its lease. That is where smart harvest prep comes in. It is the practical, stylish, slightly soil-under-the-fingernails art of getting your garden, tools, pantry, and refrigerator ready before the zucchini starts making threats.
Inspired by the thoughtful, design-minded spirit of Gardenista, harvest prep is not just about picking vegetables. It is about timing, preserving quality, reducing waste, protecting soil, and turning late-season abundance into meals, memories, and possibly a heroic amount of salsa. Whether you grow tomatoes in raised beds, herbs on a balcony, squash in a backyard patch, or greens in containers, preparing for the harvest helps you enjoy more food with less chaos.
This guide walks through the essentials: when to harvest, how to handle produce, what to store, what to preserve, how to clean up the garden, and how to set yourself up for an even better growing season next year.
What “Harvest Prep” Really Means
Harvest prep is the bridge between a productive garden and a useful one. A garden can be wildly successful and still become overwhelming if you have no plan for picking, sorting, storing, cooking, preserving, or sharing the food. Harvest prep gives every cucumber, carrot, pepper, herb bundle, and squash a destination before it turns into compost with ambitions.
At its best, harvest prep includes four big ideas: harvesting produce at peak quality, handling it gently, storing each crop under the right conditions, and cleaning the garden after the rush. It also includes less glamorous tasks, such as washing harvest bins, sharpening pruners, labeling freezer bags, and admitting that no household needs seventeen baseball-bat-sized zucchinis.
Start With a Harvest Walk-Through
Before you pick anything, walk through the garden with a basket, notebook, or phone. Look for crops that are ready now, crops that will be ready within a few days, and crops that need protection from weather. This is especially useful in late summer and early fall, when warm-season vegetables are racing toward the finish line and cool nights can arrive with dramatic flair.
Check Daily During Peak Season
Many vegetables do not politely wait for your weekend schedule. Beans, cucumbers, summer squash, okra, herbs, and ripe tomatoes may need frequent harvesting to stay tender and productive. Picking regularly also tells the plant to keep producing. Leaving overripe fruit on the vine can slow new growth and invite pests, decay, and that classic garden smell known as “something has gone emotionally wrong.”
Use Visual and Touch Cues
Calendars are helpful, but plants prefer weather, soil, sunlight, and their own mysterious opinions. Use harvest signs instead. Tomatoes should show good color and slight give. Cucumbers should be firm and richly colored, not yellow and seedy. Beans should snap cleanly before the seeds bulge. Carrots can be checked by gently brushing soil away from the shoulder. Winter squash should have a hard rind and a dry, corky stem.
Harvest in the Morning When Possible
For many vegetables and herbs, morning is prime time. Once dew has dried, produce is often crisp, cool, and full of moisture. Harvesting during the heat of the day can lead to limp greens, bruised fruit, and herbs that look like they just read bad news. If morning harvesting is impossible, pick in the evening or move produce into shade quickly.
Keep a shallow basket, trug, or crate nearby so you can place produce gently instead of dropping it into a deep bucket. Bruising shortens storage life, especially for tomatoes, peppers, apples, pears, squash, and root crops. The goal is to treat vegetables less like sports equipment and more like tiny edible guests.
Prepare Your Harvest Kit
A good harvest kit saves time and keeps produce cleaner. You do not need a professional setup, but a few simple supplies make the season smoother.
Useful Harvest Tools
Keep clean pruners or snips for herbs, eggplants, peppers, squash, and flowers. A small knife helps with lettuce heads and cabbages. Use gloves for prickly vines, a soft brush for root crops, and shallow containers for delicate fruit. Add labels, masking tape, a marker, and a roll of paper towels or clean cotton cloths for quick sorting.
Clean Tools Before the Big Rush
Garden tools can carry soil, sap, fungi, bacteria, and plant debris. Before heavy harvesting, scrub off visible dirt with soap and water, then disinfect cutting tools according to product directions. Dry metal tools completely and oil blades lightly if needed. Clean tools reduce disease spread and make harvesting feel less like wrestling a rusty alligator.
Know What to Washand What Not to Wash Yet
It is tempting to wash everything immediately because dirt on carrots feels rude. But not all produce benefits from washing before storage. Leafy greens, herbs, and muddy root crops often need cleaning before use, but many storage crops last longer if excess moisture is avoided. Tomatoes, winter squash, onions, garlic, and potatoes generally prefer to be stored dry after curing or gentle cleaning.
If you do wash produce, dry it thoroughly before refrigeration or storage. Moisture trapped in bags or containers can encourage mold and rot. For greens, a salad spinner is not a luxury; it is a tiny amusement park with a practical purpose.
Match Crops to the Right Storage Conditions
One of the biggest harvest prep mistakes is treating all vegetables the same. They are not the same. Some like cold and moist conditions. Some prefer cool and dry storage. Some want room temperature. Some should not be stored near ethylene-producing fruit, such as apples and pears, because that natural ripening gas can shorten their storage life.
Cold and Moist Storage
Many leafy greens, broccoli, carrots, beets, radishes, turnips, and peas prefer cold, humid conditions. In a home kitchen, that usually means the refrigerator crisper drawer, breathable bags, or containers lined with a slightly damp towel. Do not pack greens so tightly that they suffocate. They are vegetables, not sweaters in a vacation suitcase.
Cool and Dry Storage
Winter squash, pumpkins, onions, garlic, and cured potatoes often prefer cool, dry, ventilated storage. A basement shelf, pantry, or insulated garage may work if temperatures stay stable and the area does not freeze. Keep produce off damp floors, check it regularly, and remove anything soft or moldy before it recruits neighbors into decay.
Room Temperature Crops
Tomatoes taste best when stored at room temperature, away from direct sun. Refrigeration can dull texture and flavor, especially for fully ripe tomatoes. Keep them in a single layer when possible and use the ripest ones first. If your counter becomes a tomato airport, sort by ripeness: eat now, cook soon, and ripen later.
Plan for Tomatoes Before Frost
Tomatoes deserve their own harvest prep plan because they are generous, dramatic, and extremely good at ripening all at once. When frost threatens, pick ripe and mature green tomatoes before vines are damaged. Mature green tomatoes are full-sized, firm, and often show a pale or creamy tone near the blossom end.
Green tomatoes can ripen indoors at moderate room temperatures. For slower ripening with less decay, keep them cooler, dry, and well ventilated. Wrap individual tomatoes in paper or place them in shallow boxes so they do not touch. Check every few days and remove ripe or damaged fruit. Immature green tomatoes may not ripen well, but they can still become fried green tomatoes, chutney, relish, or a very convincing reason to heat up a skillet.
Cure Winter Squash and Pumpkins Properly
Winter squash and pumpkins are the pantry champions of the garden, but only if they are cured and stored well. Harvest before hard frost, leaving a short stem attached. Do not carry squash by the stem, no matter how handle-like it looks. That stem is not a suitcase grip; it is part of the fruit’s defense system.
Most winter squash, except acorn types, benefit from curing in warm, humid conditions to harden the rind and heal small scratches. After curing, store them in a cool, dry, well-ventilated place. Keep squash away from apples, pears, and other ripening fruit. Check stored squash regularly and use any bruised or blemished ones first.
Preserve the Harvest Safely
Harvest prep is also food prep. Before the garden peaks, decide what you will freeze, dry, pickle, ferment, can, roast, or give away. The safest approach is to follow tested preservation methods from trusted food-safety resources, especially for canning. Improvising a soup recipe is charming. Improvising canning instructions is how pantry shelves become science experiments.
Freezing
Freezing is one of the easiest ways to preserve vegetables and fruit. Many vegetables need blanching before freezing to protect color, flavor, and texture. Herbs can be frozen in oil or water cubes. Berries freeze well on trays before being packed into containers. Label everything with the date, because “mystery green brick” is not a helpful dinner plan.
Drying
Drying works well for herbs, hot peppers, tomatoes, apples, and some fruit. Use a dehydrator, oven, or appropriate air-drying method depending on the crop. Store dried food in airtight containers in a cool, dark place. Check for moisture during the first few days; if condensation appears, the food is not dry enough for storage.
Canning and Pickling
Use tested recipes for water-bath canning, pressure canning, pickling, jams, jellies, and salsa. Acid levels matter. Processing times matter. Jar size matters. Altitude matters. In other words, canning is not the moment to channel your inner jazz musician. Follow reliable directions and enjoy the reward: shelf-stable jars that make winter taste like August.
Do Not Forget the Herbs
Herbs are easy to overlook during harvest season because tomatoes and squash are louder. But basil, parsley, thyme, oregano, mint, rosemary, dill, and chives can add months of flavor if harvested and stored well. Pick leafy herbs before flowering for best flavor, and harvest in the morning after dew dries. Use clean snips and avoid taking more than the plant can recover from unless frost is about to end the season.
Basil can be turned into pesto and frozen. Mint can be dried for tea. Thyme and oregano dry beautifully. Chives can be chopped and frozen. Rosemary can be bundled and hung or stored fresh for short periods. A little herb prep is like sending your future soup a love letter.
Clean Up After the Harvest
Once crops are finished, remove spent plant material. Healthy debris can go into a well-managed compost system. Diseased plants, pest-infested material, and rotten fruit should be disposed of away from the garden unless you have a hot compost pile that reliably reaches pathogen-killing temperatures. Many home compost piles do not get hot enough, so be selective.
Why Cleanup Matters
Plant debris can shelter pests and diseases through winter. Tomatoes, squash, cucumbers, beans, and brassicas can all leave behind stems, leaves, and fruit that harbor trouble. Cleaning up is not about making the garden look magazine-ready, though that is a pleasant bonus. It is about reducing next year’s problems before they get a tiny villain origin story.
Leave Soil Better Than You Found It
After clearing beds, feed the soil. Add finished compost, shredded leaves, clean straw, or other organic mulch. In many regions, fall is a good time to add organic matter because winter weather helps it settle and break down. A soil test every few years can help you avoid guessing about pH and nutrients. Guessing is fine for birthday gifts; soil chemistry prefers data.
Plant Cover Crops Where Space Opens Up
Cover crops are one of the smartest harvest prep moves. Instead of leaving soil bare after vegetables are removed, sow crops such as oats, winter rye, winter wheat, crimson clover, hairy vetch, or daikon radish, depending on your climate and timing. Cover crops protect soil from erosion, suppress weeds, capture nutrients, and add organic matter when turned in or cut down.
For beginners, oats are often friendly because winter cold can kill them, leaving a protective mat that is easier to manage in spring. Winter rye is tough and useful, especially where planting happens late, but it must be managed before spring growth becomes too vigorous. Choose cover crops based on your goals: nitrogen, soil structure, weed suppression, erosion control, or all of the above.
Extend the Season With Simple Protection
Harvest prep does not always mean ending the season. In many gardens, row covers, cloches, low tunnels, or cold frames can keep greens, herbs, radishes, carrots, and other cool-season crops going longer. These tools protect plants from light frost and wind while giving gardeners a little more time. The garden may slow down, but it does not have to slam the door.
Cool-season crops such as kale, spinach, arugula, lettuce, parsley, scallions, beets, and carrots can thrive in fall conditions. In some regions, carrots and other roots can stay in the ground under heavy mulch until needed. Just remember where you planted them. Digging through frozen mulch in January while muttering “I know they are here somewhere” is character-building, but avoidable.
Create a Harvest Prep Schedule
The best harvest prep is simple enough to repeat. Try this weekly rhythm during peak season:
- Monday: Walk the garden and list what will ripen soon.
- Tuesday: Harvest quick crops such as beans, cucumbers, herbs, and greens.
- Wednesday: Cook, freeze, dry, or share excess produce.
- Thursday: Check tomatoes, squash, peppers, and storage crops.
- Friday: Clean tools, bins, and refrigerator space.
- Weekend: Preserve larger batches, refresh mulch, and clean spent beds.
This schedule is flexible, but the habit matters. A little harvest prep every few days is much easier than a twelve-hour emergency canning marathon surrounded by fruit flies and regret.
Common Harvest Prep Mistakes to Avoid
Waiting Too Long
Overripe produce loses flavor, texture, and storage life. It can also reduce productivity. Pick crops when they are at their best, not when they have achieved garden seniority.
Storing Everything Together
Different crops need different temperatures and humidity levels. Ethylene-producing fruit can shorten the life of some vegetables. Sort before storing.
Skipping Labels
Label freezer bags, dried herbs, seed packets, and canned goods. Future you will not remember whether that green powder is parsley, basil, or an experimental smoothie ingredient.
Composting Diseased Plants
Unless your compost pile gets hot enough, diseased material can survive and return next season. Remove questionable debris from the garden.
Ignoring the Soil
The harvest is not the end of the garden’s work. Compost, mulch, cover crops, and soil testing help next year’s garden start strong.
Harvest Prep Experience: Lessons From the Garden Gate
Here is the honest truth: harvest prep sounds calm and organized, but most gardeners learn it the funny way. The first year, you plant six tomato seedlings because they look small and harmless in May. By August, they have become a leafy civilization with territorial ambitions. You tell yourself you will make sauce “this weekend,” and by Tuesday your counter is covered with ripe tomatoes, semi-ripe tomatoes, green tomatoes, and one suspicious tomato that may have emotional baggage.
The biggest lesson is to prepare containers before the harvest arrives. Shallow baskets, cardboard flats, clean bowls, freezer bags, jars, and labels should be ready early. When produce starts coming in, you do not want to search for supplies while holding ten cucumbers in your shirt like a farmer in a comedy sketch. A dedicated harvest shelf or corner in the kitchen helps, even if it is small. It tells the household, “This is food in transition, not clutter with leaves.”
Another experience worth sharing: harvest in smaller rounds. A daily ten-minute walk can prevent the weekend avalanche. Pick beans before they get tough. Cut herbs before they flower. Grab ripe tomatoes before they split. Remove damaged produce immediately. This routine feels almost too simple, but it is the difference between a manageable garden and a vegetable uprising.
Storage also becomes easier with practice. I like sorting produce into three imaginary lanes: eat now, store briefly, and preserve. The “eat now” lane includes cracked tomatoes, nicked peppers, small eggplants, tender herbs, and anything too imperfect for storage. The “store briefly” lane includes good tomatoes, cucumbers, greens, and root crops for the week. The “preserve” lane includes bulk basil, extra beans, ripe berries, sauce tomatoes, and peppers destined for the freezer or dehydrator.
Then there is the emotional side of harvest prep. Gardeners often feel guilty wasting anything. But not every leaf, pod, or fruit must be saved. Compost is not failure; it is the garden’s recycling department. Share extra produce with neighbors, coworkers, food pantries where accepted, or the friend who says, “I love zucchini,” without understanding the legal weight of that sentence.
One of the best late-season habits is the “future meal test.” Before preserving something, ask: will I actually use this in February? Frozen chopped peppers, roasted tomato sauce, dried oregano, pesto cubes, shredded zucchini, and blanched greens usually pass. Twelve jars of experimental pickle relish may not. Preserve what fits your real cooking life, not your fantasy life where you host rustic dinner parties every Thursday and own six linen aprons.
Finally, cleanup is easier when treated as part of the harvest, not a separate punishment. After pulling the last beans or tomatoes, remove supports, shake off soil, clean tools, and clear debris. Add compost or mulch while the bed is open. Sow a cover crop if the timing works. The garden will look quieter, but it will not be empty. It will be resting, rebuilding, and preparing to surprise you all over again.
Conclusion: A Better Harvest Starts Before the Basket Fills
Trending on Gardenista: Harvest Prep is really about gardening with intention. It takes the beauty of a productive garden and adds a practical plan: pick at the right time, handle gently, store wisely, preserve safely, clean thoroughly, and care for the soil after the celebration. The result is more flavor, less waste, fewer pest and disease problems, and a garden that feels generous instead of overwhelming.
Harvest prep does not require perfection. It requires a basket, a little timing, clean tools, decent labels, and the humility to admit that vegetables have deadlines. Do that, and your garden will reward you twice: once at harvest, and again next season when healthy soil and smart habits bring the whole delicious cycle back around.