Old caulk has a special talent: it can look harmless one minute and turn into a stubborn rubbery gremlin the next. One tiny bead around a tub, sink, backsplash, or window can cling like it signed a lifetime contract. Then, the moment you decide to replace it, it suddenly develops the personality of a mule.
The good news is that removing old caulk does not have to become a full-blown home improvement melodrama. In most cases, you do not need superhero strength, a dramatic soundtrack, or a tool collection that would impress a contractor. You just need the right softening method, a little patience, and the good sense not to attack your shower with a sword-shaped scraper.
If you are wondering how to soften caulk for removal, there are three practical approaches that do most of the heavy lifting: a commercial caulk remover, gentle heat, and a targeted soak based on the caulk type. Each method can make old caulk easier to cut, scrape, peel, and clean off without damaging the surrounding surface.
This guide breaks down all three methods, explains when each works best, and shows you how to remove softened caulk without wrecking tile, porcelain, trim, or your mood. By the end, you will know exactly how to handle old latex caulk, stubborn silicone caulk, and those mysterious leftovers that seem to be holding on out of spite.
Why Softening Caulk First Makes Removal So Much Easier
Trying to remove hardened caulk cold is like attempting to peel stale chewing gum off a sidewalk with optimism alone. It can be done, but it is slower, messier, and far more likely to leave residue behind. Softening the bead first helps loosen the bond between the caulk and the surface, making it easier to pull away in strips instead of tiny infuriating crumbs.
That matters because clean removal is the real goal. If old caulk residue stays behind, new caulk may not adhere properly. In bathrooms and kitchens, that can lead to leaks, mildew, peeling, and the classic homeowner sentence: “Well, that looked good for about four days.”
Softening also reduces the temptation to scrape too aggressively. The harder the caulk feels, the more force people usually apply. More force means a higher chance of scratching porcelain, gouging painted trim, nicking fiberglass, or chewing up drywall paper. Softer caulk usually means less muscle, better control, and a cleaner finish.
Before You Start: Figure Out What Kind of Caulk You Have
Not all caulk behaves the same way. If you can identify the type, you can choose a much smarter removal strategy.
Latex or Acrylic Latex Caulk
This is usually the friendlier option. It is often paintable, commonly used around trim and baseboards, and tends to respond well to hot water, moisture, and commercial removers. If the old bead feels dry, brittle, or slightly chalky, latex may be the culprit.
Silicone Caulk
Silicone is the overachiever of the caulk world. It is flexible, water-resistant, and excellent in wet areas, which is exactly why it can be so annoying to remove. It usually needs a longer soak, more careful scraping, and sometimes mineral spirits, alcohol, or a product formulated specifically for silicone cleanup.
Polyurethane or Specialty Sealants
These are tougher and may show up outdoors or in high-performance sealing jobs. A commercial remover is usually the best starting point, followed by careful cutting and scraping.
If you are not completely sure what you are dealing with, do not panic. Start with the gentlest reasonable option, test it on a small spot, and work up from there.
Easy Way #1: Use a Commercial Caulk Remover
If you want the easiest, most straightforward method, a commercial caulk remover is usually the top choice. These products are designed to soften or loosen old caulk so it is easier to scrape away. They do not make the caulk vanish in a magical puff, but they do make it far more cooperative.
Best for
- Old bathtub and shower caulk
- Silicone, acrylic, latex, and mixed mystery residue
- Vertical surfaces where a gel formula can cling
- Homeowners who prefer chemistry to wrestling
How to Do It
- Ventilate the room well and put on gloves.
- Apply the remover directly over the old bead.
- Let it sit according to the product directions. Some work in minutes, while others need a few hours.
- Test the caulk with a plastic scraper, putty knife, or caulk removal tool.
- If it is still firm, reapply and wait longer instead of attacking it too soon.
- Once softened, scrape it away and wipe the residue clean.
Why This Method Works
A good remover stays wet long enough to penetrate the caulk and weaken the bond underneath. That is especially helpful in corners, seams, and shower joints where the bead has been sitting for years collecting soap scum, moisture, and bad decisions from previous repairs.
Commercial removers are also useful when the caulk is thick or layered. If someone previously recaulked over old material instead of removing it first, you may be dealing with multiple generations of sealant. A remover can help separate that stack one soft layer at a time.
What to Watch Out For
Always follow the label directions. Some removers are safe on many common surfaces, but that does not mean every finish will love every formula. Test in a hidden area first, especially on painted trim, natural stone, delicate plastic, or older fiberglass. Also, do not expect instant gratification. Caulk remover is effective, but patience is part of the package.
Easy Way #2: Use Gentle Heat
Heat is the classic “nudge it loose” method. A hair dryer or a heat gun on a cautious setting can soften old caulk enough to make cutting and scraping easier. This works especially well on stubborn leftover bits that refuse to leave after the main bead has been removed.
Best for
- Stubborn caulk residue
- Dry, hardened beads that need loosening
- Spot treatment instead of full-length soaking
- People who already own a hair dryer and enjoy giving household messes a warm lecture
How to Do It
- Set a hair dryer to hot or a heat gun to a low, gentle setting.
- Hold it several inches from the caulk and keep it moving.
- Warm a short section for a minute or two.
- Test the caulk with a plastic scraper, putty knife, or utility knife.
- Continue in small sections instead of heating the whole area at once.
Why This Method Works
Heat can make old sealant more pliable, especially when the bead has become stiff and stubborn with age. It is often most helpful after the bulk of the caulk is gone and you are dealing with that annoying thin film that seems glued to the surface by sheer resentment.
Another bonus is control. With heat, you can target one small area at a time instead of applying chemicals over a long joint. That makes it useful around detailed trim, small backsplash seams, or a short section of shower caulk that needs extra encouragement.
What to Watch Out For
Do not overheat surrounding materials. Plastic, vinyl, laminate, and some finished surfaces can warp, discolor, or get damaged if you blast them with too much heat. If you are working near delicate materials, a hair dryer is usually safer than a heavy-duty heat gun. Slow and steady wins this race.
Easy Way #3: Use a Targeted Soak Based on the Caulk Type
Sometimes the simplest method is also the smartest: use a soaked cloth or towel and let time do the work. This is especially useful when you know what type of caulk you are dealing with.
For Water-Based or Latex Caulk
Hot water can help soften older latex caulk. Soak a towel or cloth, press it against the bead, and give it time. This is not the fastest method in the universe, but it is low-risk and easy on many surfaces. It is a solid option for trim, backsplashes, and light-duty indoor jobs.
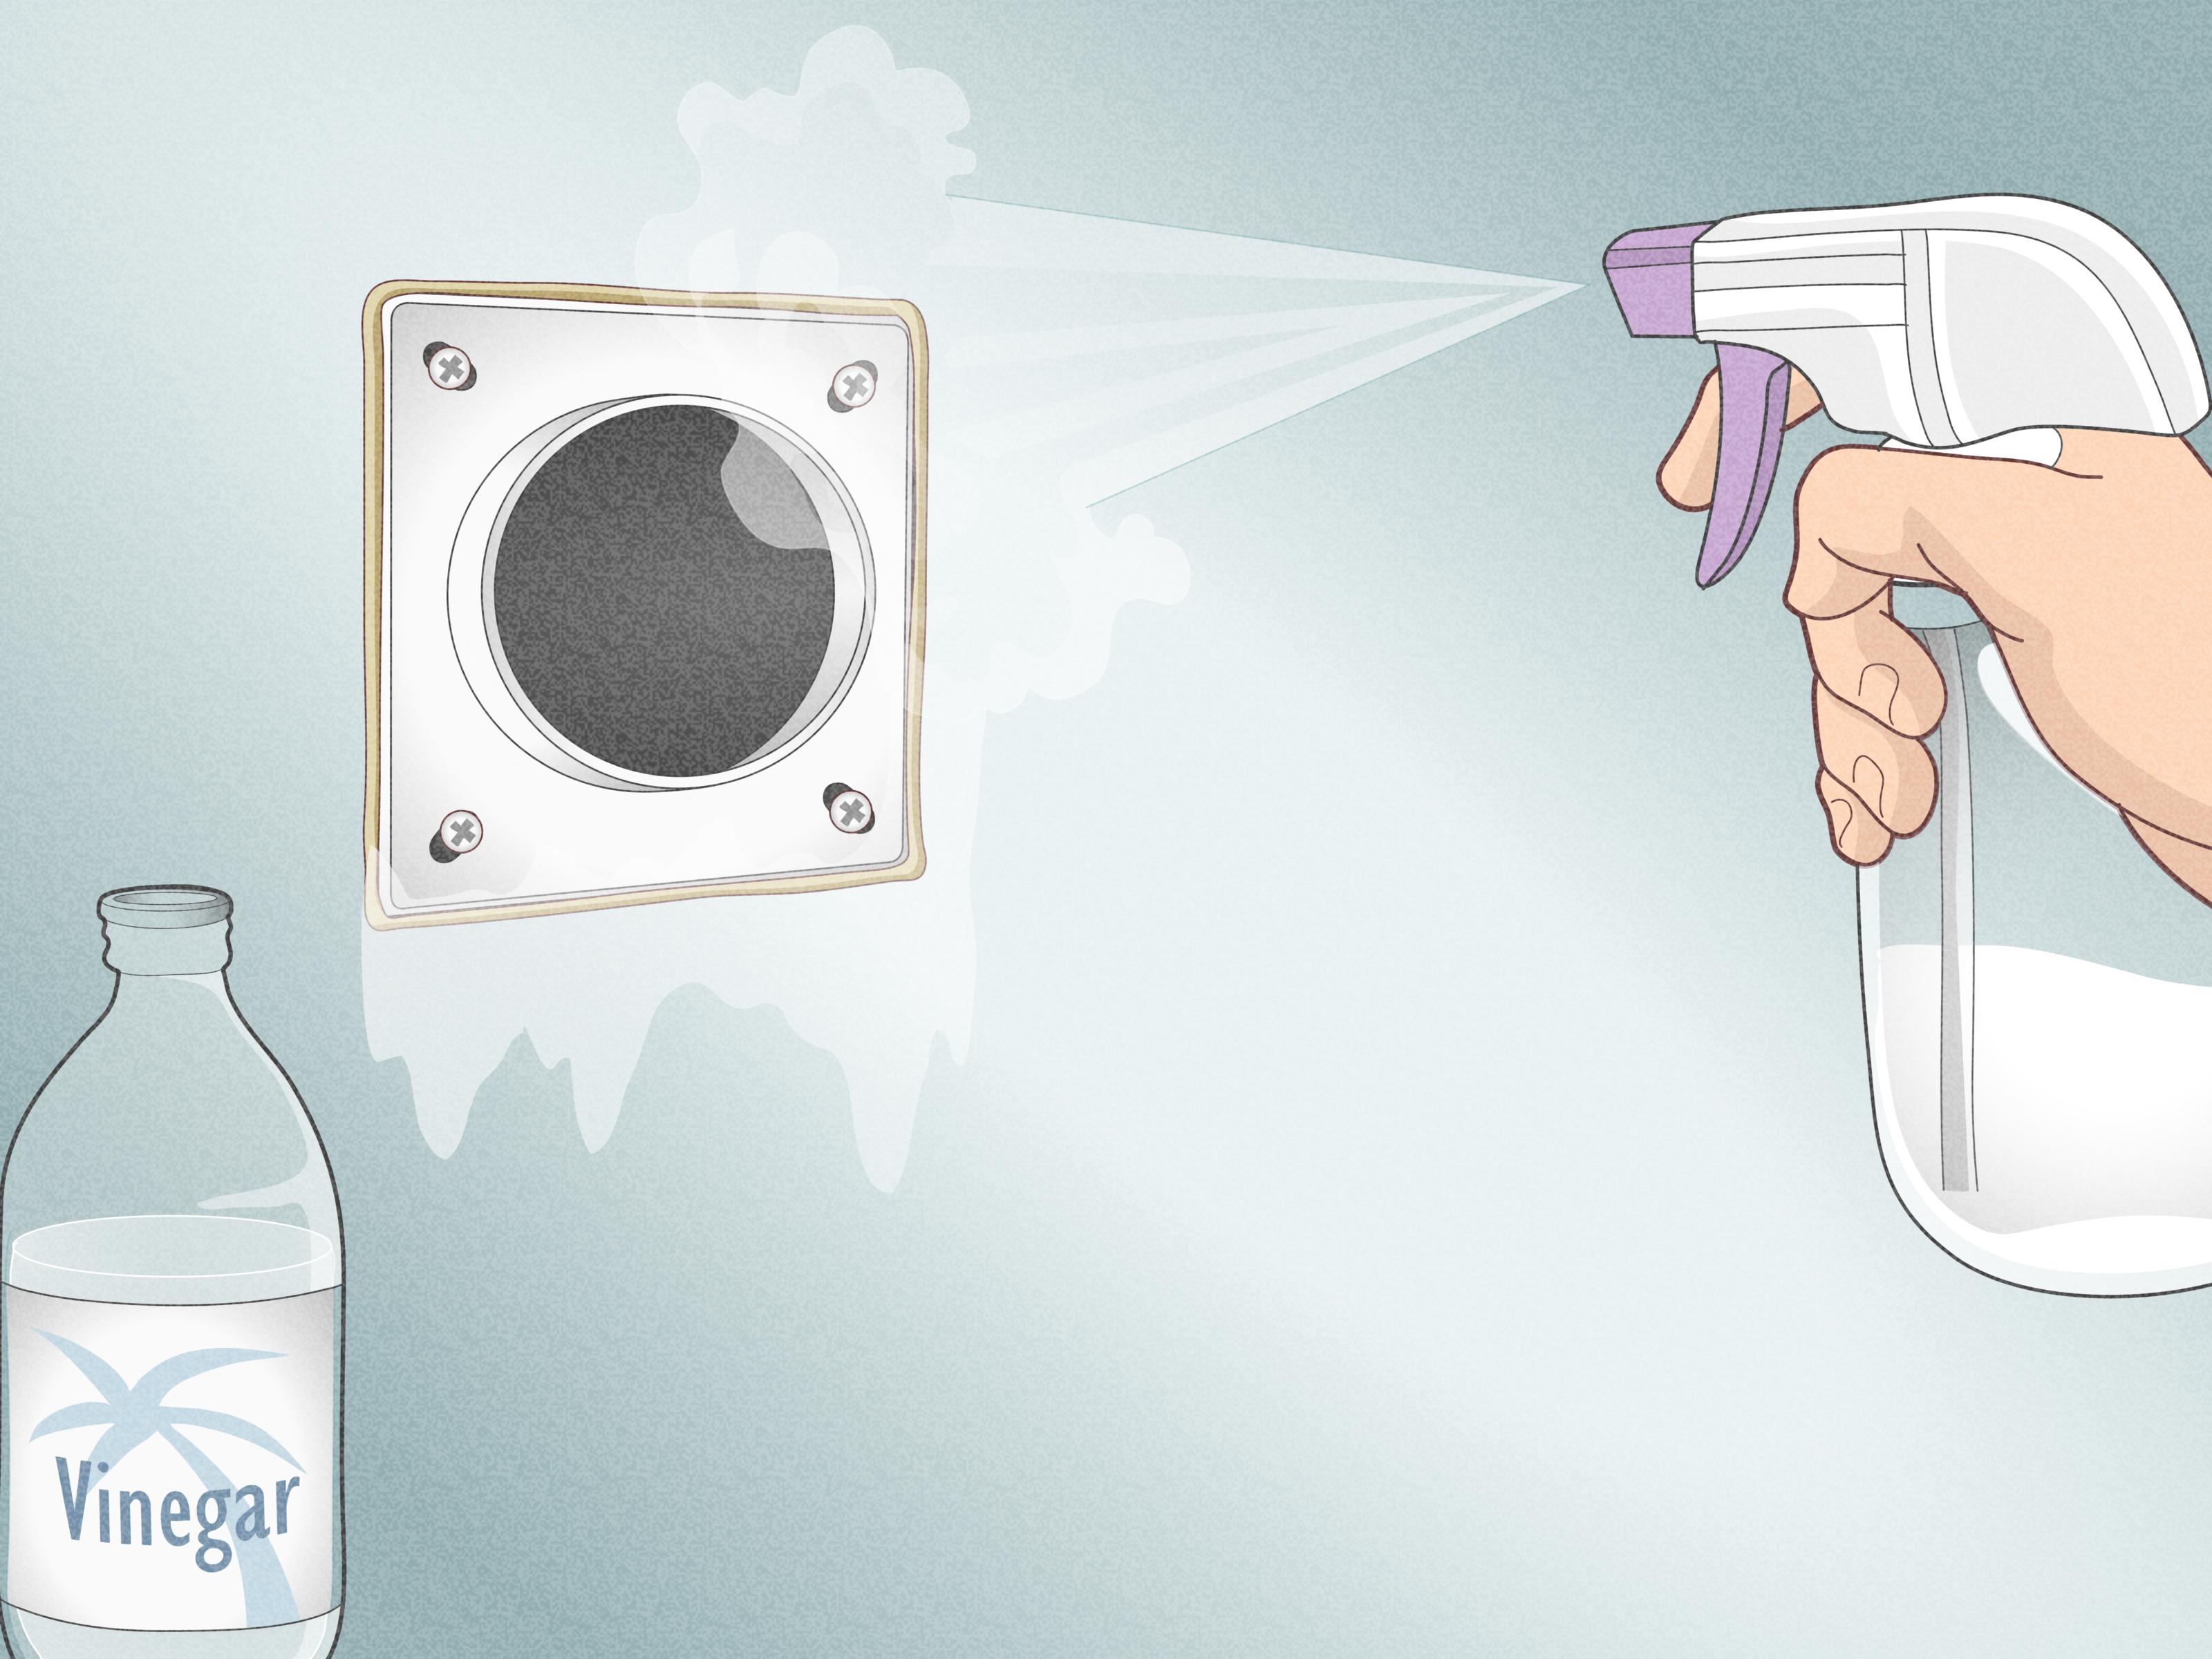
For Silicone Caulk
Silicone usually needs a stronger assist. Depending on the surface, people often use a soaked cloth with isopropyl alcohol, mineral spirits, acetone, white vinegar, or a commercial remover made for silicone. The key word here is depending. Not every surface tolerates every liquid, so always spot-test first.
How to Do It
- Choose the right liquid for the caulk type and the surrounding material.
- Soak a cloth or paper towel.
- Lay it directly over the caulk and let it sit.
- Check the bead after several minutes or, for stubborn silicone, several hours.
- Once softened, cut and scrape carefully.
Why This Method Works
A targeted soak gives the softening agent time to stay in contact with the caulk instead of evaporating too quickly. It is especially helpful on older silicone lines that do not respond well to quick wipes or impatient scraping. In other words, it is the method for people who are willing to trade speed for control.
How to Remove the Softened Caulk Without Damaging the Surface
Once the caulk is softened, your technique matters just as much as your softener.
Use the Right Tools
- Plastic scraper for delicate surfaces
- Putty knife for broader, flatter areas
- Caulk removal tool for seams and corners
- Utility knife for scoring edges
- Rag, sponge, or paper towel for residue cleanup
Score First, Then Lift
Cut along one or both edges of the bead to break the bond. Then try lifting the caulk rather than hacking at it. When things go well, the old bead may peel away in satisfying strips. When things go less well, it may come off in tiny bits while you quietly question your life choices. Either way, keep the blade angle shallow and the pressure controlled.
Be Extra Careful on These Surfaces
- Porcelain and fiberglass: avoid aggressive metal scraping
- Painted trim: use gentle tools and spot-test liquids
- Natural stone: be cautious with solvents
- Plastic and vinyl: use low heat only
How to Clean the Surface Before Recaulking
This is the step many people rush, and then wonder why their new bead peels early. New caulk needs a clean, dry, residue-free surface. If old silicone, soap scum, mildew, dust, or oily film remains behind, adhesion suffers.
After removal, wipe away loose debris. Then clean the joint based on the surface and the type of residue left behind. Rubbing alcohol is often used for final wipe-downs. Mineral spirits may help with stubborn silicone residue. In wet areas, make sure everything is fully dry before applying new caulk. “Mostly dry” is not the same thing. “Looks dry unless you touch it” is also not the same thing.
If you are recaulking a tub or shower, dry time is especially important. Moisture trapped behind a fresh bead can shorten the life of the new seal and invite mold back to the party.
Common Mistakes to Avoid
Using Too Much Force Too Soon
If the caulk is fighting you, it probably is not soft enough yet. Reapply the softener, reheat gently, or let the soaked cloth sit longer. More patience usually beats more pressure.
Skipping Ventilation
If you use solvents or commercial removers, open windows, run a fan, and wear gloves. Caulk removal should not feel like a chemistry lab with worse lighting.
Recaulking Over Residue
Fresh caulk over old residue is a shortcut to disappointment. Remove as much as possible and clean the surface well before applying anything new.
Using the Wrong Softener on the Wrong Surface
Acetone, mineral spirits, alcohol, and specialty removers can all be useful, but they are not one-size-fits-all. Test first, especially on painted, delicate, or glossy finishes.
Which Softening Method Is Best?
If you want the easiest answer, here it is:
- Use a commercial caulk remover for the best all-around results.
- Use gentle heat for stubborn residue and small sections.
- Use hot water or a solvent-soaked cloth when you want a low-tech option tailored to the caulk type.
In real life, the best approach is often a combination. Many successful caulk removal jobs start with cutting the bead, then using a remover or soak, then applying gentle heat to the leftovers, followed by careful scraping and cleanup. Think of it as teamwork, but with fewer meetings.
Final Thoughts
Learning how to soften caulk for removal can save you time, frustration, and accidental damage. Whether you choose a commercial caulk remover, gentle heat, or a targeted soak, the goal is the same: loosen the old material so you can remove it cleanly and prep the surface properly for a fresh seal.
The secret is not brute force. It is choosing the right method for the caulk type, respecting the surface underneath, and giving the softener enough time to work. Do that, and even ugly old bathroom caulk starts to feel less like a nightmare and more like a manageable weekend task.
And once the old bead finally peels away in one glorious strip, take a moment to enjoy it. Home improvement does not always give standing ovations, but that moment absolutely deserves one.
Real-World Experiences: What People Learn the Hard Way About Softening Caulk
One of the most common experiences people have with old caulk removal is underestimating how different the job looks from room to room. The caulk around a bathroom sink may come off with a little hot water, a plastic scraper, and ten minutes of patience. The bead around a frequently used shower, on the other hand, may act like it was forged in a volcano and installed by a person who feared change.
Homeowners often discover that the biggest difference is not the location itself, but the age of the caulk, the type of product originally used, and how much moisture, soap residue, or mildew has built up over time. A bead that looks thin and harmless can actually have deep adhesion at the edges, while a thick bead may peel off more easily than expected once the bond is broken. That surprises a lot of first-timers, who assume thicker always means harder.
Another real-world lesson is that patience beats panic. Many people try a remover, wait five minutes, poke the caulk once, and declare the product useless. Then they come back later, after giving it more time, and suddenly the bead lifts like it has reconsidered its whole career path. The same thing happens with heat. A quick blast may do almost nothing, but slow warming in small sections can make a stubborn line far easier to manage.
People also learn very quickly that cleanup is not a side quest. If even a thin haze of residue remains, new caulk may not bond well. This is especially true in showers and tubs, where lingering silicone film, moisture, or soap scum can ruin an otherwise neat recaulk job. Plenty of DIYers have had the experience of applying a beautiful new bead, stepping back proudly, and then watching one corner peel a week later because the surface was not fully clean or dry.
There is also a practical emotional truth to caulk removal: the first ten minutes can be discouraging, and the next thirty can go surprisingly well. Once you find the right rhythm, score, soften, lift, wipe, repeat, the process becomes less intimidating. It turns from “Why did I start this?” into “Okay, I see the system now.” That shift matters, especially for beginners.
Perhaps the most useful takeaway from real experience is this: successful caulk removal is rarely about one miracle product or one heroic scrape. It is usually about stacking small smart choices. Use the right softener. Protect the surface. Let the method work. Clean thoroughly. Then recaulk only when the area is truly ready. That is what separates a fast patch from a repair that actually lasts.