A stainless steel sink is the kitchen’s quiet workhorse. It catches coffee spills, pasta water, tomato sauce, mystery crumbs, and the occasional spoon dropped with the drama of a cymbal crash. So when scratches appear, it can feel like your sleek sink has suddenly joined a garage band. The good news? Most scratches in a stainless steel sink are not a kitchen tragedy. They are usually cosmetic, and many can be reduced with the right cleaning method, a little patience, and the golden rule of stainless steel care: always work with the grain.
This guide explains 3 ways to get scratches out of a stainless steel sink, from gentle home cleaning to scratch-removal kits and deeper blending techniques. You will also learn what not to use, how to protect the finish, and when a scratch is too deep for a DIY rescue mission. No panic, no magic wand, no pretending your sink is “rustic now.” Just practical steps that help your sink look cleaner, smoother, and better cared for.
Before You Start: Understand the Grain of Stainless Steel
Most stainless steel sinks have a brushed finish. Look closely and you will see tiny lines running in one direction. That is the grain. It may run horizontally across the bottom of the sink or vertically along the sides. Any scratch-removal method should follow those lines. Rubbing against the grain can create cross-scratches, which often look worse than the original scratch. In other words, stainless steel is not asking for a freestyle dance routine. It wants choreography.
Start by cleaning the sink thoroughly. Food residue, mineral deposits, grease, or hard-water spots can make scratches look worse than they really are. Use warm water, mild dish soap, and a soft sponge or microfiber cloth. Rinse well and dry the sink completely before inspecting the scratches. Sometimes what looks like a scratch is actually a scuff, mineral streak, or surface stain. That is excellent news, because those are usually easier to handle.
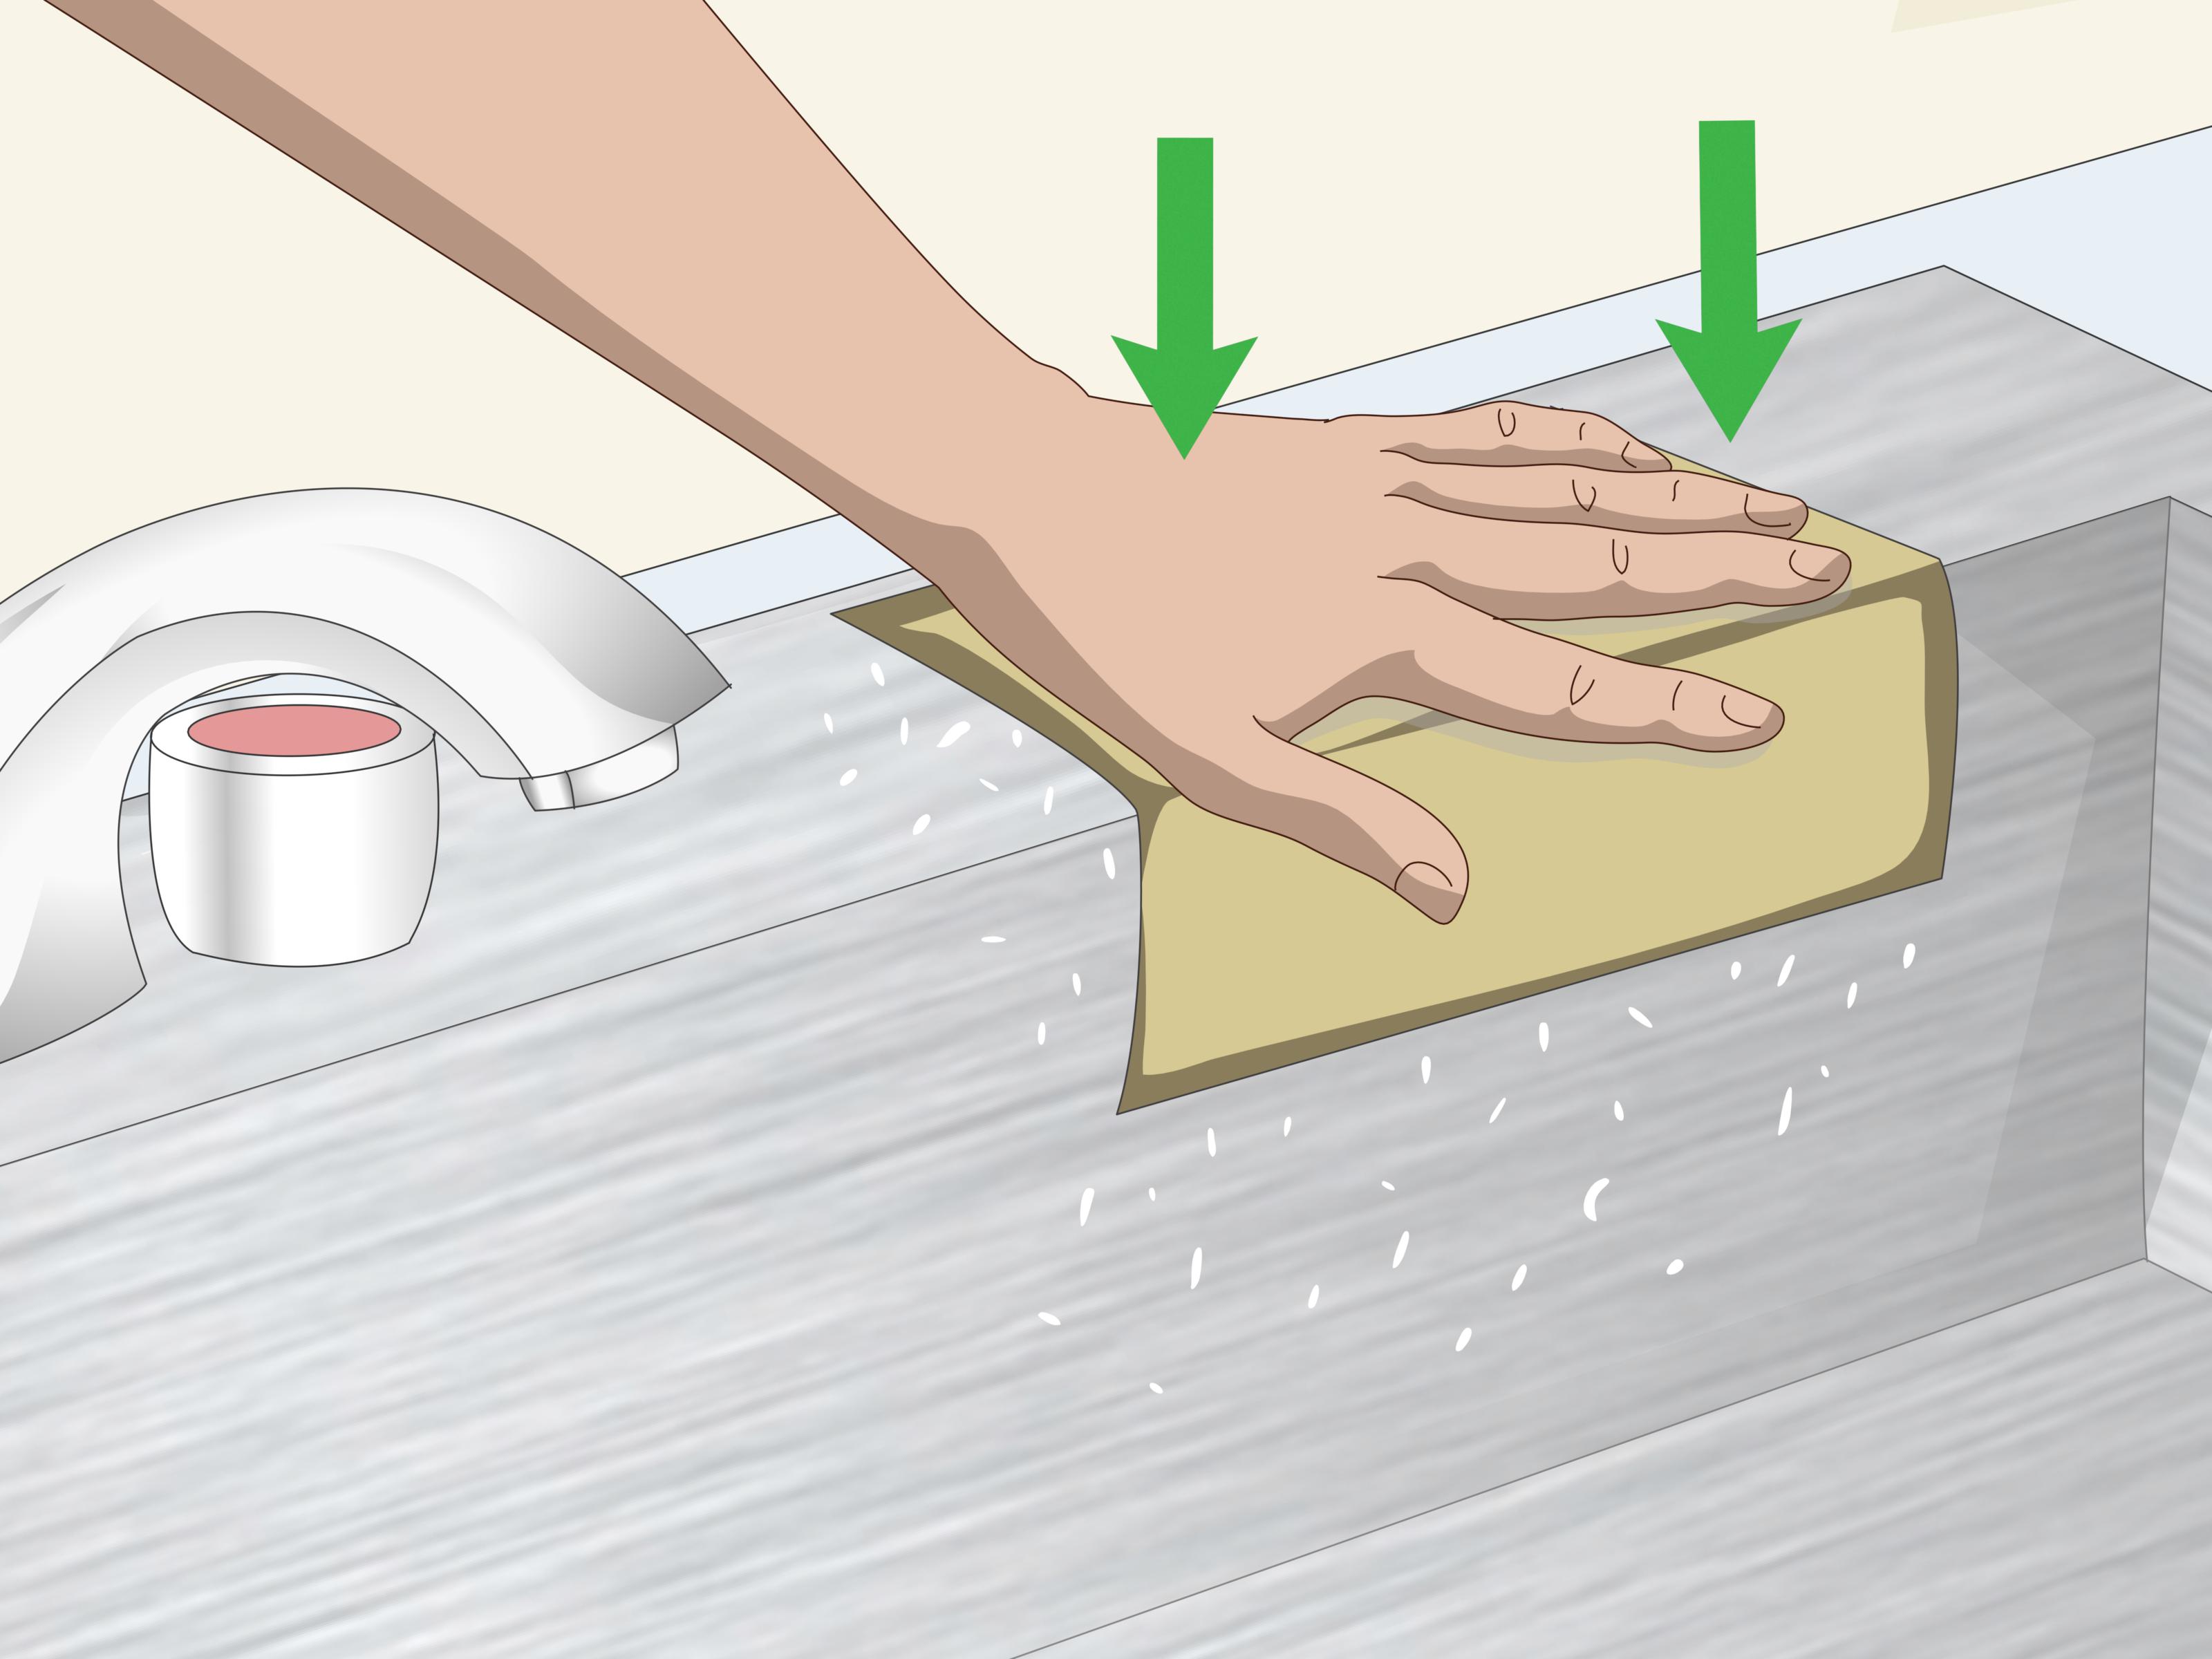
Tools and Supplies You May Need
- Microfiber cloths
- Mild dish soap
- Baking soda
- Water
- Non-abrasive sponge or soft cloth
- Stainless steel cleaner or polish
- Stainless steel scratch-removal kit
- Fine abrasive pad recommended for stainless steel
- Clean towel for drying
Avoid ordinary steel wool, harsh scouring pads, chlorine bleach, oven cleaner, and rough abrasive powders unless a product specifically says it is safe for stainless steel sinks. Tiny steel particles from ordinary steel wool can lodge in the surface and later create rusty-looking marks. That is not “patina.” That is regret with a brown tint.
Method 1: Remove Light Scratches with Baking Soda Paste
For fine surface scratches, dull marks, and everyday scuffs, baking soda is one of the easiest starting points. It is mildly abrasive, inexpensive, widely available, and gentle enough for many stainless steel cleaning jobs when used correctly. The goal is not to sand down the sink aggressively. The goal is to polish the area lightly so the scratch becomes less noticeable.
Step-by-Step Instructions
- Clean the sink with warm water and mild dish soap.
- Rinse thoroughly to remove soap and debris.
- Dry the surface with a microfiber cloth.
- Mix baking soda with a small amount of water to form a thick paste.
- Apply the paste to the scratched area.
- Rub gently with a soft cloth, moving in the direction of the grain.
- Rinse with clean water.
- Dry and inspect the area.
Use gentle pressure. If your arm starts acting like you are trying to erase a bad grade from history, ease up. Stainless steel responds better to patience than brute force. Repeat the process if needed, but do not scrub wildly in circles. Circular scrubbing may create swirl marks that catch the light and announce themselves every time the kitchen lights turn on.
When Baking Soda Works Best
This method is best for shallow marks, cloudy areas, and scratches that you can see but barely feel. Run a fingernail lightly across the scratch. If your nail does not catch, the scratch is probably a good candidate for the baking soda method. If the scratch feels deep, start with a more targeted scratch-removal method instead.
Baking soda also helps freshen the sink and remove light staining. After rinsing and drying, you can buff the sink with a clean microfiber cloth for a more even finish. Some homeowners add a tiny amount of mineral oil or stainless steel polish afterward to enhance shine, but use only a small amount. A greasy sink is not elegance. It is a slip-and-slide for forks.
Method 2: Use a Stainless Steel Cleaner or Polish for Minor Scratches
If baking soda improves the scratch but does not blend it enough, a stainless steel cleaner or polish may help. These products are designed to clean, brighten, and reduce the appearance of minor scratches. They are especially useful for brushed stainless steel sinks that have light wear from normal kitchen use.
Choose a cleaner labeled safe for stainless steel sinks. Read the product instructions carefully, because formulas vary. Some are creams, some are sprays, and some are polishing compounds. The safest approach is to test the product in a small hidden area first, such as the back corner of the sink. This tiny test can save you from turning a small scratch into a full sink identity crisis.
How to Apply Stainless Steel Cleaner
- Wash and dry the sink first.
- Apply a small amount of stainless steel cleaner to a soft cloth.
- Rub gently with the grain, not across it.
- Focus on blending the scratched area into the surrounding finish.
- Rinse if the product directions require it.
- Dry with a clean microfiber cloth.
- Buff lightly for a more uniform look.
The important word here is “blend.” You may not make every scratch vanish like a magician with a mortgage, but you can often make scratches much less noticeable. Stainless steel sinks naturally develop a soft, used-in finish over time. A few faint marks are normal. In fact, after a while, the finish often becomes more even as tiny scratches blend together into a natural satin look.
Best Situations for This Method
Use a stainless steel cleaner or polish when the scratches are visible but not deep. This method is also helpful after using baking soda, because it can restore a more consistent shine. It is a good middle-ground solution: stronger than a basic homemade paste, but not as aggressive as sanding or scratch-repair pads.
Do not leave cleaners sitting on the sink longer than recommended. Rinse and dry the surface after use. Stainless steel is corrosion-resistant, not invincible. Harsh chemicals or long contact time can discolor or damage the finish, especially around drain areas, seams, or edges where residue may collect.
Method 3: Blend Deeper Scratches with a Scratch-Removal Kit
For deeper scratches, a dedicated stainless steel scratch-removal kit is often the most practical DIY option. These kits usually include abrasive pads or sandpaper in different grits, polishing compounds, and instructions. The idea is to gradually blend the scratch into the surrounding brushed finish. This is more advanced than cleaning, so move slowly and follow the product directions exactly.
How Scratch-Removal Kits Work
A scratch-removal kit removes a very thin layer of the surface around the scratch so the damaged line becomes less visible. That sounds dramatic, but when done carefully, it can improve the look of a scratched sink. The risk is that overworking one small spot may create a patch that looks different from the rest of the sink. The trick is to blend a slightly larger area, always with the grain, using light and even pressure.
Step-by-Step Kit Method
- Clean the sink and dry it completely.
- Identify the direction of the grain.
- Read the kit instructions from start to finish before touching the sink.
- Start with the least aggressive pad or grit recommended for your scratch.
- Rub only in the direction of the grain using steady, even strokes.
- Check progress often.
- Move to finer pads or polishing steps as instructed.
- Clean, rinse, dry, and buff the area.
Do not jump straight to the roughest pad unless the instructions clearly call for it. Think of it like trimming hair: you can always take off a little more, but you cannot clap your hands and put it back. Start gently, inspect often, and stop when the scratch has blended enough to look acceptable.
When to Use Professional Help
If the scratch is actually a gouge, if the sink has a specialty finish, or if the damage covers a large area, consider professional refinishing or manufacturer guidance. Some finishes are easier to repair than others. A brushed stainless steel sink is usually more forgiving than a mirror-polished surface. Deep gouges may never disappear completely without professional tools.
What Not to Do When Removing Scratches
Removing scratches from a stainless steel sink is partly about doing the right things and partly about avoiding the kitchen-cleaning crimes that cause more damage. Here are the biggest mistakes to skip.
Do Not Scrub Against the Grain
Cross-grain scratches stand out because they interrupt the natural brushed pattern. Always move with the grain, even when using a gentle cleaner. If the sink bottom and side walls have different grain directions, adjust your strokes for each surface.
Do Not Use Ordinary Steel Wool
Steel wool may seem like a quick fix, but it can leave behind tiny metal particles. Those particles can rust and create stains that look like your sink joined a pirate ship. Use only pads or abrasives specifically recommended for stainless steel.
Do Not Use Chlorine Bleach
Bleach can damage stainless steel, especially if it sits on the surface. If bleach accidentally touches the sink, rinse immediately and dry thoroughly. The same caution applies to harsh drain cleaners, oven cleaners, and highly acidic products.
Do Not Expect a Brand-New Factory Finish
A DIY scratch repair can reduce scratches, blend marks, and improve shine. It may not restore the exact original factory finish. That is normal. The goal is a cleaner, more even-looking sink, not a time machine.
How to Prevent Future Scratches
The easiest scratch to remove is the one that never happens. Stainless steel sinks are durable, but they still appreciate basic manners.
- Use a sink grid or protective mat, especially if you wash heavy pans.
- Do not cut food directly in the sink.
- Rinse away salt, acidic foods, and cleaning residue quickly.
- Dry the sink after use to prevent water spots and mineral buildup.
- Clean weekly with a mild method to keep the finish even.
- Avoid dragging cast iron pans, knives, or baking sheets across the surface.
A sink grid is especially helpful because it keeps pots, pans, and utensils slightly above the surface. Just remember to clean under the grid regularly. A dirty sink grid is basically a tiny apartment complex for crumbs.
How to Tell If a Scratch Is Light, Moderate, or Deep
Not all scratches need the same treatment. Before choosing a method, inspect the mark carefully.
Light Scratches
Light scratches are visible in certain lighting but cannot be felt with a fingernail. Try baking soda paste or stainless steel polish first.
Moderate Scratches
Moderate scratches may be visible from several angles and may slightly catch a fingernail. A stainless steel cleaner may help, but a scratch-removal kit is usually more effective.
Deep Scratches or Gouges
Deep scratches catch the fingernail clearly and may look like cuts in the metal. These may require a repair kit, professional refinishing, or acceptance with dignity. Sometimes the sink wins a round.
Best Way to Maintain a Stainless Steel Sink After Scratch Removal
After removing or reducing scratches, keep the sink clean and dry. Daily care can be simple: rinse, wipe with mild soap if needed, rinse again, and dry with a microfiber cloth. Weekly, use baking soda or a stainless steel cleaner to freshen the finish. Always rinse thoroughly and dry completely.
Hard water can leave mineral spots that make a sink look dull. If you see cloudy deposits, a mild vinegar-water wipe may help, but do not let vinegar sit for long periods. Rinse and dry afterward. Stainless steel likes short spa treatments, not chemical marathons.
Real-Life Experience: What Actually Works in a Busy Kitchen
In a real kitchen, stainless steel scratches usually arrive without a formal invitation. One day the sink looks bright and smooth. The next day, someone drops a fork, drags a baking tray, rinses a gritty pan, and suddenly the sink has a tiny silver lightning bolt near the drain. The first instinct is often to attack the mark immediately with the roughest sponge in the drawer. That is usually how a small scratch becomes a larger, shinier mistake.
The most useful lesson from dealing with stainless steel sinks is to start gently. A thorough cleaning often changes the whole picture. Grease, soap film, and hard-water deposits can make scratches look deeper than they are. After washing the sink with dish soap, rinsing well, and drying it completely, many marks appear less dramatic. Good lighting helps too. Inspect the sink from different angles before deciding how aggressive to be.
For small scratches, baking soda paste is often the best first move. It is not flashy, but it is dependable. The key is to make the paste thick enough that it does not run everywhere. Rub with a microfiber cloth in the direction of the grain. Do not scrub like you are cleaning a grill grate after a barbecue disaster. A few gentle passes, followed by rinsing and drying, can make fine scratches blend into the surrounding finish.
For scratches around the drain, expect slower progress. The drain area gets heavy traffic from utensils, pans, and food particles. It also catches light in a way that makes marks more obvious. A stainless steel polish can help even out the shine after cleaning. Apply a small amount and buff with the grain. Too much polish can leave streaks, so use less than you think you need. Stainless steel polish is like cologne: a little is fine; a puddle is a public announcement.
Scratch-removal kits are useful, but they require patience. The best results come from testing first and checking progress often. When people get into trouble, it is usually because they focus too hard on one small scratch and create a noticeably different patch. Blend the surrounding area lightly so the finish looks consistent. Also, stop before perfection becomes the enemy. A sink is a working surface, not a museum artifact guarded by velvet ropes.
Prevention makes the biggest difference. A bottom grid reduces daily wear, especially in homes where heavy cookware lives in the sink more often than it should. Drying the sink after dinner also helps keep it looking better. This sounds like one extra chore, but it takes less than a minute and prevents water spots from joining the scratch party. Over time, the sink develops a natural brushed character. The goal is not to keep it flawless forever. The goal is to keep it clean, even, and proudly functional.
Final Thoughts
Getting scratches out of a stainless steel sink is usually a matter of choosing the right level of treatment. For light scratches, start with baking soda paste. For minor marks that need extra shine, use a stainless steel cleaner or polish. For deeper scratches, use a dedicated scratch-removal kit and work carefully with the grain. The process is not complicated, but it does reward patience, gentle pressure, and the ability to resist the forbidden power of random scrubbing.
A stainless steel sink is meant to work hard. Scratches happen. With the right approach, you can reduce their appearance, restore a cleaner finish, and keep your sink looking sharp without turning your kitchen into a repair laboratory. Treat it well, dry it often, and remember: the grain is the boss.
Note: This article is written from synthesized stainless steel sink care practices commonly recommended by sink manufacturers, cleaning experts, and home-improvement resources.