A dry ball point pen has a special talent for failing at the exact moment you need it most. It waits until you are signing a form, taking notes in class, labeling a box, or writing the world’s most dramatic grocery list. Then it produces one faint gray scratch and gives up like it has entered early retirement.
The good news is that many “dead” ballpoint pens are not actually dead. They are simply clogged, cold, air-gapped, dusty, or suffering from a tiny case of ink stage fright. A ballpoint pen works by rolling oil-based ink from the cartridge onto paper through a small metal ball at the tip. When that ball gets stuck or the ink around it thickens, the pen may skip, fade, or stop writing even when plenty of ink is still visible inside the barrel.
This guide explains three practical ways to restart a dry ball point pen using simple items you probably already have: paper, rubber, warmth, and careful cleaning. We will also cover why pens dry out, what not to do, when to replace the refill, and how to store pens so they behave like responsible office supplies instead of tiny plastic divas.
Why Ball Point Pens Stop Writing
Before trying to fix a dry pen, it helps to understand what is happening inside the tip. A ballpoint pen uses a small ball bearing that rotates as you write. One side of the ball touches the ink reservoir; the other side touches the paper. As the ball turns, it transfers ink in a controlled line. It is a clever little machine, even if it costs less than a vending machine snack.
Most traditional ballpoint pens use thicker, oil-based ink. That is why they are popular for everyday writing: the ink dries quickly, resists smudging better than many wetter inks, and usually lasts a long time. But that same thicker ink can also become sluggish. If the pen sits unused, is stored uncapped, gets cold, or picks up lint and paper dust at the tip, ink flow may stop.
Common Reasons a Ballpoint Pen Feels Dry
The most common cause is dried ink around the ball. A tiny crust can form at the tip and prevent the ball from rotating smoothly. Another common issue is an air bubble inside the ink tube, especially if the pen was stored horizontally or tip-up for a long time. Cold temperature can also thicken ink and slow its movement. Finally, the pen may simply be out of usable ink, even if a little residue still clings to the cartridge walls.
Luckily, if the refill still has ink and the tip is not damaged, you can often bring it back in a minute or two. Start with the gentlest method and work your way up. Pens are sturdy, but they are not immortal. A little patience beats a heroic rescue mission involving open flames, pliers, and regret.
Way 1: Use Friction to Get the Ball Rolling Again
The first and safest way to restart a dry ball point pen is friction. Since the ball at the tip must rotate to deliver ink, your goal is to loosen it without damaging it. Think of it as waking up the pen, not interrogating it.
Start by Scribbling on Scrap Paper
Take a sheet of scrap paper and draw slow circles, loops, zigzags, and firm lines. Do not press so hard that you carve a trench into the paper. Moderate pressure is enough. Circular motion is especially useful because it encourages the tiny ball to rotate in different directions, which can break up dried ink at the tip.
If the pen begins to make faint marks, keep going for another 20 to 30 seconds. Many pens return gradually: first a scratchy line, then a dotted line, then a smooth line. It is a little like convincing a sleepy cat to move off your keyboard. Progress may be slow, but it counts.
Try a Rubber Surface for Extra Grip
If paper does not work, switch to a rubbery surface. A clean eraser, the sole of a shoe, or a rubber jar opener can create more grip than paper. Draw short lines or small circles over the rubber surface. The extra friction can help the ball turn and dislodge dried ink. After that, wipe the tip and test the pen on paper again.
This method works well for pens that still have ink but have a stuck ball. It is also safer than heating the pen right away. The rubber gives the ball something to bite into, almost like traction for a tiny metal tire.
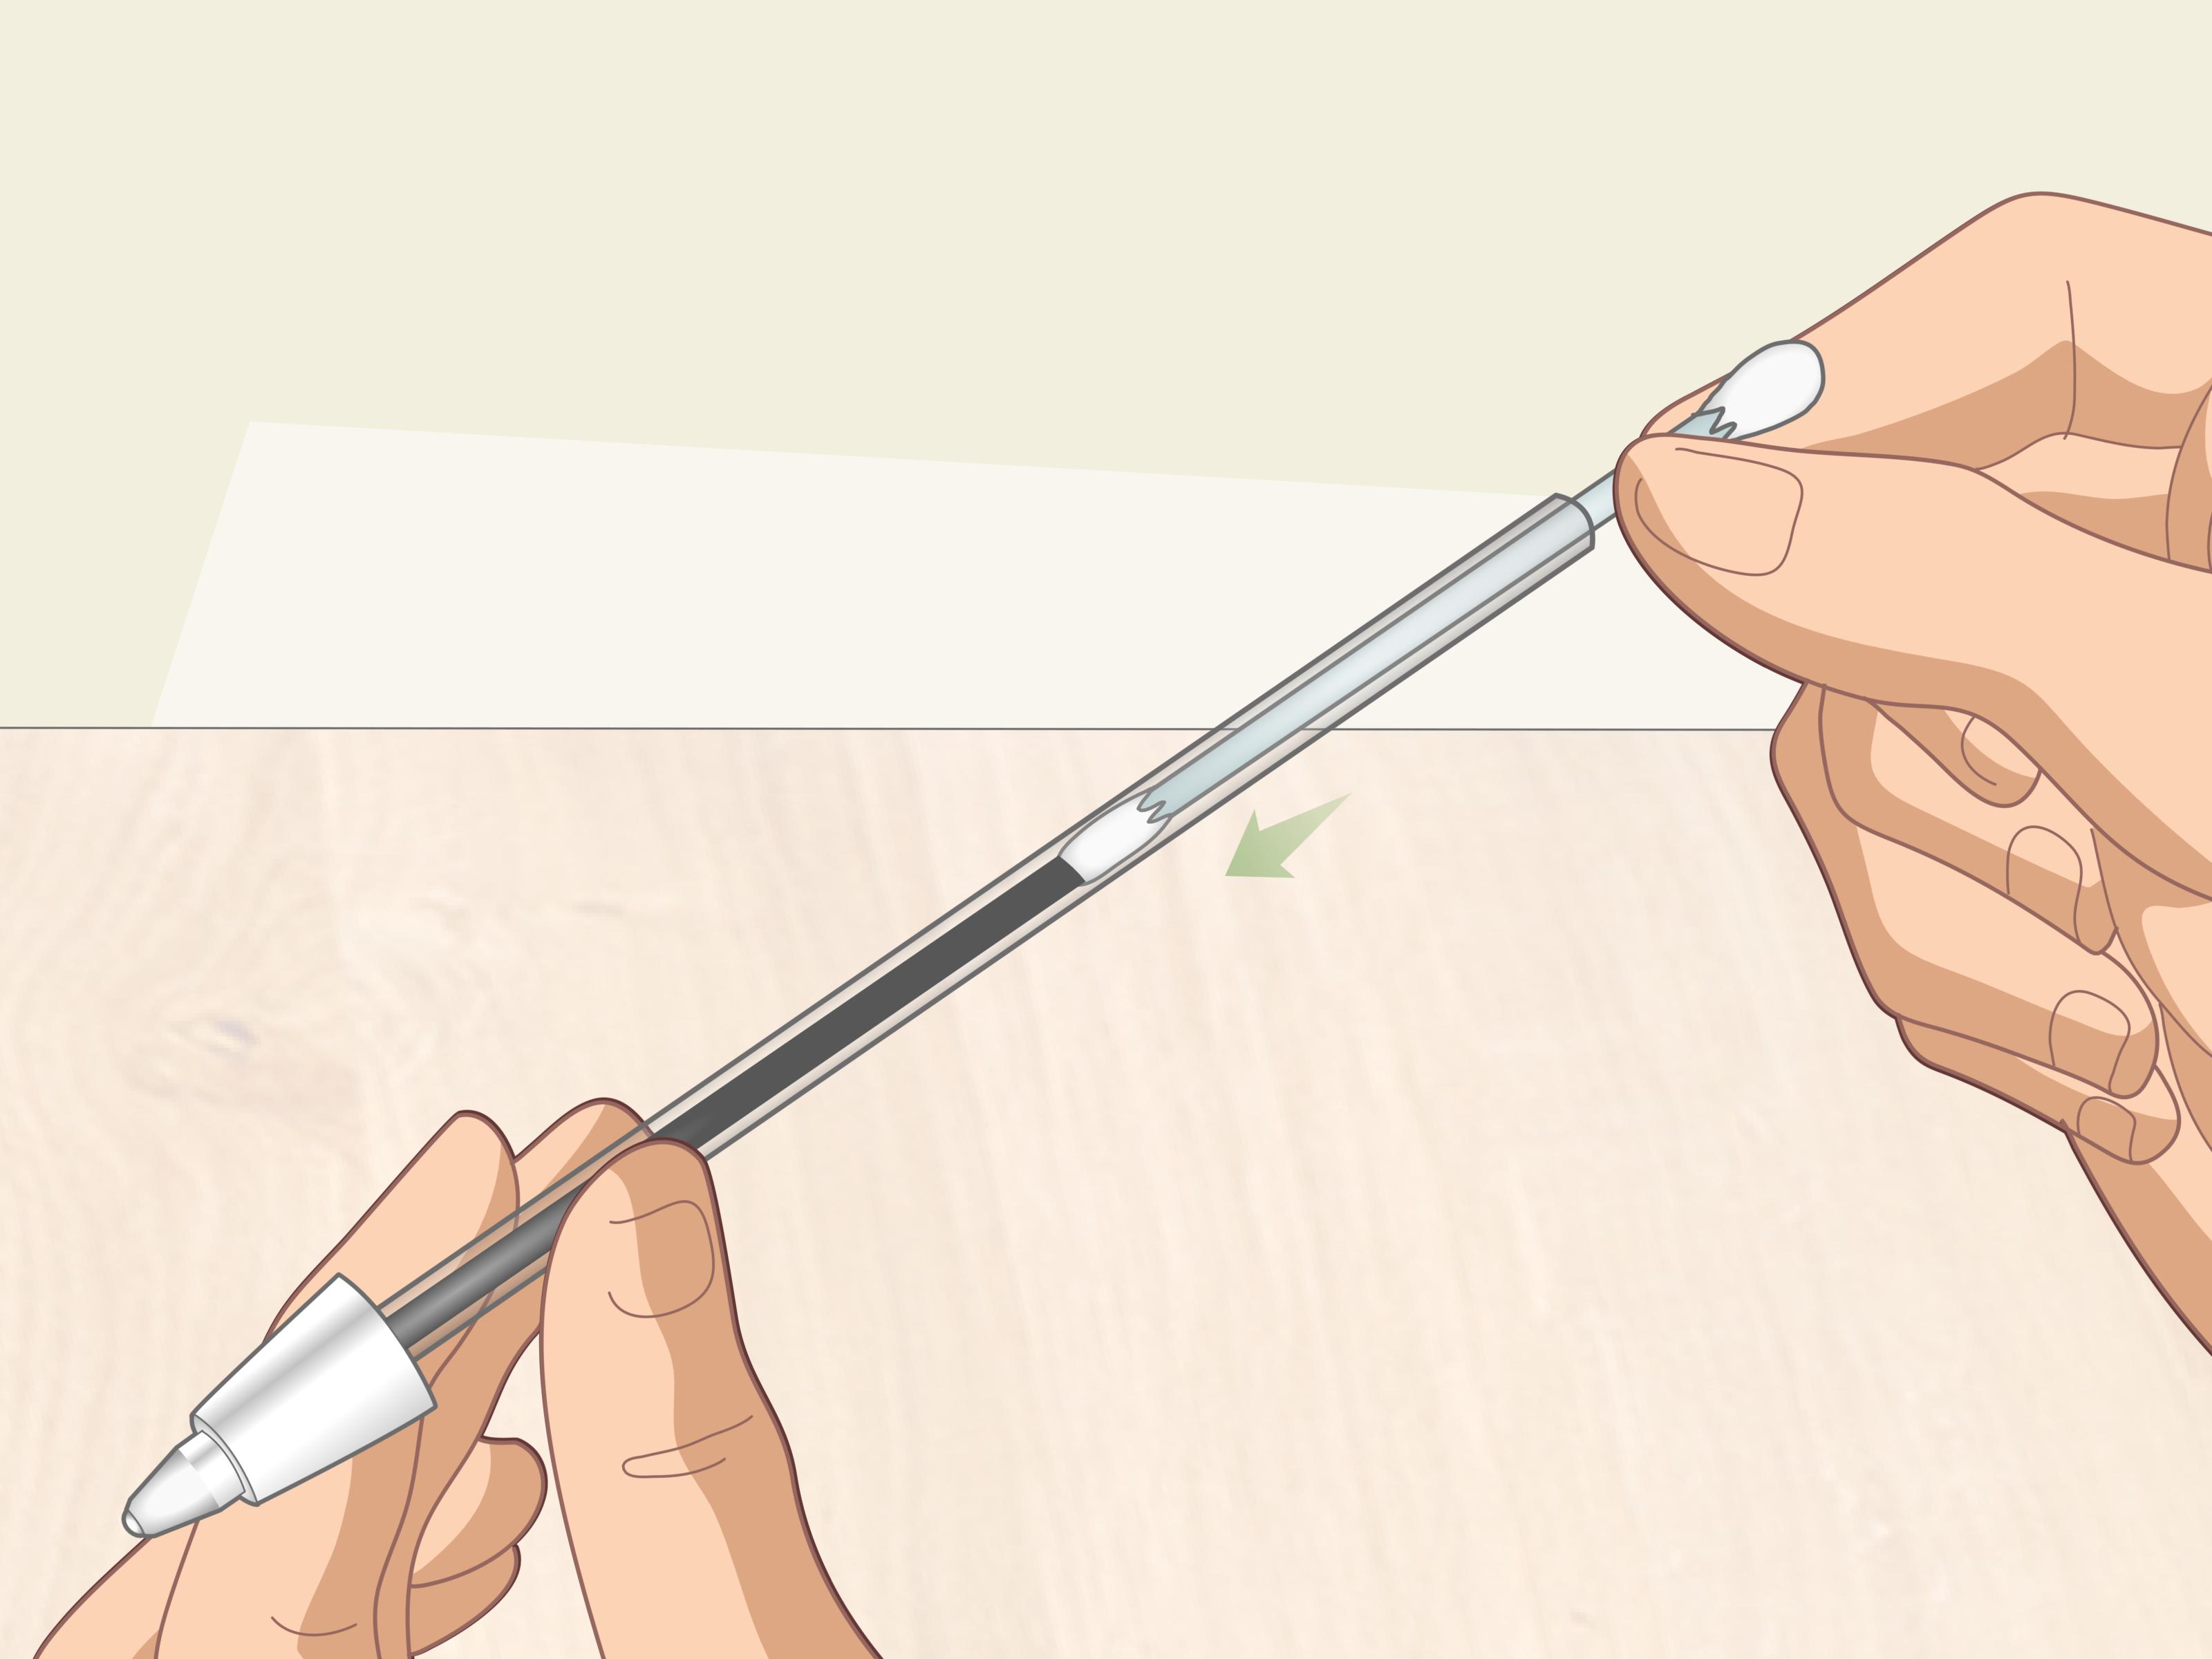
Tap and Shake Carefully
If the pen has a visible ink tube and you suspect an air bubble, cap the pen and give it a few gentle downward shakes with the tip pointing toward the floor. You can also tap the capped tip lightly on a notepad. Do not slam it against a desk. The goal is to move ink toward the point, not launch the pen into a career as a percussion instrument.
After shaking or tapping, scribble again. If ink starts flowing, write a few full lines to stabilize it. A pen that has just been restarted may skip for a short time before it becomes consistent.
Way 2: Warm the Tip to Soften Thick or Dried Ink
If friction does not work, warmth is the next option. Heat can soften thickened ballpoint ink and loosen dried residue at the tip. This is especially helpful if the pen has been stored in a cold room, backpack, car, drawer, or office that apparently believes it is a refrigerator.
Use Body Heat First
The safest warming method is simply holding the pen tip between your fingers for a minute. Your body heat may be enough to soften ink around the ball. Roll the pen gently between your palms, then try writing on scrap paper. This method is slow but very low-risk.
For a slightly stronger approach, keep the cap on and place the pen in a warm pocket for a few minutes. This is useful if you are at school, in an office, or anywhere you cannot start rinsing office supplies in the sink without attracting suspicious looks.
Dip Only the Metal Tip in Warm Water
If body heat is not enough, dip only the metal tip of the pen into warm water for about 10 to 15 seconds. The water should be warm, not boiling. Remove the pen, wipe the tip with a paper towel, and scribble on scrap paper. Repeat once if needed.
Be careful not to soak the entire pen unless it is a simple disposable design and you do not care about the barrel label, grip, or internal parts. Warm water can loosen residue, but too much water can also make a mess, especially with pens that have metal components, decorative finishes, or mechanisms inside.
Use a Hair Dryer at a Safe Distance
A hair dryer on a low or warm setting can help revive a stubborn ballpoint pen. Hold the pen several inches away and warm the tip for a few seconds at a time. Then wipe and test it. This is better than using an open flame because it gives more control and reduces the risk of melting plastic, scorching the tip, or creating a smell that makes everyone in the room ask, “What happened?”
Avoid extreme heat. Do not put a pen in the microwave, oven, or near a stove burner. Many pens are made with plastic barrels and small parts that can warp or leak. A ballpoint pen is useful, but it is not worth turning your kitchen into a stationery crime scene.
Way 3: Clean the Tip and Clear Dried Ink
If friction and warmth fail, the tip may have dried ink, dust, fibers, or oily residue blocking the ball. Cleaning the tip can restore contact between the ball and paper. This method works best when the pen has visible ink but writes unevenly or not at all.
Wipe the Tip Thoroughly
Start with the simplest cleaning step: wipe the ballpoint tip with a clean paper towel or lint-free cloth. Rotate the pen as you wipe so the cloth touches every side of the metal point. Sometimes a bit of dried ink or pocket lint is all it takes to stop the ball from moving.
After wiping, scribble on paper. If ink appears in small broken patches, the pen is improving. Keep writing circles and lines until the flow becomes smoother.
Use a Tiny Amount of Rubbing Alcohol
For stubborn dried ink, dampen a cotton swab or folded paper towel with a small amount of rubbing alcohol. Touch it to the metal tip for a few seconds, then wipe clean and test the pen. Rubbing alcohol can help dissolve dried oil-based ink around the ball.
Use only a small amount and keep it away from painted barrels, logos, rubber grips, and delicate finishes. Alcohol may damage some surfaces. If the pen is expensive or sentimental, test carefully or check the manufacturer’s care advice before using any solvent.
Check Whether the Refill Should Be Replaced
If the pen still refuses to write after friction, warmth, and cleaning, the refill may be empty, separated, dried internally, or damaged. Many better ballpoint pens use replaceable refills. Unscrew the barrel, remove the refill, and check whether the ink tube is dry or separated by large air gaps. If the refill is removable, replacing it may be faster, cleaner, and less dramatic than continuing the rescue attempt.
For inexpensive disposable pens, replacement is often the practical choice. There is no shame in letting a truly dead pen go. Hold a tiny imaginary ceremony, thank it for its service, and move on.
What Not to Do When Restarting a Dry Ball Point Pen
Some pen hacks sound exciting but can cause more trouble than they solve. Avoid biting the tip, pulling the ballpoint assembly apart, or jamming a needle into the writing point. The ball and socket are precision parts. If you scratch, dent, or bend them, the pen may leak, skip permanently, or scratch paper.
Do not use strong solvents such as acetone, paint thinner, or household cleaners. They may damage plastic, remove finishes, or create unsafe fumes. Do not heat the pen with a lighter unless you fully accept the possibility of melted plastic, hot metal, leaked ink, and a very silly explanation. Warm water, body heat, and a hair dryer are usually enough.
How to Prevent Ballpoint Pens from Drying Out
The best way to restart a dry ball point pen is to prevent it from drying out in the first place. Store pens with the tip down or horizontally, especially if they are used often. Keep capped pens capped and retractable pens clicked closed. This protects the ballpoint tip from air, dust, and accidental lint attacks from pockets and bags.
Avoid leaving pens in very hot or very cold places. Heat may cause leaks, while cold can thicken ink and make writing feel scratchy. If you keep pens in a car, backpack, garage, or toolbox, test them before relying on them for important tasks.
Use pens regularly. A ballpoint pen that writes a few lines every week is less likely to clog than one that sits untouched for months. For home offices, classrooms, and reception desks, rotate pens instead of letting one poor pen do all the work while the others lounge in a mug like decorative plastic spaghetti.
Choosing Better Pens for Fewer Dry-Out Problems
If your pens frequently stop writing, the issue may be the pen type, storage conditions, or paper surface. Standard ballpoint pens are reliable for everyday writing, but quality varies. Pens with smoother refills, better-sealed tips, and consistent ink formulas tend to perform better over time.
For fast notes, schoolwork, office forms, and checklists, a medium-point ballpoint pen is often a dependable choice. For smoother writing, a hybrid ballpoint or low-viscosity ink pen may feel better. For bold color and very smooth flow, gel pens and rollerball pens are options, although they may dry out faster if uncapped and can smudge more easily depending on the ink and paper.
If you own a nice metal pen, learn which refill it uses and keep a spare. A premium pen body with a bad refill is like a sports car with no gas: attractive, but not exactly helpful when the meeting starts.
Quick Troubleshooting Checklist
If your ballpoint pen will not write, use this order: scribble on paper, draw circles on a rubber surface, warm the tip with your hands, dip the metal tip in warm water, wipe the point, try a tiny amount of rubbing alcohol, then replace the refill if needed. This sequence moves from safest to strongest, which helps you avoid damaging the pen.
If the pen writes upside down but not normally, the ink may not be feeding properly. If it writes only after shaking, an air gap may be interfering. If it scratches paper but produces no ink, the ball may be stuck or the refill may be empty. If it leaks after warming, stop heating and wipe it clean immediately.
Real-Life Experience: The Day a Dry Pen Tried to Ruin Everything
Here is a familiar scene: you are at a desk with one form, one deadline, and one pen. The pen looks normal. It has a barrel, a clip, and the confidence of a tool that has written at least three grocery lists in its lifetime. You press it to paper and get nothing. Not a line. Not a dot. Just a sad indentation where ink should have been.
My first instinct used to be scribbling harder, as if the pen could be intimidated into working. That rarely helped. In fact, pressing too hard often made the writing point feel worse. What worked better was changing the motion. Instead of angry straight lines, I started drawing slow circles on scrap paper. Circles helped the ball move in more directions. After 10 or 15 seconds, a faint blue trail appeared. After another half minute, the pen was writing again. It was not a miracle. It was friction, patience, and a little less desk rage.
The rubber trick became my favorite after dealing with a pen that had been sitting in a drawer for months. Paper did nothing. The pen only scratched. Then I tried drawing small loops on a clean eraser. The ballpoint tip gripped the rubber, turned more freely, and suddenly the ink started moving. It felt oddly satisfying, like fixing a tiny machine without needing tools. After wiping the tip, the pen wrote well enough to finish the notes I needed.
Warm water has also saved several pens, especially during colder months. A pen that sits in a chilly bag can feel dry even when it has ink. Dipping only the metal tip in warm water for a few seconds, drying it, and scribbling afterward often brings it back. The key lesson is not to overdo it. Hot water is not better. Boiling water is not a personality trait. Gentle warmth is enough for most ballpoint ink problems.
Cleaning the tip is the method I trust when a pen writes in broken lines. Many times, the problem is not inside the refill at all. It is at the point, where dried ink, paper fibers, or dust can collect. A quick wipe with a paper towel can make a surprising difference. For stubborn cases, a tiny touch of rubbing alcohol on the metal tip can help, but I use it carefully and never on fancy pen finishes.
The biggest experience-based lesson is knowing when to stop. Some pens are restartable. Some are finished. If the refill is empty, cracked, separated, or dried deep inside, no amount of scribbling will make it reliable. At that point, replacing the refill is not failure; it is good stationery management. Life is too short to fight a pen for twenty minutes when a fresh refill costs less than a snack.
I also learned that pen storage matters more than most people think. Pens tossed uncapped into drawers collect lint. Pens left in hot cars may leak. Pens forgotten in cold backpacks may skip. Now I keep everyday pens capped or retracted, store extras horizontally in a small cup, and test important pens before meetings or paperwork. It sounds overly organized until the day you need a signature and your pen actually works.
Restarting a dry ball point pen is a small skill, but it is surprisingly useful. It saves money, reduces waste, and prevents that ridiculous moment when five pens on a desk all mysteriously refuse to write. Start with friction, add gentle warmth, clean the tip, and replace the refill when necessary. Your pen may not thank you, because it is a pen, but your future grocery lists, notes, and forms certainly will.
Conclusion
A dry ball point pen is usually not a lost cause. In many cases, the ball is stuck, the ink is cold or thick, or the tip is clogged with dried residue. The three best ways to restart it are simple: use friction, warm the tip, and clean the point. Begin with scribbling and rubber-surface writing, then move to gentle heat, then try careful cleaning with a cloth or a small amount of rubbing alcohol.
The secret is to be patient and gentle. A ballpoint pen is built around a tiny rolling ball, and that ball needs movement, clean contact, and usable ink. Treat the pen like a small mechanical tool, not a disposable mystery object, and you can often squeeze more life out of it. And when the refill is truly done, replace it with dignity. Even the best pen eventually reaches the end of its dramatic little ink journey.
Note: This article was written in original language for web publication and synthesized from real-world pen-care guidance, manufacturer information, stationery best practices, and common office-supply troubleshooting methods.