

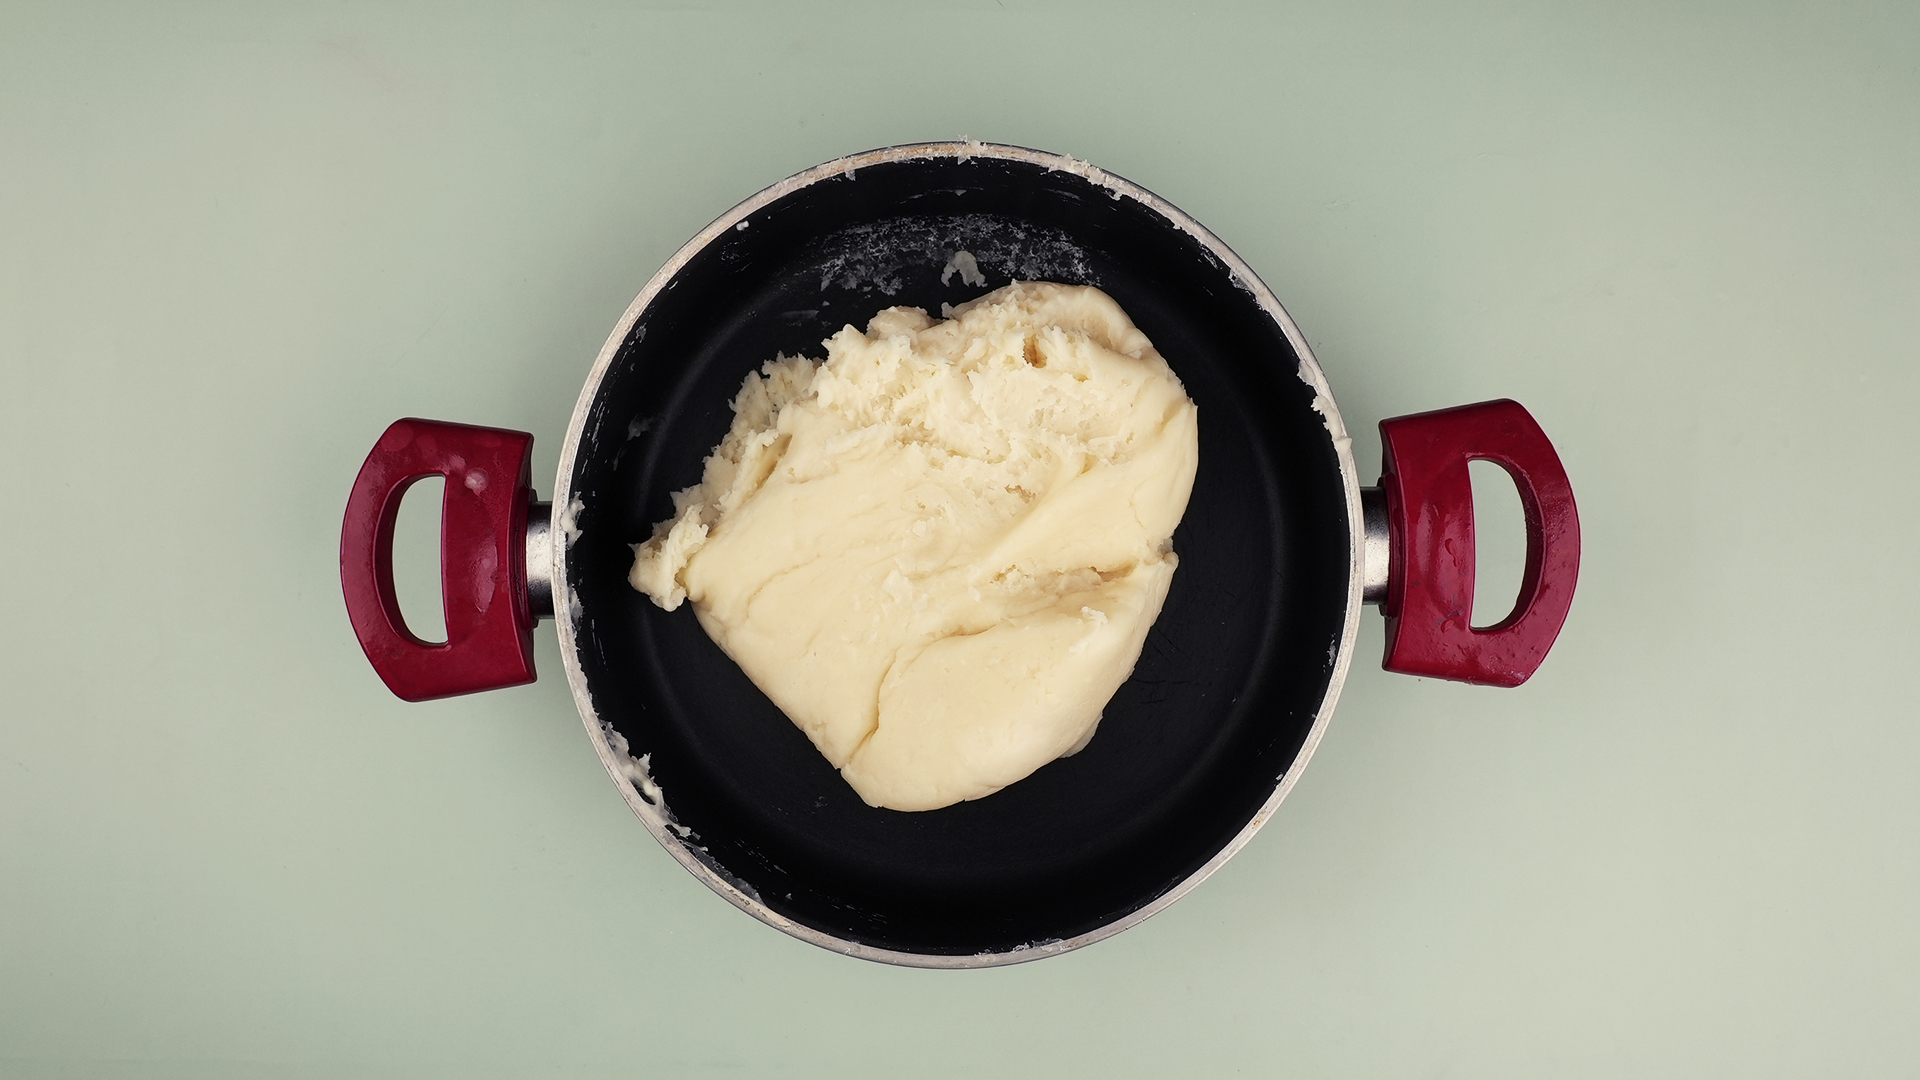
There are few household discoveries more tragic than opening a beloved tub of Play-Doh and finding a cracked, crumbly little asteroid where a soft rainbow masterpiece used to live. Yesterday it was a pancake, a dinosaur, a suspiciously lumpy pizza, or a “birthday cake” decorated with every plastic fork in the kitchen. Today? It looks like it survived a desert expedition with no snacks.
The good news is that dry Play-Doh is not always doomed. In many cases, you can revive dry Play Doh with a little water, patience, and a surprisingly therapeutic amount of kneading. Because Play-Doh is primarily made with water, salt, and flour, dryness usually means moisture has escaped. Put some moisture back carefully, and that stubborn lump can often become soft, stretchy, and ready for another round of tiny architectural chaos.
This guide covers four simple ways to soften dried Play-Doh, from the quick water-and-knead method to the overnight damp paper towel trick. You will also learn when to stop trying, how to prevent Play-Doh from drying out again, and why “more water” is not always the hero it thinks it is.
Why Does Play-Doh Dry Out?
Play-Doh dries out when it is exposed to air for too long. The moisture inside the dough slowly evaporates, leaving behind a firmer, saltier, more crumbly texture. This is why the lid matters so much. A Play-Doh can with a loose lid is basically a tiny open window inviting dryness to move in, unpack, and redecorate.
Dryness can happen overnight if the dough is left out in a thin sheet or small pieces. Larger balls may take longer to harden, but they can still develop a dry crust on the outside. Warm rooms, air conditioning, low humidity, and sunny windowsills can speed up the process. Homemade playdough behaves similarly, although the exact texture depends on the recipe, especially the balance of flour, salt, oil, water, and cream of tartar.
Before you begin, check the dough. If it smells strange, has visible mold, contains dirt, pet hair, food crumbs, or mystery glitter from 2019, it is safer to throw it away. If it is simply dry, cracked, or stiff, try one of the methods below.
Method 1: Add Water One Drop at a Time
This is the most basic and dependable way to revive dry Play Doh. It works best for dough that is stiff, cracked, or slightly crumbly but not completely rock-hard.
What You Need
- Dry Play-Doh
- A few drops of clean water
- A washable surface or plate
- Optional: a resealable plastic bag
How to Do It
- Place the dry Play-Doh on a clean surface.
- Add one or two drops of water to the dough.
- Knead the water into the dough using your fingers.
- If it still feels dry, add another drop or two.
- Keep kneading until the texture becomes smooth and flexible again.
The key phrase here is “one drop at a time.” Play-Doh can go from “too dry” to “sticky swamp monster” faster than a toddler can say, “I was just experimenting.” Adding too much water at once may make the color bleed, create a slippery texture, or turn the dough into paste. Slow and steady wins this tiny craft marathon.
If your hands get slightly messy, that is normal. Kneading distributes moisture throughout the dough. Think of it as giving the Play-Doh a spa massage, except the spa is your kitchen table and the client is neon blue.
Method 2: Wrap It in a Damp Paper Towel Overnight
If your Play-Doh is more than a little dry, the overnight damp paper towel method is a gentle fix. It is especially useful when the outside is crusty but the inside still has some softness.
What You Need
- Dry Play-Doh
- A paper towel
- Water
- The original Play-Doh container or an airtight container
How to Do It
- Dampen a paper towel with water.
- Wring it out so it is moist, not dripping.
- Wrap the Play-Doh loosely in the damp towel.
- Place it back in its container and close the lid tightly.
- Let it sit overnight.
- The next day, remove the towel and knead the dough well.
This method gives moisture time to move slowly into the dough. It is less messy than dunking the dough directly in water, and it reduces the risk of overhydrating it. The next morning, the Play-Doh may feel uneven at first: soft in some spots, firm in others. Knead it for a few minutes before judging the results.
If it is still too dry, repeat the process for another night or combine it with Method 1 by adding a couple of drops of water while kneading.
Method 3: Use a Sealed Bag and a Few Drops of Water
For dry Play-Doh that breaks into chunks, a resealable bag can help trap moisture and keep the mess under control. This method is excellent for parents, teachers, babysitters, and anyone who does not want colorful dough crumbs migrating across the entire table like tiny craft confetti.
What You Need
- Dry Play-Doh pieces
- A resealable plastic bag
- A few drops or a light mist of water
How to Do It
- Break large dry pieces into smaller chunks.
- Place the pieces in a resealable plastic bag.
- Add a few drops of water or lightly mist the dough.
- Seal the bag, leaving a small amount of air inside.
- Massage the dough through the bag for a minute or two.
- Let it rest for 30 minutes to several hours.
- Remove it and knead by hand until smooth.
Breaking the dough into pieces helps water reach more surface area. This is useful when the outside is very dry and the inside is not cooperating. The sealed bag also creates a humid environment, which encourages the dough to soften without exposing your countertop to a full Play-Doh weather event.
If the dough becomes sticky, leave the bag open for a few minutes, then knead again. You can also work in a tiny pinch of flour if you are reviving homemade playdough, but be cautious with branded Play-Doh because adding dry ingredients may change the texture.
Method 4: Warm and Knead Carefully
Warmth can make stiff Play-Doh easier to knead. This does not mean you should cook it like dinner. Play-Doh is not pasta, and nobody wants “craft lasagna.” The goal is gentle warmth, not heat.
Option A: Warm Hands Method
For slightly stiff dough, simply roll it between your palms. Body heat can soften the dough enough to help it absorb a few drops of water. This method is safe, simple, and perfect when the Play-Doh is not too far gone.
Option B: Warm Water Container Method
- Place the dry Play-Doh in a sealed plastic bag.
- Put the sealed bag in a bowl of warm water for a few minutes.
- Remove the bag and knead the dough.
- Add a drop or two of water if needed.
Do not let water leak into the bag unless you are intentionally adding moisture. Also avoid very hot water, which can make the dough unpleasantly sticky or difficult for children to handle.
Should You Microwave Play-Doh?
Some people use very short microwave bursts to soften playdough, but this approach requires caution. Microwaves heat unevenly, and hot spots can burn small hands. If children are involved, the safer choice is the damp towel method, the sealed bag method, or simple hand-kneading with water. When in doubt, skip the microwave. The Play-Doh does not need a dramatic action-movie comeback scene.
How to Know If Dry Play-Doh Can Be Saved
Not every lump can be revived. If the Play-Doh is dry on the outside but still bends or dents when pressed, it has a good chance. If it cracks but can still be squeezed together, try water and kneading. If it is completely hard, powdery, dirty, moldy, or smells unusual, it is time to say goodbye with dignity.
A good revived texture should be soft, moldable, and slightly springy. It should not leave puddles on your hands, crumble into dust, or stick to everything like melted candy. If it feels too wet, let it sit uncovered for a few minutes and knead again. If it feels too dry, add moisture slowly.
Common Mistakes When Trying to Soften Play-Doh
Adding Too Much Water
This is the classic mistake. A splash of water may seem efficient, but Play-Doh responds better to tiny amounts. Too much water can make the dough sticky, slimy, or uneven.
Giving Up Too Soon
Sometimes the dough needs several minutes of kneading before it feels right. At first it may seem hopeless. Keep working it. Many dry pieces improve gradually as the moisture spreads.
Leaving It Out After Fixing It
Reviving Play-Doh and then leaving it uncovered is like washing your car during a mudstorm. Once it is soft again, store it immediately in an airtight container.
Trying to Save Contaminated Dough
If Play-Doh has been mixed with food, dirt, pet fur, or something unidentifiable from under the couch, do not revive it. Fresh dough is cheaper than regret.
How to Keep Play-Doh Soft Longer
The best way to revive dry Play Doh is to prevent it from drying out in the first place. After playtime, gather every piece, press it into a ball, and place it back in the container. Make sure the lid snaps on completely. If the original container no longer closes well, use a resealable bag or a small airtight food container.
For classrooms, daycares, and busy homes, create a cleanup rule: “Dough first, tools second.” That means the Play-Doh gets sealed before cutters, rollers, plastic scissors, and tiny pretend spaghetti machines are sorted. This prevents the dough from sitting out while everyone argues about who used the star cutter last.
Store Play-Doh at room temperature, away from direct sunlight and heating vents. If you make homemade playdough, many recipes keep best in an airtight bag or container, and some last longer with refrigeration. Homemade dough should be checked regularly for changes in smell, texture, or appearance.
Safety Notes for Kids, Pets, and Sensitive Hands
Play-Doh is generally considered non-toxic, but it is not food and should not be eaten. It contains wheat, which may matter for children or adults with wheat gluten allergies. It also has a high salt content, so keep it away from pets, especially dogs that believe every object on Earth is a snack wearing a disguise.
Adult supervision is smart for younger children, especially because small pieces can be a choking concern. After play, have kids wash their hands, wipe the table, and seal the dough. This keeps both the play area and the Play-Doh in better shape.
Extra Experience: What Actually Works Best in Real Life?
In real-life playrooms, the best method depends on how dry the Play-Doh is and how much patience the adult in charge has left. For slightly dry dough, the one-drop-at-a-time method is usually the fastest. It works well when a child says, “It’s too hard!” but the dough still bends. Add a couple of drops, knead for a minute, and the dough often returns to a usable texture before the child has fully switched interests to dumping crayons.
For crusty Play-Doh, the damp paper towel method feels almost magical. The dough may look unimpressed at bedtime, but by morning it is often softer and easier to knead. This method is ideal when you discover the dry dough during evening cleanup and do not want to stand at the counter performing emergency dough surgery. Wrap it, seal it, sleep, and let moisture do the boring part.
The sealed bag method is the most practical for messy chunks. If the dough has broken into pieces, put those pieces in a bag with a few drops of water and massage from the outside. This saves your hands from becoming temporarily purple, green, or whatever color happens when every shade has been mixed into “toddler brown.” It also works well in classrooms because several bags can be labeled and left to rest.
One helpful experience-based tip is to revive only one color at a time. Mixing dry colors together while adding water can create streaks, muddy tones, and sticky patches. If your child loves color mixing, wonderful. If you were hoping to restore that bright yellow separately from the mystery blue, keep them apart during the rescue mission.
Another practical tip: knead longer than you think. Many people add water, squeeze twice, decide it failed, and add more water. That is how Play-Doh becomes glue with ambition. Instead, add a small amount of water and knead for at least one full minute. Fold it, press it, roll it, and fold it again. The texture often improves slowly, not instantly.
If the revived Play-Doh feels a little sticky, give it a short rest. Leave it uncovered for five to ten minutes, then knead again. Sometimes the moisture simply needs time to balance out. If it still sticks badly, it may have received too much water. At that point, it can still be used for messy sensory play, but it may not cut cleanly with cookie cutters or hold detailed shapes.
For parents, the biggest lesson is that Play-Doh maintenance is really a routine problem, not a dough problem. The dough dries out because lids are not fully closed, tiny pieces are left behind, and cleanup happens after everyone is tired. A simple “squish, ball, lid” habit helps. Squish the pieces together, form a ball, and close the lid. It takes ten seconds and saves many future rescue operations.
For teachers, a small spray bottle can be helpful, but it should be used by adults. A fine mist adds moisture more evenly than pouring water. After misting, let children help knead the dough as a hand-strengthening activity. They get sensory play; you get softer dough; everyone wins except the dry crust, which had a short but dramatic career.
Finally, remember that Play-Doh is meant to be reused, but not forever. If a tub has been revived many times and still feels grainy, crumbly, or unpleasant, replacing it may be the better choice. The goal is creative play, not a stubborn emotional attachment to a hardened lump named “Mr. Crunch.” Save what you can, store it better next time, and enjoy the small victory of bringing a colorful little blob back to life.
Conclusion
Dry Play-Doh is annoying, but it is often fixable. Start with a few drops of water and patient kneading. For tougher cases, try the damp paper towel overnight method or seal the dough in a bag with a tiny bit of moisture. Gentle warmth can help, but avoid overheating, especially when children are involved.
The secret is moderation. Add moisture slowly, knead thoroughly, and store the dough airtight as soon as playtime ends. With the right approach, that sad, cracked lump can become soft enough for snakes, pancakes, pretend cookies, tiny volcanoes, and whatever else a child’s imagination decides is urgently necessary before lunch.