

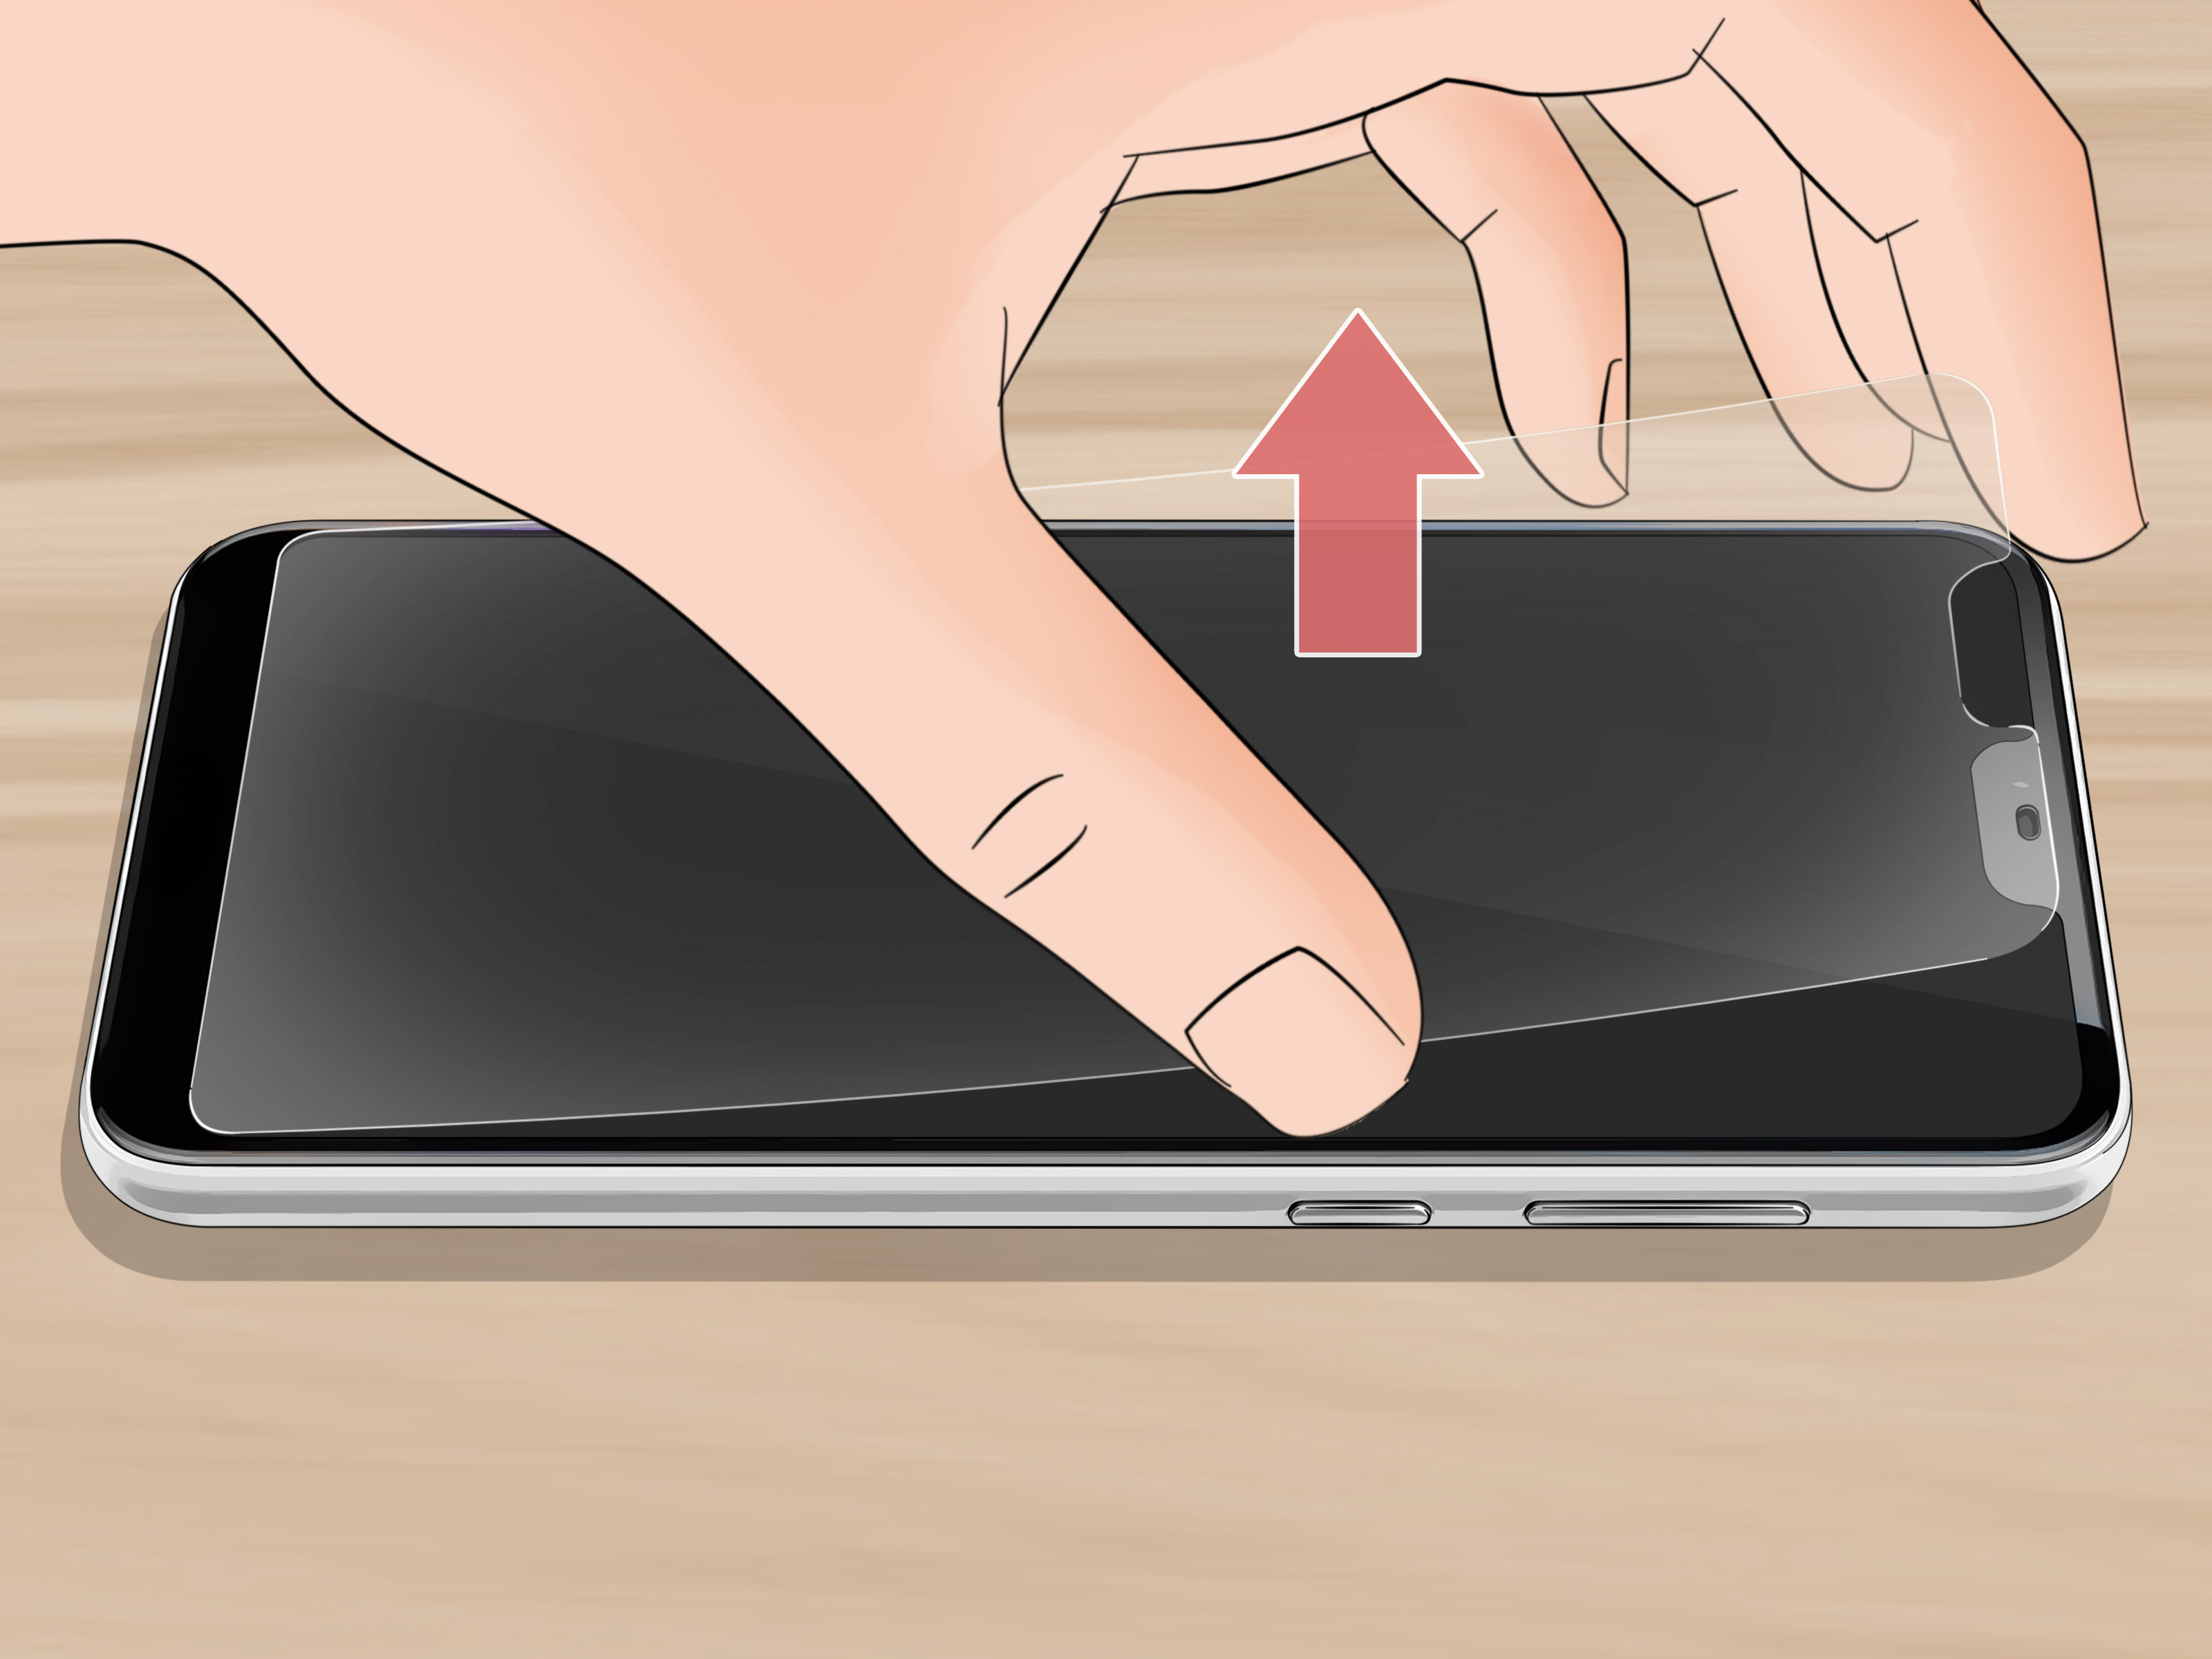
You did it. You finally peeled off that cracked, bubbly screen protector that’s been clinging to your phone like a
stage-five barnacle. You celebrate… until you notice the aftermath: a sticky, smeary layer of adhesive that makes your
screen feel like it’s been lightly buttered.
Don’t panic. In most cases, you can remove screen protector adhesive safely with a few household tools and a little
patiencewithout turning your display into a scratch-and-sniff sticker collection. This guide walks you through the
safest methods (including what to avoid), plus pro-level tricks for stubborn residue and delicate coatings.
Why Screen Protector Adhesive Sticks Around
Screen protectors use adhesives designed to stay put through heat, pocket lint, and the occasional dramatic phone toss
onto the couch. Over time, that adhesive can:
- Dry out and cling to the glass instead of the protector
- Warm up (hello, car dashboard) and spread into a thin, gummy film
- Break down unevenly around edges, camera cutouts, and speaker areas
- Leave residue more often with cheaper protectors or older installs
The goal isn’t to “scrub it off.” The goal is to soften or lift it, then wipe it away gentlylike removing
gum from a shoe, except the shoe is your $1,000 phone and the gum is your regret.
Before You Start: A Quick Safety Checklist
- Power down your device (prevents accidental taps and keeps moisture risks lower).
- Remove the case so you’re not trapping liquid near the edges.
- Keep liquids away from openings (charging port, speakers, microphones, buttons).
- Never spray cleaner directly onto the screenapply to a cloth or swab instead.
- Avoid harsh chemicals (bleach, ammonia, hydrogen peroxide products, and strong solvents on plastic).
What You’ll Need (Pick Your Level)
Basic Kit (Works for Most Adhesive Residue)
- Microfiber cloth (the softer, the better)
- Isopropyl alcohol (IPA) or alcohol wipes (70% is a safe, commonly recommended sweet spot)
- Cotton swabs or foam swabs (for edges and corners)
- Plastic card (old gift card) or a plastic spudger (no metal blades)
Stubborn-Residue Kit (When the Glue Laughs at Your Microfiber Cloth)
- Painter’s tape or clear packing tape (for “lift-and-peel” residue removal)
- Hair dryer (low heat) or a warm compress
- A small amount of adhesive remover (used carefully and sparingly)
- Nitrile gloves (optional, but helpful if you use commercial removers)
The Best Method: Step-by-Step (Safe for Most Phones & Tablets)
Step 1: Start Dry (Yes, Really)
Begin with a dry microfiber cloth. Wipe the screen gently in one direction to remove dust and loose residue.
Sometimes the adhesive is more “crumbly” than sticky, and dry wiping removes more than you’d expect.
Step 2: Use Gentle Heat to Soften the Adhesive
If residue feels tacky or smeary, warmth helps. Use a hair dryer on low heat, held several inches away,
moving constantly for 15–30 seconds. Your goal is “warm screen,” not “hot pancake griddle.”
- Tip: Heat is especially helpful around edges where adhesive concentrates.
- Don’t: Overheatexcessive heat can stress the display and soften internal adhesives.
Step 3: Lift Residue with Tape (The Surprisingly Satisfying Trick)
For thin, sticky films, tape works like a lint roller for glue. Press painter’s tape or clear tape onto the residue,
then peel it up slowly. Repeat with fresh sections until the screen feels less tacky.
This is especially useful near speaker grills and camera cutoutsareas where you don’t want liquid wandering.
Step 4: Wipe with 70% Isopropyl Alcohol (The Main Event)
Lightly dampen a microfiber cloth (or use a pre-moistened alcohol wipe). The cloth should be damp, not dripping.
Wipe gently in small circles, then finish with straight strokes.
- Use swabs for edges: dampen the swab, then roll it along the adhesive line.
- Keep alcohol away from openings: do edges last and use minimal liquid near ports.
Step 5: Carefully “Scrape” with Plastic (Only if Needed)
If you still feel raised adhesive, use a plastic card or spudger at a low angle. The motion should be gentlemore
like pushing frosting off a plate than chiseling marble.
Wipe again with the damp microfiber cloth to collect the loosened residue.
Step 6: Final Clean & Buff
Once the glue is gone, do a final wipe with a clean microfiber cloth. If you used alcohol, a quick follow-up buff
helps remove streaks and restores that “fresh screen” feel.
When Alcohol Isn’t Enough: Safe “Next-Step” Options
Option A: Warm Soapy Water (Minimal Moisture)
If you’re dealing with mild residue and want to avoid frequent alcohol use, a very lightly damp cloth with
distilled water and a tiny amount of mild dish soap can help. Wring thoroughly. Wipe, then immediately dry with a
microfiber cloth.
Option B: Commercial Adhesive Remover (Use Like It’s Hot Sauce)
Products designed to remove sticker goo can work, but they often contain oils or solvents. If you use one:
- Put a tiny amount on a cloth or swabnever directly on the screen.
- Test on a small corner first (especially if your device has coatings or plastic trim).
- Keep it away from speaker openings, ports, and seams.
- Wipe residue off promptly, then clean the area with a damp cloth and dry.
Also: ventilate your area and follow product safety directions. Many removers are flammable and can irritate skin.
Option C: The Rubber Eraser Trick (For “Gummy” Residue)
A clean rubber eraser can sometimes roll adhesive into little balls you can wipe awayespecially on glass.
Use gentle pressure and don’t grind it into the screen like you’re trying to erase a bad decision from 2019.
What NOT to Do (Your Screen Will Thank You)
- Don’t use metal razor blades or sharp tools. One slip = permanent scratch.
- Don’t pour alcohol on the screen or spray cleaners directly.
- Don’t use bleach, ammonia, or peroxide-based cleaners on device screens.
- Be cautious with acetone/nail polish remover. It can damage plastics and certain coatings.
- Avoid abrasive powders (like gritty baking soda scrubs) on phone displaysabrasives can haze coatings.
Troubleshooting: Common Sticky Situations
1) The Residue Smears Into a Sticky Haze
This usually means the adhesive is soft and spreading. Try:
- Short bursts of low heat
- Tape-lift method to reduce the film
- Then a light IPA wipe to finish
2) The Adhesive Is Hard, Thick, or “Crusty”
Older protectors can leave brittle chunks. Try:
- Warm the area first
- Use a plastic card at a low angle
- Follow with IPA wipe to remove remaining residue
3) Residue Is Stuck Around the Edges and Won’t Budge
Edges trap grime and glue. Use cotton swabs lightly dampened with IPA and work in short sections. For especially
stubborn edge residue, tape-lift can be safer than soaking that area.
4) You’re Working Near the Speaker or Earpiece Grill
Avoid liquids here. Use:
- Tape-lift method
- A dry microfiber cloth
- A barely dampened swab if absolutely necessary (and keep it controlled)
Special Notes for Different Protectors
Tempered Glass Protectors
Tempered glass usually comes off cleanly, but cheap adhesive layers or old installs can leave residue. Heat + tape-lift
+ IPA wipe is usually the safest combo.
Plastic Film Protectors
Film protectors can stretch and tear while peeling, leaving more adhesive behind. Go slow. If it starts ripping, lift a new
corner and peel at a low angle rather than yanking upward.
“Liquid” Screen Protectors
These aren’t peel-and-remove products the way glass and film protectors are. If you’re trying to remove a liquid coating
or fix a patchy appearance, you’re typically looking at cleaning, polishing, or reapplication instructions specific to that product.
Pro Tips That Make the Job Easier
- Work in good light: Smears hide until you tilt the screenthen suddenly it looks like modern art.
- Use multiple cloths: One cloth for loosening residue, one for final buffing.
- Change swabs often: A glue-soaked swab just redistributes the mess.
- Go gentle on coatings: Many screens have oleophobic coatings; harsh scrubbing can wear them faster.
- Clean before applying a new protector: Adhesive residue can cause bubbles, lifting corners, and poor adhesion.
Frequently Asked Questions
Can I use 91% or 99% isopropyl alcohol?
Many repair pros use high-percentage IPA in controlled ways, but device makers commonly recommend around 70% for general
cleaning because it’s effective while being less aggressive and easier to manage. If you use higher percentages, use it sparingly,
don’t soak the cloth, and avoid repeated heavy useespecially near coatings and openings.
Will adhesive remover damage my screen?
It depends on the product and how you use it. Used sparingly on a cloth (not poured on the device), many people have success
with adhesive removers on glass. The biggest risks are seepage into openings, residue left behind, and damage to plastic trim or
coatings. When in doubt, stick with heat + tape + IPA first.
What’s the safest method if I’m nervous?
The safest low-risk approach is: dry microfiber wipe → tape-lift → lightly damp 70% IPA wipe → dry buff.
It minimizes liquid, avoids sharp tools, and works surprisingly well.
Real-World Experiences & “Been There” Scenarios (So You Don’t Have To)
Let’s talk about what usually happens in the wildbecause adhesive residue isn’t one problem, it’s a whole extended family of
problems who all show up to the same reunion.
One of the most common situations: someone removes a protector in a rush (usually right before leaving the house), and the residue
left behind is a thin, sticky fog that only appears when the screen catches sunlight. In that case, the instinct is to scrub harderbad move.
The better approach is to use tape first to “de-tack” the film, then finish with a lightly damp alcohol wipe. The tape step feels oddly satisfying,
like peeling lint from a sweater, and it keeps you from pushing goo around in circles for 20 minutes.
Another classic: the “cheap film protector that tears into confetti.” You lift a corner, it snaps, you lift again, it snaps again, and now your screen
looks like it’s wearing adhesive bandages. The trick here is angle and patience. Peel low and slow, and if it starts tearing, use warmth to soften the
adhesive and keep the film more flexible. People who switch to tempered glass after this experience often describe it the way hikers describe upgrading
from flip-flops to boots: “I didn’t know life could be like this.”
Then there’s the edge-residue problemespecially near curved screens or around camera cutouts. That glue line can be stubborn because it’s where pressure,
heat, and pocket dust build up. A cotton swab dampened with alcohol works, but only if you treat it like detail work, not like you’re painting a fence.
Short strokes, rotate the swab, and replace it often. If you keep rubbing with the same swab, you’re basically using a glue marker.
For people who’ve had a phone in a hot car, the residue can get extra gooey. Heat helps, but it’s a “Goldilocks” situation: too little heat and nothing moves;
too much and the adhesive turns into a spreadable paste. In real-world practice, short low-heat bursts followed by tape lifting works better than blasting the
screen with heat and hoping for the best.
Finally, a very real scenario: someone reaches for the strongest cleaner under the sink because “stronger means faster.” That’s how screens get hazy or plastics
get cloudy. The best results usually come from the boring stuffmicrofiber, controlled alcohol, gentle heat, and patience. It’s not dramatic, but neither is a
clean screen… and clean screens are kind of the point.
Conclusion
Removing screen protector adhesive doesn’t require special powersjust the right order of operations. Start dry, soften residue with gentle heat, lift what you can
with tape, and use isopropyl alcohol sparingly to finish the job. Save commercial adhesive removers for the truly stubborn cases, keep liquids away from openings,
and avoid harsh chemicals and sharp tools.
Once your screen is clean, you’re ready for a fresh protector install (and a fresh start… until the next time gravity wins).