

When an iPhone freezes on the like an expensive glass paperweight, recovery mode may be the troubleshooting tool that brings it back to life. It allows a Mac or Windows PC to communicate with the device even when iOS cannot start normally.
This complete guide explains how to put every supported iPhone and iPod touch model into recovery mode, choose between updating and restoring, exit recovery mode safely, and solve the most common connection errors. The button combinations are simple, but timing matters. Think of it as a tiny choreography routine in which Volume Up, Volume Down, and the Side button all demand their moment in the spotlight.
What Is Recovery Mode on an iPhone or iPod?
Recovery mode is a special startup state that lets a computer update or restore an iPhone or iPod touch when the device cannot complete a normal startup. Instead of loading the full operating system, the device displays a cable-and-computer graphic and waits for instructions from Finder, Apple Devices, or iTunes.
You might need iPhone recovery mode when the computer does not recognize the device, the screen remains stuck on the Apple logo, an update repeatedly fails, the device displays the restore screen, or you have forgotten the passcode and must erase the device.
Recovery mode should not normally be the first troubleshooting step. Start with charging the device and performing a regular or forced restart. If those easier fixes fail, recovery mode is the logical next move.
Technical verification: ion>
Recovery Mode Works Differently on Older iPods
In this guide, the phrase iPod recovery mode primarily refers to the iPod touch. The iPod touch runs an iOS-based operating system and uses recovery procedures similar to an iPhone.
Traditional iPod modelsincluding the iPod classic, iPod nano, iPod mini, and iPod shuffledo not use the same universal recovery screen or button sequence. Depending on the model, they may use a force restart, diagnostic mode, or disk mode before being restored through iTunes.
Do not blindly apply iPod touch instructions to an old click-wheel iPod. First identify the exact model, then follow the model-specific reset or disk-mode procedure. Vintage Apple hardware has personality, and occasionally that personality is “I was designed before your current laptop existed.”
Technical verification: ion>
What You Need Before Entering Recovery Mode
1. A Compatible Mac or Windows PC
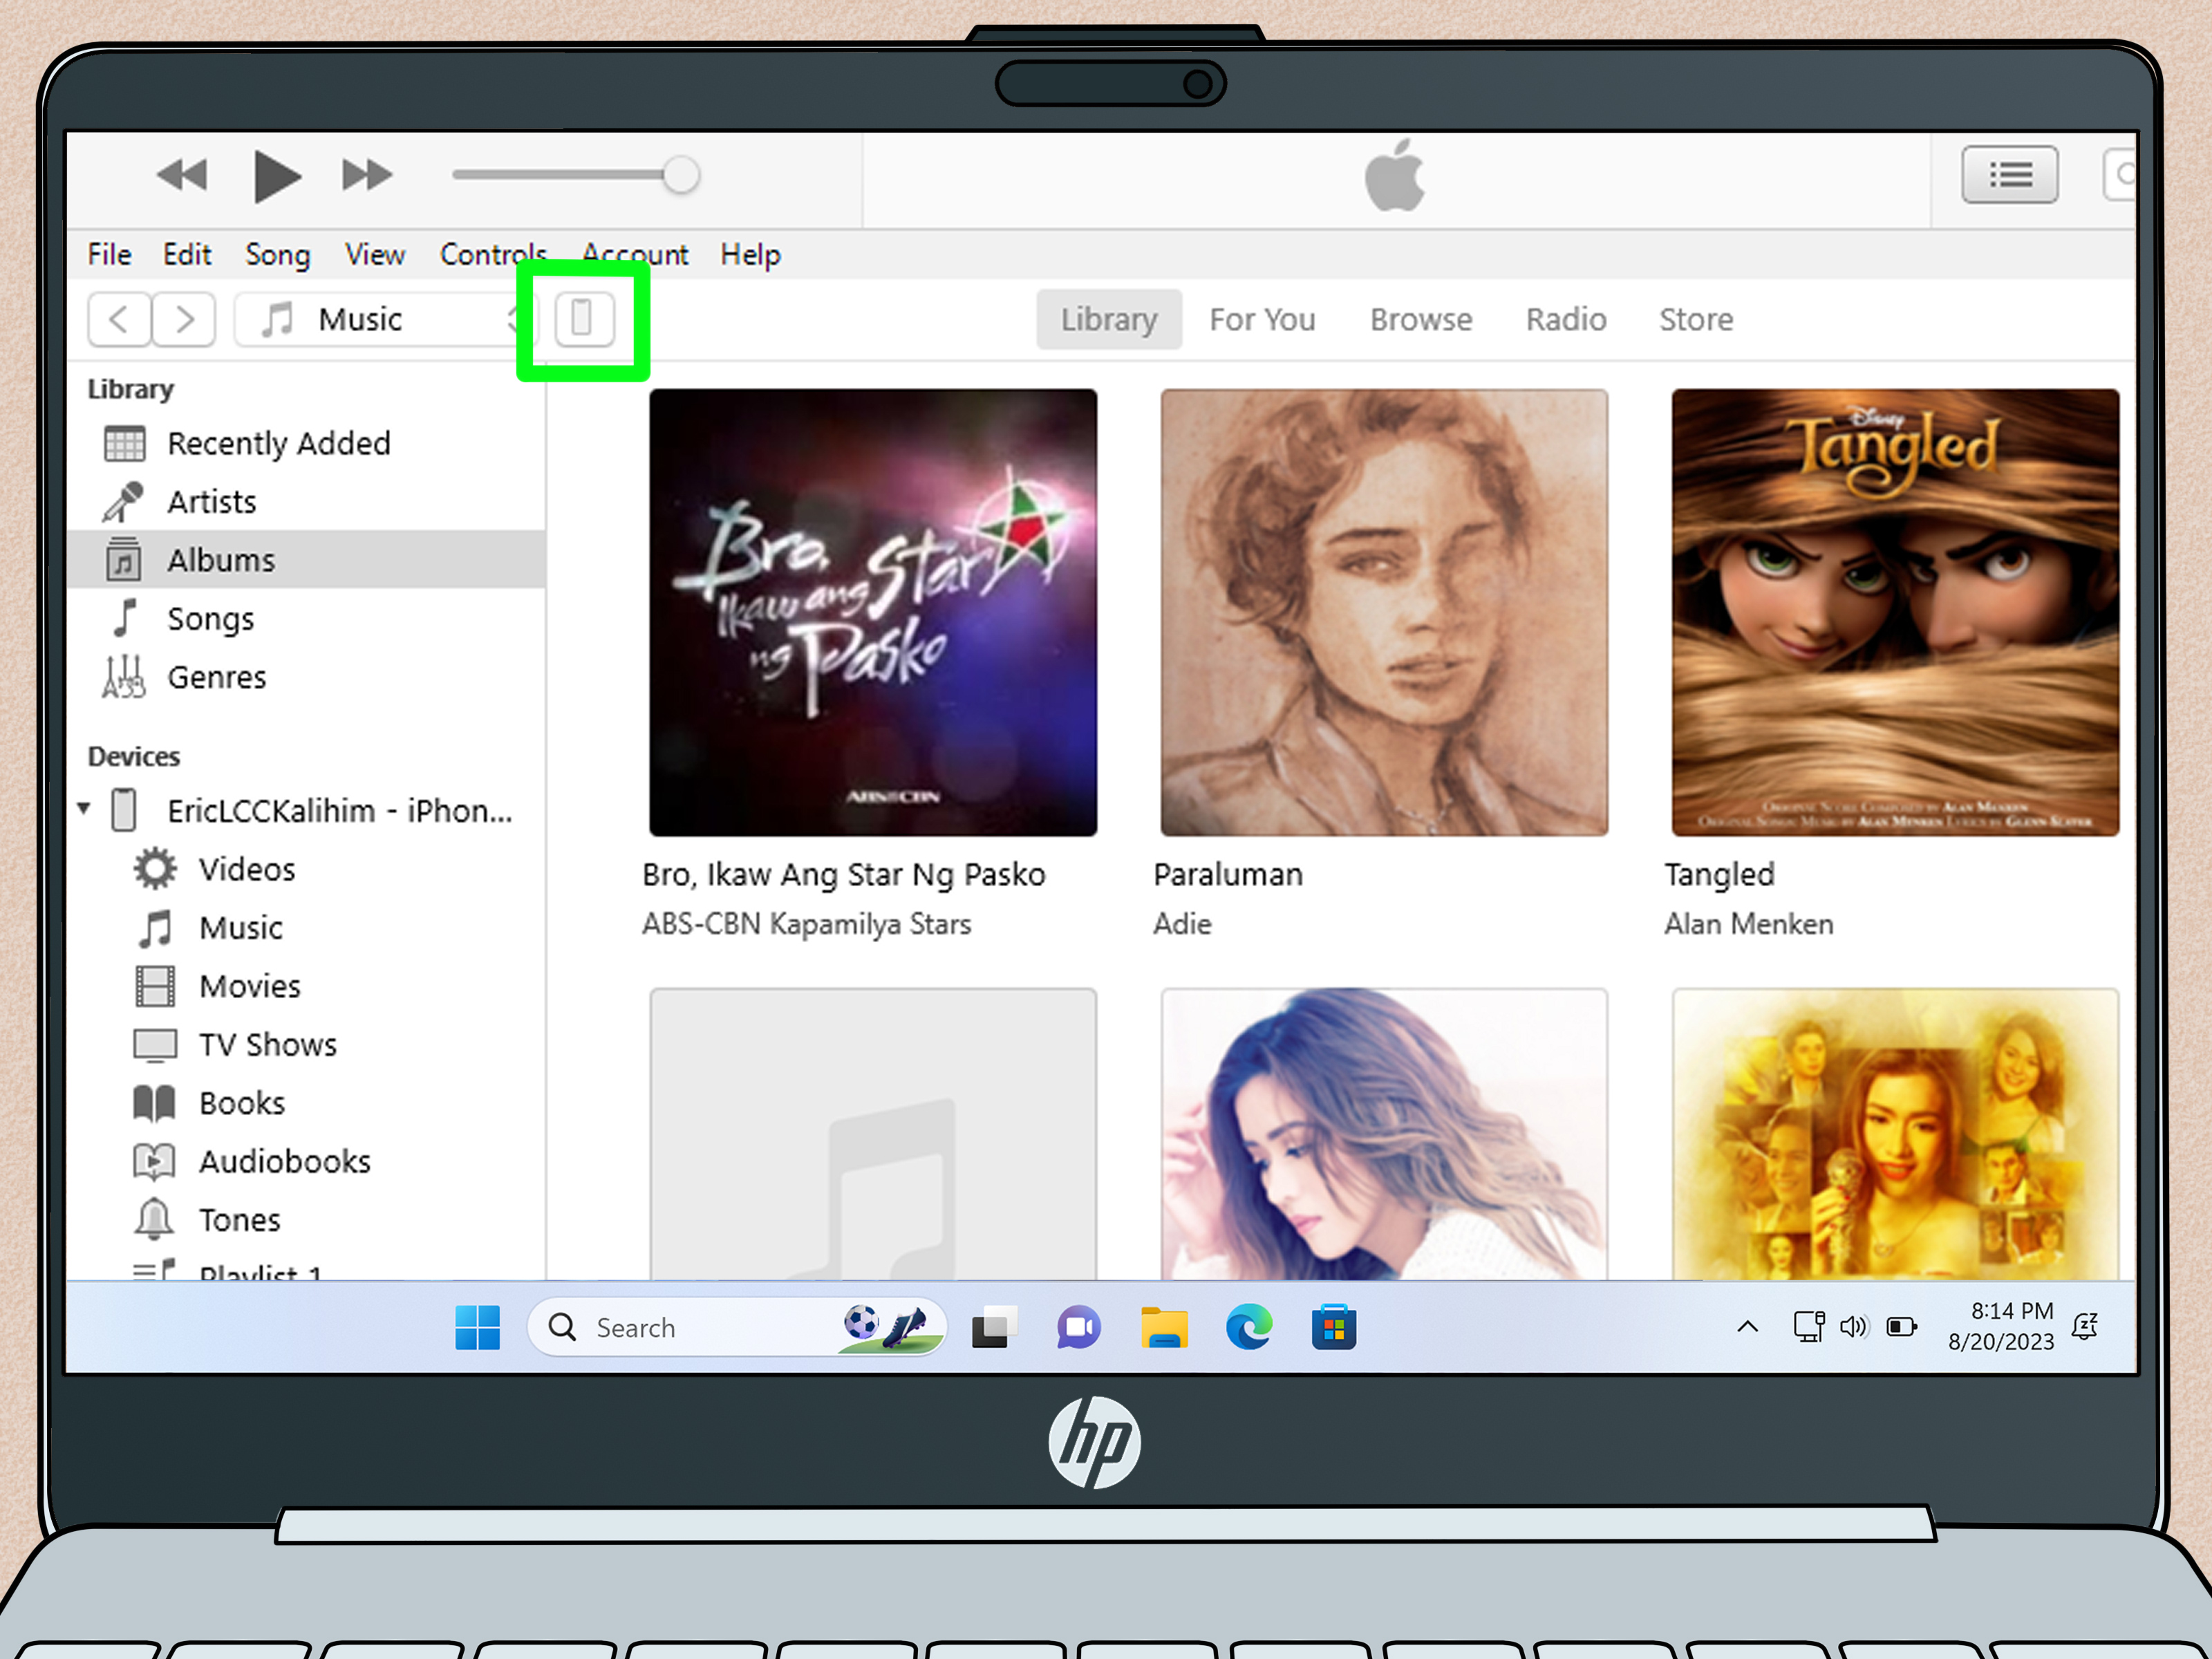
Use Finder on a Mac running macOS Catalina 10.15 or later. On a current Windows PC, use the Apple Devices app. If the PC does not have Apple Devices, or the Mac is running macOS Mojave or earlier, use an updated version of iTunes.
2. A Reliable Data Cable
Connect the device with a USB-C or Lightning cable that supports data transfer. Some inexpensive cables provide power but cannot transmit data, which is perfect for charging and completely useless for recovery mode.
3. A Stable Internet Connection
The computer may need to download several gigabytes of device software. An interrupted connection can delay the process or force you to start the recovery sequence again.
4. Your Apple Account Information
Restoring a device does not automatically remove Activation Lock. If Find My was enabled, you may need the Apple Account email address or phone number and password previously associated with the device.
5. A Recent Backup, When Possible
If the device still works well enough to back up, create an iCloud or computer backup before proceeding. Recovery mode offers an Update option designed to preserve data, but no repair procedure is entirely risk-free.
Technical verification: ion>
How to Put an iPhone 8 or Later into Recovery Mode
These instructions apply to iPhone 8 and newer models, including iPhones with Face ID and the second- and third-generation iPhone SE.
- Connect the iPhone to your Mac or Windows PC with a data-capable cable.
- Open Finder, Apple Devices, or iTunes.
- Press and quickly release the Volume Up button.
- Press and quickly release the Volume Down button.
- Press and hold the Side button.
- Keep holding after the Apple logo appears.
- Release the Side button only when the connect-to-computer recovery screen appears.
The most common mistake is releasing the Side button at the Apple logo. That performs a force restart rather than entering recovery mode. Keep holding through the logo until the recovery graphic appears.
How to Put an iPhone 7, iPhone 7 Plus, or iPod Touch 7 into Recovery Mode
The iPhone 7 family and seventh-generation iPod touch use the Volume Down button because their Home buttons do not perform the same role during recovery startup.
- Connect the device to the computer.
- Open Finder, Apple Devices, or iTunes.
- Press and hold the Side button on an iPhone 7, or the Top button on an iPod touch.
- At the same time, press and hold Volume Down.
- Continue holding both buttons when the Apple logo appears.
- Release them when the connect-to-computer screen appears.
How to Put an iPhone 6s, First-Generation iPhone SE, or Older Model into Recovery Mode
This combination applies to the iPhone 6s and earlier, the original iPhone SE, and the sixth-generation iPod touch or earlier.
- Connect the device to your computer.
- Open the appropriate device-management application.
- Press and hold the Home button.
- While holding Home, press and hold the Side or Top button.
- Continue holding both buttons through the Apple logo.
- Release the buttons when the recovery screen appears.
Older Home buttons may be worn or unreliable. Remove any thick case that obstructs the buttons and press firmly without using excessive force. If a required physical button is broken, professional service may be necessary.
Button sequences verified against current Apple guidance: ion>
What to Do After the Recovery Screen Appears
Finder, Apple Devices, or iTunes should display a message explaining that the iPhone or iPod has a problem and must be updated or restored. You will normally see two choices.
Choose Update First
Update downloads and reinstalls the latest compatible operating system while attempting to preserve your apps, photos, messages, settings, and other personal data. This is usually the best first choice when repairing a boot loop, frozen Apple logo, or failed software update.
Do not disconnect the cable while the update is installing. The device may restart several times, and the screen may appear inactive for a while. A temporarily boring screen is far better than a prematurely unplugged phone.
Choose Restore When Update Fails
Restore erases the device, reinstalls its software, and returns it to factory settings. Afterward, you can configure it as a new device or recover data from an available iCloud or computer backup.
If you forgot the passcode, restoring is generally required because the existing passcode cannot simply be removed while preserving all locally stored information.
What If the Download Takes More Than 15 Minutes?
If the software download takes longer than approximately 15 minutes, the iPhone or iPod may leave the recovery screen and restart normally. Let the computer finish downloading the software. Then repeat the correct button sequence to enter recovery mode again and continue the update or restore.
Update, Restore, and download behavior: ion>
How to Exit Recovery Mode Without Restoring
If you entered recovery mode accidentally or decide not to continue, you can usually exit by performing the appropriate forced-restart sequence.
For iPhone 8 or Later
- Press and quickly release Volume Up.
- Press and quickly release Volume Down.
- Hold the Side button until the Apple logo appears.
For iPhone 7, iPhone 7 Plus, or iPod Touch 7
Hold the Side or Top button and Volume Down together until the Apple logo appears.
For iPhone 6s or Earlier and iPod Touch 6 or Earlier
Hold the Home button and Side or Top button together until the Apple logo appears.
Do not attempt to exit recovery mode while an update or restore is actively writing software to the device. Interrupting that process may create a larger problem than the one you started with.
Recovery Mode vs. DFU Mode
Recovery mode and Device Firmware Update mode are frequently confused, but they are not identical.
- Recovery mode displays a cable-and-computer image and uses the device’s recovery environment to reinstall software.
- DFU mode leaves the screen completely black and allows a deeper firmware-level restore.
Recovery mode is easier, safer for routine troubleshooting, and should normally be attempted first. DFU mode is generally reserved for stubborn firmware problems or cases in which standard recovery repeatedly fails. A black display alone does not prove that DFU mode is active; the computer must also detect the device.
Common Recovery Mode Problems and Solutions
The Computer Does Not Detect the Device
Try another USB port, preferably one built directly into the computer rather than a keyboard, monitor, adapter, or unpowered hub. Test a different data cable, inspect the charging port for compacted lint, and restart both the device and computer.
The Device Keeps Restarting Instead of Entering Recovery Mode
Repeat the button sequence more carefully. On newer iPhones, the Volume Up and Volume Down presses must be quick, followed immediately by a long hold of the Side button. Do not release it when the Apple logo appears.
The Update Fails with an Error Code
Errors such as 9, 4005, 4013, or 4014 may be associated with a disrupted USB connection, outdated computer software, a security-software conflict, or a hardware problem. Update macOS, Windows, Apple Devices, or iTunes; change the cable and USB port; and try another computer when available.
The iPhone Is Stuck on the Recovery Screen
Perform the model-specific forced restart. If the recovery image immediately returns, reconnect the device and attempt Update again. If Update repeatedly fails, Restore may be necessary.
The Restore Finishes but Activation Lock Appears
This is expected when Find My was enabled. Enter the Apple Account credentials previously connected to the device. Recovery mode is a repair tool, not a method for bypassing ownership protections.
The Buttons Do Not Work
Remove the case and check whether the buttons click normally. A damaged Side, Home, Top, or Volume button can prevent the required sequence from registering. In that situation, contact Apple or an authorized service provider rather than repeatedly squeezing the phone like a particularly stubborn bottle of ketchup.
Troubleshooting verification: ion>
Practical Recovery Mode Experiences and Lessons Learned
The most important lesson from handling recovery-mode situations is that patience often matters more than technical skill. The button sequence takes only a few seconds, yet people commonly repeat it five or six times because they release a button at the Apple logo, press the volume controls too slowly, or assume the frozen screen means nothing is happening.
One typical situation begins after a software update. The iPhone restarts, displays the Apple logo, and remains there long enough to make its owner wonder whether the device is meditating. A forced restart may return it to the same screen. Connecting it to Finder and choosing Update from recovery mode often solves the problem without deleting photos or messages. The useful habit here is to attempt Update before Restore unless erasing the phone is already the goal.
Another common experience involves an iPhone that charges normally but never appears on the computer. The first suspicion is usually catastrophic hardware failure. In reality, the cable is often responsible. Many charging cables, particularly promotional or extremely inexpensive ones, supply power without maintaining a dependable data connection. Replacing the cable and connecting directly to a computer port can transform an invisible device into one that Finder or Apple Devices recognizes immediately.
Older iPod touch models create a different challenge: tired buttons. A sixth-generation iPod touch may require the Home and Top buttons to be held continuously, but years of use can make the Home button less responsive. Removing the case and applying a firm, steady press usually works better than rapidly changing finger positions. When the physical button is genuinely broken, however, repeating the procedure rarely produces a miracle.
The 15-minute recovery timeout also surprises many users. A computer begins downloading the software, but the device eventually leaves recovery mode and returns to the Apple logo. This does not necessarily mean the repair failed. Allowing the download to finish and then re-entering recovery mode usually lets the installation continue without downloading everything again.
Restoring a device introduces an emotional moment when the progress bar begins moving and the owner remembers that the last backup may be several months old. That experience is a powerful advertisement for automatic iCloud backups. A successful restore repairs the device, but it cannot recreate local photos, notes, or messages that were never synchronized or backed up.
Activation Lock is another frequent surprise, especially with secondhand devices. Erasing an iPhone does not remove its connection to the previous owner’s Apple Account. Before buying a used device, confirm that the seller has signed out and removed it from Find My. Recovery mode cannot legitimately bypass this protection, regardless of what a suspicious download page promises in giant flashing letters.
Finally, recovery mode is most effective when treated as one part of a troubleshooting sequence rather than a magical cure. Charge the device, inspect the cable and port, try a forced restart, update the computer software, and then use recovery mode. If multiple cables and computers produce the same error, or the restore repeatedly stops at the same point, the problem may involve the battery, storage, logic board, connector, or another hardware component. Knowing when to stop repeating the same button dance is also a technical skill.
Final Thoughts
Learning how to put an iPhone or iPod touch into recovery mode can rescue a device that appears completely unusable. The correct method depends on the model: newer iPhones use the Volume Up, Volume Down, and Side-button sequence; the iPhone 7 family and iPod touch 7 use Volume Down with the Side or Top button; and older devices use the Home button with the Side or Top button.
Once the recovery screen appears, try Update first to preserve your data. Use Restore only when updating fails, the passcode has been forgotten, or a complete factory reset is required. Keep the device connected, use a dependable cable, and remember that an erase does not remove Activation Lock.
Recovery mode may look dramatic, but the process is usually straightforward. With the right buttons, a stable connection, and a little patience, that alarming cable graphic can become the first sign that your device is finally on its way back.