“`
New rock climbing shoes are supposed to feel snug. They are not supposed to feel like tiny medieval prisons with rubber soles. Somewhere between “precise performance fit” and “why can I hear my toes crying?” is the sweet spot every climber is trying to find.
If your shoes are slightly too tight, the good news is that some climbing shoes can stretch, soften, and mold to your feet with careful break-in techniques. The less fun news: not all shoes stretch the same way. Leather climbing shoes may loosen noticeably, especially unlined leather models. Synthetic climbing shoes usually soften and conform, but they rarely grow much. The rubber rand, sole, and toe structure will not magically become a half-size longer just because you asked nicely.
This guide explains 3 ways to stretch rock climbing shoes safely: wearing them through short break-in sessions, using warm water to shape the upper, and applying targeted pressure with controlled stretching methods. We will also cover what not to do, because the internet is full of shoe-stretching hacks that sound useful until your expensive climbing shoes look like a melted raccoon.
Before You Stretch: Know What Your Shoes Are Made Of
Before trying to stretch climbing shoes, identify the upper material. This matters more than most beginners realize. A leather upper behaves differently from microfiber, knit, synthetic suede, or fully rubber-covered performance shoes.
Leather Climbing Shoes
Leather climbing shoes usually stretch the most. Unlined leather can stretch up to about one full size over time, while lined leather usually stretches less. This is why many experienced climbers size leather shoes tighter at first. The material gradually molds around the foot, creating a custom fit. It can feel magical later, but spicy in the first few sessions.
Synthetic Climbing Shoes
Synthetic climbing shoes are more stubborn. They may soften, become more comfortable, and feel less aggressive after use, but they generally do not stretch much in actual size. If a synthetic shoe feels unbearable in the store, it probably will not transform into a cloud with sticky rubber. It will become a slightly friendlier version of the same shoe.
Rubber-Covered Performance Shoes
Modern bouldering and sport climbing shoes often have large rubber toe patches, tension systems, and aggressive downturns. These features improve toe hooks, edging, and power transfer, but they also limit stretch. If the shoe is wrapped in rubber like a tiny climbing burrito, expect less give.
The Golden Rule
Stretching can improve width, pressure points, and overall volume. It usually will not add meaningful length. If your toes are painfully crushed against the front, your toenails hurt, or your feet go numb, stretching may not solve the problem. In that case, the smartest method is not Method One, Two, or Three. It is exchanging the shoes.
How Tight Should Rock Climbing Shoes Be?
Rock climbing shoes should feel snug, secure, and precise. Your toes may be flat or gently curled, depending on the shoe style and your climbing goals. There should be little to no dead space around the toes, heel, or arch. Dead space makes it harder to stand on small footholds because your foot shifts inside the shoe.
However, pain is not a badge of honor. A performance fit is different from a medical mystery. If the shoe causes sharp pain, numbness, burning, or lingering soreness after you remove it, it is too tight. Beginners especially should avoid extremely aggressive downsizing. You will climb better in shoes you can actually wear long enough to learn footwork.
For gym climbing, moderate bouldering, and long practice sessions, comfort matters. For steep sport climbs, hard boulders, and tiny edges, a tighter shoe may help, but only if you can still move well. The goal is precision, not punishment.
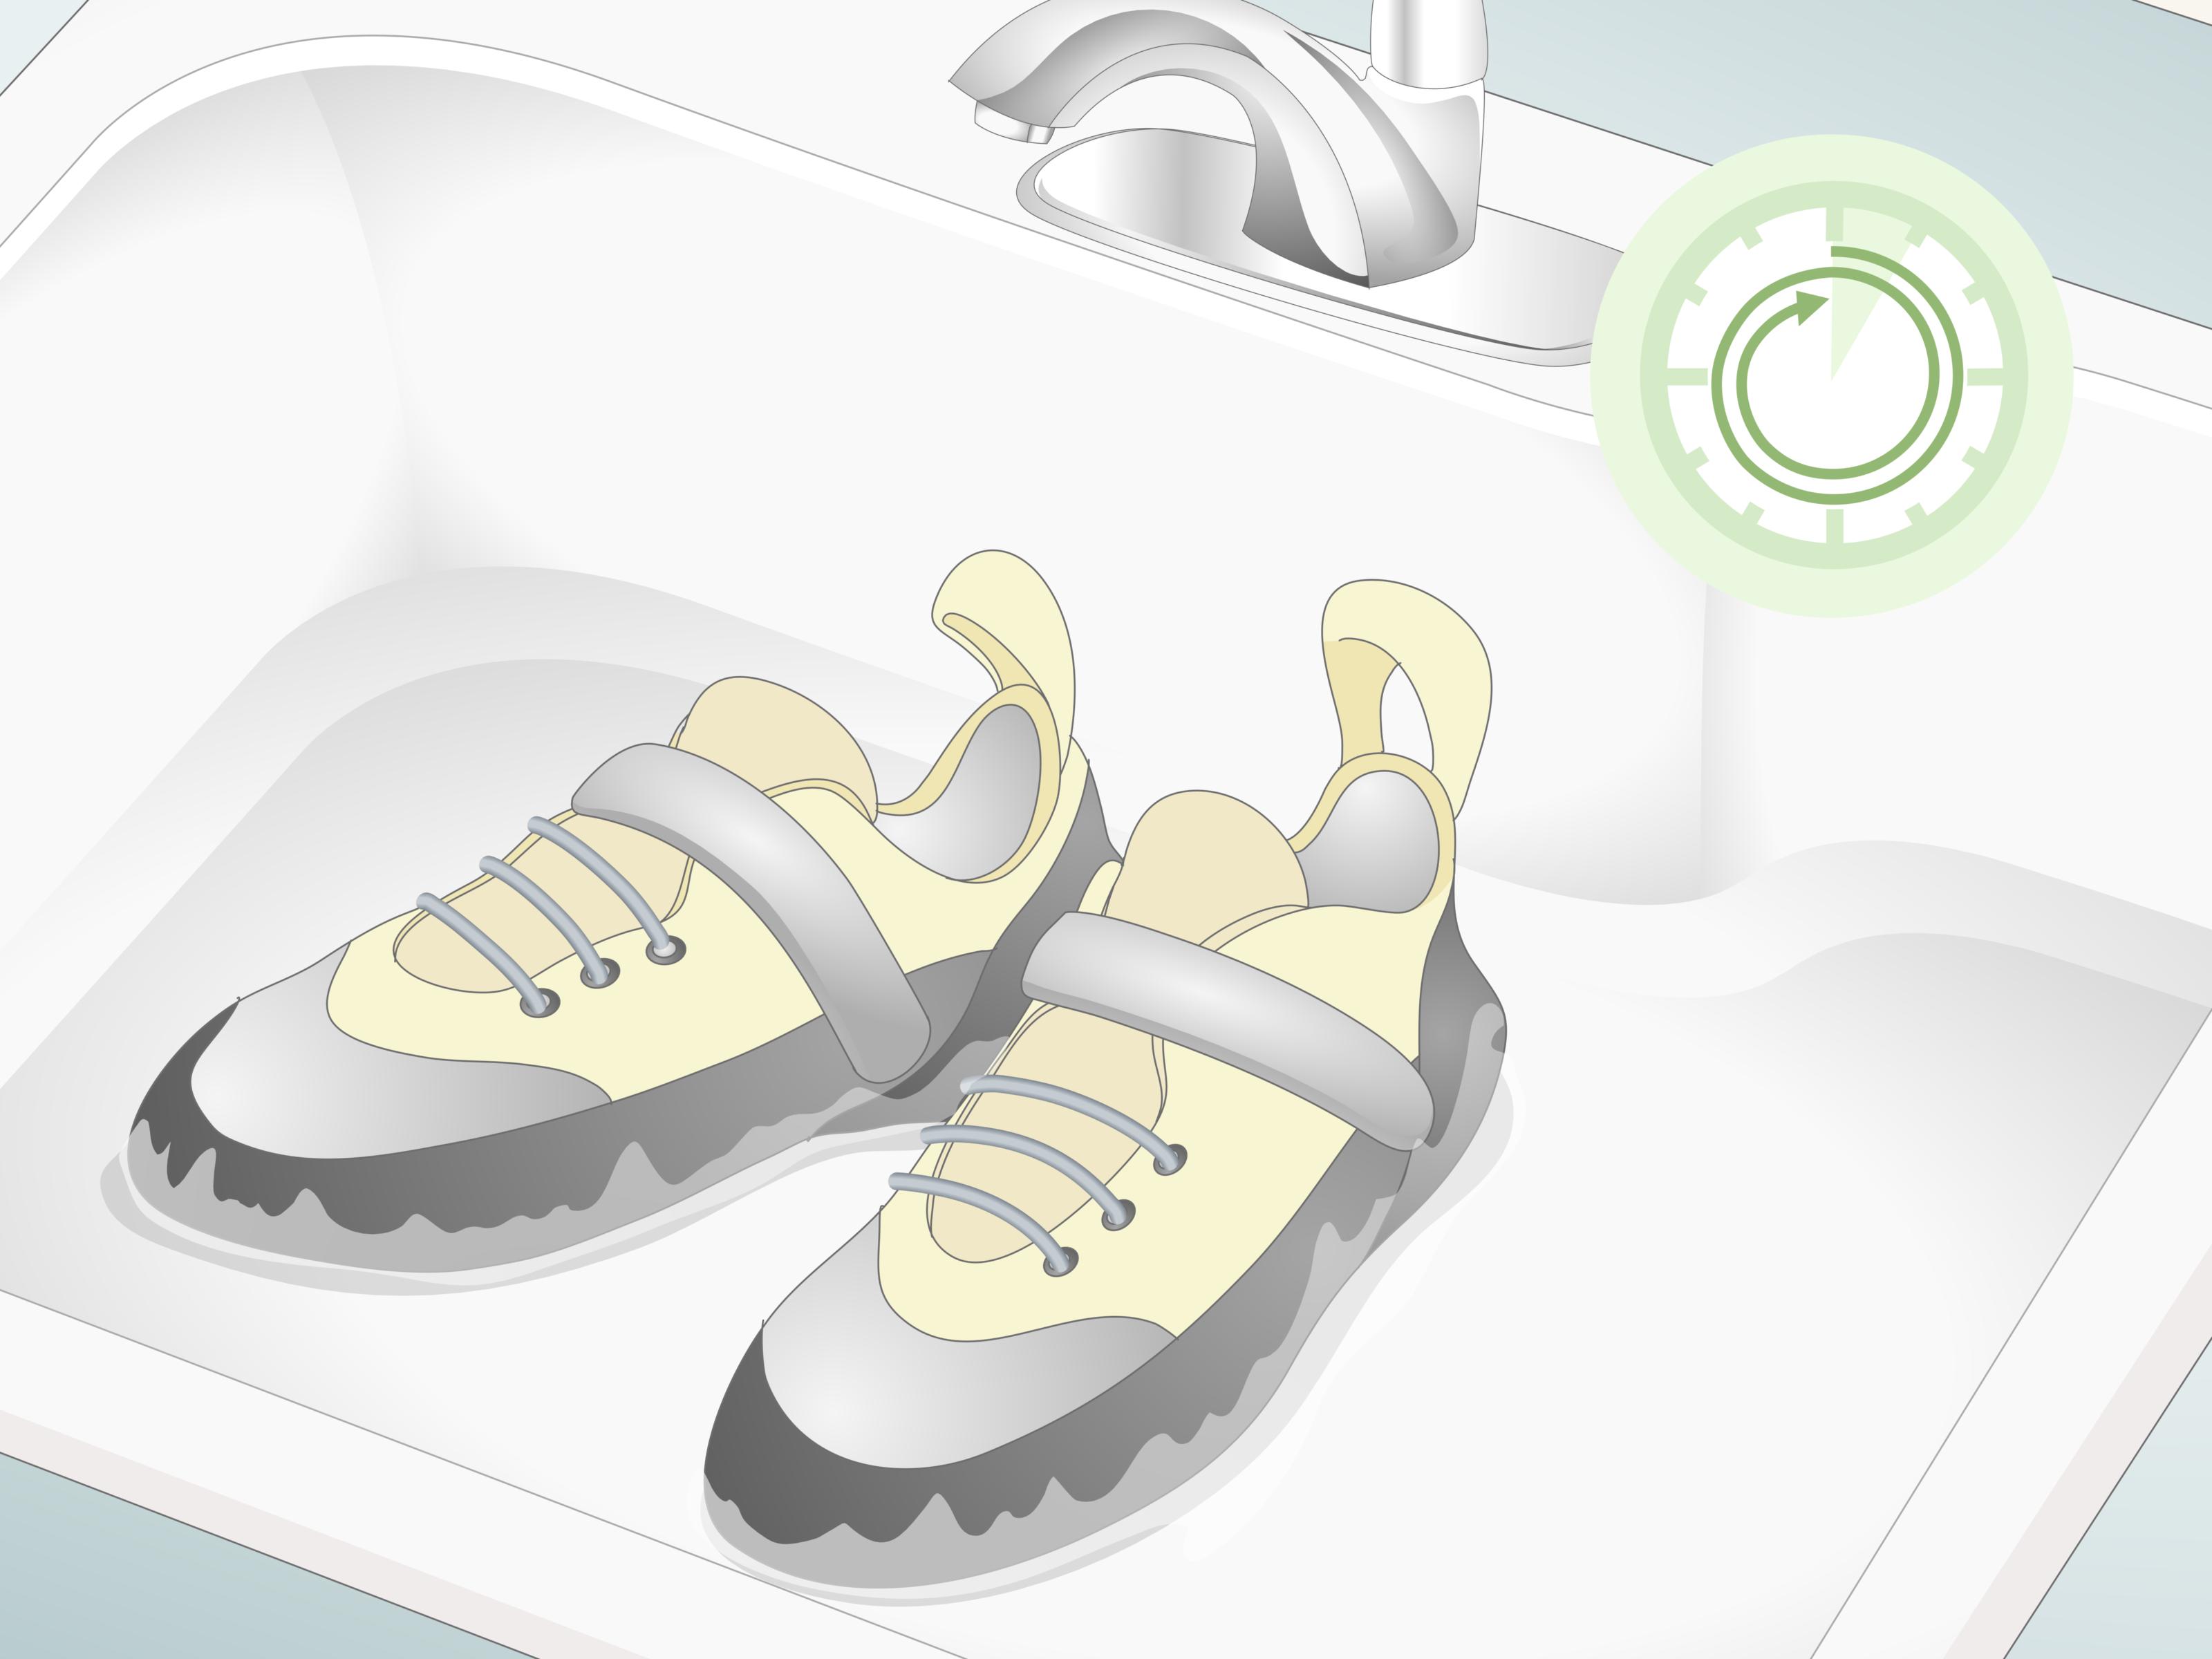
Way 1: Break Them In With Short Wearing Sessions
The safest way to stretch rock climbing shoes is also the least dramatic: wear them in short, controlled sessions. This method works especially well for shoes that are only slightly tight. Think “snug and cranky,” not “my foot has entered another dimension.”
How to Do It
Put on your climbing shoes at home for 10 to 15 minutes at a time. Walk around gently, flex your toes, stand on your toes, and let your body heat soften the upper. Take the shoes off before your feet become numb or truly painful. Repeat this over several days.
You can also wear them during easy warm-up climbs at the gym. Choose large footholds, low-angle routes, or simple boulder problems. Avoid long sessions on painful shoes. Remove them between climbs. Your feet need breaks, and honestly, so does your personality.
Use Thin Socks or Plastic Wrap
If the shoes are hard to get on, try a thin pair of socks or a small piece of plastic wrap over your heel. Plastic reduces friction and helps your foot slide into the shoe more easily. Thin socks add a tiny bit of volume, which can encourage the upper to relax without overdoing it.
Do not use thick winter socks unless the shoes have enough room to handle them. Thick socks can create too much pressure and distort the shoe. The idea is gentle stretching, not turning your climbing shoe into a camping boot.
Best For
This method is best for leather shoes, lined leather shoes, neutral beginner shoes, and moderate shoes that already fit almost correctly. It is also the best first step for synthetic shoes because it allows them to soften without damaging glue, rubber, or shape.
What to Expect
After a few sessions, the shoe may feel easier to put on, less sharp around the toe knuckles, and more natural under the arch. Leather may stretch visibly. Synthetic shoes may feel more forgiving but probably will not become much larger.
Way 2: Use the Warm Water Method
The warm water method is a popular technique for stretching climbing shoes, especially leather models. Heat, moisture, and foot pressure help the upper mold to your foot faster than dry wear alone. It is a bit weird the first time you do it, but climbers are already people who voluntarily hang from plastic mushrooms, so we cannot pretend this is the strangest part of the sport.
How to Do It Safely
Put on the climbing shoes. Use warm water, not boiling water. You can step into a shower briefly or dampen the upper with warm water using a cloth. Keep the shoes on for several minutes while gently flexing your feet. Afterward, remove the shoes and let them air dry naturally in a well-ventilated place.
Do not use a hair dryer, heater, radiator, clothes dryer, oven, or direct sunlight to dry them. High heat can damage adhesives, warp rubber, stiffen materials, and shorten the life of the shoe. Climbing shoes are performance tools, not pizza rolls.
Use Caution With Synthetic Shoes
Warm water may help synthetic uppers soften a little, but the results are limited. It may also affect dyes, odors, and interior materials. If your synthetic shoes are only mildly tight, dry break-in sessions are usually safer. If they are painfully small, exchanging them is wiser than trying to water-bend them into obedience.
Best For
The warm water method is best for unlined leather or lined leather shoes that are close to fitting well but need more room across the forefoot, toe knuckles, or instep. It can help with pressure points where the upper material needs to relax.
What to Expect
Leather shoes may feel noticeably more comfortable after one or two warm-water sessions. The upper may mold around bunions, wide forefeet, or high-volume toes. Still, be conservative. You can always repeat the process, but you cannot easily “unstretch” a shoe that becomes sloppy.
Way 3: Use Targeted Stretching for Pressure Points
Sometimes the whole shoe does not need stretching. Maybe your big toe knuckle is angry. Maybe the outside edge pinches your pinky toe. Maybe the heel is fine, the arch is fine, and one tiny area has decided to become the villain of your climbing season. In that case, targeted stretching is more useful than stretching the entire shoe.
Option A: Wear Them With Slight Extra Volume
Put on a thin sock or wrap the problem area of your foot with a small piece of athletic tape. Then wear the shoes for 10 to 20 minutes. The extra layer adds pressure exactly where you need more space. This method is subtle, but subtle is good. You want a climbing shoe, not a floppy slipper with commitment issues.
Option B: Use a Shoe Stretcher Carefully
A small shoe stretcher or bunion plug can help expand a specific pressure point. Insert it gently and increase tension slowly. Leave it for a few hours, then check the fit. Do not crank it aggressively. Climbing shoes have tensioned rubber and curved shapes that can be damaged by too much force.
Option C: The Freezer Bag Method
Some climbers use water-filled plastic bags placed inside the shoes, then freeze them so the expanding ice pushes the upper outward. This can create stretch, but it is easy to overdo and may stress seams, glue, or rubber. If you try it, use very little water, double-bag carefully to prevent leaks, and check the shoe shape afterward. This method is better reserved for older shoes or low-risk pairs, not your brand-new premium project shoes.
Best For
Targeted stretching is best for localized tight spots, wide forefeet, bunions, or toe knuckle pressure. It is not ideal for shoes that are too short overall or aggressively downturned shoes that hurt everywhere.
What to Expect
You may gain just enough room to remove the “hot spot” without ruining performance. That is the goal. A climbing shoe should still feel snug after stretching. If your heel starts lifting or your foot slides around inside, you have gone too far.
What Not to Do When Stretching Climbing Shoes
Do Not Use Extreme Heat
Avoid ovens, microwaves, high-heat dryers, space heaters, and hair dryers. Heat can weaken adhesives, deform rubber, and change the fit in unpredictable ways. It may also make the shoe smell like regret with a hint of burnt gym bag.
Do Not Force Painful Shoes
If your feet go numb, your toenails ache, or you cannot stand normally, stop. Painful shoes can affect your foot health and your climbing technique. You will not climb gracefully if every foothold feels like a personal insult.
Do Not Expect Synthetic Shoes to Grow a Full Size
Synthetic shoes are designed to hold their shape. That is one reason performance climbers like them. But it also means they will not stretch dramatically. If a synthetic pair is clearly too small, return or exchange it before you chalk it up and lose that option.
Do Not Stretch the Heel Too Much
A snug heel is important for heel hooks and precise footwork. If you overstretch the heel, the shoe may pop off or feel unstable. Stretch pressure points in the forefoot before messing with heel tension.
How Long Does It Take to Stretch Rock Climbing Shoes?
Most climbing shoes need several sessions to settle. Leather shoes may feel different after the first few wears and continue stretching over weeks. Lined leather may stretch moderately. Synthetic shoes may soften after a handful of gym sessions but usually stay close to their original size.
A reasonable break-in schedule looks like this: wear the shoes for short home sessions during the first few days, climb easy routes in them for the next few gym visits, and remove them between climbs. After about five to ten sessions, you should know whether the shoes are breaking in or simply wrong for your foot.
Should Beginners Stretch Climbing Shoes?
Beginners should be careful. Many new climbers buy shoes too tight because they hear that “climbing shoes are supposed to hurt.” That advice has caused more unnecessary suffering than bad coffee at a 6 a.m. alpine start.
Your first pair should be snug but wearable. You should be able to keep them on for several climbs without serious pain. A neutral or moderate shoe that fits well will help you learn foot placement, edging, smearing, and balance. An aggressively tight shoe may only teach you how fast you can remove Velcro.
When Stretching Worksand When It Does Not
Stretching works when the shoe is close to the right size and the problem is mainly upper tightness. It can help if the shoe pinches across the forefoot, presses on toe knuckles, or feels stiff during the first sessions.
Stretching does not work well when the shoe is too short, the toe box shape does not match your foot, the heel cup is wrong, or the shoe’s downturn is too aggressive for your current needs. In those cases, a different model, size, or volume may solve the problem better than any break-in hack.
Practical Examples
Example 1: Leather Beginner Shoes Feel Tight Across the Toes
Use short wearing sessions first. If they still pinch after a few gym sessions, try the warm water method once. Let them air dry naturally and reassess. These shoes will likely stretch enough if the size is close.
Example 2: Synthetic Bouldering Shoes Crush the Big Toe
Try short sessions and targeted pressure-point stretching with tape or a thin sock. If the pain remains sharp, exchange them. Synthetic bouldering shoes with heavy rubber coverage will not stretch like leather slippers.
Example 3: Shoes Fit Well Except One Pinky-Toe Hot Spot
Use targeted stretching. Add a tiny pad over the pinky toe and wear the shoes briefly. Repeat gradually. This can create just enough relief without making the entire shoe sloppy.
Extra Experience: What Climbers Learn After Stretching a Few Pairs
The first lesson is that stretching climbing shoes is less about heroics and more about patience. Most climbers eventually learn this after buying at least one pair that was “definitely going to stretch” and then discovering that optimism is not a material science. Leather stretches. Synthetic softens. Rubber laughs at your plans.
A smart approach is to treat new shoes like a climbing project. You do not jump on the crux cold and expect magic. You warm up, test movement, adjust beta, and slowly build confidence. With shoes, that means wearing them for short periods, paying attention to where the pressure happens, and making small changes instead of launching into extreme hacks.
One useful habit is keeping notes after the first few sessions. Write down where the shoe hurts: big toe, pinky toe, arch, heel, Achilles, top of the knuckles, or under the front rand. This sounds overly serious until you realize all foot pain becomes one blurry memory after the session. Specific notes help you decide whether the shoe needs more break-in, targeted stretching, or a return label.
Another experience-based tip: test shoes at the time of day you usually climb. Feet can swell slightly throughout the day or during warm gym sessions. A shoe that feels perfect at 9 a.m. may feel like a rubber bear trap at 7 p.m. after work, school, walking, or standing. If you climb in the evening, evaluate your shoes in the evening.
Climbers with wide feet often benefit from choosing the right last instead of relying on stretching. A narrow shoe can sometimes be stretched a little, but it may never feel natural. A wider model in the correct size usually performs better than a narrow model tortured into submission. The same goes for high-volume feet, low-volume feet, narrow heels, and long second toes. Shoe shape matters as much as size.
There is also a performance lesson here. Shoes that are too loose reduce precision, but shoes that are too painful can reduce performance too. If you are scared to weight your toe because the shoe hurts, you will avoid using your feet properly. Good climbing footwork requires trust. A well-fitted shoe lets you stand, smear, edge, flag, and pivot without thinking about your toes every three seconds.
For outdoor climbing, be even more conservative. A tight shoe may be tolerable for short indoor boulders, but long sport routes, multi-pitch climbs, and crack climbing are different beasts. A shoe that feels powerful on a 45-degree spray wall may feel ridiculous when jammed into a crack or worn at a belay ledge. Many experienced climbers own different shoes for different jobs: comfortable shoes for mileage, precise shoes for hard attempts, and old shoes for gym training.
Finally, remember that stretching has a limit. If you have tried careful break-in sessions, warm water, and targeted pressure-point work, and the shoes still hurt badly, the problem is probably not your technique. It is the shoe. Sell them lightly used, exchange them if possible, or save them for very short attempts. Your feet are not weak because they dislike being compressed into the shape of a cashew.
Conclusion
Stretching rock climbing shoes can make a good pair better, but it cannot rescue every bad fit. Start with the safest method: short break-in sessions. If the shoes are leather and close to comfortable, try the warm water method. For one stubborn hot spot, use targeted stretching with a thin sock, tape, or a careful shoe stretcher.
The most important rule is simple: snug is good; unbearable is not. Your climbing shoes should help you move with precision, confidence, and control. They should not make you question every life decision that brought you to the climbing gym.
Choose the right material, respect the shoe’s construction, avoid extreme heat, and stretch gradually. Your feet will thank you, your climbing will improve, and your shoes will last longer. That is a much better outcome than turning a $200 pair of performance shoes into rubber-flavored origami.