

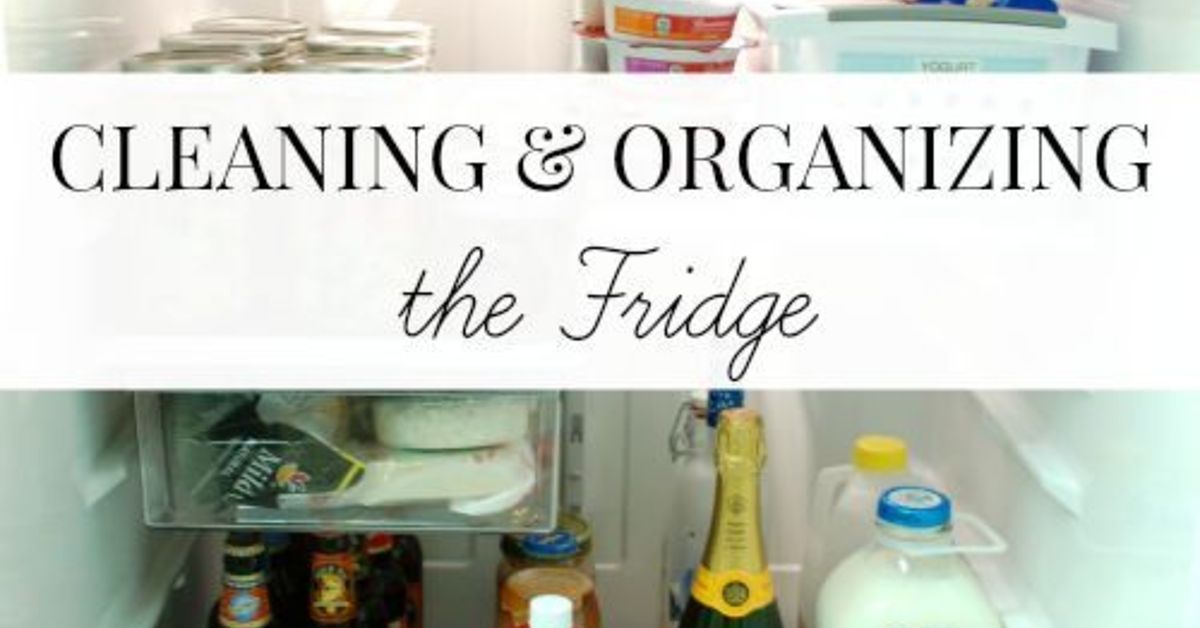
The refrigerator is the quiet roommate of the kitchen. It hums politely in the corner, protects your groceries, guards your leftovers, and occasionally hides a cucumber until it becomes a science project with commitment issues. Cleaning & organizing the fridge is not just about making things look pretty for five glorious minutes before someone shoves a pizza box in sideways. It is about food safety, saving money, reducing waste, and creating a kitchen that does not require archaeological tools every time you want mustard.
A clean, organized refrigerator helps food stay fresher, makes meal planning easier, and prevents the classic household mystery: “When did we buy three bottles of ranch?” With the right system, your fridge can become less of a cold junk drawer and more of a practical, efficient food headquarters.
Why Cleaning and Organizing the Fridge Matters
A messy fridge is not just annoying. It can lead to forgotten leftovers, spoiled produce, cross-contamination, bad smells, and wasted grocery money. Food hidden behind mystery jars is food likely to be ignored until it develops a personality. Proper fridge organization keeps items visible, separates raw foods from ready-to-eat foods, and helps your refrigerator maintain a safe, steady temperature.
For food safety, your refrigerator should stay at or below 40°F, while the freezer should stay at 0°F. A small appliance thermometer is a smart investment because built-in dials are not always precise. Think of it as a tiny security guard for your milk, meat, and leftovers.
Step One: Empty the Fridge Like You Mean It
The best way to clean a fridge is to start with a full reset. Remove everything from the shelves, drawers, and doors. If you have a lot of perishable food, place it in a cooler with ice packs while you work. This is especially useful if your deep-cleaning session turns into a dramatic debate over whether the jar of olives from last Thanksgiving is still “probably fine.”
Sort Food Into Three Groups
Create three simple categories: keep, use soon, and toss. Keep items that are fresh, properly sealed, and still useful. Move older but safe foods into a “use soon” group. Toss anything moldy, slimy, leaking, sour-smelling, or suspicious enough to make you whisper, “What are you?”
Check expiration dates, but also use common sense. Some dates refer to quality rather than safety, yet spoiled food is spoiled food, regardless of what the label says. If the container is bulging, leaking, growing fuzz, or smells like regret, let it go.
Step Two: Remove Shelves, Drawers, and Bins
Take out removable shelves, crisper drawers, deli bins, and door racks. Wash them with warm, soapy water. If glass shelves are very cold, let them warm slightly before washing so they do not crack from sudden temperature changes. Your fridge shelves do not need a spa day, but they do deserve a gentle approach.
For sticky spills, use a baking soda paste made with baking soda and a little water. Let it sit for a few minutes, then wipe it away. Avoid harsh abrasive cleaners inside the refrigerator because strong chemical odors can linger and affect food.
Step Three: Clean the Interior Properly
Wipe the inside walls, ceiling, floor, shelf supports, and door compartments with warm water and mild dish soap or a baking soda solution. Pay close attention to corners, seams, and the back wall where drips like to hide. Dry surfaces thoroughly before returning food. Moisture plus forgotten lettuce is how tiny swamp lands are born.
Do Not Ignore the Door Gasket
The rubber door gasket is one of the most neglected parts of the refrigerator. It traps crumbs, sticky juice, dust, and occasionally one sesame seed that refuses to leave the premises. Clean it with warm, soapy water and a soft cloth or old toothbrush. A clean gasket helps the door seal tightly, which supports temperature control and energy efficiency.
Clean the Handle and Exterior
Fridge handles are high-touch surfaces. They are grabbed during cooking, snacking, grocery unloading, and late-night cheese investigations. Wipe handles regularly with a suitable cleaner for your fridge finish. For stainless steel, wipe with the grain to avoid streaks. Clean the top of the refrigerator too, because dust up there has been living rent-free.
Step Four: Organize by Temperature Zones
A smart fridge organization system follows the natural temperature zones of the appliance. Not every part of the refrigerator is equally cold. The door is usually the warmest area because it is exposed to room air whenever opened. The lower shelves are often colder and better for highly perishable items.
Top Shelf: Ready-to-Eat Foods
Use the top shelf for leftovers, ready-to-eat meals, yogurt, snacks, and foods that do not need cooking. Clear containers work well here because visibility is the secret weapon of fridge organization. If you can see it, you are more likely to eat it before it becomes a tiny tragedy.
Middle Shelves: Dairy, Drinks, and Everyday Items
Middle shelves are useful for milk, eggs if your fridge does not have a dedicated egg area, beverages, and frequently used ingredients. Keep these items grouped so breakfast does not become a scavenger hunt. Use shallow bins for small items like cheese sticks, hummus cups, and lunchbox snacks.
Bottom Shelf: Raw Meat, Poultry, and Seafood
Raw meat, poultry, and seafood should be stored on the lowest shelf in a leak-proof tray or bin. This prevents juices from dripping onto ready-to-eat foods. Cross-contamination is not a flavor profile; it is a food-safety problem. Keep raw proteins wrapped, contained, and away from produce or leftovers.
Door Shelves: Condiments, Not Milk
The door is best for condiments, pickles, jams, sauces, and other items that tolerate small temperature changes. Avoid storing highly perishable foods like milk in the door if you can help it. Milk deserves a colder, more stable shelf, not a roller coaster every time someone checks for snacks.
Crisper Drawers: Produce With a Plan
Crisper drawers help control humidity. In general, leafy greens and vegetables that wilt benefit from higher humidity, while many fruits do better in lower humidity. Keep fruits and vegetables separated when possible, especially ethylene-producing fruits such as apples, pears, and some stone fruits, which can speed up ripening in nearby produce.
Step Five: Use Containers, Labels, and the FIFO Rule
Professional kitchens often use a simple method called FIFO: first in, first out. The older item goes in front, and the newer item goes behind it. This keeps food moving and prevents you from opening three containers of salsa because nobody knew one was already there.
Labels are not just for people with perfect handwriting and matching spice jars. A simple piece of masking tape and a marker can save dinner. Label leftovers with the food name and date. Most cooked leftovers should be eaten within three to four days or frozen for longer storage. When in doubt, throw it out; the emergency room is a very expensive place to defend a questionable casserole.
Choose Clear, Stackable Containers
Clear containers make food visible. Stackable containers save space. Square and rectangular containers usually use shelf space more efficiently than round ones. Use airtight lids to reduce odors and prevent spills. If your container collection includes seventeen lids that fit nothing, this is your sign to stage a peaceful plastic uprising.
Step Six: Prevent Odors Before They Start
Bad fridge smells usually come from spoiled food, spills, or poorly sealed containers. The best odor control is prevention: wipe spills immediately, store strong-smelling foods in airtight containers, and do a quick weekly scan for expired items. An open box of baking soda can help absorb odors, but it is not a magic wand. It will not save a forgotten fish dinner from three weeks ago. Nothing will.
If odors remain after cleaning, remove all food, wash surfaces again, check drawers and gaskets, and look under removable parts. Sometimes the culprit is a tiny spill that has achieved villain status in a hidden corner.
Step Seven: Maintain a Weekly Fridge Reset
The secret to a clean refrigerator is not one heroic deep-clean per year. It is a small weekly reset. Before grocery shopping, spend ten minutes checking leftovers, tossing spoiled items, wiping sticky spots, and moving older foods to the front. This habit prevents clutter from building up and makes shopping easier because you know what you already have.
A Simple Weekly Fridge Checklist
- Throw away spoiled or unsafe food.
- Move older items to the front.
- Wipe spills and sticky jars.
- Check produce drawers for wilted items.
- Plan one meal around foods that need to be used soon.
- Confirm the fridge temperature is at or below 40°F.
How to Organize the Fridge for Meal Planning
A well-organized refrigerator can make meal planning almost effortless. Create zones for breakfast, lunch, dinner ingredients, snacks, and leftovers. For busy families, a snack bin can prevent the “What can I eat?” chorus from turning into a kitchen opera. For meal preppers, dedicate one shelf to prepared proteins, chopped vegetables, cooked grains, and sauces.
Another helpful strategy is the “eat first” bin. Place foods that need attention in one visible container: half an onion, cooked chicken, berries, opened deli meat, or the last tortillas. This reduces food waste because everyone knows what should be used before opening something new.
Common Fridge Organization Mistakes
The first mistake is overpacking. A refrigerator needs airflow to maintain even cooling. If every shelf is packed like a suitcase before vacation, cold air cannot circulate properly. The second mistake is storing raw meat above ready-to-eat foods. The third is using the door for everything. The fourth is forgetting labels, which turns leftovers into a guessing game nobody wins.
Another common mistake is cleaning only when the fridge smells bad. By the time odor arrives, your refrigerator has already filed several complaints. A monthly deeper wipe-down and a weekly mini-reset are much easier than facing an entire ecosystem later.
What to Do During a Power Outage
During a power outage, keep the refrigerator door closed as much as possible. A closed refrigerator can keep food cold for several hours, but every door opening lets cold air escape. If the outage lasts too long and perishable foods rise above safe temperatures, it is better to discard them than risk foodborne illness.
Keep appliance thermometers in both the refrigerator and freezer so you can check temperatures after power returns. Frozen foods that still contain ice crystals or remain at safe temperatures may be usable, but perishable refrigerated foods require caution. When food safety is uncertain, your trash can is cheaper than a stomachache with dramatic lighting.
Deep Cleaning Schedule: How Often Should You Clean the Fridge?
For most households, a quick weekly cleanout and a deeper cleaning every one to three months works well. Households with children, frequent cooking, bulk grocery shopping, or mystery condiment enthusiasm may need more frequent cleanups. Clean spills immediately, especially meat juices, dairy spills, and produce leaks.
Do not forget maintenance beyond the shelves. Vacuum dust from around the refrigerator and clean accessible coils according to your appliance manual. Clean coils and good airflow help the appliance run more efficiently. Check the door seal occasionally by closing the door on a piece of paper. If the paper slides out easily, the seal may need cleaning, adjustment, or replacement.
Fridge Organization Products That Actually Help
You do not need to buy a showroom’s worth of bins to organize a refrigerator. The most useful tools are clear containers, a thermometer, labels, shallow trays, and a few bins that fit your actual shelves. Avoid buying organizers before measuring your fridge. Otherwise, you may end up with expensive acrylic boxes that fit nowhere and judge you silently from the pantry.
Use bins for categories, not decoration. A dairy bin, snack bin, produce overflow bin, and “eat first” bin can make a huge difference. Lazy Susans can help with condiments, especially on deep shelves. Shelf liners can catch drips, but they should be washable and should not block airflow.
Fridge Cleaning and Organizing Experience Notes
The best fridge systems are the ones real people can maintain on a tired Tuesday. In practice, cleaning & organizing the fridge works best when it matches your household habits instead of pretending you live inside a catalog. If your family eats leftovers often, make the leftover zone front and center. If your kids grab snacks after school, keep healthy snacks at eye level. If you cook from scratch, give raw ingredients clear zones so dinner prep feels less like a treasure hunt and more like a plan.
One useful experience is to clean the fridge before grocery shopping, not after. When the fridge is emptier, the job is faster, and you can see what you need. This habit prevents duplicate purchases. You may discover that you already own enough mustard to open a small ballpark. It also helps you build meals around what is available: roasted vegetables can become soup, leftover chicken can become tacos, and slightly tired herbs can become pesto or compound butter.
Another practical lesson is that labels only work when they are easy. Fancy labels are lovely, but tape and a marker are faster. Write the date before putting leftovers away. Do not rely on memory. Memory is the same unreliable employee that told you there was “definitely cream cheese” when there was, in fact, an empty box with one crumb in it.
Clear containers also change behavior. When food is visible, people eat it. When food is wrapped in foil and shaped like a suspicious brick, people avoid eye contact. If you use opaque containers, label them clearly. Better yet, reserve one shelf for leftovers and make a household rule: check that shelf before cooking something new or ordering takeout.
For produce, the biggest improvement often comes from washing only what should be washed early and storing everything properly. Some berries last longer when kept dry until ready to eat. Leafy greens may benefit from a towel to absorb excess moisture. Herbs can be stored like flowers in a jar with a little water or wrapped gently, depending on the type. The key is not perfection; it is paying attention to moisture, airflow, and visibility.
Finally, the fridge should support your life, not become another guilt project. A clean refrigerator does not have to look like social media. It should smell fresh, keep food safe, reduce waste, and help you find dinner without moving eight jars of pickles. If you can open the door and understand what is inside within ten seconds, congratulations: your fridge is organized. It may not win a beauty contest, but it will win the weeknight dinner battle.
Conclusion
Cleaning & organizing the fridge is one of the simplest ways to improve your kitchen. It protects food safety, cuts waste, saves money, and makes daily cooking easier. Start by emptying the fridge, tossing spoiled food, washing shelves and drawers, wiping the interior, and organizing foods by temperature zone. Keep raw meat low, ready-to-eat foods high, condiments in the door, and produce in the right drawers. Add labels, clear containers, and a weekly reset, and your refrigerator will stop being a cold cave of chaos.
The goal is not perfection. The goal is a fridge that works. A clean, organized refrigerator helps you cook smarter, shop better, and avoid discovering ancient leftovers wearing tiny sweaters of mold. That is a win for your food, your budget, and your nose.