A pillowcase is usually the quiet sidekick of the bedroom: useful, washable, and occasionally guilty of stealing half the blanket’s spotlight. But with the right eye, a pillowcase can become something far more exciting: custom wall art that looks thoughtful, textured, and surprisingly expensive. DIY pillowcase wall art is one of those rare home decor projects that checks all the happy boxes. It is budget-friendly, beginner-friendly, renter-friendly, and forgiving enough that even a slightly crooked staple can be politely ignored.
This project turns a printed, embroidered, vintage, or plain pillowcase into fabric wall art using a canvas, frame, embroidery hoop, dowel, or stretcher bars. Instead of buying generic wall decor, you can create something personal from fabric you already own, a thrifted textile, a sentimental pillowcase, or a bold pattern that deserves more attention than a linen closet can offer.
Best of all, DIY pillowcase wall art works in almost every room. A floral pillowcase can soften a bedroom. A striped one can sharpen a home office. A playful print can brighten a nursery. A textured linen pillowcase can bring calm, minimalist charm to a hallway. It is home decor with personality, and unlike some craft projects, it does not require a garage full of tools or the patience of a monk.
What Is DIY Pillowcase Wall Art?
DIY pillowcase wall art is a handmade wall decor project that uses a pillowcase as the main design material. The fabric is stretched, wrapped, framed, painted, block printed, stitched, or hung to create a decorative piece for the wall. Think of it as fabric canvas art, but with a charming shortcut: the pillowcase already has finished seams, a usable size, and often a pattern ready to show off.
The most common method is to wrap the pillowcase around a canvas or wooden frame, pull it smooth, and secure it on the back with staples, tacks, or strong adhesive. Another option is to place sections of the pillowcase inside embroidery hoops for circular wall art. For a softer, tapestry-inspired look, you can hang the pillowcase from a wooden dowel with clips or a sewn pocket. If the pillowcase is plain, it can become a blank canvas for fabric paint, stamps, stencils, embroidery, or iron-on designs.
Why Pillowcases Make Great Wall Art
They Are Affordable and Easy to Find
Pillowcases are everywhere: in closets, thrift stores, clearance bins, estate sales, and bedding sets that lost their matching sheet years ago. Because you need only one piece of fabric for many wall art projects, a single pillowcase can be enough to create a beautiful focal point. That makes this DIY wall decor idea ideal for decorating on a budget.
They Already Have Finished Edges
Raw fabric can fray, stretch unevenly, or require hemming. Pillowcases already come with seams and finished edges, which gives you a cleaner starting point. Even if you cut the fabric open, the existing structure helps you plan the design and use the best-looking portion of the textile.
They Add Texture, Color, and Pattern
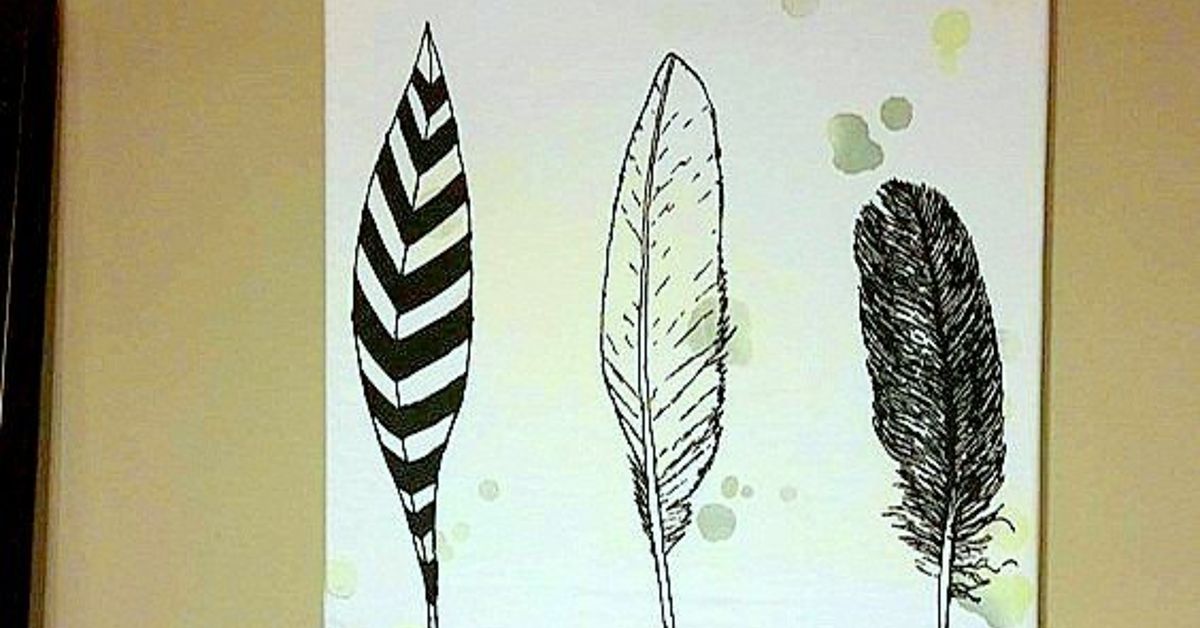
Painted walls can feel flat. Fabric adds softness, dimension, and visual interest. A pillowcase with embroidery, quilting, stripes, florals, block prints, or woven texture can instantly warm up a space. It is especially useful in rooms that need a cozy layer but not another throw pillow. Yes, there is such a thing as too many throw pillows. Some sofas are crying for help.
Best Pillowcases to Use for Wall Art
Not every pillowcase is destined for gallery greatness, but many can work beautifully. Cotton pillowcases are the easiest to handle because they press well, stretch evenly, and hold paint or stamps nicely. Linen pillowcases create a relaxed, organic look and work especially well in neutral interiors. Silk or satin pillowcases can look elegant, but they are slippery and may require extra care when stretching. Vintage embroidered pillowcases are wonderful for cottage, farmhouse, traditional, and eclectic spaces.
Before choosing your pillowcase, look at the pattern placement. A centered motif, border detail, monogram, or large-scale print can become the main feature. Small repeating patterns are easier to stretch because slight misalignment is less noticeable. If the pillowcase has stains or worn areas, do not reject it immediately. You may be able to crop around the damage, use the clean side, or add paint, appliqué, ribbon, or trim to disguise imperfections.
Tools and Materials You May Need
The exact supplies depend on the method you choose, but the basics are simple. For a wrapped canvas project, gather a pillowcase, blank canvas or wooden stretcher frame, scissors, iron, staple gun or upholstery tacks, ruler, pencil, and picture-hanging hardware. For a framed version, use a shadow box, thrifted frame, foam board, or mat board. For a hanging tapestry look, use a wooden dowel, cord, clips, or fabric glue. If you want to customize the fabric, add fabric paint, stencils, block stamps, embroidery thread, or iron-on letters.
One helpful tip: press the pillowcase before you begin. Wrinkles may look charming on a bed, but on wall art they can look like the fabric gave up halfway through the project. Use the proper heat setting for the material, and place a pressing cloth over delicate fabrics.
How to Make DIY Pillowcase Wall Art on Canvas
Step 1: Choose the Right Canvas Size
Lay your pillowcase flat and decide which section you want to display. A standard pillowcase can often cover a small or medium canvas, depending on the size and whether you open the seams. Make sure there is enough extra fabric to wrap around the sides and secure at the back. A good rule is to allow at least two to three inches of extra fabric on each side.
Step 2: Wash, Dry, and Iron the Pillowcase
Cleaning the pillowcase removes dust, storage smells, and sizing from the fabric. After washing, dry it fully and iron it smooth. If you are using vintage fabric, choose a gentle cycle or hand wash it to avoid damaging delicate embroidery or old fibers.
Step 3: Position the Design
Place the pillowcase face down on a clean table or floor. Set the canvas face down on top of it. Move the canvas around until the pattern looks balanced from the front. If the pillowcase has stripes, checks, or geometric shapes, take your time here. A crooked stripe has a special talent for bothering you forever.
Step 4: Pull and Secure the Fabric
Start by pulling the fabric over the back of the canvas on one side and securing it with a staple in the center. Move to the opposite side, pull the fabric snug, and staple the center there. Repeat on the remaining two sides. Continue stapling from the center outward, alternating sides to keep the tension even. The goal is smooth, not drum-tight. Pulling too hard can distort the pattern.
Step 5: Fold the Corners Neatly
For clean corners, fold the fabric as if wrapping a present. Tuck one side flat, fold the other over it, and staple securely on the back. Trim excess fabric if the corners become bulky, but avoid cutting too close to the staples. Turn the canvas over occasionally to check the front.
Step 6: Add Hanging Hardware
Attach a sawtooth hanger, D-rings, wire, or adhesive picture strips, depending on the weight of your finished piece and the wall surface. Lightweight pillowcase canvas art usually hangs easily, making it a good choice for apartments, dorms, nurseries, and gallery walls.
No-Sew DIY Pillowcase Wall Art Ideas
Embroidery Hoop Art
Embroidery hoops are perfect for turning small sections of a pillowcase into charming circular wall art. Place the fabric between the inner and outer hoop, tighten the screw, pull the fabric smooth, and trim the excess at the back. Use one large hoop for a statement piece or several small hoops for a playful arrangement.
Framed Pillowcase Art
A beautiful pillowcase can be framed like a textile print. Wrap the fabric around foam board or mat board, secure it on the back with tape or pins, and place it inside a frame. This method is excellent for vintage linens, monograms, lace borders, or embroidered pillowcases because the glass or frame helps protect the fabric.
Dowel Wall Hanging
For a relaxed tapestry-style project, hang a pillowcase from a wooden dowel. You can use clip rings, fabric glue, or a simple sleeve made from the pillowcase opening. Add cord or twine to the ends of the dowel and hang it from a hook. This version works well with boho, coastal, farmhouse, and casual interiors.
Fabric-Covered Frame Mat
If the pillowcase pattern is subtle, use it to wrap a picture mat or frame border. This gives a plain print, photo, or quote a custom look. It is a clever way to make inexpensive art feel more polished without paying custom framing prices that make your wallet stare into the distance.
Creative Ways to Customize Pillowcase Wall Art
A plain white or solid-color pillowcase can become original artwork with a few simple upgrades. Use fabric paint and stencils to create botanical shapes, stars, arches, checkerboards, or abstract lines. Block printing is another beautiful option because it gives the fabric a handmade, imperfect charm. You can also add embroidery details, tassels, pom-pom trim, ribbon borders, or iron-on lettering.
For a modern look, try a tone-on-tone design. Paint cream shapes on a white pillowcase or charcoal patterns on gray linen. For a kids’ room, use bright colors, animals, letters, or transportation motifs. For a sentimental project, use a pillowcase from a childhood bedding set, a loved one’s linen collection, or a fabric that reminds you of a special place.
Where to Display DIY Pillowcase Wall Art
In a bedroom, pillowcase wall art feels especially natural because it subtly connects to bedding and soft furnishings. Hang it above the bed, next to a reading chair, or as part of a gallery wall. In a nursery or child’s room, it can introduce pattern without overwhelming the space. In a hallway, a framed textile piece adds warmth where furniture may not fit. In a living room, oversized fabric art can soften hard surfaces like wood, metal, and glass.
For the best visual balance, choose a size that suits the wall. Small art can disappear above a large sofa, while huge art can overwhelm a narrow entryway. If you are making several pieces, keep spacing consistent. A gap of two to four inches between frames or canvases usually creates a clean, intentional display.
Design Tips for a Professional Look
Match the Mood, Not Everything
Your pillowcase wall art does not need to match your curtains, rug, and bedding exactly. In fact, too much matching can feel stiff. Instead, repeat one or two colors from the room and let the pattern add personality. A blue-and-white pillowcase can connect with navy books on a shelf. A rust floral can echo warm wood tones. A black-and-cream stripe can sharpen a neutral room.
Use Texture as a Design Tool
Texture can be just as powerful as color. Linen feels relaxed. Velvet feels rich. Cotton feels crisp. Embroidery feels personal. Lace feels delicate. When you choose a pillowcase, think about what the room needs. If the space feels cold, choose a warmer textile. If it feels busy, choose a simple fabric with a quiet pattern.
Think in Sets
One pillowcase can often produce two or three smaller pieces of art. Cut sections from the same fabric and frame them as a series. This creates a designer look while keeping the project cohesive. Triptychs, paired canvases, and hoop groupings are especially effective in bedrooms and hallways.
Common Mistakes to Avoid
The first mistake is skipping the ironing step. Wrinkled fabric can make even the prettiest pillowcase look unfinished. The second mistake is pulling the fabric unevenly, which can warp the design. Staple slowly and check the front often. The third mistake is choosing a canvas that is too large for the pillowcase. If the fabric barely reaches the back, it will be difficult to secure and may loosen over time.
Another common issue is using the wrong adhesive. Hot glue can work for lightweight trims, but it may create lumps under thin fabric. Spray adhesive can be useful, but it should be applied carefully in a ventilated area. For valuable vintage pillowcases, avoid permanent glue whenever possible. Use framing, pins, or stitching so the textile can be removed later.
Budget Breakdown
DIY pillowcase wall art can cost very little, especially if you already have fabric and a frame. A thrifted pillowcase may cost just a few dollars. A small blank canvas, embroidery hoop, or secondhand frame can also be inexpensive. Even if you purchase fabric paint, trim, or hanging hardware, the total cost is usually far below store-bought textile art.
To save more, shop your home first. Look for pillowcases from incomplete sheet sets, seasonal bedding you no longer use, or decorative pillow covers with damaged backs but beautiful fronts. Check thrift stores for vintage linens, embroidered cases, and bold prints. The best finds often hide in the bedding aisle, quietly waiting for someone with a staple gun and a dream.
Cleaning and Care
Because pillowcase wall art is made from fabric, dust it gently with a lint roller, microfiber cloth, or soft brush. Avoid hanging delicate textiles in damp bathrooms or direct sunlight, which can fade colors over time. If the art is framed behind glass, clean the glass as usual while keeping moisture away from the frame edges. For unframed textile art, spot clean carefully only when needed.
DIY Pillowcase Wall Art Experience: Lessons from the Craft Table
The first time you make DIY pillowcase wall art, you may expect the project to be almost suspiciously easy. In many ways, it is. But like most simple crafts, the small details decide whether the result looks handmade in a charming way or handmade in a “the stapler won and I lost” way. The biggest lesson is to slow down during layout. Before cutting or stapling anything, place the pillowcase on the floor and look at it from several angles. Patterns can behave differently once they are stretched over a rectangular canvas. A floral spray that looks centered on the table may shift once the fabric wraps around the sides.
Another useful experience is learning that not every pillowcase needs to be cut. Sometimes the best method is to keep the pillowcase whole and simply wrap it around a canvas like a slipcover. This is especially smart for sentimental fabric because it preserves the textile. If you later change your decor, you can remove the staples carefully and reuse the pillowcase in another project. For vintage linens, that reversibility feels respectful.
Fabric thickness also matters more than beginners expect. Thin cotton may show the texture or color of the canvas underneath, especially if the canvas has printed packaging marks or a bold logo on the back edge. A simple fix is to place a layer of white cotton or muslin between the canvas and the pillowcase. This creates a cleaner base and helps the pattern look brighter. On the other hand, thick fabric can make corners bulky, so trimming and folding neatly becomes more important.
One of the most satisfying discoveries is how easily pillowcase wall art can solve awkward decorating problems. Have a narrow wall beside a closet? A vertical framed pillowcase panel can fit beautifully. Need affordable art above a crib? A soft fabric design adds color without heavy materials. Want to refresh a guest room without repainting? A pair of matching pillowcase canvases can connect the bedding, curtains, and rug in one afternoon.
The project is also a good reminder that decor does not have to be expensive to feel personal. A store-bought print may be pretty, but a piece made from your grandmother’s embroidered pillowcase, a child’s outgrown bedding set, or a fabric found during a weekend thrift trip carries a story. Guests may not know the story immediately, but they will sense that the room has character. And when they ask where you bought the art, you get the small, delightful pleasure of saying, “Oh, I made that.” Try not to say it too smugly. Or do. You earned it.
If you are making this project with kids, let them help choose the fabric, position the design, or add painted details. Keep the cutting and stapling for adults, but invite younger makers into the creative decisions. Their choices are often bold, funny, and refreshingly free from the fear of whether something is “on trend.” A dinosaur pillowcase in a gold frame? Honestly, that could be the next big thing.
Finally, the best experience-related advice is this: make one small test piece before creating a large statement work. Use a mini canvas or embroidery hoop to test how the fabric stretches, how the colors look on the wall, and whether the pattern suits the room. Once you understand the material, scaling up becomes much easier. DIY pillowcase wall art is not just a craft; it is a low-pressure way to practice design thinking, reuse textiles, and make your home feel more like you.
Conclusion
DIY pillowcase wall art proves that beautiful home decor does not need to start in an expensive gallery or end with a terrifying credit card statement. With one pillowcase, a few basic supplies, and a little patience, you can create fabric wall art that feels custom, cozy, and full of personality. Whether you stretch it over canvas, frame it, hang it from a dowel, or turn it into hoop art, a simple pillowcase can become a stylish focal point for your bedroom, hallway, nursery, living room, or office.
This project is also a smart way to reuse textiles, preserve sentimental fabrics, and experiment with color and pattern without making a permanent commitment. In other words, it is the rare DIY that is practical, pretty, and forgiving. Your walls get a fresh look, your closet gets a little less crowded, and your pillowcase gets the dramatic career change it never knew it needed.