

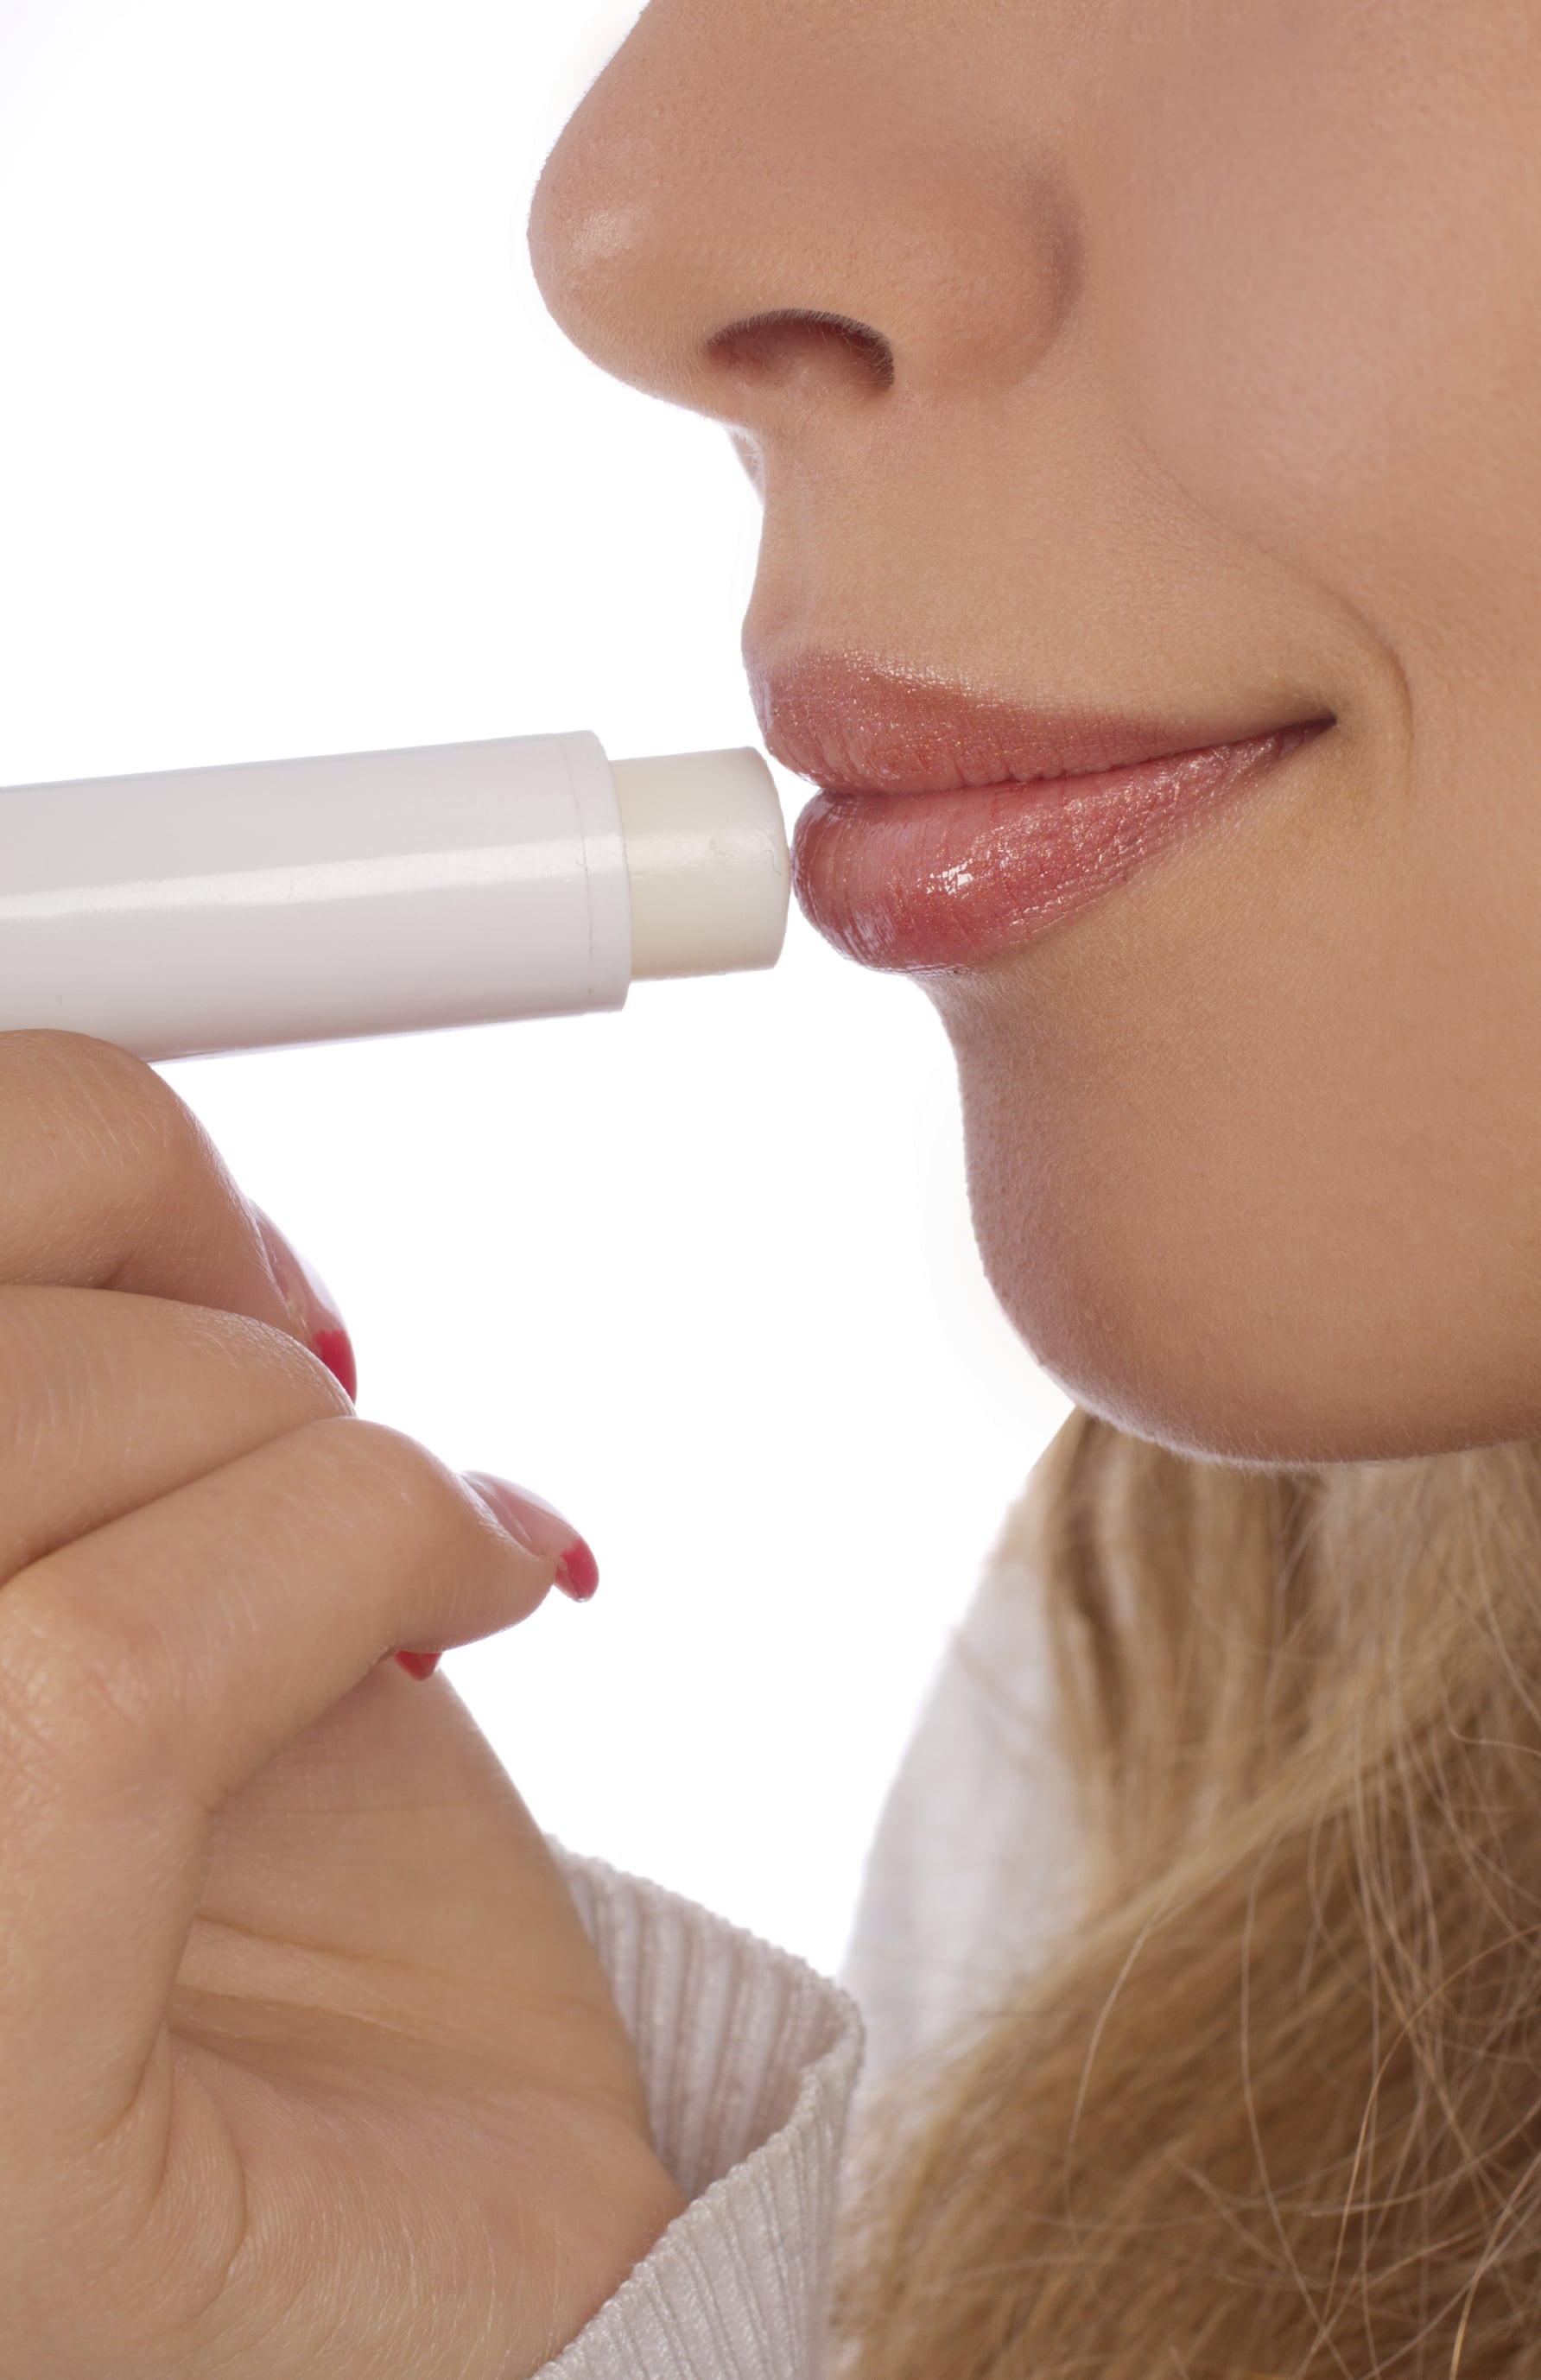
There are two kinds of people in winter: people with a lip balm in every pocket, and people who are currently regretting that decision. A good homemade lip balm is one of the easiest DIY beauty projects you can make at home. It takes only a few ingredients, a little gentle heat, and approximately zero fancy laboratory coats.
Better still, making your own balm lets you control the texture, scent, and ingredient list. Want a firm beeswax lip balm that survives the bottom of a handbag? You can make that. Prefer a soft, buttery balm for a bedside tin? Also possible. The secret is not magical fairy dust. It is simply understanding how waxes, oils, and butters work together.
This guide walks through a reliable DIY lip balm recipe, ingredient swaps, common mistakes, safety tips, and the small lessons that make homemade lip balm feel less like a science experiment and more like a tiny act of self-care.
Why Make Homemade Lip Balm?
A homemade lip balm recipe gives you control over the ingredients that touch your lips all day. Commercial lip products can be perfectly useful, but some people prefer a simpler formula with fewer fragrances, flavorings, dyes, or cooling ingredients.
That matters because irritated lips often do better with bland, non-irritating products. Dermatologists commonly recommend avoiding ingredients that sting, tingle, burn, or create a “medicated” sensation when lips are already dry or cracked. Menthol, camphor, phenol, and strong fragrances may make sensitive lips feel worse rather than better.
Another advantage is customization. You can make a rich winter balm, a lightweight summer balm, a vegan lip balm, a lightly tinted balm, or a fragrance-free version for sensitive skin. Homemade does not automatically mean better, but it does mean you get to be the boss of the tiny saucepan.
How Homemade Lip Balm Works
Most DIY lip balm formulas use three main ingredient types:
Wax: The Structure Builder
Wax gives lip balm its shape. Beeswax is the classic choice because it creates a protective, firm texture and helps the balm stay solid in a tube. Candelilla wax is a common vegan option, although it is harder than beeswax, so you typically need less of it.
Butter: The Comfort Ingredient
Butters such as shea butter, cocoa butter, mango butter, or kokum butter create a creamy, cushiony feel. Shea butter usually gives a softer, smoother finish, while cocoa butter can make a balm firmer and more heat-resistant.
Liquid Oil: The Slip Factor
Jojoba oil, sweet almond oil, sunflower oil, avocado oil, or fractionated coconut oil add glide and help the balm spread evenly. A balm without enough oil can feel draggy, waxy, or like you accidentally applied a candle to your mouth.
A simple formula is usually a balance of wax for structure, butter for softness, and oil for smooth application. Change one ingredient, and the personality of the balm changes with it.
Ingredients for an Easy Homemade Lip Balm Recipe
This beginner-friendly recipe makes about 1 ounce, or roughly five to six standard lip balm tubes depending on tube size. It creates a medium-firm balm suitable for tubes or small tins.
- 10 grams beeswax pellets
- 8 grams shea butter
- 12 grams jojoba oil or sweet almond oil
- Optional: 1 to 2 drops of lip-safe flavor oil
- Optional: a tiny amount of lip-safe mica or cosmetic-grade colorant
University Extension guidance for beeswax lip balm uses the same basic framework: wax, oils, butter, and optional scent blended gently in a double boiler before being poured into containers.
For a fragrance-free natural lip balm, leave out the flavor oil completely. Plain is not boring here. Plain is peaceful, dependable, and unlikely to start drama with sensitive lips.
How to Make Homemade Lip Balm Step by Step
1. Prepare Your Containers First
Set out clean, dry lip balm tubes or tins before you melt anything. Once the mixture is ready, it begins cooling quickly. Searching for containers while holding a pot of melted wax is how a relaxing craft project becomes an episode of kitchen chaos.
2. Create a Gentle Double Boiler
Add a few inches of water to a saucepan and place a heat-safe glass measuring cup or small heat-safe bowl inside. The bottom of the cup should not sit directly on the hot pan. Keep the water at a gentle simmer rather than a roaring boil.
3. Melt the Wax, Butter, and Oil
Add the beeswax, shea butter, and oil to the measuring cup. Stir occasionally until everything is fully melted and clear. Do not rush this step with high heat. Slow melting gives you better control and reduces the chance of overheating delicate oils or making your kitchen smell like a candle factory on overtime.
4. Add Optional Flavor or Color
Remove the mixture from heat. If using a lip-safe flavor oil, add only a very small amount and stir thoroughly. Avoid random essential oils, especially around the mouth. Essential oils can irritate skin, and some can be dangerous if swallowed or misused. Tea tree oil, for example, should not be used in or around the mouth.
For tint, use only cosmetic-grade pigments or mica intended for lip products. Do not use crayons, food coloring, craft glitter, powdered drink mix, or “whatever looked sparkly in the kitchen drawer.” Your lips deserve better than arts-and-crafts roulette.
5. Pour and Cool
Carefully pour the melted balm into tubes or tins. Leave them undisturbed for 30 to 60 minutes so they can set evenly. Once solid, cap them and label the batch with the date and ingredients.
How to Adjust the Texture of Your DIY Lip Balm
The best homemade lip balm is the one you actually enjoy using. Tiny adjustments can make a big difference.
For a Firmer Lip Balm
Add a little more beeswax. This helps if your balm is too soft, melts in your pocket, or turns into a tiny glossy puddle during warm weather. Add wax in small increments because too much can make the balm feel stiff and draggy.
For a Softer Balm
Add more liquid oil or reduce the wax slightly. A softer balm is ideal for tins, but it may not travel well in hot cars, beach bags, or any place where the sun behaves like it has a personal grudge.
For a Vegan Lip Balm
Replace beeswax with candelilla wax. Because candelilla wax is harder, begin with about half to two-thirds of the amount of beeswax called for, then test the cooled texture before making a larger batch.
For a Cocoa Butter Lip Balm
Swap shea butter for cocoa butter if you want a firmer balm with a subtle chocolate-like aroma. Cocoa butter can be especially useful for a summer formula, although any balm should still be kept away from excessive heat.
Ingredients to Avoid in Homemade Lip Balm
DIY beauty is fun, but lips are not a place for wild experiments. Skip ingredients that may irritate, spoil quickly, or make the formula unstable.
- Fresh fruit juice or fruit puree
- Water, tea, floral water, or aloe gel
- Raw honey or syrup
- Undiluted essential oils
- Craft glitter or non-cosmetic pigment
- Strong cinnamon, peppermint, or citrus oils
- Food coloring that is not intended for cosmetic lip use
Water-based ingredients turn a simple oil-and-wax balm into a more complicated cosmetic formula that may need proper preservation and stability testing. A water-free balm is simpler for beginners because it avoids the extra preservation challenges that come with water-containing products.
Fragrance and flavor ingredients can also be common troublemakers for people with sensitive lips. Allergic contact cheilitis, which is inflammation of the lips caused by contact allergens, has been associated with fragrance and flavoring ingredients in lip products.
Homemade Lip Balm Safety Tips
Use clean tools, dry containers, and fresh ingredients. Water droplets, dirty spoons, and old oils are not helpful guests at this party. Make small batches so you can use them while the ingredients are at their best.
Do a patch test when using a new ingredient, especially if you have sensitive skin, eczema, known allergies, or a history of lip irritation. Stop using the balm if you feel burning, swelling, itching, or a rash.
Be especially careful with nut oils. Highly refined nut oils may be less likely to contain enough protein to trigger a reaction, but anyone with a serious nut allergy should speak with an allergist before using products containing nut-derived oils.
Also, homemade lip balm is not a replacement for tested sun protection. A balm made in your kitchen cannot be assumed to have SPF, even if you add zinc oxide or another ingredient that sounds sun-related. For outdoor sun protection, use a tested broad-spectrum lip balm with SPF 30 or higher and reapply as directed.
If lips are severely cracked, bleeding, painful, swollen, or persistently dry despite gentle care, talk with a healthcare professional. Chapped lips can be related to weather and irritation, but ongoing symptoms may have another cause.
Can You Sell Homemade Lip Balm?
You can make lip balm for personal use easily, but selling it is a different level of responsibility. In the United States, people who market cosmetics are responsible for ensuring their products are safe and properly labeled. Cosmetic products generally do not require FDA premarket approval, except for color additives, but products must not be adulterated or misbranded.
Be careful with product claims. Saying that a balm “moisturizes” or “softens” lips is different from claiming it “heals eczema,” “treats cold sores,” or “cures cracked lips.” Product claims can affect how a product is regulated. Keep labels accurate, include ingredient information, and learn the cosmetic rules that apply where you sell.
Experiences With Homemade Lip Balm: Lessons From Real Batches
The first homemade lip balm batch usually begins with confidence. You have three ingredients, one measuring cup, and a suspiciously strong belief that you are about to become the founder of a luxury skincare empire. Ten minutes later, you are staring at six tiny tubes of balm and wondering why they look both adorable and slightly intimidating.
The first lesson is that lip balm teaches patience. Melted balm looks completely different from finished balm. While it is warm, the mixture may seem thin, glossy, and almost too oily. Once it cools, however, the wax firms everything up. Many beginners panic too early, add extra wax, and accidentally create a balm with the texture of a determined crayon. The better move is to let one test sample cool fully before changing the formula.
The second lesson is that tiny measurements matter. One extra spoonful of wax can turn a soft balm into a tube-friendly product. One extra spoonful of oil can turn that same balm into something better suited for a tin. Homemade lip balm is a small project, but it is also a miniature lesson in formulation. You begin noticing how ingredients behave: cocoa butter makes things firmer, shea butter makes things creamier, and liquid oils make the balm glide more easily.
Another common experience is discovering that scent is not always necessary. A person may begin with dreams of vanilla-mint-coconut-citrus magic, then realize that the plain, unscented batch is the one they reach for every night. The simplest balm often becomes the household favorite because it feels comfortable, does not compete with lipstick or toothpaste, and does not turn your face into a dessert menu.
Container choice also changes the experience. Tubes feel practical, portable, and satisfying to twist up. Small tins feel cozy and old-fashioned, especially on a bedside table. But tins require a clean finger, which means they are less ideal after gardening, commuting, cooking, or touching something that probably should not be transferred directly to your lips.
Many people also learn that homemade lip balm makes a surprisingly good gift. A few labeled tubes tucked into a small bag can feel thoughtful without being expensive. The trick is not to make wild promises about what the balm can do. A simple label that says “Homemade Beeswax Lip Balm” and lists the ingredients is more useful than a label that sounds like it was written by a wizard with a marketing degree.
Perhaps the best part of making homemade lip balm is the repeat factor. Once you have a basic recipe that works, you can make seasonal versions, fragrance-free versions, vegan versions, or lightly tinted versions. You are no longer buying lip balm at the checkout line because your lips staged an emergency. You have your own little supply, made exactly the way you like it, ready for winter wind, dry office air, and every purse pocket you own.
Final Thoughts
Homemade lip balm is simple, useful, and surprisingly satisfying. Start with a basic blend of wax, butter, and oil. Keep the first batch fragrance-free, test the texture after it cools, and make small adjustments until it feels right for you.
The goal is not to create a miracle product. It is to make a comfortable, dependable DIY lip balm that protects against everyday dryness and earns a permanent place in your pocket, desk drawer, or nightstand.
Note: This homemade lip balm is intended for cosmetic use and everyday lip comfort. Stop using it if it burns, stings, causes swelling, or creates a rash. Do not rely on a homemade balm for sun protection or medical treatment.