Blow drying curly hair can feel like negotiating with a tiny weather system living on your head. One wrong move, and your beautiful spirals become a fluffy cloud with opinions. The good news? Curly hair is not “difficult.” It simply prefers a little respect, moisture, patience, and a diffuser that does not behave like a leaf blower.
This guide explains how to blow dry curly hair in 13 practical steps, from washing and product prep to diffusing, root lifting, and finishing without frizz. Whether your curls are loose waves, springy ringlets, or tight coils, the goal is the same: dry your hair efficiently while protecting curl shape, softness, and shine.
The best method combines three big ideas: hydrate before heat, use gentle airflow, and touch your curls less than you want to. Seriously, hands off. Your curls are not a touchscreen.
Why Curly Hair Needs a Different Blow-Drying Method
Curly hair tends to be drier than straight hair because natural scalp oils have a harder time traveling down bends, spirals, and coils. That means rough towels, high heat, and aggressive brushing can cause frizz, breakage, and a curl pattern that looks like it just survived a minor tornado.
A diffuser attachment changes the game. Instead of blasting hair in one direction, it spreads air over a wider area. This helps curls dry in their natural shape, reduces frizz, and gives you more control over volume. Think of a diffuser as the calm friend who tells the blow dryer, “Let’s not be dramatic today.”
What You Need Before You Start
Before learning the 13 steps, gather the basics: a blow dryer with adjustable heat and speed, a diffuser attachment, a microfiber towel or soft cotton T-shirt, leave-in conditioner, curl cream or mousse, gel if you like hold, and a heat protectant. A few sectioning clips can also help if your hair is thick, long, or has a personal goal of taking three business days to dry.
The right products depend on your curl type and hair density. Fine waves usually prefer lightweight mousse or foam. Medium curls often do well with leave-in conditioner plus curl cream. Coils and very dry textures may need richer creams, gels, or layered moisture. The trick is to use enough product to support your curls without turning them into a helmet.
How to Blow Dry Curly Hair: 13 Steps
Step 1: Start with clean, conditioned hair
Great blow-dried curls begin in the shower, not at the electrical outlet. Use a gentle shampoo or cleanser that does not leave your hair feeling stripped. Follow with a moisturizing conditioner, focusing on the mid-lengths and ends. Curly hair loves slip, which is the smooth feeling that lets you detangle without fighting every strand like it owes you money.
If your curls are dry or color-treated, consider using a deep conditioner once a week. Hydrated curls dry with better definition and less frizz. Dry curls, on the other hand, tend to panic under heat and puff up in self-defense.
Step 2: Detangle while your hair is wet
Detangle in the shower while your conditioner is still in your hair. Use your fingers or a wide-tooth comb, starting at the ends and slowly working upward. This prevents unnecessary pulling and helps preserve curl clumps.
Avoid brushing your curls once they begin to dry unless your goal is “lion before coffee.” Wet detangling keeps the curl pattern organized and makes the blow-drying process smoother.
Step 3: Rinse carefully, but do not over-strip moisture
Rinse your conditioner thoroughly if your hair gets weighed down easily. If your curls are very dry or coarse, you may prefer leaving a tiny bit of conditioner behind or following with a leave-in. The aim is soft, hydrated hair that still has movement.
For extra shine, some people like a cool final rinse. It will not magically solve every hair problem, but it can help your hair feel smoother. It may also wake you up faster than your morning alarm, which is either a benefit or a personal attack.
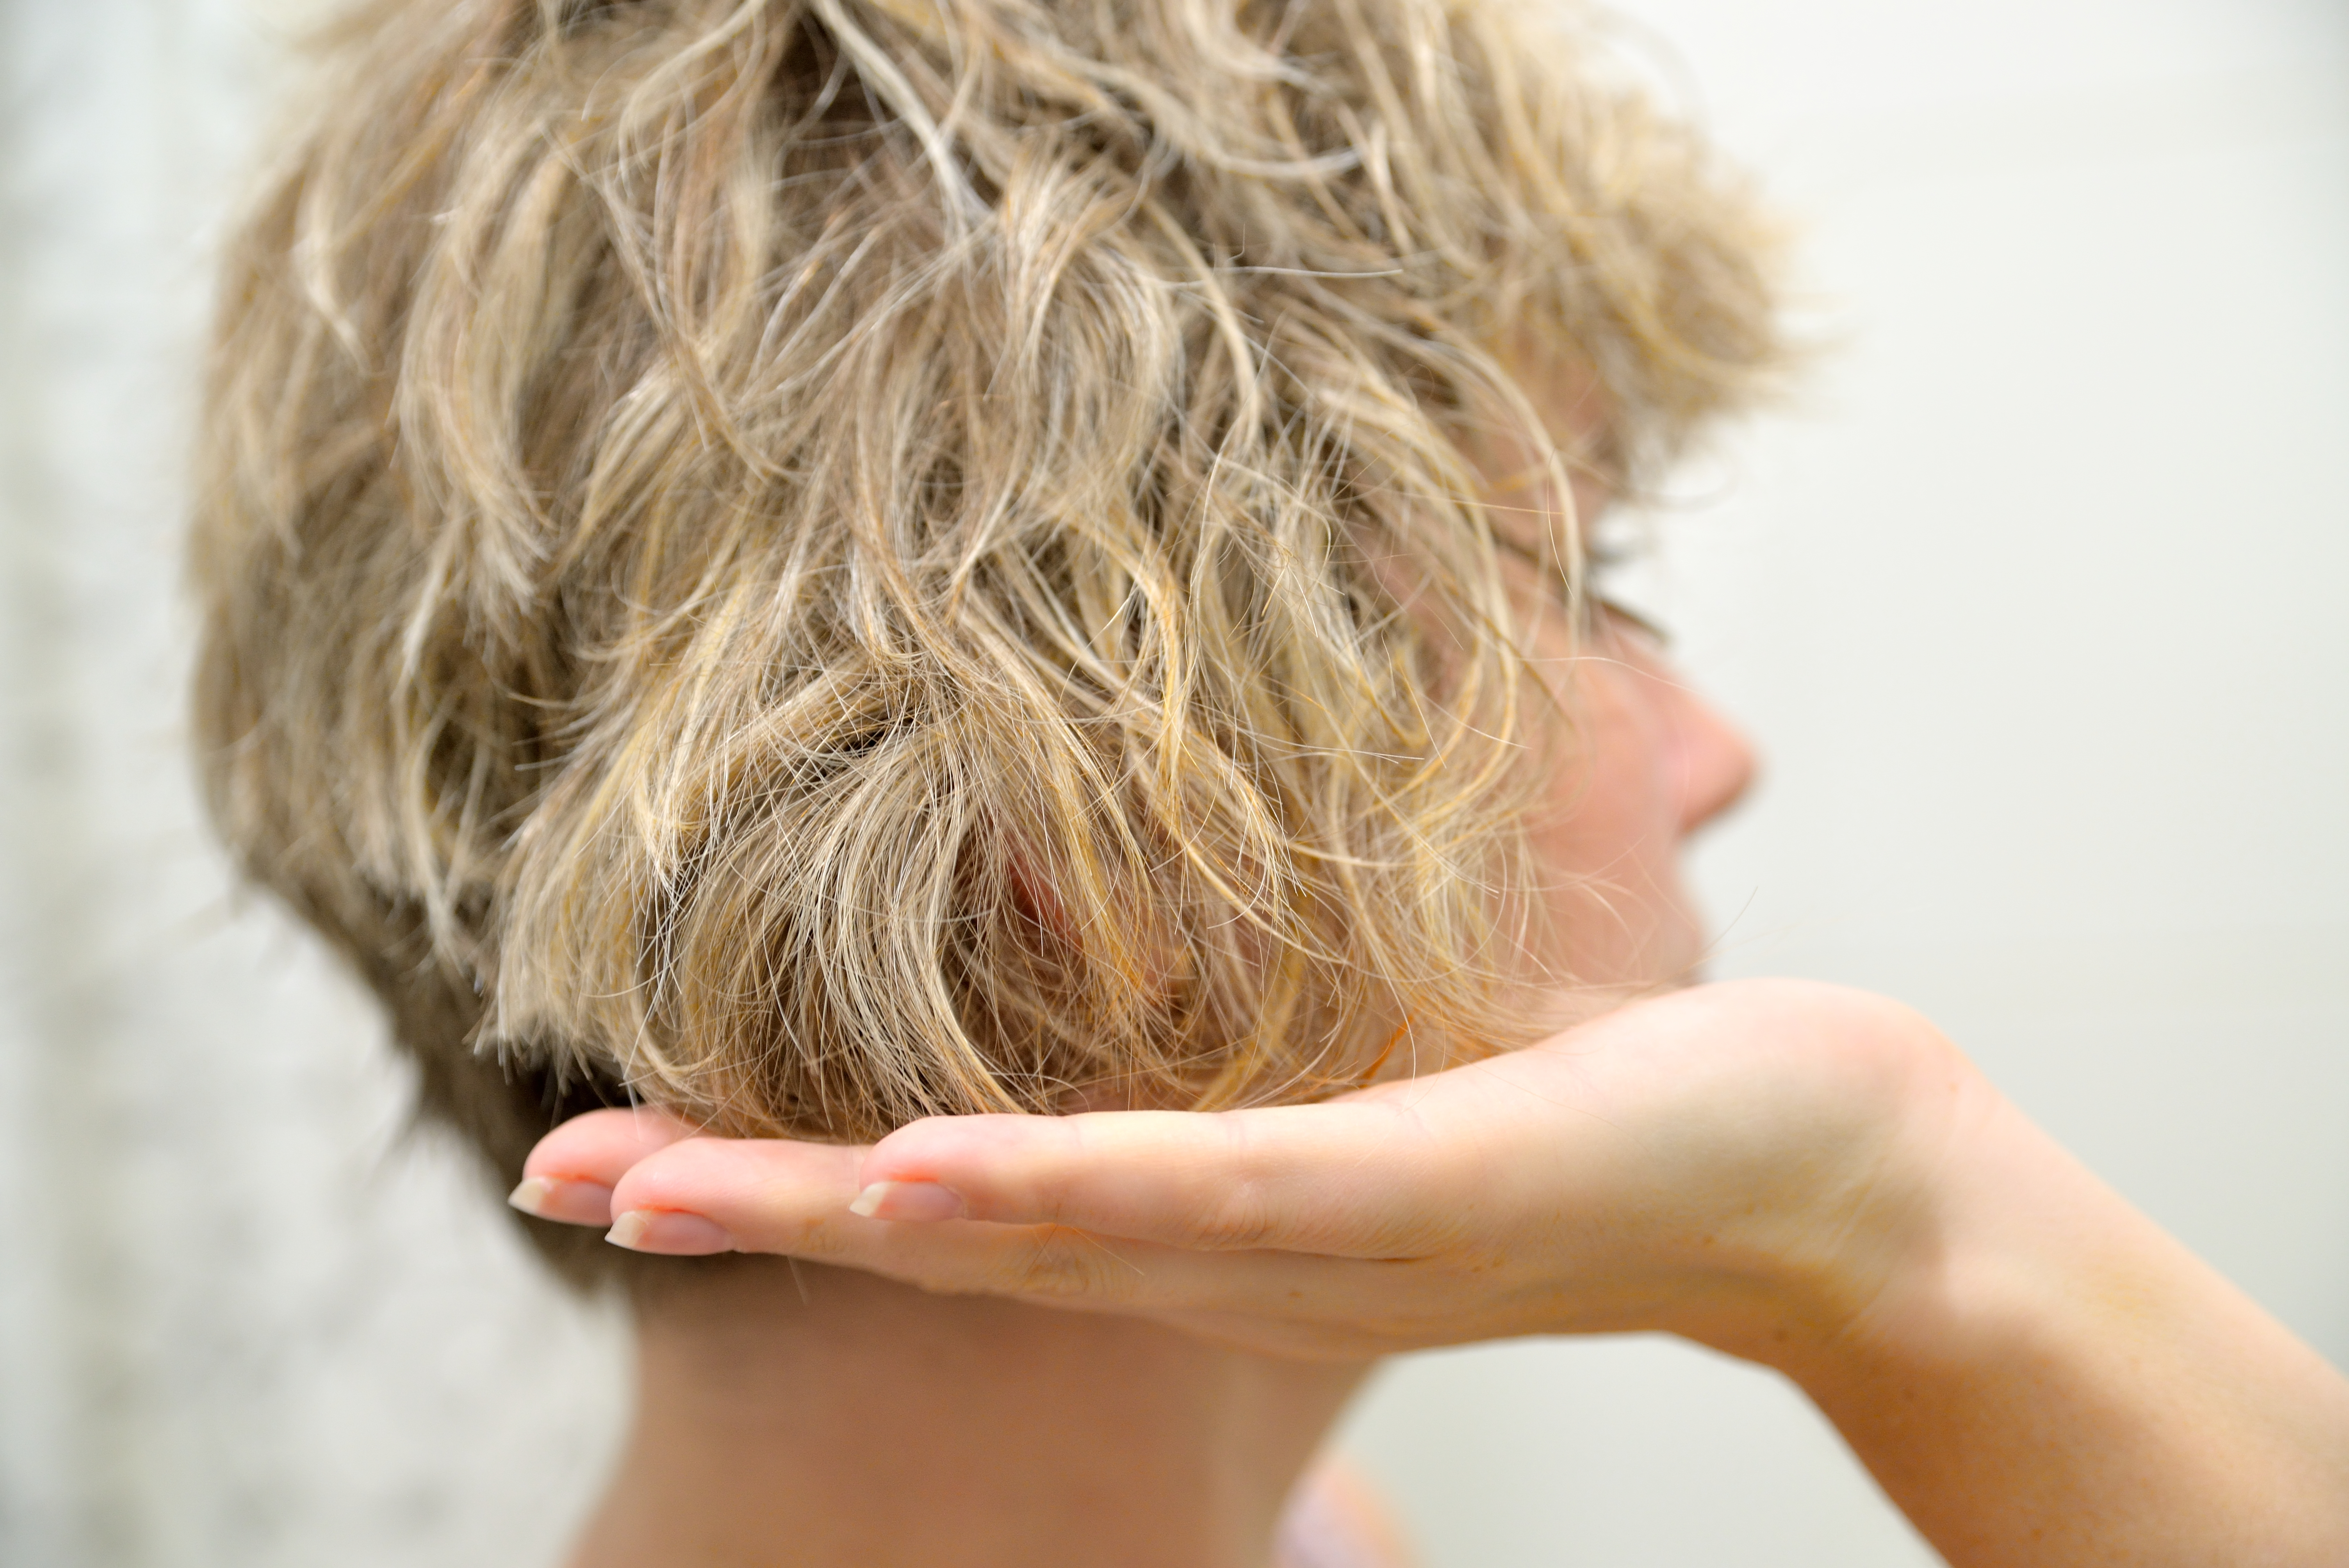
Step 4: Remove excess water with a T-shirt or microfiber towel
Do not rub curly hair with a regular bath towel. The rough texture can disturb the curl pattern and create frizz before the dryer even enters the room. Instead, gently squeeze your hair with a microfiber towel or a soft cotton T-shirt.
Your hair should be wet, but not dripping like it is auditioning for a shampoo commercial. If water is running down your neck, squeeze out a bit more. If your hair is already half dry, lightly mist it with water before applying products.
Step 5: Apply leave-in conditioner
Leave-in conditioner gives curls a moisture base before styling. Apply it evenly, focusing on the ends and any areas that dry out quickly. Use less if your hair is fine; use more if your curls are dense, coarse, or thirsty enough to deserve their own water bottle.
Distribute the product with praying hands, gentle raking, or scrunching. The best method is the one that keeps your curls grouped together instead of separating them into frizz.
Step 6: Add curl cream, mousse, or gel
Next, choose your styling product. Curl cream adds softness and definition. Mousse gives lightweight volume. Gel creates hold and helps curls keep their shape while drying. Many curly-haired people layer products: leave-in first, then curl cream, then gel or mousse.
Apply product to very damp hair for the best results. If your curls start drying before product is fully distributed, they may set unevenly. Keep a spray bottle nearby so you can re-wet sections as needed.
Step 7: Use heat protectant
Even when using low or medium heat, a heat protectant is a smart step. Blow dryers can still stress the hair shaft, especially if you dry often. Spray or smooth the protectant evenly through your hair before turning on the dryer.
Look for a formula that suits your texture. Fine curls may prefer a lightweight spray, while thicker curls may like a cream or serum-style protectant. The goal is protection without greasy buildup.
Step 8: Choose the right dryer settings
Set your blow dryer to low speed and low or medium heat. High airflow is one of the fastest ways to scatter curls and invite frizz. Low speed gives curls time to dry in their natural pattern.
If your hair is very thick, medium heat can help speed things up, but avoid pressing hot air directly against one section for too long. Curly hair likes warmth, not a sauna with a power cord.
Step 9: Start with the hover method
Before cupping curls into the diffuser, try hover diffusing. Hold the diffuser a few inches away from your hair and move it slowly around your head. This begins drying the outer layer without disturbing curl clumps.
Hover diffusing is especially helpful if your hair frizzes easily. It allows the styling products to form a light cast before you touch or lift sections. That cast is not a mistake; it is your curl structure setting in place.
Step 10: Cup curls gently in the diffuser
Once your hair is partly dry, place a section of curls into the diffuser bowl. Lift the diffuser toward your scalp and hold it still for several seconds. Then turn the dryer off or lower it before moving to the next section. This reduces flyaways and keeps curls from blowing around.
Avoid bouncing the diffuser up and down like you are making popcorn. Gentle, steady placement works better. Let the diffuser support the curls instead of smashing them.
Step 11: Dry in sections for even results
Move around your head section by section. Start with the ends and mid-lengths, then focus on the roots. If the roots stay damp too long, curls can look flat at the top and puffy at the bottom, which is not a style so much as a geometry problem.
If you want more volume, tilt your head to one side, then the other. You can also flip your hair upside down for part of the drying process. Just do not spend the entire time upside down unless you enjoy explaining your hairstyle and your dizziness.
Step 12: Stop when hair is about 80 to 90 percent dry
You do not always need to dry curly hair completely with a blow dryer. Stopping around 80 to 90 percent dry helps reduce heat exposure and lets curls finish setting naturally. This is especially useful for dry, fragile, or color-treated curls.
If you need your hair fully dry before leaving the house, use the cool setting near the end. Cool air can help reduce heat stress and make curls feel more settled.
Step 13: Scrunch out the crunch and finish gently
If you used gel, your curls may feel slightly firm after drying. That is normal. Once your hair is completely dry, gently scrunch your curls with clean hands or a tiny amount of lightweight oil or serum. This breaks the cast and leaves softer, bouncier curls.
Do not scrunch too early. If your hair is still damp, you can create frizz and lose definition. Patience is the secret ingredient, which is annoying because it is not sold in a cute bottle.
Common Mistakes When Blow Drying Curly Hair
Using too much heat
High heat can dry out curls, weaken strands, and make frizz worse. Use the lowest effective temperature and save hotter settings for rare situations, not everyday styling.
Touching curls while they dry
The more you touch curly hair during drying, the more you disrupt the pattern. Apply products, shape your curls, diffuse gently, and then leave them alone until dry.
Skipping product
Blow drying curly hair without styling product is like baking cookies without flour and then being surprised by the puddle. Products help curls hold their shape and resist frizz.
Using the wrong towel
Regular towels can rough up the hair cuticle. A microfiber towel or cotton T-shirt is gentler and helps curls stay grouped.
Best Blow-Drying Tips for Different Curl Types
For wavy hair
Use lightweight mousse or foam and avoid heavy creams. Hover diffuse first, then cup the ends gently. Waves can be easily stretched out, so keep the diffuser movement light and minimal.
For curly hair
Use leave-in conditioner plus curl cream or gel. Diffuse in sections, tilting your head for volume. Focus on keeping curl clumps intact from start to finish.
For coily hair
Hydration is key. Use richer leave-ins, creams, or gels depending on your routine. Work in small sections and avoid overheating the ends, which are usually the oldest and most delicate part of the hair.
How Often Should You Blow Dry Curly Hair?
There is no perfect number for everyone. If your hair is healthy and you use low heat, heat protectant, and a diffuser, you may be able to blow dry regularly without major problems. If your curls feel dry, brittle, rough, or less defined, reduce heat styling and add more air-drying days.
A balanced routine works well for many people: diffuse when you need faster drying or more volume, and air dry when you have time. Curly hair appreciates variety, as long as the variety does not include high heat and towel wrestling.
Extra Experience: What Actually Helps in Real Life
After testing different curly hair drying routines, one lesson becomes very clear: the technique matters more than the fanciest tool. A high-end dryer can be wonderful, but if you use high speed, skip heat protectant, and touch your curls every twelve seconds, even the most expensive diffuser will look emotionally defeated.
One of the most helpful real-life habits is applying products while the hair is still very wet. Damp hair is good; almost-dry hair is stubborn. When styling cream or gel goes onto wet curls, it spreads more evenly and helps curls group together. If you wait too long, products can sit on top instead of blending in. A simple spray bottle fixes this. Re-wet any section that looks stringy or frizzy before you diffuse.
Another useful experience: do not judge your curls halfway through drying. Curly hair often looks suspicious at 50 percent dry. It may appear flat, crunchy, uneven, or like it has made several poor life choices. Keep going. Once the hair is fully dry and you scrunch out the cast, the shape usually softens and improves.
Root drying also makes a big difference. Many people focus on the ends because they are easier to see, but damp roots can pull the whole style down. Try tilting your head and placing the diffuser near the roots without grinding it into the scalp. Hold still, let the air do its job, and move slowly. This gives lift without turning the top layer frizzy.
For busy mornings, a mixed drying method is often the most realistic. Plop hair in a T-shirt for 10 to 15 minutes while getting dressed, apply a little extra gel to any frizz-prone areas, hover diffuse until the cast starts to form, then cup sections until the hair is mostly dry. This routine saves time without completely sacrificing definition.
At night, protecting the finished style matters too. A satin pillowcase, loose pineapple, bonnet, or scarf can help reduce friction while sleeping. The next morning, refresh curls with a light mist of water or leave-in spray. Do not soak the hair unless you want to restart the whole drying adventure.
Finally, remember that curly hair changes with weather, haircuts, products, hormones, humidity, and probably moon phases if we are being honest. A routine that works perfectly in January may need adjusting in July. Use more hold in humid weather, more moisture in dry weather, and more patience at all times.
Conclusion
Learning how to blow dry curly hair is not about forcing your curls to behave. It is about helping them dry in the shape they already want to make. Start with moisture, apply products evenly, use a diffuser, keep airflow gentle, and avoid touching your hair until it is fully dry.
The 13 steps are simple once you practice them: cleanse, condition, detangle, remove excess water, layer products, protect from heat, diffuse slowly, and finish with a gentle scrunch. Your first attempt may not be salon-perfect, and that is fine. Curly hair has personality. Some days it gives red carpet. Some days it gives weather report. With the right blow-drying routine, you will get more good curl days and fewer “hat until further notice” days.