

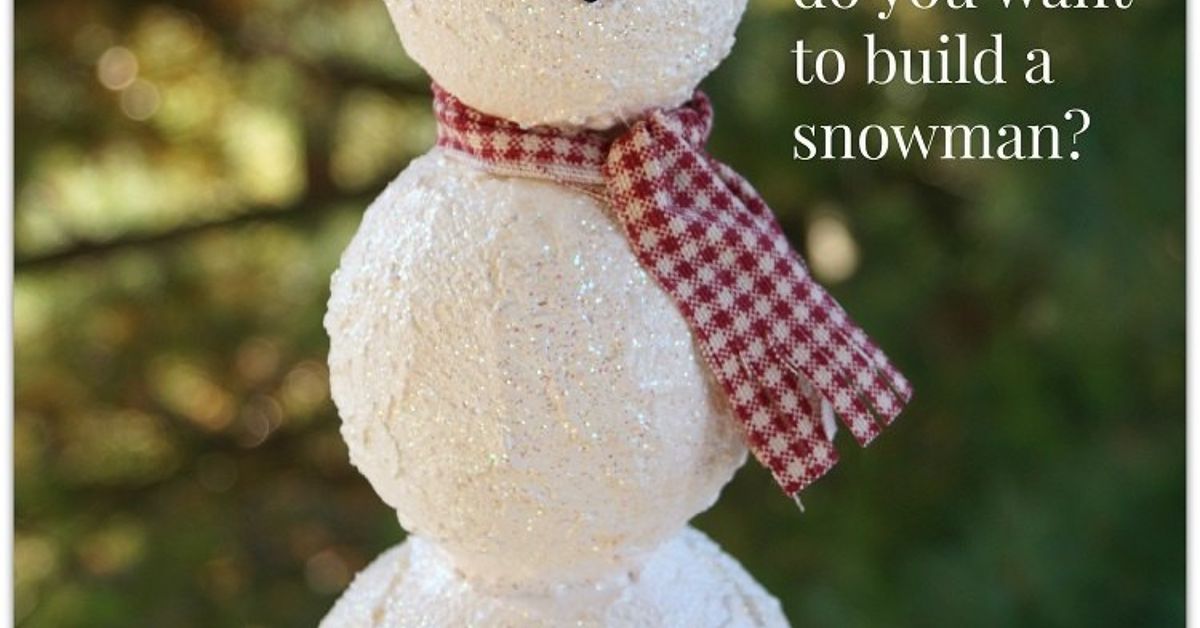
Building a snowman sounds easy until your “jolly winter friend” looks less like Frosty and more like a lumpy potato wearing a scarf. The good news? A great snowman does not require professional sculpting skills, a royal ice palace, or a suspiciously magical hat. It simply requires the right snow, a smart location, a stable structure, and a little creativity.
This guide explains how to build a snowman step by step, from choosing packing snow to decorating a face that says, “Yes, I was built by someone with excellent taste.” Whether you are planning a family snow day, creating a front-yard winter display, or helping kids burn off cabin fever before the hot chocolate negotiations begin, these snowman-building tips will help your chilly masterpiece stand taller, last longer, and avoid the tragic sideways lean.
Why Snowman Building Is More Than Just Rolling Snow
A snowman is one of winter’s simplest joys, but there is real science behind why some snow sticks beautifully while other snow behaves like frozen glitter. Snow is made of ice crystals, air, and sometimes a small amount of liquid water. That tiny bit of moisture acts like glue, helping flakes bond together when you press or roll them. Too dry, and the snow falls apart. Too wet, and your snowman turns into slush with commitment issues.
The best snow for building a snowman is moist, packable snow. It usually appears when the temperature is near freezing, often around 30 to 32 degrees Fahrenheit. You do not need a thermometer to confirm it, though. The easiest test is the classic snowball test: scoop up a handful of snow, squeeze it gently, and see if it holds its shape. If it forms a firm ball without dripping water, congratulationsyou have premium snowman material.
What You Need to Build a Snowman
You can build a snowman with your hands and whatever you find in the yard, but a few simple supplies make the process smoother and more fun.
Basic Snowman Supplies
- Warm, waterproof gloves or mittens
- Water-resistant boots with good traction
- A scarf, hat, or earmuffs for decoration
- Buttons, stones, bottle caps, or charcoal pieces for eyes and buttons
- A carrot, pinecone, or small stick for the nose
- Twigs or branches for arms
- A small shovel or garden trowel for shaping
- A spray bottle of water for lightly firming loose snow
For kids, choose decorations that are safe, lightweight, and easy to remove later. Avoid sharp objects, glass, or anything pets may mistake for a snack. A snowman should bring joynot a surprise trip to the vet.
Step 1: Pick the Perfect Snowman Location
Before you roll the first snowball, choose where your snowman will live. A flat, open area works best because it gives the base room to spread out and keeps the snowman balanced. Look for a spot with plenty of snow nearby so you are not dragging snowballs across the yard like a tiny winter construction crew.
If you want your snowman to last, build it in partial shade. Direct sunlight can melt one side faster than the other, causing your snowman to lean dramatically like it just heard shocking neighborhood gossip. A location near a fence, tree, or north-facing side of the yard can help slow melting.
Location Tips
- Choose level ground for better balance.
- Avoid driveways, sidewalks, and roads.
- Stay away from roof edges where snow or icicles could fall.
- Pick a spot visible from a window for maximum admiration.
- Keep pets and small children away from unstable oversized snow structures.
Step 2: Start With a Strong Base
The base is the foundation of your snowman, so make it the biggest and strongest snowball. Start by packing snow into a ball with your hands. Once it is too large to hold, place it on the ground and begin rolling it forward. As the ball rolls, it collects more snow and grows larger.
Roll in different directions instead of pushing in one straight line. This helps keep the ball round rather than turning it into a snowy barrel. If the snow collects unevenly, stop and pat extra snow onto thin areas. Think of it as giving your snowman a little winter tailoring.
For a classic three-ball snowman, aim for a base that is roughly three parts wide, a middle section that is about two parts wide, and a head that is about one part wide. The exact size is up to you, but the largest-to-smallest structure keeps the snowman stable.
Step 3: Build the Middle Section
The middle ball should be smaller than the base but still sturdy enough to support the head and decorations. Repeat the same process: pack a starter snowball, place it on the ground, and roll it until it reaches the right size.
Before lifting it onto the base, flatten the top of the base slightly with your gloved hands. This gives the middle section a stable seat. Then carefully lift the middle snowball with your legs, not your back. Snow can be heavier than it looks, especially wet snow. If the ball is too heavy, make it smaller or ask someone to help. A snowman is not worth a pulled muscle and a dramatic backyard rescue scene.
Once the middle section is in place, pack extra snow around the seam where it meets the base. This “snow mortar” helps lock the pieces together and gives your snowman a smoother shape.
Step 4: Add the Head
The head should be the smallest ball, but it still needs to be compact. A loose, fluffy head will crumble when you add eyes or a carrot nose. Pack it firmly, then place it on the middle section. Again, flatten the top of the middle ball slightly before adding the head.
After stacking, step back and check the snowman from all sides. Is it leaning? Does the head look like it is plotting an escape? Adjust gently by adding snow under low spots or pressing bulky areas into shape. Small fixes now prevent big collapses later.
Step 5: Smooth and Strengthen the Body
Now comes the sculpting phase. Use your hands, a small shovel, or a trowel to fill gaps between the snowballs. Smooth the surface by pressing soft snow into cracks and patting it firmly. If the snow is slightly dry, mist it lightly with water and press again. Do not soak it; you want gentle reinforcement, not a backyard ice sculpture with trust issues.
Pay special attention to the neck area. This is where many snowmen fail, especially when the head is too large. Add a collar of packed snow beneath the head to help support it. If your snowman is tall, make the base wider and keep the upper sections modest. A shorter, chunky snowman often lasts longer than a towering one that believes too strongly in gravity.
Step 6: Give Your Snowman a Face
The face is where personality arrives. Classic snowman eyes can be made with coal, stones, buttons, dark bottle caps, or even large raisins if you are building a temporary snowman away from pets. A carrot nose is traditional, but a pinecone, stick, or orange craft foam triangle also works.
For the mouth, use small pebbles, curved twigs, cranberries, or dark buttons. Press each piece firmly into the snow. If decorations fall out, pack a bit of wet snow around them and press again. Give your snowman a smile, a surprised “oh no, spring is coming” expression, or a dignified look that suggests it owns several snow-covered acres.
Step 7: Add Arms, Clothes, and Character
Twigs make perfect arms, especially if they have little branch “fingers.” Push them deep into the middle snowball at a slight upward angle. If the arms sag, pack snow around the entry points for support.
A scarf instantly makes a snowman look finished. Wrap it loosely around the neck and tuck the ends so wind does not steal it. Add a hat, old mittens, sunglasses, earmuffs, or a vest. If you want a funny snowman, give it a broom, a coffee mug, a toy shovel, or a cardboard sign. One sign idea: “I was told there would be cocoa.”
Creative Snowman Theme Ideas
- The Classic Snowman: carrot nose, coal eyes, twig arms, scarf, and top hat.
- The Sports Fan: team scarf, foam finger, and a snowball “basketball.”
- The Snow Chef: apron, wooden spoon, and a tiny snow pie.
- The Beach Snowman: sunglasses, towel scarf, and a very confused expression.
- The Bookworm: old glasses, a scarf, and a waterproof book prop.
Step 8: Make It Last Longer
Snowmen are temporary by nature, which is part of their charm. Still, you can help yours survive more than one afternoon. Build in shade, compact the snow firmly, and avoid placing dark decorations on sunny sides because dark materials absorb heat faster. If temperatures dip overnight, misting the surface very lightly can help create a firmer shell. Be careful, though: too much water creates ice, and ice can make the snowman harder and less safe for kids to touch or dismantle.
If warm weather is coming, take photos early. Snowman memories last longer than snowman bodies. That is not sad; that is just winter’s version of “limited-time offer.”
Snowman Safety Tips for Kids and Families
Snowman building is fun, but winter weather deserves respect. Dress in layers, keep hands and feet dry, and take breaks indoors. Wet gloves can quickly make fingers cold, so keep an extra pair nearby. Children may not always notice when they are too cold because they are busy creating the next great snow celebrity.
Watch for numb fingers, shivering, pale skin, or complaints that toes hurt. Go inside, warm up, and change out of wet clothes. Avoid building during severe winter storms, strong winds, icy rain, or low visibility. Snow day fun is best enjoyed when everyone gets back inside safely for snacks.
Smart Winter Clothing Checklist
- Moisture-wicking base layer
- Warm middle layer, such as fleece or wool
- Water-resistant coat and snow pants
- Warm hat that covers the ears
- Waterproof gloves or mittens
- Insulated boots with traction
- Sunscreen on exposed skin during bright snow days
Common Snowman Mistakes and How to Fix Them
Mistake 1: Using Powdery Snow
Dry powder is wonderful for skiing but terrible for snowman building. If the snow will not pack, wait until the temperature rises slightly or mix in a little wetter snow from another area. You can also mist small amounts of water into the snow, but do this carefully.
Mistake 2: Making the Head Too Big
A giant head may look funny, but it can topple the whole structure. Keep the head smaller than the middle section and reinforce the neck with packed snow.
Mistake 3: Building on a Slope
A sloped yard creates a snowman that slowly leans downhill like it has somewhere else to be. Choose the flattest spot available, or pack snow under the lower side of the base to level it.
Mistake 4: Forgetting the Seams
The seams between snowballs are weak points. Fill them with packed snow, press firmly, and smooth the surface. This step makes the snowman look better and stand stronger.
Mistake 5: Overdecorating
Heavy decorations can pull chunks of snow loose. Use lightweight items and press them in gently. Save the bowling ball hat for your imagination.
How to Build a Snowman When the Snow Is Not Perfect
Not every snow day delivers ideal snowman conditions. If the snow is too dry, pack smaller sections instead of rolling huge balls. Build a mini snowman on a porch rail or picnic table. Smaller snowballs need less structural strength and can still be adorable.
If the snow is too wet, avoid stacking too high. Wet snow is heavy and can collapse under its own weight. Build a squat snowman with a broad base, or sculpt a snow creature directly from a mound. A snow turtle, snow bear, or snow blob with sunglasses can be just as fun.
If you only have a thin layer of snow, gather it from clean surfaces like patio furniture, railings, or the top of a picnic table. Avoid dirty roadside snow, especially where salt, sand, or vehicle residue may be mixed in.
Fun Snowman Activities for Families
Once you know how to build a snowman, turn it into a full winter activity. Host a neighborhood snowman contest with categories like “Most Creative,” “Funniest Face,” and “Most Likely to Melt Dramatically.” Make snow paint with water and food coloring in spray bottles, then add colorful buttons or patterns to the snowman’s coat. For younger kids, practice shapes and counting by asking them to find two eyes, one nose, five buttons, and ten tiny snowballs for a border.
You can also create a snowman story. Give the snowman a name, job, favorite food, and backstory. Maybe “Professor Flurry” teaches snowflakes how to fall gracefully. Maybe “Captain Cocoa” guards the front yard from boring afternoons. Storytelling turns a simple winter craft into a memory kids will talk about long after the snow melts.
My Best Snowman-Building Experiences and Lessons Learned
The best snowman I ever helped build was not the tallest, roundest, or most impressive. In fact, it had one arm longer than the other, a carrot nose that kept sliding downward, and a scarf that looked like it had survived a small winter tornado. But it was unforgettable because everyone had a job. One person rolled the base, another searched for sticks, someone else supervised the face with the seriousness of an art museum curator, and the smallest helper proudly delivered one pebble at a time.
That experience taught me that snowman building is less about perfection and more about participation. Kids love the process because it gives them permission to be messy, inventive, and slightly bossy in the name of art. Adults love it because, for a little while, nobody is checking email or worrying about errands. Everyone is outside, laughing at a snowball that will not roll straight.
Another lesson: always build the snowman close to where you want it to stand. Rolling a huge snowball across the yard seems clever until it becomes too heavy to move and stops directly beside the trash cans. At that point, you either accept your snowman’s new career as a waste-management mascot or start over. I have done both. The mascot had charm.
I have also learned that decorations matter, but not in the way people think. A fancy hat is fun, but the best details usually come from improvisation. A crooked twig can become a heroic arm. A row of cranberries can become a cheerful smile. A pair of old sunglasses can transform an ordinary snowman into someone who clearly books winter vacations. The most memorable snowmen often look handmade, not polished.
Finally, take the photo before “just one more adjustment.” Snowmen are delicate. A small push can become a large wobble, and a large wobble can become three separate snowballs with accessories. Capture the finished moment early, then keep playing. When the snowman eventually melts, collapses, or gets redesigned by neighborhood squirrels, the memory remains. That is the secret magic of building a snowman: it is temporary, silly, creative, and completely worth the cold fingers.
Conclusion
Learning how to build a snowman is really about understanding snow, balance, and imagination. Start with moist packing snow, choose a flat shaded location, build a wide base, stack smaller sections carefully, and reinforce the seams. Then add personality with simple decorations, safe accessories, and a little humor.
A snowman does not need to be perfect to be wonderful. It can be short, tall, round, lopsided, elegant, ridiculous, or wearing a scarf that has seen better days. What matters most is the experience: fresh air, teamwork, laughter, and that proud moment when your frozen friend finally has a face. So bundle up, test the snow, roll with confidence, and build a snowman that makes the whole yard smile.