Your engine bay does not need to look like a museum exhibit, but it also should not look like a swampy science project. Dirt, oily residue, leaves, and road grime build up over time, especially if you drive in dusty areas, park under trees, or have a vehicle that sees real life instead of glamorous car-commercial life. The good news is that cleaning your engine bay at home is absolutely doable when you use the right method. The better news is that it can make routine inspections easier, help you spot leaks sooner, and make your car look far more loved than neglected.
The best method is not “blast everything with a pressure washer and hope for the best.” That is how people end up learning new vocabulary in the driveway. The safest and smartest approach is a controlled, low-pressure clean using a cool engine, light protection for sensitive components, an engine-safe degreaser, soft brushes, microfiber towels, and careful drying. In short: less drama, more detail.
Why Clean Your Engine Bay in the First Place?
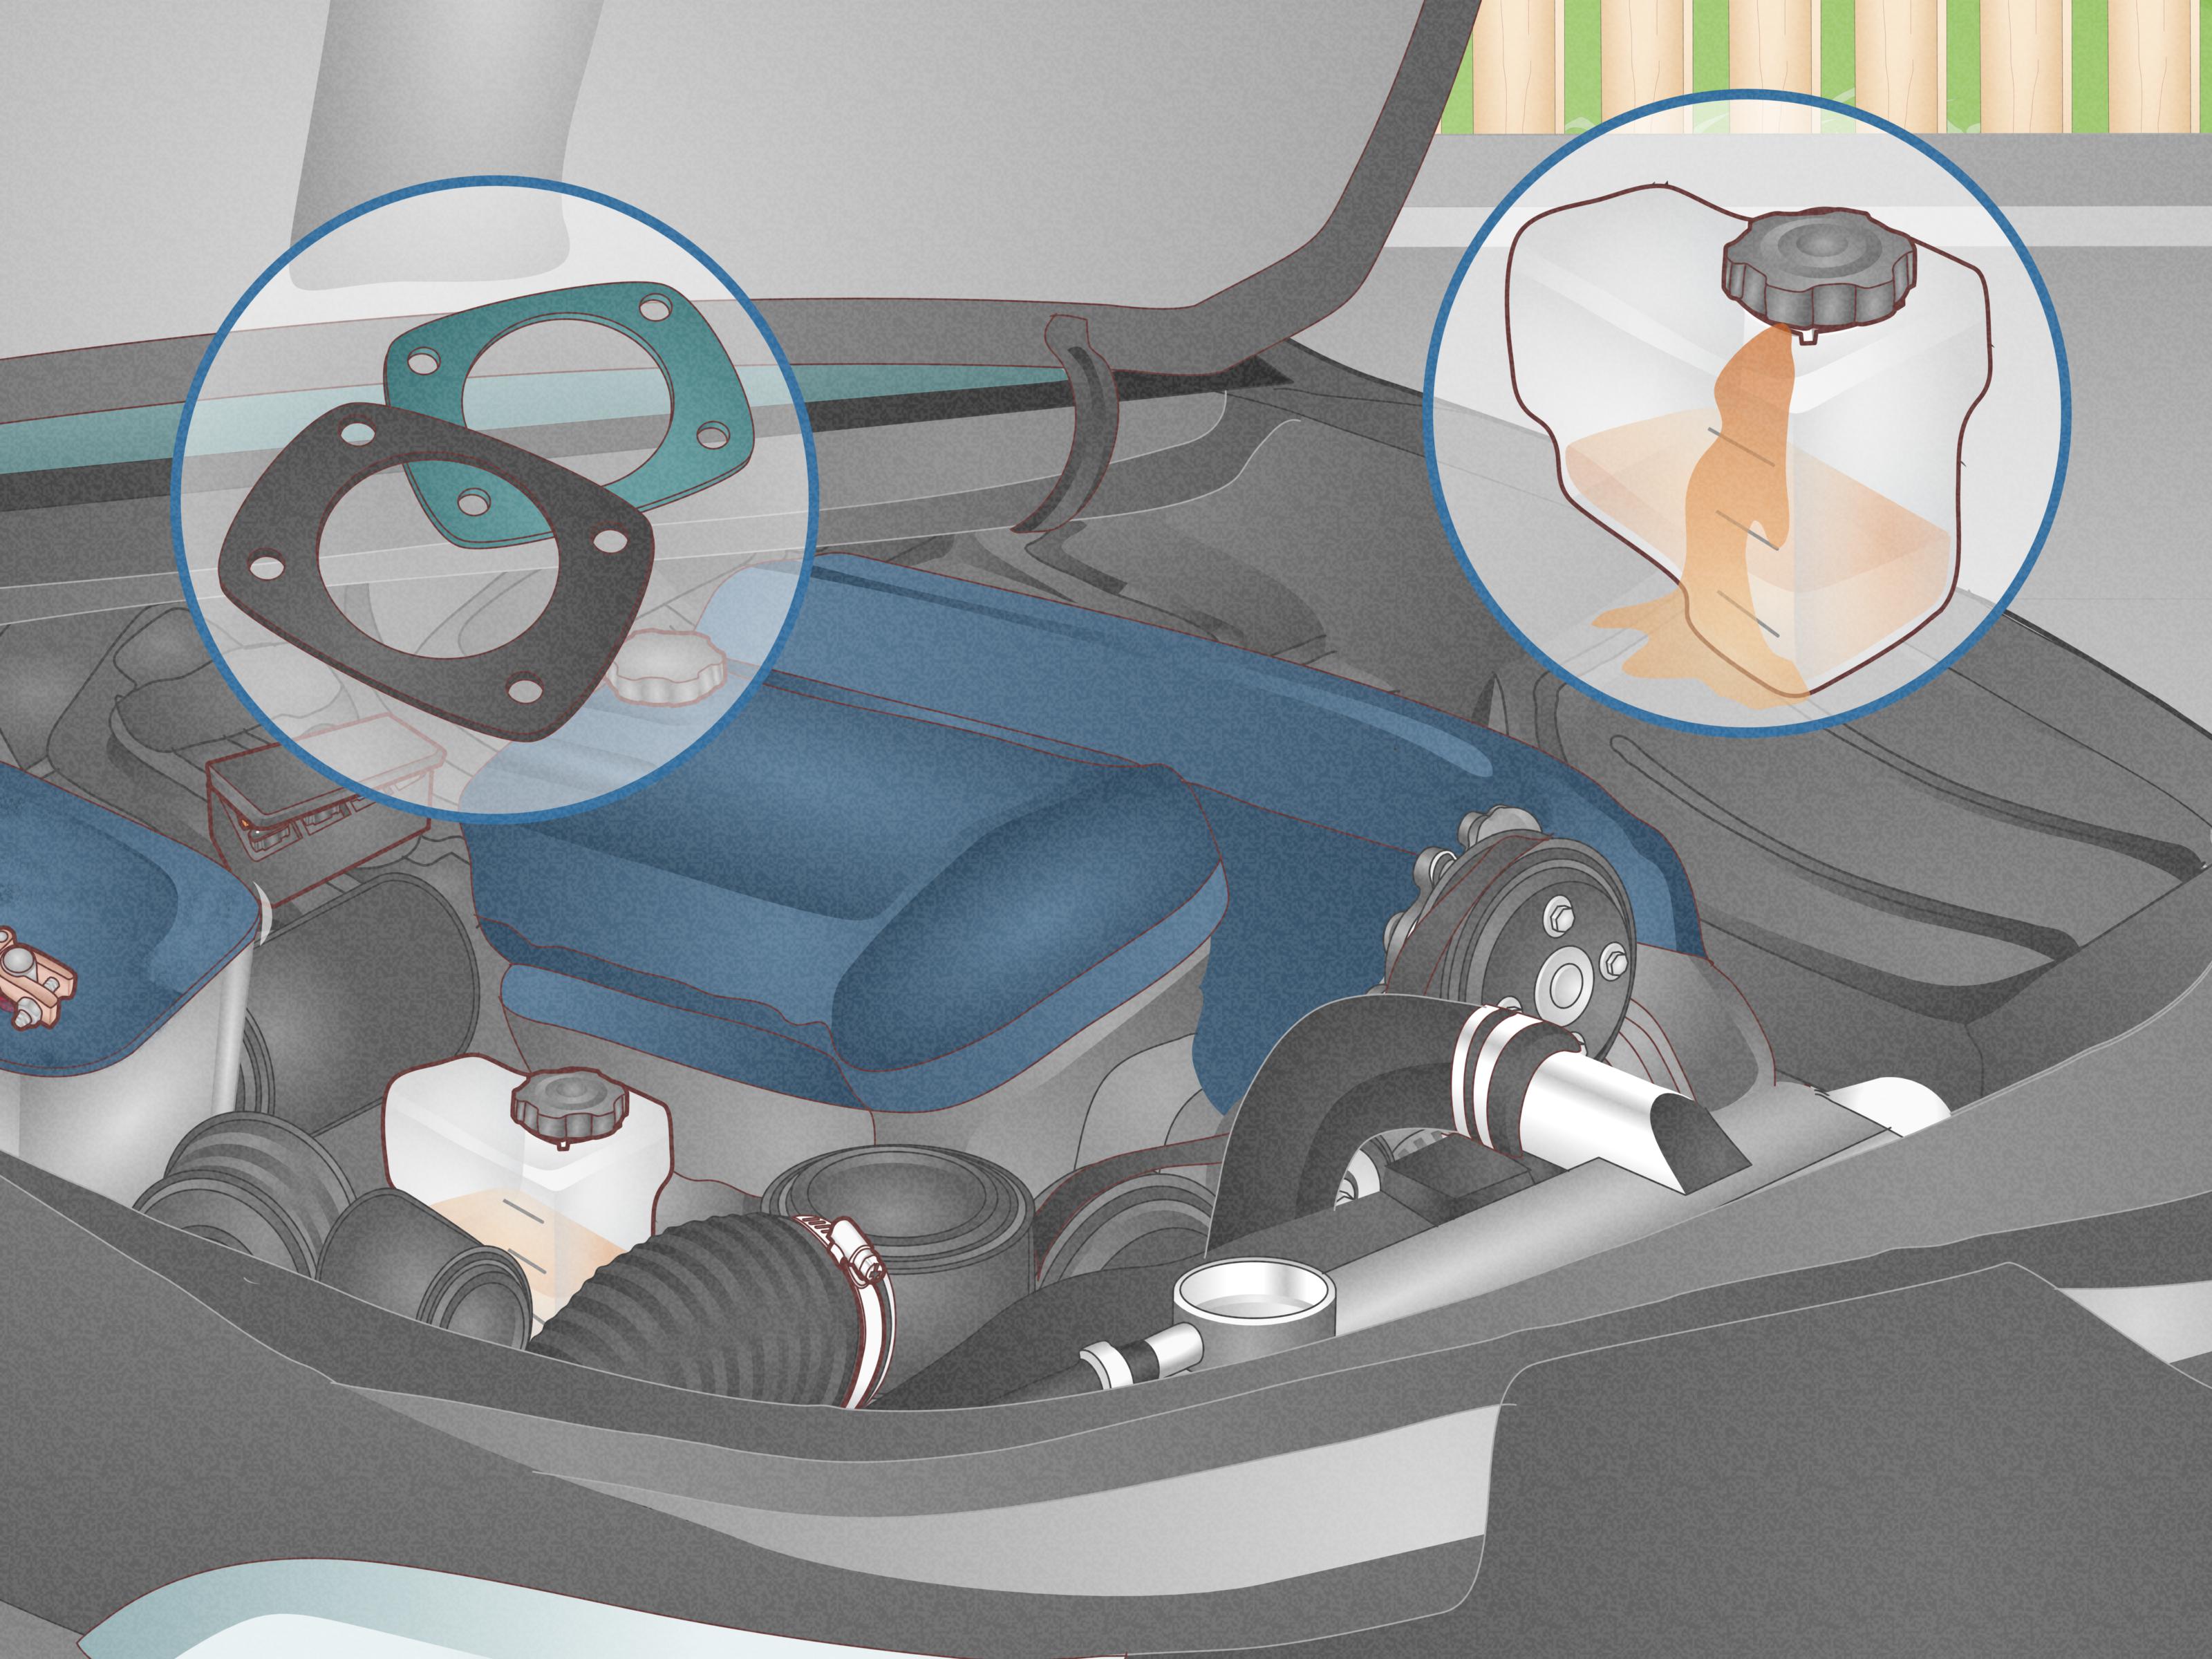
Cleaning an engine bay is not just about vanity, although a clean engine compartment does make you feel like the main character in a car-care montage. It also has practical value. Built-up grime can hide seepage around valve covers, hoses, reservoirs, clamps, and gaskets. A cleaner bay makes it easier to notice cracked rubber, loose wiring, or fluid leaks before they become expensive little surprises.
There is also a resale and maintenance angle. If you ever plan to sell your vehicle, a tidy engine bay gives the impression that the car has been cared for properly. No, it will not magically add thousands to the asking price, but it does help your car look maintained instead of mysterious. And when you or a mechanic open the hood, you want the reaction to be “nice” rather than “what exactly happened in here?”
The Best Method at a Glance
The best home method for cleaning an engine bay is a gentle, controlled wash rather than a soaking. For newer vehicles, that usually means a cool engine, plastic covering over sensitive electronics, a light rinse or mist, degreaser, agitation with soft brushes, a careful second rinse or towel wipe, and thorough drying. For older vehicles, high-mileage engines, or bays with brittle wiring, the best method may be even more conservative: a mostly waterless wipe-down using degreaser on towels and brushes.
That distinction matters. One engine bay can handle a mild rinse just fine; another has wiring insulation older than your favorite playlist. The “best” method is the one that gets the bay clean without turning the job into an electrical troubleshooting session.
What You Will Need
Basic Supplies
- Nitrile gloves and eye protection
- Plastic bags or plastic wrap
- Painter’s tape or rubber bands
- Engine-safe degreaser or diluted all-purpose cleaner
- Soft detailing brushes in different sizes
- A small nylon brush or old toothbrush
- Microfiber towels
- A garden hose with gentle flow or a spray bottle of water
- Compressed air, leaf blower, or portable blower for drying
- Optional water-based dressing for plastic and rubber trim
What Not to Use
- A super aggressive pressure washer nozzle
- Harsh solvent products on every surface without checking compatibility
- Metal brushes on plastic covers or painted surfaces
- Large amounts of water on older or delicate engine bays
- Greasy shine products that leave everything looking like a glazed donut
Before You Start: Important Safety Rules
First, make sure the engine is cool. Warm is acceptable for loosening grime, but hot is a terrible personality trait for any project involving chemicals and water. If you just drove the car, open the hood and wait. You should be able to touch major components comfortably before cleaning.
Second, check your owner’s manual. Some manufacturers provide cautionary notes about under-hood cleaning, especially around air intakes, fuse boxes, battery terminals, alternators, exposed filters, aftermarket wiring, and engine-control components.
Third, do a visual inspection. If your bay has cracked connectors, loose wires, broken covers, or an exposed intake, do not treat it like a Saturday spa treatment. Fix the obvious issues first or stick to a careful wipe-down method.
Step-by-Step: How to Clean Your Engine Bay at Home
Step 1: Park Smart and Let the Engine Cool
Park in a shaded, well-ventilated area. Shade matters because cleaners dry too fast in direct sun, which can leave residue and make the job more annoying than necessary. Open the hood and let the engine cool completely. Remove any loose debris by hand first, including leaves, twigs, acorns, and the mysterious dust that appears to reproduce overnight.
Step 2: Cover Sensitive Components
Use plastic bags or wrap to protect the alternator, exposed air intake openings, fuse box, aftermarket electronics, coil packs if they seem exposed, and any obviously vulnerable electrical connectors. You do not need to mummify the entire engine bay. You just want to shield the parts that dislike surprise moisture.
If your battery terminals are exposed, protect them as well. On some vehicles, the battery is already sealed well enough under covers, but use common sense here. Common sense is one of the best detailing tools money cannot buy.
Step 3: Remove Dry Dirt First
Before introducing cleaner, use a vacuum, compressed air, soft brush, or dry microfiber towel to remove loose dirt. This step is often skipped, and that is a mistake. Dry debris turns into muddy sludge the second you add liquid, which means more wiping, more rinsing, and more muttering. Knock the big stuff loose first.
Step 4: Apply Degreaser the Right Way
Spray an engine-safe degreaser onto dirty surfaces, especially around the plastic covers, firewall, underside of the hood, radiator support, and visibly greasy areas. On extremely dirty spots, spray the product onto a brush or towel first for better control. Let the cleaner dwell for a minute or two, but do not let it fully dry on the surface.
If your engine bay is only dusty and not oily, use a diluted all-purpose cleaner instead of a heavy degreaser. Not every engine bay needs the chemical strength of a product that sounds like it should come with its own action movie soundtrack.
Step 5: Agitate with Soft Brushes
Use detailing brushes to work the cleaner into textured plastics, around caps, hose junctions, brackets, and corners. Use a smaller brush for tight crevices. This is where the transformation happens. You are not trying to scrub your engine into a mirror finish. You are lifting grime safely and evenly without scratching surfaces or forcing water where it should not go.
For baked-on grease, repeat the cleaner-and-brush cycle instead of escalating straight to brute force. Multiple gentle passes are safer than one heroic but regrettable attack.
Step 6: Rinse Lightly or Wipe Down
This is the part where people get overconfident. Do not flood the engine bay. Use a gentle stream of water, a spray bottle, or a damp microfiber towel to remove loosened cleaner and grime. On newer cars in good condition, a light rinse is usually fine. On older cars, classics, or bays with questionable wiring, the better approach is to wipe away residue with damp towels instead of using free-flowing water.
The goal is simple: remove grime and cleaner without forcing water into electrical connectors, sensors, or intake paths. Think “careful rinse,” not “fire department training exercise.”
Step 7: Dry Thoroughly
Remove the plastic covers and dry the engine bay with microfiber towels. Then use compressed air or a blower to push water out of seams, brackets, and around connectors. Pay extra attention to the areas around the battery, fuse box, coil packs, and hood insulation edges.
Once everything appears dry, leave the hood open for a while. Many DIYers also start the vehicle and let it idle for several minutes after the cleaning is complete. That can help evaporate any trace moisture, but only after covers are removed and obvious wet spots are dealt with first.
Step 8: Dress Plastic and Rubber, If You Want
If you want that clean, factory-fresh look, apply a light water-based dressing to plastic shrouds and rubber hoses. Spray it onto a towel or applicator rather than fogging the whole engine bay. Wipe evenly, then buff off excess. You want a subtle satin finish, not a slippery shine that attracts dust like gossip attracts attention.
The Best Method for Different Engine Bay Conditions
Lightly Dusty Engine Bay
Use a dry brush, microfiber towels, diluted cleaner, and a wipe-down method. This is fast, safe, and ideal for routine maintenance.
Moderately Dirty Daily Driver
Use plastic protection, degreaser, brushes, a very light rinse, then thorough drying. This is the sweet spot for most modern vehicles.
Old, Greasy, Neglected Engine Bay
Break the work into sections. Use more agitation, more towels, and less water. You may need two or three rounds of cleaning instead of one dramatic session. This is not failure. This is realism.
Classic Car or Fragile Wiring
Skip running water unless you are very confident in the condition of the bay. Spray cleaner onto towels and brushes, wipe carefully, and dry by hand. This is slower, but safer.
Mistakes to Avoid
One of the biggest mistakes is cleaning a hot engine. Another is spraying water directly at the alternator, exposed wiring, fuse boxes, ignition components, or intake openings. A third classic mistake is using too much product and not removing it fully, which leaves a sticky film that attracts dust faster than before.
Another common misstep is trying to make the engine bay look “wet and shiny.” That glossy look may seem impressive for about eight minutes, but greasy dressings can attract grime and make future cleaning harder. Subtle and clean beats flashy and sticky every single time.
Finally, do not use engine-bay cleaning to hide problems you should fix. If you discover a valve cover leak, coolant crust, frayed wiring, or a cracked hose, congratulations: the cleaning worked. You found something important.
How Often Should You Clean an Engine Bay?
For most daily drivers, a deep engine bay cleaning two or three times a year is enough. A light wipe-down every month or two can keep dirt from building up to the point where cleaning becomes a full-contact sport. If you drive on dusty roads, near the coast, in snowy areas with road salt, or under trees that shed everything except guilt, you may need to clean more often.
A quick visual check when you top off washer fluid or inspect oil is a smart habit. When the bay is reasonably clean, it is easier to notice problems before they become roadside stories.
Does Cleaning an Engine Bay Cause Problems?
It can, if done carelessly. Problems usually come from too much water, too much pressure, cleaning a hot engine, or soaking sensitive electrical parts. The method itself is not the problem. The method plus bad judgment is the problem. That is why the best approach for home cleaning is controlled, gentle, and patient.
In other words, cleaning your engine bay is a bit like seasoning food. A little, done properly, makes everything better. Too much, applied recklessly, creates regret.
Real-World Experiences Cleaning an Engine Bay at Home
Many at-home cleaners find that the first engine bay cleaning is the hardest, mostly because they expect the job to be either terrifying or magically instant. In reality, it is neither. The most common experience is that once the hood is open and the first layer of leaves and dust is removed, the bay becomes much less intimidating. What looked like a mechanical jungle usually turns into a series of plastic covers, reservoirs, hoses, and a few dirty corners that simply need patience.
A frequent experience is discovering that the dirtiest areas are not where people expect. Instead of the middle of the engine, grime often collects near the radiator support, hood latch area, strut towers, underside of the hood, and along the edges where road dust settles and oily residue catches it. Many people also notice that the back of the engine bay near the firewall can be surprisingly filthy because it is difficult to see and even easier to ignore.
Another common lesson is that lighter cleaning works better than heavier cleaning. DIYers often start out thinking they need the strongest degreaser they can find and enough water to refill a small swimming pool. Then they realize that a mild cleaner, a few brushes, and several microfiber towels do a more controlled and satisfying job. The mess comes off in stages. First the dry grit disappears. Then the gray film lifts. Then the plastics start looking normal again. It is less about brute force and more about stacking small wins.
People also report that cleaning the engine bay changes how they think about maintenance. Once everything is clean, minor leaks become obvious. A damp spot around a hose clamp, a bit of oil seepage near a gasket, or dried coolant residue near a reservoir suddenly stands out. That kind of visibility can save money because problems get caught earlier. It is hard to notice a fresh leak when every surface already looks like a mechanic’s shop rag.
One of the most satisfying experiences is cleaning an engine bay on an older daily driver and seeing it come back to life visually. The engine may still have age, the bolts may still show wear, and the plastic covers may never look brand-new, but the space looks cared for. That matters. Owners often describe the result as making the whole car feel newer, even if the odometer strongly disagrees.
There is also the emotional side of the job. Cleaning under the hood gives many people a stronger connection to the vehicle. You notice hose routing, fluid reservoirs, clips, labels, and components you never paid attention to before. The car stops feeling like a mystery box and starts feeling more understandable. That confidence can spill over into other maintenance tasks, like checking oil, topping off washer fluid, changing an air filter, or spotting a loose clamp before it turns into a problem.
Of course, almost everyone who has cleaned an engine bay at home has a moment of mild panic after finishing. Usually it sounds like this: “Did I get water somewhere bad?” That is why thorough drying matters so much. In most successful at-home experiences, the final step is slow and deliberate. Towels, air, open hood, inspect, then start the engine only when everything looks dry. Taking an extra ten minutes here is worth far more than pretending ten minutes do not matter.
The biggest takeaway from real-world experience is simple: the best method is the one that keeps risk low and control high. Most people who are happy with the result did not rush, did not over-spray, and did not chase a fake showroom gloss. They aimed for clean, dry, and inspectable. That is what makes an engine bay look good in real life, not just in photos.
Final Thoughts
If you want the best method for cleaning your engine bay at home, keep it simple and smart. Work on a cool engine. Protect sensitive components. Use the least aggressive method that still gets the job done. Agitate grime with brushes instead of attacking it with pressure. Dry everything thoroughly. And treat the whole process as both cosmetic care and preventive inspection.
A clean engine bay will not make your car fly, time-travel, or suddenly become a luxury model. But it will make maintenance easier, help you catch issues earlier, and make you feel oddly accomplished every time you pop the hood. That is a solid return on a bucket, a brush, and one afternoon in the driveway.