

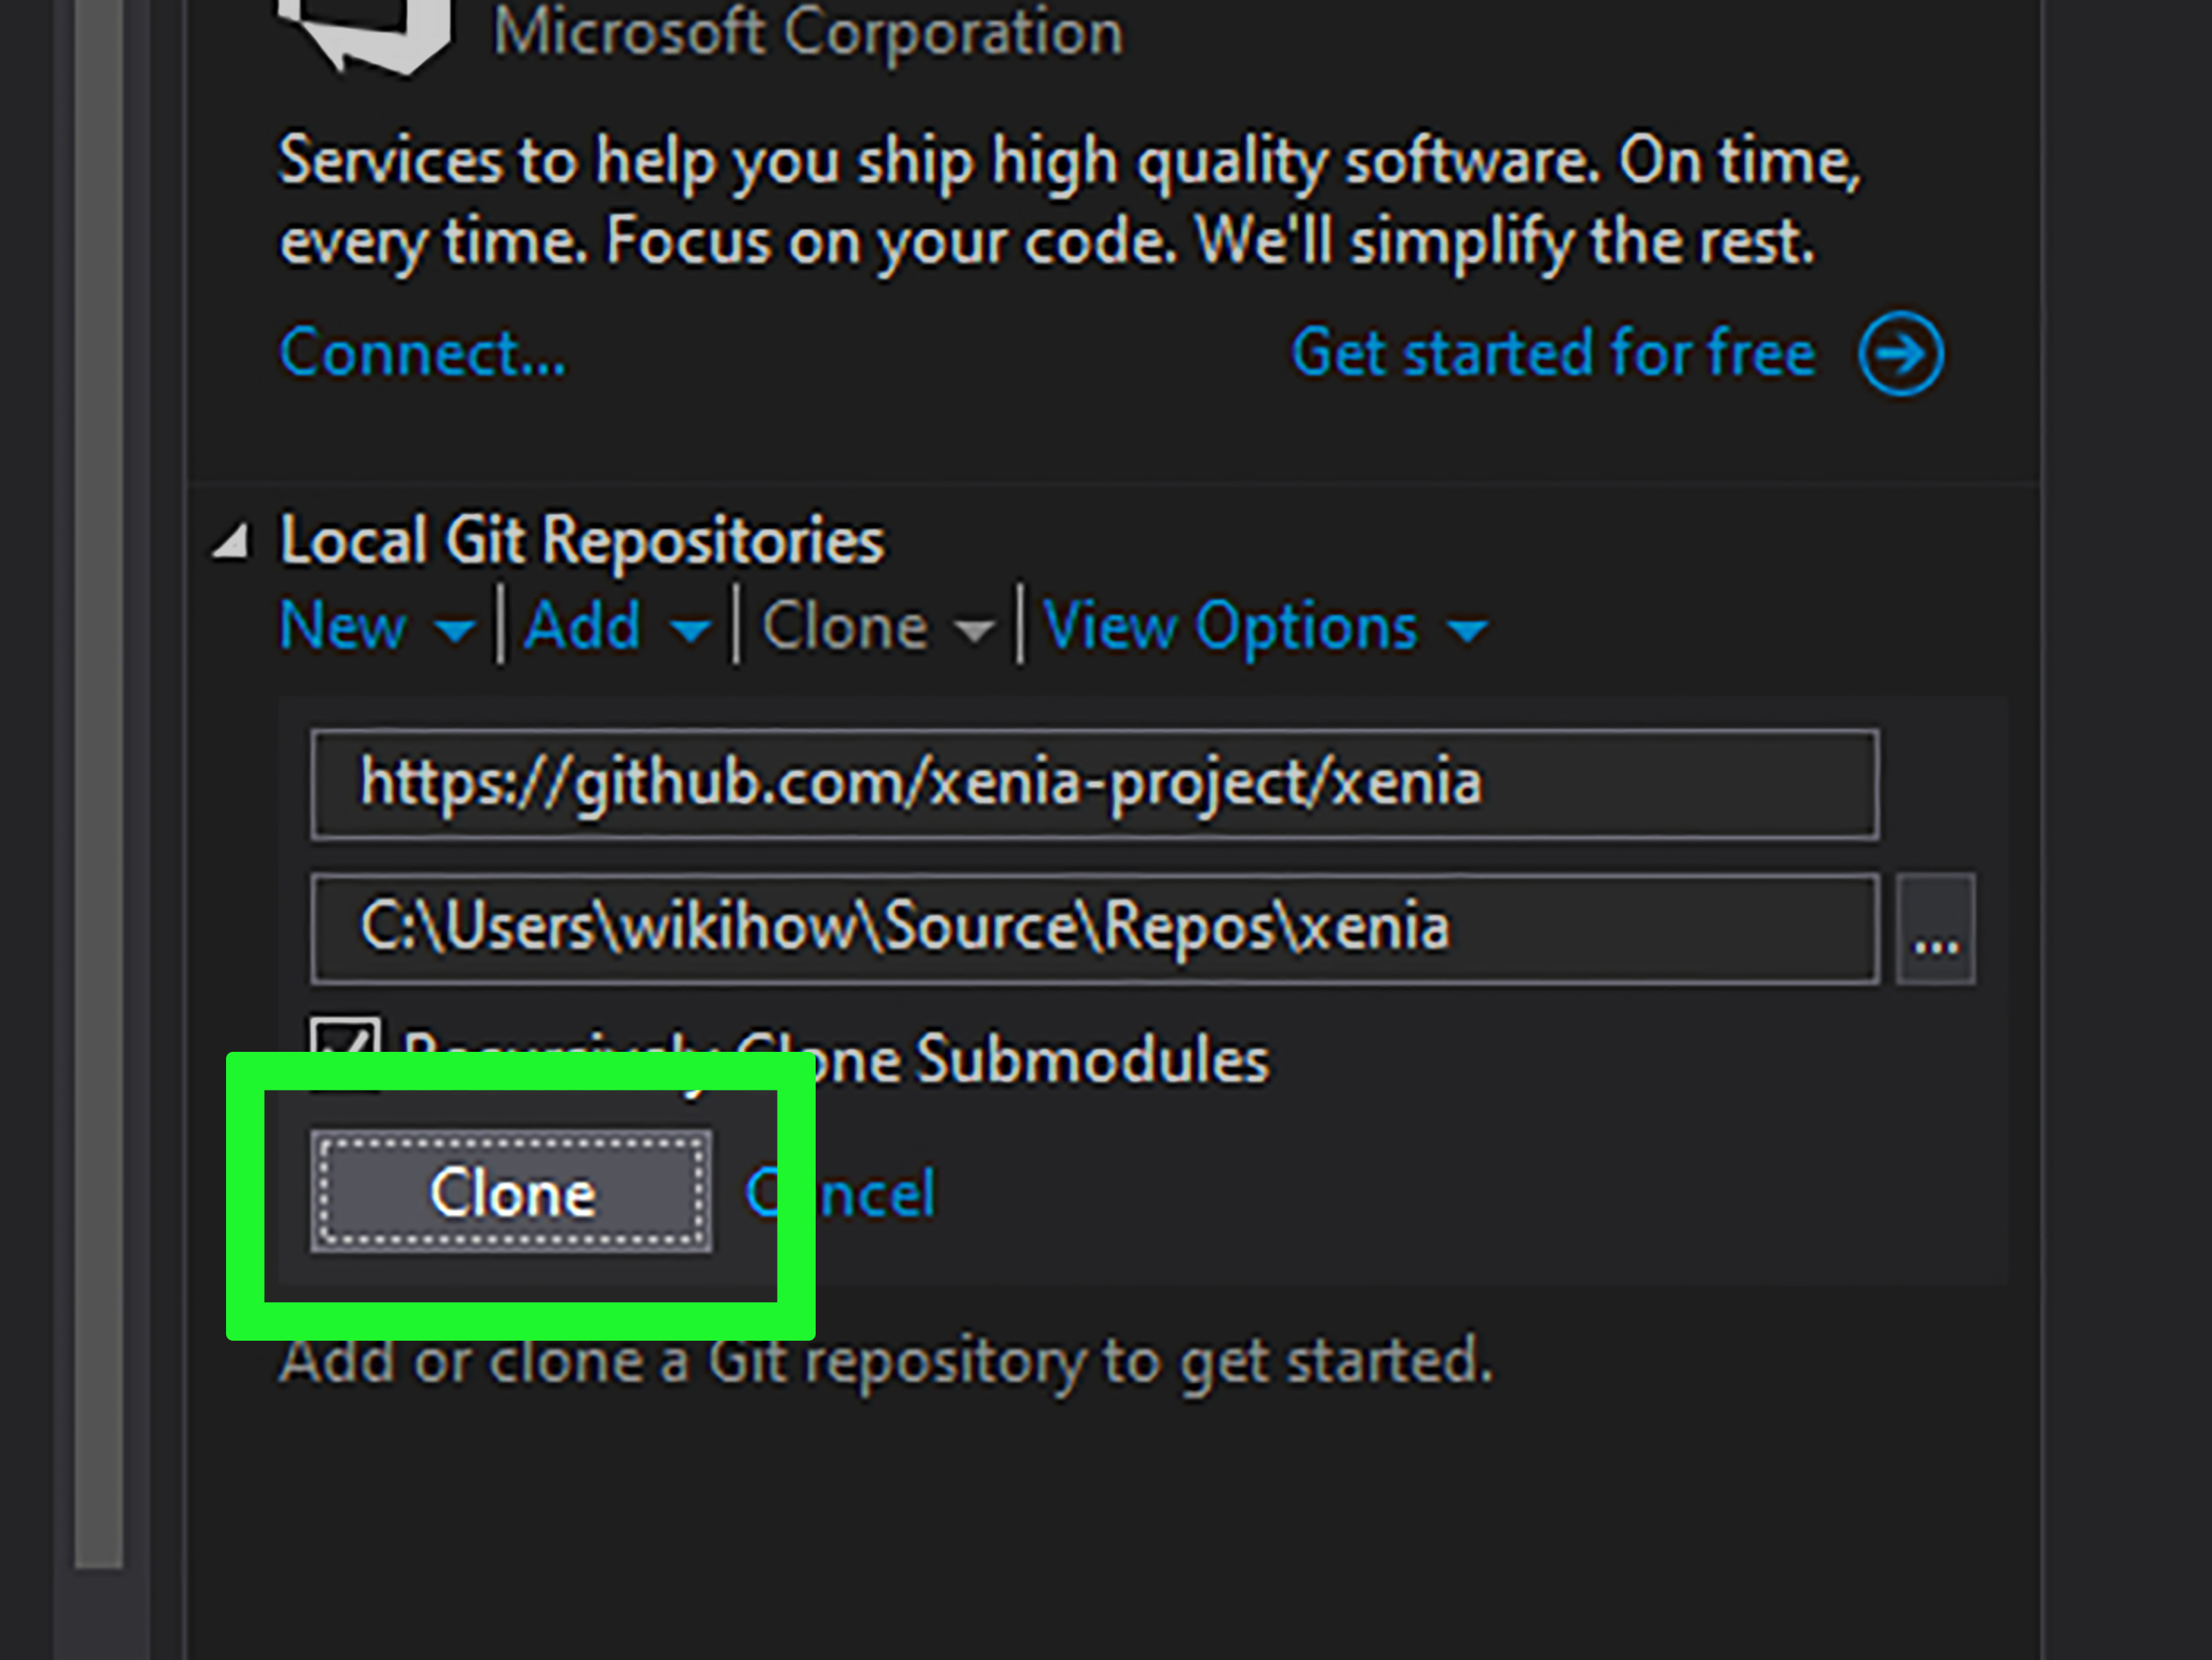
Cloning a repository on GitHub sounds dramatic, like you are about to create a secret laboratory full of identical code creatures. Fortunately, the real process is much less sci-fi and much more useful. When you clone a GitHub repository, you copy a project from GitHub to your own computer so you can inspect the files, run the code, make changes, test features, or contribute back to the original project.
Whether you are a beginner learning Git for the first time, a student downloading a class project, a developer joining a new team, or someone who clicked a GitHub link and wondered, “Okay, now what?”, this step-by-step guide will walk you through the entire process. We will cover how to clone a GitHub repository using HTTPS, SSH, GitHub CLI, GitHub Desktop, and Visual Studio Code. We will also explain common errors, beginner mistakes, and practical tips that make the process smoother.
The main keyword here is simple: how to clone a repository on GitHub. But by the end, you will also understand related ideas like Git clone, GitHub repository URL, local repository, remote repository, SSH key, HTTPS cloning, and how to open a cloned project in your code editor without accidentally creating a folder maze worthy of a fantasy novel.
What Does It Mean to Clone a Repository on GitHub?
To clone a repository means to create a local copy of a remote Git repository. The remote repository lives on GitHub. Your local repository lives on your computer. The clone includes the project files, commit history, branches, and Git configuration needed to connect your local copy back to the remote repository.
Think of GitHub as the cloud library where the project is stored. Cloning is like checking out a full working copy of the book, except this book contains code, documentation, branches, and a suspicious number of files named README.md.
Clone vs. Download ZIP: What Is the Difference?
GitHub also lets you download a repository as a ZIP file. That is fine if you only want to look at the files. However, downloading a ZIP does not give you the full Git history or a connected remote. A cloned repository is different because it remains linked to GitHub through a remote, usually named origin. That means you can later run commands such as git pull to get updates or git push to send your own commits if you have permission.
Use Download ZIP for quick file viewing. Use git clone when you plan to work with the project properly.
Before You Clone: What You Need
Before cloning a GitHub repository, make sure you have a few basics ready. You do not need to be a senior developer with three monitors and a mechanical keyboard that sounds like popcorn. You just need the right tools.
1. Install Git
Git is the version control system that powers cloning, commits, branches, merges, and other development workflows. GitHub hosts repositories online, but Git is the tool that works on your machine. After installing Git, open your terminal and run:
If Git is installed correctly, you will see a version number. If your computer stares back at you with an error, install Git first and then try again.
2. Create or Sign In to a GitHub Account
You can clone many public repositories without signing in. However, if you want to clone private repositories, use GitHub CLI, push changes, or authenticate with SSH, you will need a GitHub account.
3. Choose Where the Repository Should Live
Pick a folder on your computer where you keep coding projects. For example:
This prevents the classic beginner problem of cloning a project somewhere mysterious and later asking, “Where did my repository go?” Your computer knows. It just refuses to volunteer the information.
How to Clone a GitHub Repository Using HTTPS
HTTPS is the most beginner-friendly way to clone a repository. It works well for public repositories and is easy to copy directly from GitHub.
Step 1: Open the Repository on GitHub
Go to GitHub and open the repository you want to clone. A repository page usually shows files, folders, a README section, branch information, and a green or dark Code button near the top of the file list.
Step 2: Copy the HTTPS URL
Click the Code button. Under the HTTPS tab, copy the repository URL. It usually looks like this:
For example:
Step 3: Open Your Terminal
On Windows, you can use Git Bash, PowerShell, Windows Terminal, or the terminal inside Visual Studio Code. On macOS, use Terminal. On Linux, use your preferred terminal application.
Step 4: Move to the Folder Where You Want the Clone
Use the cd command to move into your projects folder:
If the folder path has spaces, wrap it in quotes:
Step 5: Run the Git Clone Command
Now run:
Git will create a new folder with the repository name, download the files, copy the commit history, and set up the remote connection.
Step 6: Enter the Repository Folder
After cloning, move into the new folder:
Then check the status:
If everything worked, Git will tell you which branch you are on and whether your working tree is clean. Congratulations: you now have a local repository. No lab coat required.
How to Clone a GitHub Repository Using SSH
SSH is often preferred by developers who work with GitHub regularly. Instead of entering credentials repeatedly, you authenticate using an SSH key stored on your computer and connected to your GitHub account.
When Should You Use SSH?
Use SSH if you frequently clone private repositories, push changes often, work across multiple projects, or want a smoother long-term authentication setup. HTTPS is great for starting out, but SSH is like upgrading from carrying keys in your hand to having a garage door opener.
Step 1: Check for an Existing SSH Key
In your terminal, run:
Look for files such as id_ed25519.pub or id_rsa.pub. If you already have a public key, you may be able to add it to GitHub. If not, generate a new one.
Step 2: Generate an SSH Key
A common modern command is:
Follow the prompts. You can accept the default file location. Adding a passphrase is recommended for better security.
Step 3: Add the SSH Key to GitHub
Copy the public key file, then add it to your GitHub account under SSH and GPG keys. Make sure you copy the public key ending in .pub, not the private key. The private key is called private for a reason. Do not paste it into a chat, a form, a random website, or a sticky note labeled “definitely not my key.”
Step 4: Copy the SSH Repository URL
On the GitHub repository page, click Code, choose SSH, and copy the URL. It looks like this:
Step 5: Clone with SSH
Run:
If your SSH key is configured correctly, Git will clone the repository without asking for your GitHub password.
How to Clone a Repository Using GitHub CLI
GitHub CLI, also called gh, lets you work with GitHub from the command line. It is helpful if you like terminal workflows or want a faster way to clone repositories without copying full URLs every time.
Step 1: Install and Authenticate GitHub CLI
After installing GitHub CLI, sign in with:
Follow the prompts to authenticate your GitHub account.
Step 2: Clone the Repository
Use this command:
For example:
You can also specify a custom folder name:
GitHub CLI is especially useful when working with your own repositories, organization repositories, issues, pull requests, and GitHub workflows from one command-line environment.
How to Clone a GitHub Repository with GitHub Desktop
If the command line makes you feel like you accidentally walked into a movie hacker scene, GitHub Desktop is a friendly option. It gives you a visual interface for cloning, committing, branching, and syncing changes.
Step 1: Open GitHub Desktop
Install GitHub Desktop and sign in with your GitHub account.
Step 2: Choose Clone Repository
In GitHub Desktop, select the option to clone a repository. You can choose from repositories connected to your account or paste a repository URL.
Step 3: Pick a Local Path
Choose where the repository should be saved on your computer. This is the folder where GitHub Desktop will create the local copy.
Step 4: Click Clone
GitHub Desktop will download the repository and set up the connection. From there, you can open the project in your editor, create branches, commit changes, and sync with GitHub using buttons instead of terminal commands.
How to Clone a GitHub Repository in Visual Studio Code
Visual Studio Code is one of the most popular code editors, and it includes built-in Git support. You can clone a repository without leaving the editor.
Step 1: Open VS Code
Launch Visual Studio Code. Make sure Git is installed on your system, because VS Code uses Git behind the scenes.
Step 2: Open the Command Palette
Press Ctrl + Shift + P on Windows or Linux, or Command + Shift + P on macOS.
Step 3: Search for Git: Clone
Type:
Select the command, then paste the GitHub repository URL or choose from available GitHub repositories if you are signed in.
Step 4: Select a Local Folder
Choose the folder where you want to save the project. VS Code will clone the repository and ask if you want to open it.
Step 5: Open and Trust the Project
After cloning, VS Code may ask whether you trust the authors of the files in the folder. Only trust repositories from sources you recognize. Once opened, you can use the integrated terminal, source control panel, file explorer, and extensions to work on the project.
How to Clone a Specific Branch
By default, git clone checks out the repository’s default branch, often main or master. If you need a specific branch, use:
You can also use the shorter version:
This is useful when a project has separate branches for development, releases, documentation, or experiments.
How to Clone into a Custom Folder Name
Git normally creates a folder using the repository name. To choose a different folder name, add it at the end of the command:
For example:
This clones the repository into a folder named weather-dashboard instead of weather-app.
How to Clone a Private GitHub Repository
Private repositories require permission. If you do not have access, cloning will fail. If you do have access, you can clone using HTTPS, SSH, GitHub CLI, GitHub Desktop, or VS Code, but you must authenticate properly.
Common Authentication Options
For HTTPS, GitHub authentication may involve browser login, credential manager support, or a personal access token depending on your setup. For SSH, you need an SSH key added to your GitHub account. For GitHub CLI, you can authenticate with gh auth login.
If a private repository refuses to clone, do not immediately blame Git, GitHub, your laptop, your Wi-Fi, the moon, or the chair you are sitting in. First confirm that your GitHub account actually has access to the repository.
Common Git Clone Errors and How to Fix Them
Error: Repository Not Found
This usually means the URL is wrong, the repository is private, the repository was renamed, or your account does not have permission. Copy the URL again from GitHub and verify access.
Error: Permission Denied Publickey
This error happens when cloning with SSH and GitHub cannot authenticate your SSH key. Check that your key exists, is loaded into your SSH agent, and has been added to your GitHub account.
Error: Destination Path Already Exists
This means Git is trying to clone into a folder that already exists and is not empty. Choose a different folder name or remove the existing folder if you are sure you do not need it.
Error: Git Is Not Recognized
On Windows, this often means Git is not installed or not added to your system PATH. Install Git, restart your terminal, and try git --version again.
What to Do After Cloning a Repository
Cloning is only the opening scene. Once the repository is on your computer, you usually need to inspect the project and prepare it for development.
Read the README File
The README usually explains what the project does, how to install dependencies, how to run it, and how to contribute. If a repository has a README and you skip it, the project may judge you silently.
Check the Project Requirements
Look for files such as:
package.jsonfor Node.js projectsrequirements.txtorpyproject.tomlfor Python projectscomposer.jsonfor PHP projectsGemfilefor Ruby projectspom.xmlorbuild.gradlefor Java projects
Install Dependencies
For example, a Node.js project may require:
A Python project may require:
Always read the documentation before running commands, especially for unfamiliar projects.
Create a New Branch Before Making Changes
If you plan to modify the code, create a new branch:
This keeps your work organized and prevents your main branch from turning into a junk drawer full of half-finished experiments.
Best Practices for Cloning GitHub Repositories
Cloning is simple, but good habits make your workflow cleaner and safer.
Use Clear Folder Organization
Keep projects in one main directory, such as Code or Projects. Avoid cloning repositories randomly across Desktop, Downloads, and that one folder named final-final-real-version.
Prefer SSH for Frequent Development
If you regularly work with GitHub, SSH can reduce authentication friction. Set it up once, test it, and your future self will be grateful.
Pull Updates Regularly
Before starting work, run:
This helps keep your local repository updated with the remote version.
Do Not Commit Secrets
Never commit passwords, API keys, private tokens, database credentials, or secret configuration files. Use environment variables and add sensitive files to .gitignore.
Real-World Example: Cloning and Running a Simple Project
Imagine you find a GitHub repository called simple-weather-app. You want to clone it and run it locally.
First, copy the HTTPS URL from GitHub. Then open your terminal and run:
Next, you read the README and discover it is a Node.js project. You install dependencies:
Then you run the development server:
Now the project is running locally. You did not “download code” in the messy sense. You created a proper local Git repository connected to GitHub, ready for updates, branches, commits, and collaboration.
Beginner-Friendly Experience Notes: What Cloning Teaches You in Practice
Cloning a repository on GitHub is one of those skills that feels tiny at first but quietly unlocks a huge part of modern software development. The first time you do it, the process may feel like copying a magic spell from a tutorial: paste the URL, run git clone, hope the terminal does not yell at you. But after doing it a few times, you start understanding how remote and local development actually connect.
One practical experience many beginners share is confusion about where the repository goes. The clone command runs in your current terminal location. If your terminal is inside Downloads, the repository appears there. If it is inside Documents/Projects, the repository appears there. This sounds obvious after you learn it, but before that, it can feel like Git has hidden your project in a secret basement. A good habit is to always run pwd on macOS/Linux or cd without arguments on Windows to confirm your location before cloning.
Another common lesson is that cloning and contributing are not the same thing. You can clone a public repository, explore the code, and run it locally. But you cannot push changes to someone else’s repository unless you have write permission. For open-source projects, the usual workflow is to fork the repository, clone your fork, create a branch, make changes, push to your fork, and open a pull request. This distinction saves a lot of confusion when Git says you do not have permission. It is not being rude; it is doing security.
Developers also learn quickly that the README matters. A cloned repository is not always ready to run immediately. Some projects need dependencies, environment variables, build steps, database setup, or version-specific tools. Reading the README before smashing random commands into the terminal is like reading the recipe before baking. Otherwise, you may discover halfway through that your “cake” requires Node.js, Docker, PostgreSQL, and emotional resilience.
SSH setup is another milestone. At first, HTTPS feels easier because you copy a simple URL and clone. Later, when you work with private repositories or push frequently, SSH becomes more convenient. The experience of generating a key, adding it to GitHub, and successfully cloning with git@github.com:owner/repo.git feels oddly satisfying. It is the developer version of getting a spare key to the office.
Finally, cloning teaches you that Git is not just about code storage. It is about history. When you clone a repository, you are not only getting today’s files. You are getting commits, branches, context, and a timeline of how the project evolved. That is powerful because it lets you inspect previous changes, switch branches, compare versions, and collaborate without passing around folders named project-new-final-updated-v8. Once you understand cloning, the rest of Git starts to make more sense.
Conclusion
Learning how to clone a repository on GitHub is one of the first practical steps toward working confidently with Git, GitHub, and collaborative coding projects. The basic command is simple: copy the repository URL, open your terminal, move to the right folder, and run git clone. But the real value comes from understanding what happens next: you get a local repository, a connection to the remote project, access to history, and a foundation for development.
For beginners, HTTPS is the easiest starting point. For regular developers, SSH is efficient and secure once configured. GitHub CLI is fast for command-line users, GitHub Desktop is friendly for visual workflows, and VS Code makes cloning convenient inside the editor. No matter which method you choose, the goal is the same: bring a GitHub project onto your computer so you can explore, learn, build, and contribute.
Once you have cloned a repository, remember to read the README, install dependencies carefully, create branches for changes, keep your local copy updated, and avoid committing secrets. Do that, and you will move from “I copied some code” to “I am working with a real Git workflow.” That is a big step, and yes, your terminal deserves a tiny round of applause.