Graduation day is already a big deal. You have the gown, the tassel, the proud family members, the camera roll begging for mercy, and probably at least one relative asking where to park. But the graduation cap? That little square of fabric on your head is where your personality gets to stand up, wave, and say, “Yes, I survived group projects.”
Learning how to decorate a graduation cap is not just about making something cute for photos. It is about telling your story in one bold, memorable design. Your cap can honor your family, celebrate your major, show off your sense of humor, thank your support system, or announce your next chapter. The best graduation cap designs are creative, lightweight, ceremony-safe, and easy to spot from twenty rows away.
Before you grab every glitter bottle within a three-mile radius, check your school’s commencement rules. Many schools allow decorations only on the flat top of the mortarboard and may prohibit items that hang over the edge, block another graduate’s view, include offensive language, or interfere with the tassel. In other words, go big with meaning, not with a foam sculpture tall enough to need its own diploma.
Before You Start: Graduation Cap Decorating Basics
A great DIY graduation cap begins with a simple plan. First, decide whether you want to decorate directly on the cap or create a removable topper from cardstock, glitter paper, or poster board. A topper is often the smarter choice because it lets you work on a flat surface, fix mistakes more easily, and remove the design later if your school requires a plain cap for the ceremony.
Measure the top of your cap before cutting anything. Most graduation caps are close to a square shape, but the size can vary, so do not guess unless you enjoy craft-night chaos. Mark the center hole where the button and tassel sit, then cut carefully so your design can slide over the button without bunching up.
Useful Supplies for Decorating a Graduation Cap
- Cardstock, scrapbook paper, glitter paper, or adhesive vinyl
- Fabric markers, paint pens, acrylic paint, or vinyl letters
- Hot glue, tacky glue, dry adhesive dots, or removable Velcro strips
- Rhinestones, pearls, stickers, faux flowers, ribbon, lace, or charms
- Scissors, craft knife, ruler, pencil, and a cutting mat
- Printed photos, quote templates, school logos, or hand-lettered designs
Keep your materials lightweight. The cap needs to sit comfortably on your head for the entire ceremony, not slowly migrate backward like it is trying to leave before the speeches begin.
How to Decorate a Graduation Cap Step by Step
Start by sketching your idea on paper. Think about the cap as a small billboard with a tassel in the middle. The best designs are readable from a distance and do not rely on tiny details. Choose one focal point, such as a quote, a photo collage, a floral border, or your future college logo.
Next, create your background. You can cover the cap with cardstock, glitter paper, fabric, or paint. If you use paper, cut it to fit the cap and make a small hole for the button. If you paint directly on the cap, apply thin layers and let each one dry completely. Graduation morning is not the ideal time to discover your cap is still sticky.
After the background is ready, add lettering and decorations. Vinyl letters create a clean finish, while paint pens and fabric markers are perfect for hand-lettered quotes. Use glue sparingly with rhinestones and pearls so adhesive does not ooze around the edges. For flowers, trim stems flat and attach only the lightweight pieces.
Finally, test the cap. Put it on, move your head, and make sure the design stays secure. Check that the tassel can still move freely and that nothing hangs over the edges. Take a quick photo from several feet away to see whether the words are easy to read. If the message disappears in the photo, simplify the layout or increase contrast.
8 Creative Graduation Cap Design Ideas
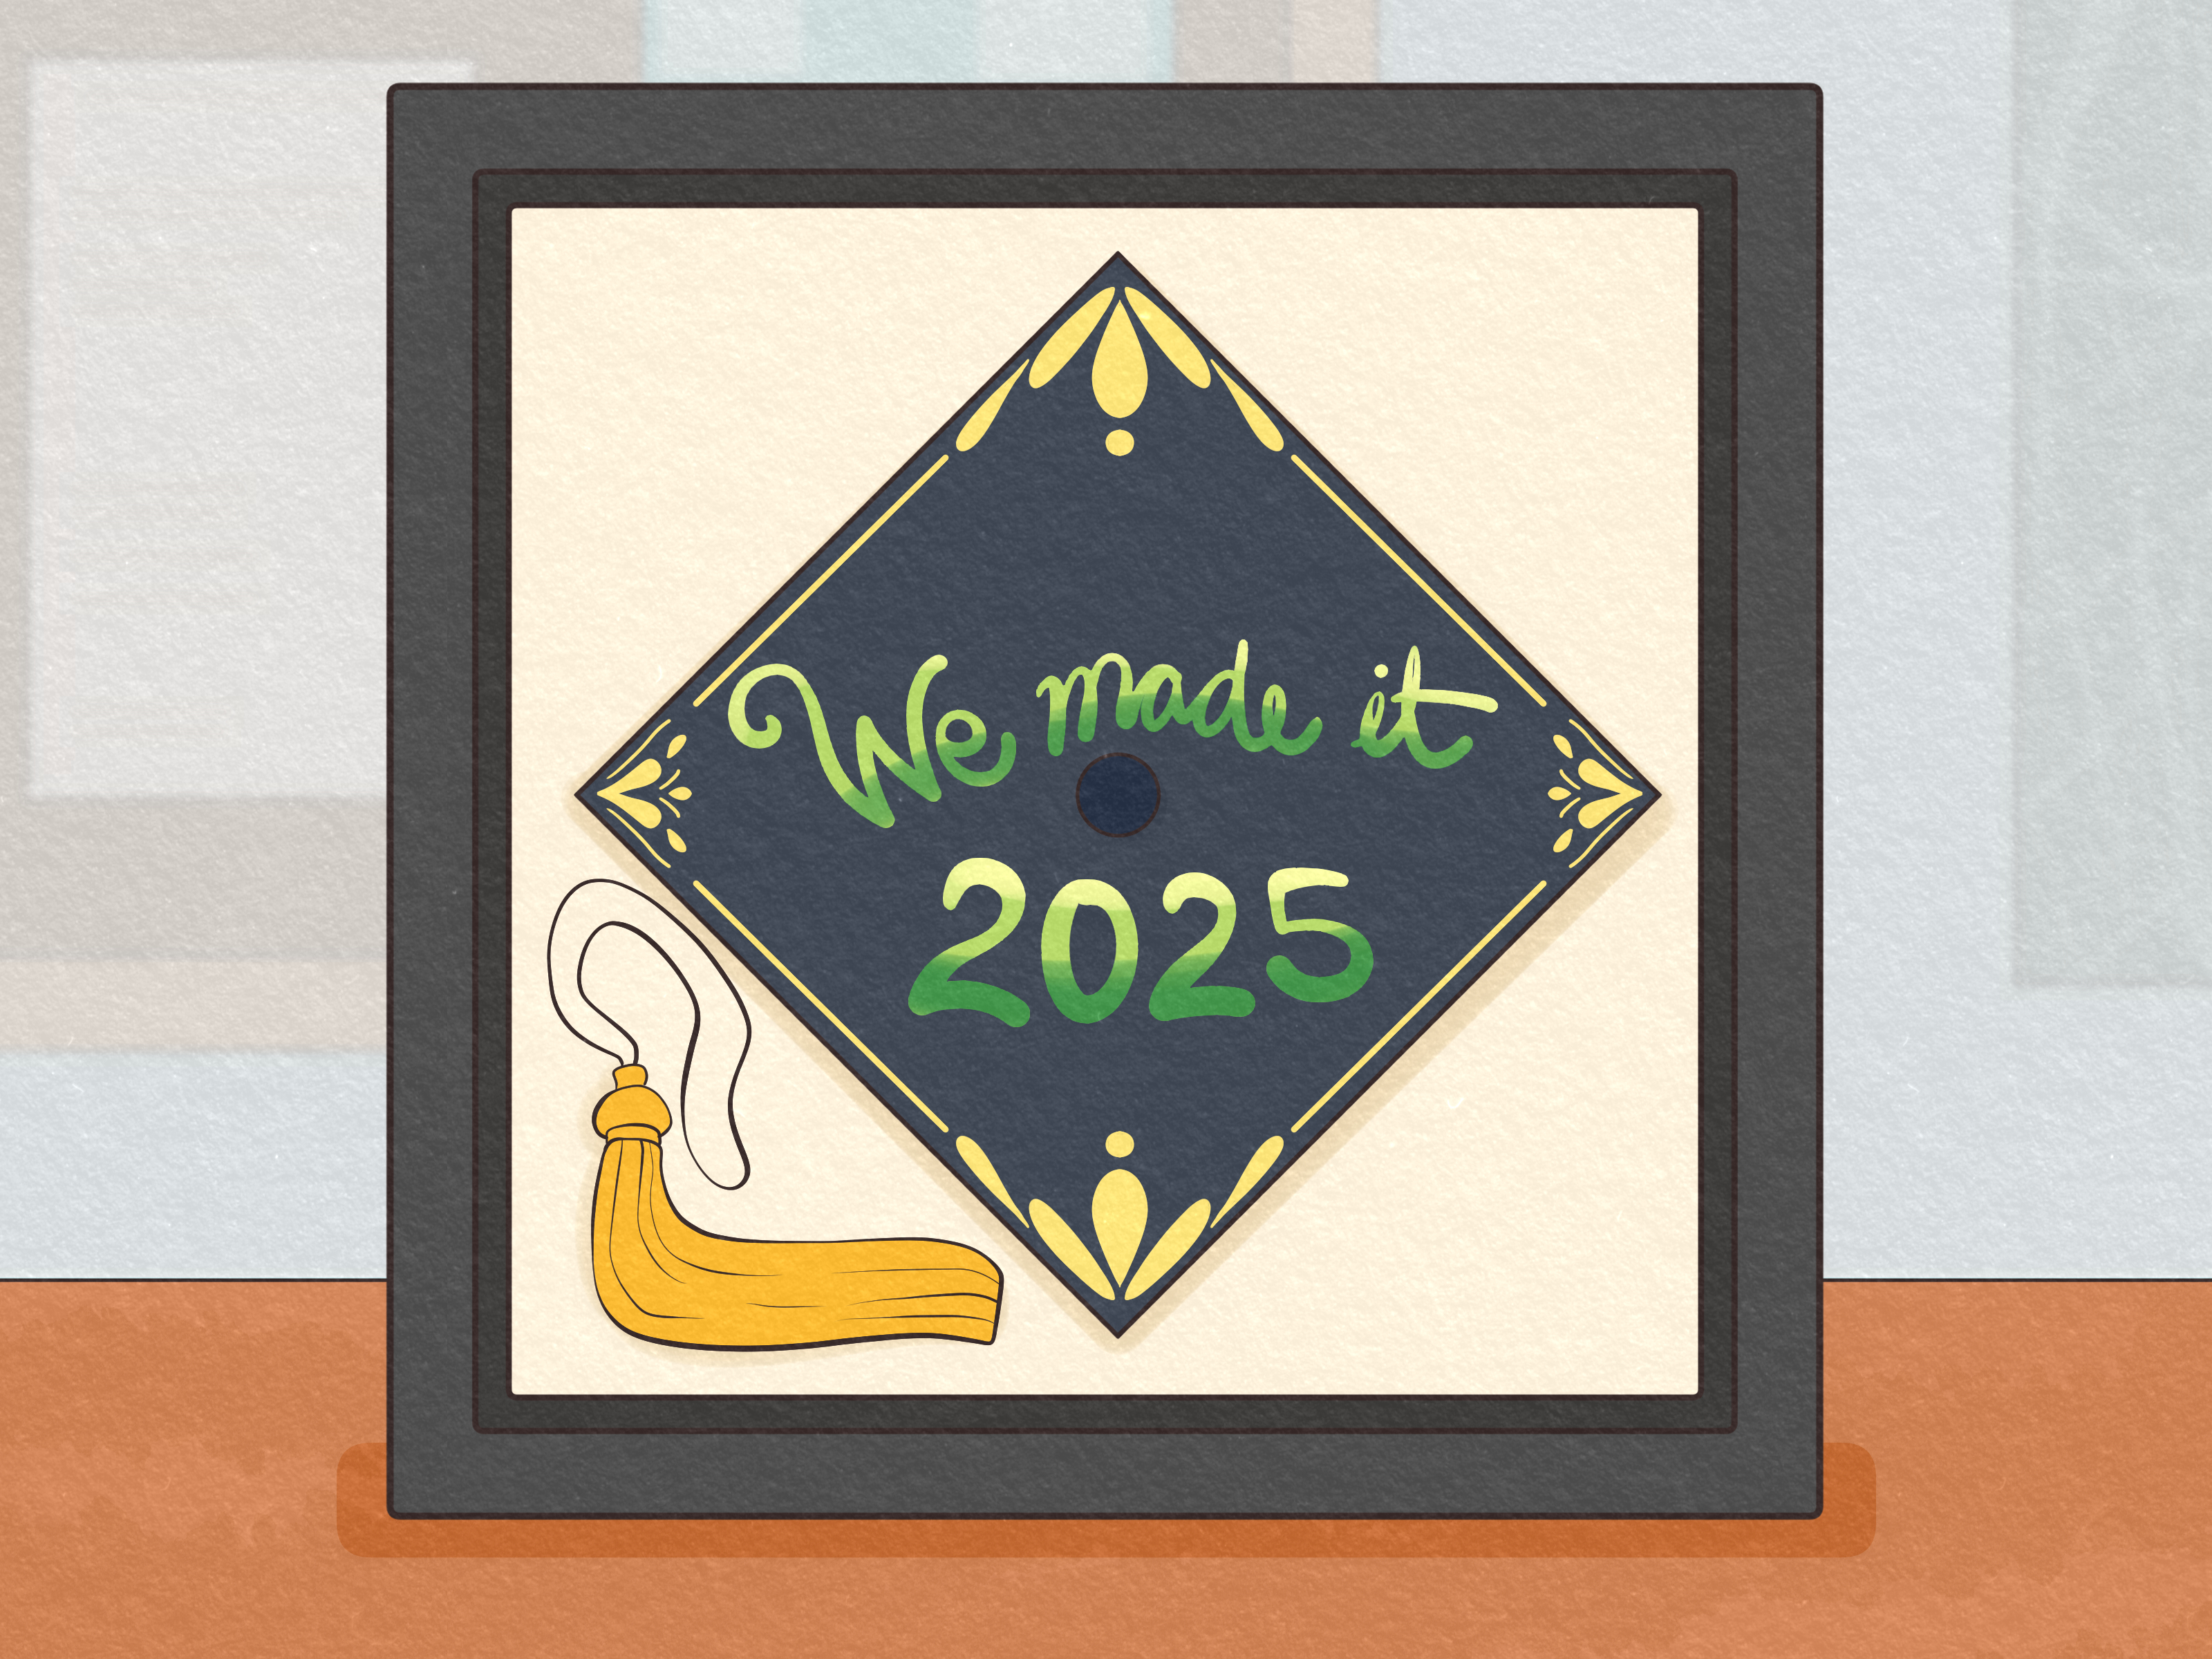
1. The Inspirational Quote Cap
A quote cap is a classic for a reason. It is simple, personal, and easy to photograph. Choose a short message that captures your journey, such as “The best is yet to come,” “She believed she could,” “Nevertheless, I graduated,” or “Started from freshman year, now we’re here.” Keep it short enough to read at a glance.
For the design, use a solid background with bold lettering. Black cardstock with white or gold letters looks polished, while pastel paper with dark lettering feels softer and more playful. Add small stars, laurel leaves, or a thin border to make the design feel finished without crowding the words.
This idea works especially well for graduates who want something meaningful but not overly complicated. It is also beginner-friendly because vinyl stickers, letter stencils, and paint pens make the lettering easier to control.
2. The “Thank You, Family” Cap
Graduation rarely happens alone. Behind every diploma is usually a group chat, a worried parent, a sibling who gave rides, a friend who shared notes, or someone who said, “You can do this,” when you were operating on caffeine and academic panic. A thank-you cap turns your mortarboard into a tribute.
Try a message like “For Mom and Dad,” “Because of my village,” “We did it,” or “This one is for my family.” Add small printed photos, initials, hearts, or the colors your family loves. A photo collage can be especially emotional, but keep the images large enough to be visible.
Use decoupage glue or photo-safe adhesive if you attach pictures. Seal the surface lightly if needed, but avoid making the cap too glossy if you will be photographed outdoors. Sun glare is real, and it has no respect for sentimental design.
3. The Floral Graduation Cap
Floral graduation cap designs are elegant, cheerful, and surprisingly versatile. You can create a romantic garden look, a bright spring design, or a cap that uses your school colors in paper flowers. Faux flowers, silk leaves, paper roses, and pressed-flower-style stickers all work beautifully.
Place flowers around the border, in two corners, or as a crescent shape around your quote. Avoid covering the entire cap with bulky flowers because the result may become heavy or block the tassel. Flat paper flowers or trimmed faux petals usually work better than large blooms.
For a polished design, pair flowers with a short phrase such as “In full bloom,” “Bloom where you are planted,” or “Watch me grow.” This is a strong choice for education majors, biology graduates, garden lovers, and anyone who wants the cap to look joyful without shouting.
4. The Glitter and Rhinestone Cap
If your graduation style can be summarized as “subtle, but make it visible from space,” glitter and rhinestones are your friends. A sparkly cap photographs well and catches the light as you walk across the stage. The key is control. Glitter should be glamorous, not a craft-store snowstorm.
Use glitter cardstock or pre-glittered paper to avoid loose glitter. If you prefer rhinestones, place them around letters, along the border, or as small accents around a central design. A pearl-and-rhinestone outline can make even a simple quote feel expensive.
Apply rhinestones one at a time with a tiny dot of glue. Too much glue can make the design messy and may weaken the hold. Let the cap dry overnight, then gently shake it over a table to test for loose pieces. Better to lose one rhinestone at home than during the ceremony while the dean is trying to look dignified.
5. The Pop Culture Cap
Pop culture graduation caps are fun because they mix your achievement with your favorite movie, song, TV show, meme, book, or artist. A good pop culture cap feels clever and personal, not copied from the first image you saw online. Use the reference as a starting point, then connect it to your own story.
Examples include “May the degree be with you,” “I solemnly swear I am up to employment,” “Long story short, I survived,” or a design inspired by your favorite animated character, album cover, or fantasy world. Keep copyright-sensitive logos and characters simple and personal, especially if the cap will appear on public social media.
For best results, build the design around one recognizable element. Too many references can turn the cap into a trivia quiz with tassels. Choose one theme, one quote, and one strong visual.
6. The Career or Major-Themed Cap
Your major probably took years of your life, several notebooks, and at least one dramatic moment with a printer. A career-themed graduation cap celebrates the field you worked hard to enter. Nursing students might use a stethoscope illustration. Teachers can add pencils, apples, or classroom doodles. Business graduates might use a clean, modern design with “CEO loading.” Engineering grads can feature gears, equations, or blueprint-style lines.
The trick is to make the design understandable without needing a course catalog. Use simple icons, your degree abbreviation, or a short phrase related to your field. For example, “Future RN,” “Next stop: law school,” “Educator in progress,” or “Powered by coffee and code.”
This design is also excellent for LinkedIn photos, graduation announcements, and family albums because it immediately shows what you studied and where you are headed.
7. The School Spirit Cap
A school spirit cap is perfect if you want to celebrate your current school, your future college, or the next chapter of your academic journey. Use school colors, mascot-inspired accents, pennants, or a “Class of” design. High school graduates can decorate caps with their future university colors, while college graduates can honor the campus they are leaving behind.
Keep the layout clean: one background color, one accent color, and one main message. Try “Future [School Name] student,” “Once a [Mascot], always a [Mascot],” or “Class of 2026.” If you use a school logo, check whether your school has rules about official marks, especially for public contests or social media campaigns.
School spirit caps look best when the colors are bold and coordinated. If your school colors are not your personal favorite, consider a neutral background with small color accents. You can show pride without making your head look like a marching band uniform.
8. The Minimalist Modern Cap
Not every graduation cap needs glitter, flowers, and a quote that makes your aunt cry. A minimalist cap can be just as powerful. Think clean typography, a monochrome palette, a small gold line drawing, or a single word such as “Done,” “Next,” “Finally,” or “Begin.”
This style works well for graduates who like a polished look. Use matte cardstock, adhesive vinyl, thin metallic trim, or small pearl accents. Leave plenty of negative space so the design feels intentional. Minimalist caps are also easier to keep ceremony-safe because they usually stay flat and lightweight.
If you want a modern design with personality, add coordinates of your campus, a tiny graduation year, your initials, or a meaningful symbol. The result is understated, stylish, and far less likely to shed glitter in the car.
Common Graduation Cap Decorating Mistakes to Avoid
The first mistake is making the design too heavy. A cap covered in thick flowers, plastic charms, and layers of glue may look cute on a table but become uncomfortable on your head. Keep the design light, flat, and balanced.
The second mistake is ignoring the tassel. The tassel is part of the graduation tradition, so leave room for it to move. Cut a clean hole around the cap button and avoid placing tall decorations in the center.
The third mistake is using tiny lettering. Your cap may look perfect up close, but graduation photos are often taken from a distance. Use high contrast, bold fonts, and short phrases. If you need a magnifying glass to read it, the audience will need binoculars.
The fourth mistake is waiting until the night before. Glue needs time to dry, paint needs time to cure, and mistakes need time to be rescued. Start at least a few days before graduation if possible. Your future self will thank you, probably while wearing a better-looking cap.
Graduation Cap Decorating Experience: What Real Crafting Teaches You
Decorating a graduation cap sounds simple until you sit down with supplies and realize the cap is smaller than your imagination. That is the first real lesson: editing matters. Many graduates begin with a huge idea, maybe a quote, photos, flowers, rhinestones, a mascot, a skyline, a favorite song lyric, and a tiny emotional breakdown in the corner. Then the cap quietly reminds them it is only one square. The most successful designs usually come from choosing one strong message and supporting it with a few thoughtful details.
Another useful experience is learning that mockups save lives, or at least save cardstock. Before gluing anything, arrange all pieces on the cap and take a photo. The photo shows problems your eyes miss in the moment. Maybe the quote is too close to the tassel. Maybe the flowers cover the first word. Maybe the rhinestones look less “luxury” and more “craft drawer explosion.” Moving things around before gluing is much easier than peeling hot glue off fabric while questioning your academic choices.
Graduates also discover that materials behave differently on a cap than they do on a desk. Fabric absorbs glue. Glitter paper can curl. Heavy charms can pull one side down. Stickers may lift at the edges if the cap fabric is textured. That is why many people prefer building the design on a separate cardstock topper. It gives a smoother surface, makes lettering easier, and creates a keepsake you can frame later with your tassel or diploma.
One of the best personal touches is including the people who helped you reach the finish line. Some graduates add a parent’s initials, a small family photo, a cultural symbol, a Bible verse, a favorite saying from a grandparent, or a phrase in a family language. These details may be small, but they carry emotional weight. When you look back at graduation photos years later, those details tell a deeper story than a generic “I did it” ever could.
There is also a practical graduation-day lesson: secure everything more than you think you need to. Wind, hugs, car rides, and crowded lineups test your design. If you use flowers, tug gently after the glue dries. If you use rhinestones, press each one firmly. If you use a topper, attach it evenly so the corners do not lift. Bring a mini emergency kit with a few adhesive dots, safety pins, and backup bobby pins for the cap itself. No one plans for a cap emergency, but no one plans for a printer jam during finals either, and look how that turned out.
Most importantly, decorating a graduation cap should feel fun, not stressful. The cap does not need to be perfect. It needs to feel like you. Whether your style is sparkly, sentimental, funny, floral, minimal, or proudly chaotic, the design should celebrate the work it took to get there. You are not just decorating a hat. You are putting a final punctuation mark on one chapter before stepping into the next one. Make it bold, make it readable, and make sure the glue is dry.
Conclusion
Decorating a graduation cap is one of the easiest ways to make commencement feel personal. With the right supplies, a clear design, and a little patience, your mortarboard can become a mini masterpiece that honors your journey, your family, your future, and your sense of humor. Start with your school’s rules, choose lightweight materials, keep the message readable, and give everything enough time to dry.
Whether you choose an inspirational quote, floral border, glittery rhinestone layout, pop culture reference, career-themed design, or minimalist modern look, the best graduation cap is the one that feels true to your story. After all, you worked hard for that diploma. Your cap deserves a little main-character energy too.
Note: Always review your school’s official graduation cap decoration policy before the ceremony. Rules may vary by school, venue, and commencement program.