A heavy picture has two goals in life: look impressive and test your faith in drywall. The good news is that you do not need a contractor, a museum curator, or supernatural luck to hang it safely. You just need the right hardware, the right measurements, and the discipline to stop saying, “Eh, that nail looks fine.”
If you have a large framed print, mirror-style artwork, vintage map, chunky wood frame, or anything else that makes your wall nervous, this guide will walk you through exactly how to hang a heavy picture the DIY way. We will cover studs, anchors, French cleats, wall types, placement, common mistakes, and the real-world lessons that usually arrive one crooked frame at a time.
Why Heavy Pictures Fall in the First Place
Most picture-hanging disasters are not caused by bad luck. They happen because the hardware does not match the weight, the wall, or the hanging style on the back of the frame. A single small nail in drywall might work for a lightweight print, but a heavy picture needs a smarter plan.
The biggest troublemakers are usually one of these:
- Using a basic nail for a frame that is far too heavy
- Ignoring wall type and treating drywall, plaster, brick, and tile like they are all the same
- Skipping the stud finder because “close enough” feels emotionally efficient
- Using low-rated anchors without checking the actual weight of the picture
- Measuring the frame but not measuring where the hanger or wire actually catches
- Hanging a big frame too high, too low, or too far above furniture
In other words, the problem is usually not the picture. The problem is confidence without data.
Before You Touch the Wall
1. Weigh the Picture
Do not guess. Weigh the frame or check the label if it came from a store. “Pretty heavy” is not a measurement. Five pounds and thirty-five pounds live in completely different hardware categories, and your wall would like you to respect that.
2. Identify the Wall Type
Drywall is the most common wall surface in modern homes, but it is not especially forgiving on its own. Plaster is stronger in some ways, but it can crack if you rush the job. Brick and masonry require totally different fasteners than drywall. Before you buy hardware, know what you are drilling into.
3. Inspect the Back of the Frame
Check whether the picture uses a wire, D-rings, a sawtooth hanger, or a bracket system. For heavy frames, two D-rings or a French cleat system are often more stable than a flimsy wire. If the hanging hardware on the frame looks cheap, loose, or suspiciously optimistic, replace it before the picture goes on the wall.
4. Pick the Right Location
For most wall art, the center of the picture should land around eye level. In many homes, that means the center is about 57 to 60 inches from the floor. If you are hanging the piece above a sofa, console, dresser, or bed, bring it lower so it feels connected to the furniture instead of floating like it missed its parking spot.
Tools and Materials You May Need
- Stud finder
- Tape measure
- Pencil or painter’s tape
- Level
- Drill and drill bits
- Screwdriver
- Heavy-duty picture hangers, screws, or anchors
- Toggle bolts, molly bolts, or self-drilling anchors
- French cleat hanger for oversized or especially heavy pieces
- Wall patch kit for the hole you swear you will not make in the wrong place
The Best Ways to Hang a Heavy Picture
Method 1: Screw into a Stud
This is the gold standard. If a stud lines up with your ideal placement, use it. A screw driven into a stud offers the most reliable support for heavy artwork. It is strong, stable, and less likely to loosen over time.
This method is ideal for:
- Large framed art
- Heavy wood frames
- Pictures over sofas, fireplaces, or entry tables
- Pieces you really do not want crashing down at 2:14 a.m.
Method 2: Use a Heavy-Duty Drywall Anchor
If the stud is in the wrong place, use a high-quality anchor rated for the load and designed for your wall type. This is where people get lazy and the wall gets revenge. Read the packaging. Match the anchor to both the weight and the wall material.
Good options include:
- Self-drilling anchors: Easy to install and useful for moderate loads
- Molly bolts: Good for medium-duty support in hollow walls
- Toggle bolts: Better for heavier pieces when no stud is available
For very heavy items, anchors are not all equal. A plastic plug that works for a lightweight décor sign is not the hero your 35-pound framed canvas deserves.
Method 3: Install a French Cleat
If your picture is oversized, valuable, awkwardly wide, or just dramatically heavy, use a French cleat. A French cleat is a two-part hanging system: one piece attaches to the wall, the other to the frame, and they lock together. It spreads the load well, helps keep the frame level, and is one of the safest choices for large wall art.
This is especially useful for:
- Wide art pieces
- Heavy mirrors used as art
- Statement pieces over furniture
- Frames that need extra stability
Method 4: Use Masonry Hardware for Brick or Concrete
If your wall is brick, concrete, or block, do not use drywall hardware and hope for a miracle. Use masonry screws, masonry anchors, or brick clips where appropriate. You may need a masonry bit and a drill designed for tougher surfaces.
Method 5: Go Slowly on Plaster Walls
Plaster is strong, but it can chip or crack if you get aggressive. Predrill carefully, use anchors made for plaster if needed, and avoid forcing hardware into the wall. If you live in an older house, patience is part of the tool kit.
Step-by-Step: How to Hang a Heavy Picture
Step 1: Measure the Picture and the Hanging Point
Measure the full height and width of the frame. Then measure from the top of the frame down to the point where the wire or hanger will actually rest on the screw or hook. If the frame uses wire, pull the wire taut first before measuring. This matters. A lot. If you skip this, your “perfect” mark will be perfectly wrong.
Step 2: Mark the Desired Center Height
For a standard wall, mark the center of where you want the picture to sit. Around 57 inches from the floor is a classic guide for the midpoint of the art. If you are hanging it above furniture, the bottom of the frame usually looks best around 8 to 10 inches above the top of the furniture.
Step 3: Transfer the Measurement
Now subtract the distance from the top of the frame to the hanging point. That tells you where the screw, hook, or anchor needs to go in the wall. This is the mark that counts. Not the top of the frame. Not your guess. The actual hardware point.
Step 4: Locate Studs
Use a stud finder and check both sides of your mark. If a stud lines up well, great. If not, decide whether you need a second anchor point, a pair of D-rings, or a French cleat for better stability.
Step 5: Install the Hardware
Drill pilot holes if required. Install the screw into the stud or insert the correct wall anchor and then the screw. For bracket-style hangers, leave enough of the screw head exposed for the picture hardware to catch securely. Do not over-tighten anchors. That is a wonderful way to strip the wall and invent a new weekend project.
Step 6: Hang the Picture
Lift the picture carefully. For heavier frames, use a second person. Hook the frame onto the hardware and lower it slowly. Then step back and check whether it is seated correctly before you let go completely. This is not the time for blind trust.
Step 7: Level and Fine-Tune
Use a level on the top edge of the frame. Adjust as needed. If the picture shifts easily every time someone walks by, add rubber bumpers to the bottom corners. They help keep the frame flat against the wall and reduce annoying side-to-side movement.
Best Hardware by Situation
For Drywall With a Stud Available
Use a sturdy screw driven into the stud. If the frame is wide, use two screws and two D-rings or a French cleat.
For Drywall Without a Stud
Use a heavy-duty anchor such as a toggle bolt or a properly rated self-drilling anchor. Match the hardware rating to the actual weight of the frame and give yourself a safety margin.
For Plaster Walls
Predrill carefully. Use plaster-friendly anchors or go into a stud if available. Avoid pounding nails into old plaster like you are in a home makeover montage.
For Brick or Concrete
Use masonry anchors, masonry screws, or brick clips if the weight and wall style allow it. This is a totally different category from drywall hanging.
For Very Large or Valuable Art
Use a French cleat. It offers better weight distribution, easier leveling, and more confidence than a single point of failure pretending to be “good enough.”
Common DIY Mistakes to Avoid
- Using adhesive strips for artwork that is too heavy
- Choosing hardware first and checking weight second
- Ignoring whether the wall is drywall, plaster, or masonry
- Measuring from the top of the frame instead of the hanging point
- Using only one hanging point for a wide heavy frame that really needs two
- Placing art too high above a couch or console
- Overtightening anchors until they spin or loosen
- Trying to hang a large piece alone when a second set of hands would save time and wall damage
How to Keep a Heavy Picture Straight Over Time
A heavy picture can be securely mounted and still slowly drift crooked. That usually happens when the frame hangs from a wire and shifts with vibration, cleaning, door slams, or daily life. To keep it straight:
- Use two D-rings instead of one loose wire when possible
- Add rubber bumpers behind the lower corners
- Use two anchor points for wide frames
- Choose a French cleat for oversized statement art
Translation: if you are tired of straightening the frame every other Tuesday, build in stability from the start.
What I’d Recommend for the Average DIY Homeowner
If you are hanging one heavy picture in a typical American home with drywall, here is the simplest decision tree:
- Find out how much the picture weighs.
- Try to hit a stud first.
- If a stud does not line up, use a heavy-duty wall anchor rated for more than the picture weighs.
- If the picture is extra large, extra valuable, or extra awkward, use a French cleat.
- Hang the center around eye level unless it is going above furniture, in which case lower it to relate visually to the piece below.
That approach is practical, safe, and far less dramatic than hearing your frame hit the floor and trying to act surprised.
Real-World DIY Experiences and Lessons From Hanging Heavy Pictures
One of the most common experiences people have with hanging a heavy picture is assuming the hard part is lifting it. It is not. The hard part is the measuring. A frame can weigh thirty pounds, but the real challenge is figuring out exactly where the screw belongs so the final placement looks intentional. Many DIYers mark the top of the frame on the wall, drive in the hardware, hang the picture, and then discover the whole thing sits two inches too low. That lesson tends to stick.
Another very normal experience is learning that the back of the frame matters as much as the front. A beautiful oversized frame with a cheap wire can become a maintenance problem almost immediately. It may go up straight, then drift to one side after a few door slams or a weekend of people walking around the room. Homeowners often discover that replacing the wire with D-rings or switching to a cleat system solves the problem better than repeated leveling sessions ever will.
Plaster walls also teach humility. Plenty of DIYers move from a newer house into an older one and think the same drill-and-anchor routine will apply. Then the plaster chips, the hole widens, or a hairline crack appears and suddenly the project becomes a history lesson. The experience usually changes how people work: slower drilling, better pilot holes, lighter pressure, and much more respect for wall material.
Hanging art above furniture creates another classic learning moment. A lot of people put the frame too high the first time because they are thinking about the empty wall rather than the whole room. Then they step back and realize the art looks disconnected from the sofa, console, or bed below it. Once they lower it, the room suddenly looks more polished. It is one of those small design shifts that makes a surprisingly big difference.
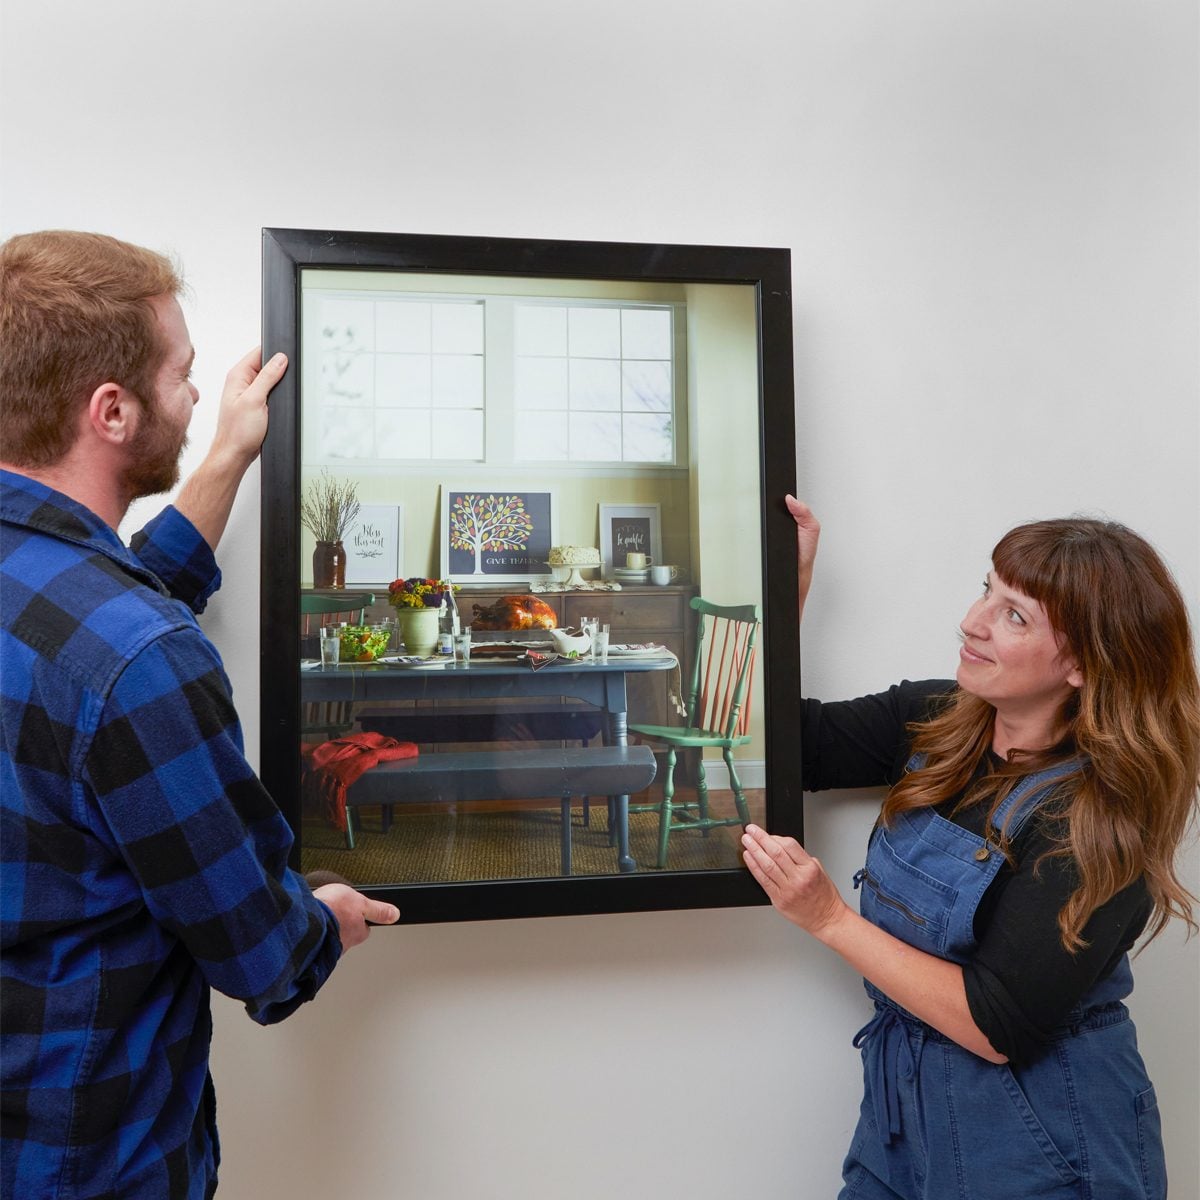
Then there is the famous “I can do this alone” phase. Technically, yes, a determined person can wrestle a heavy frame onto the wall without help. Practically, this often leads to finger smudges on the glass, a tilted hook, or a frame corner lightly bonking the paint. Many DIYers eventually learn that a second person is not a sign of weakness. It is a shortcut to accuracy, especially with wide or delicate pieces.
Finally, there is the confidence boost that comes after doing it right once. The first heavy picture can feel intimidating because there are anchors, studs, weight ratings, leveling issues, and the possibility of making a hole in exactly the wrong place. But after one successful install, the process stops feeling mysterious. You start measuring with more certainty, choosing better hardware, and trusting the method instead of winging it. That is usually the moment when DIY stops feeling like guesswork and starts feeling like skill.
Final Thoughts
Hanging a heavy picture is not complicated, but it does reward careful work. The safest method is usually a screw into a stud. When that is not possible, use a properly rated anchor. For large, expensive, or extra-heavy pieces, a French cleat is often the smartest move. Add good measurements, a level, and a little patience, and your artwork will stay on the wall where it belongs.
And that, frankly, is a much better design choice than modern floor art created by accidental gravity.