Making angles with a protractor may look like one of those tiny classroom skills that should be easyuntil the protractor flips upside down, the numbers run in two directions, and suddenly a simple 60-degree angle feels like you are decoding an ancient treasure map. The good news? A protractor is not trying to trick you. It is a simple geometry tool designed to help you draw and measure angles accurately, and once you understand where to place it, which scale to read, and how to connect your marks, the whole process becomes surprisingly friendly.
In math, an angle is formed when two rays meet at one endpoint, called the vertex. We measure angles in degrees, using the little degree symbol: °. A full circle has 360 degrees, a straight line has 180 degrees, and a right anglethe celebrity of elementary geometryhas 90 degrees. A standard semicircular protractor usually measures from 0° to 180°, with an inner scale and an outer scale. That double set of numbers is helpful, not evil. It simply allows you to draw angles opening in different directions.
This step-by-step guide explains how to make angles in math using a protractor, with practical examples, common mistakes, and classroom-tested tips. Whether you are drawing a 30° angle, a 90° angle, a 135° angle, or trying to survive homework without turning your paper into modern art, this guide will walk you through the process clearly.
What You Need Before You Start
Before drawing angles, gather the right supplies. You do not need a fancy geometry kit that looks like it belongs to a tiny architect. A few basic tools will do the job.
- A protractor, preferably transparent
- A sharp pencil
- A ruler or straightedge
- A sheet of paper
- An eraser, because geometry is honest about mistakes
A transparent protractor is especially useful because you can see the baseline and vertex underneath it. If your protractor has a small hole, crosshair, or center mark in the middle of the straight edge, that is the point you will place on the vertex of your angle.
Understanding the Parts of a Protractor
To use a protractor correctly, you need to know its main parts. The straight edge is the bottom line of the protractor. The center point, sometimes called the origin or midpoint, is where the vertex of your angle goes. The curved edge has degree markings from 0° to 180°. Most protractors show two number scales: one increases from left to right, and the other increases from right to left.
The trick is simple: start reading from the 0° mark that lies on the baseline of your angle. If your baseline points to the right, use the scale that starts with 0° on the right. If your baseline points to the left, use the scale that starts with 0° on the left. Choose the correct starting zero, and the rest of the protractor becomes much less dramatic.
How to Make Angles in Math Using a Protractor: 13 Steps
Step 1: Decide the Angle Measurement
First, decide how large your angle should be. For example, you might need to draw a 45° angle, a 70° angle, a 90° angle, or a 120° angle. Write the measurement nearby so you do not forget it halfway through and accidentally draw something that belongs in a geometry blooper reel.
If you are following a homework problem, read the instruction carefully. “Draw an angle of 60°” means the space between the two rays must measure exactly 60 degrees. “Construct angle ABC = 60°” means point B is the vertex, because the middle letter in an angle name identifies the vertex.
Step 2: Draw a Straight Baseline
Use your ruler to draw a straight line segment or ray. This will be the first side of your angle. For example, draw a horizontal ray pointing to the right and label the starting point A and a point along the ray B. This gives you ray AB.
Make your baseline long enough so the final angle is easy to see. A tiny baseline makes everything harder, especially if your pencil line is thick or your protractor markings are small.
Step 3: Mark the Vertex Clearly
The vertex is the point where the two sides of the angle meet. If your baseline starts at point A, then A is the vertex. Put a small, neat dot at the vertex and label it clearly.
This matters because the center point of your protractor must sit exactly on the vertex. If the center slips even a little, your angle can become inaccurate. In geometry, “close enough” is sometimes useful for sketches, but for measured angles, the vertex needs to behave itself.
Step 4: Place the Protractor Center on the Vertex
Now place the center mark of the protractor directly over the vertex. The center mark is usually found in the middle of the straight edge. Some protractors show it as a hole, small line, circle, or cross.
Keep your hand steady while positioning the protractor. If it slides around, your angle may come out crooked. A good habit is to hold the protractor gently with your non-writing hand while marking with your pencil.
Step 5: Align the Protractor’s Straight Edge with the Baseline
Line up the straight bottom edge of the protractor with the baseline you drew. The baseline should pass through the 0° mark on one side of the protractor. This step is where many angle mistakes begin, so take a second to check your alignment.
If the baseline points to the right, make sure it lines up with the right-side 0°. If it points to the left, line it up with the left-side 0°. The protractor’s center must stay on the vertex while the baseline lines up with the straight edge.
Step 6: Choose the Correct Number Scale
Most semicircular protractors have two scales. One starts at 0° on the left and increases toward the right. The other starts at 0° on the right and increases toward the left. To choose the correct scale, look at where your baseline begins.
Suppose your baseline points to the right and you want to draw a 60° angle above it. You should use the scale that starts at 0° on the right side. Follow that scale until you reach 60°. If you accidentally read the other scale, you might mark 120° instead. That is not a tragedy, but your math teacher may raise an eyebrow.
Step 7: Find the Degree Mark You Need
Look along the curved edge of the protractor and find the number that matches your target angle. If you are drawing a 45° angle, find 45°. If you are drawing a 110° angle, find 110° on the correct scale.
Some protractors label every 10 degrees and use small tick marks for each individual degree. If you need 73°, count carefully from 70° to 73°. For school assignments, many angles are multiples of 5 or 10 degrees, but it is still useful to practice reading smaller increments.
Step 8: Make a Small Pencil Mark at the Degree Measurement
Once you find the correct degree mark, place a small dot on your paper at that location. Do not draw the second side yet. Just make a neat pencil mark near the outer edge of the protractor.
Keep the mark light but visible. A giant dot can make it harder to draw a clean ray later. Think “tiny target,” not “pencil meteor crater.”
Step 9: Remove the Protractor Carefully
Lift the protractor straight up without smearing or moving your paper. You should now see your vertex, your baseline, and the small dot that marks the angle measurement.
Before drawing the second ray, double-check that the dot is on the side where you want the angle to open. If the problem asks for an angle above the line, the dot should be above the baseline. If it asks for one below the line, the dot should be below.
Step 10: Draw the Second Ray Through the Mark
Use your ruler to draw a straight ray from the vertex through the dot you marked. This ray is the second side of your angle. Extend it far enough so the angle is easy to identify.
For example, if you drew baseline AB and your new ray goes from A through point C, then your angle is ∠BAC or ∠CAB, depending on how it is labeled. Remember: the vertex letter goes in the middle when naming an angle with three letters.
Step 11: Label the Angle
Label the points clearly. If the vertex is A, the baseline point is B, and the point on the second ray is C, you can write ∠BAC = 60° if the angle opens from BA to CA.
Good labeling prevents confusion later, especially when multiple angles appear in the same diagram. Geometry diagrams can get crowded fast, and unlabeled angles are like mystery leftovers in the fridge: technically present, but not very helpful.
Step 12: Check Your Work by Measuring the Angle
After drawing the angle, place the protractor back on the vertex and measure it. Align the center point with the vertex and the straight edge with one ray. Then read where the other ray crosses the correct scale.
If your angle was supposed to be 80° and it measures 80°, excellent. If it measures 100°, you probably read the wrong scale. If it measures 78° or 82°, your alignment or pencil mark may have shifted slightly. Erase gently and try again.
Step 13: Practice with Different Types of Angles
The best way to become confident is to draw several angles. Try an acute angle like 35°, a right angle of 90°, an obtuse angle like 125°, and a straight angle of 180°. Each one teaches your eye to recognize angle size more naturally.
You can also practice drawing angles in different directions. Start with baselines pointing left, right, upward, or diagonally. This helps you become comfortable using both protractor scales instead of relying only on horizontal lines.
Examples of Angles You Can Draw with a Protractor
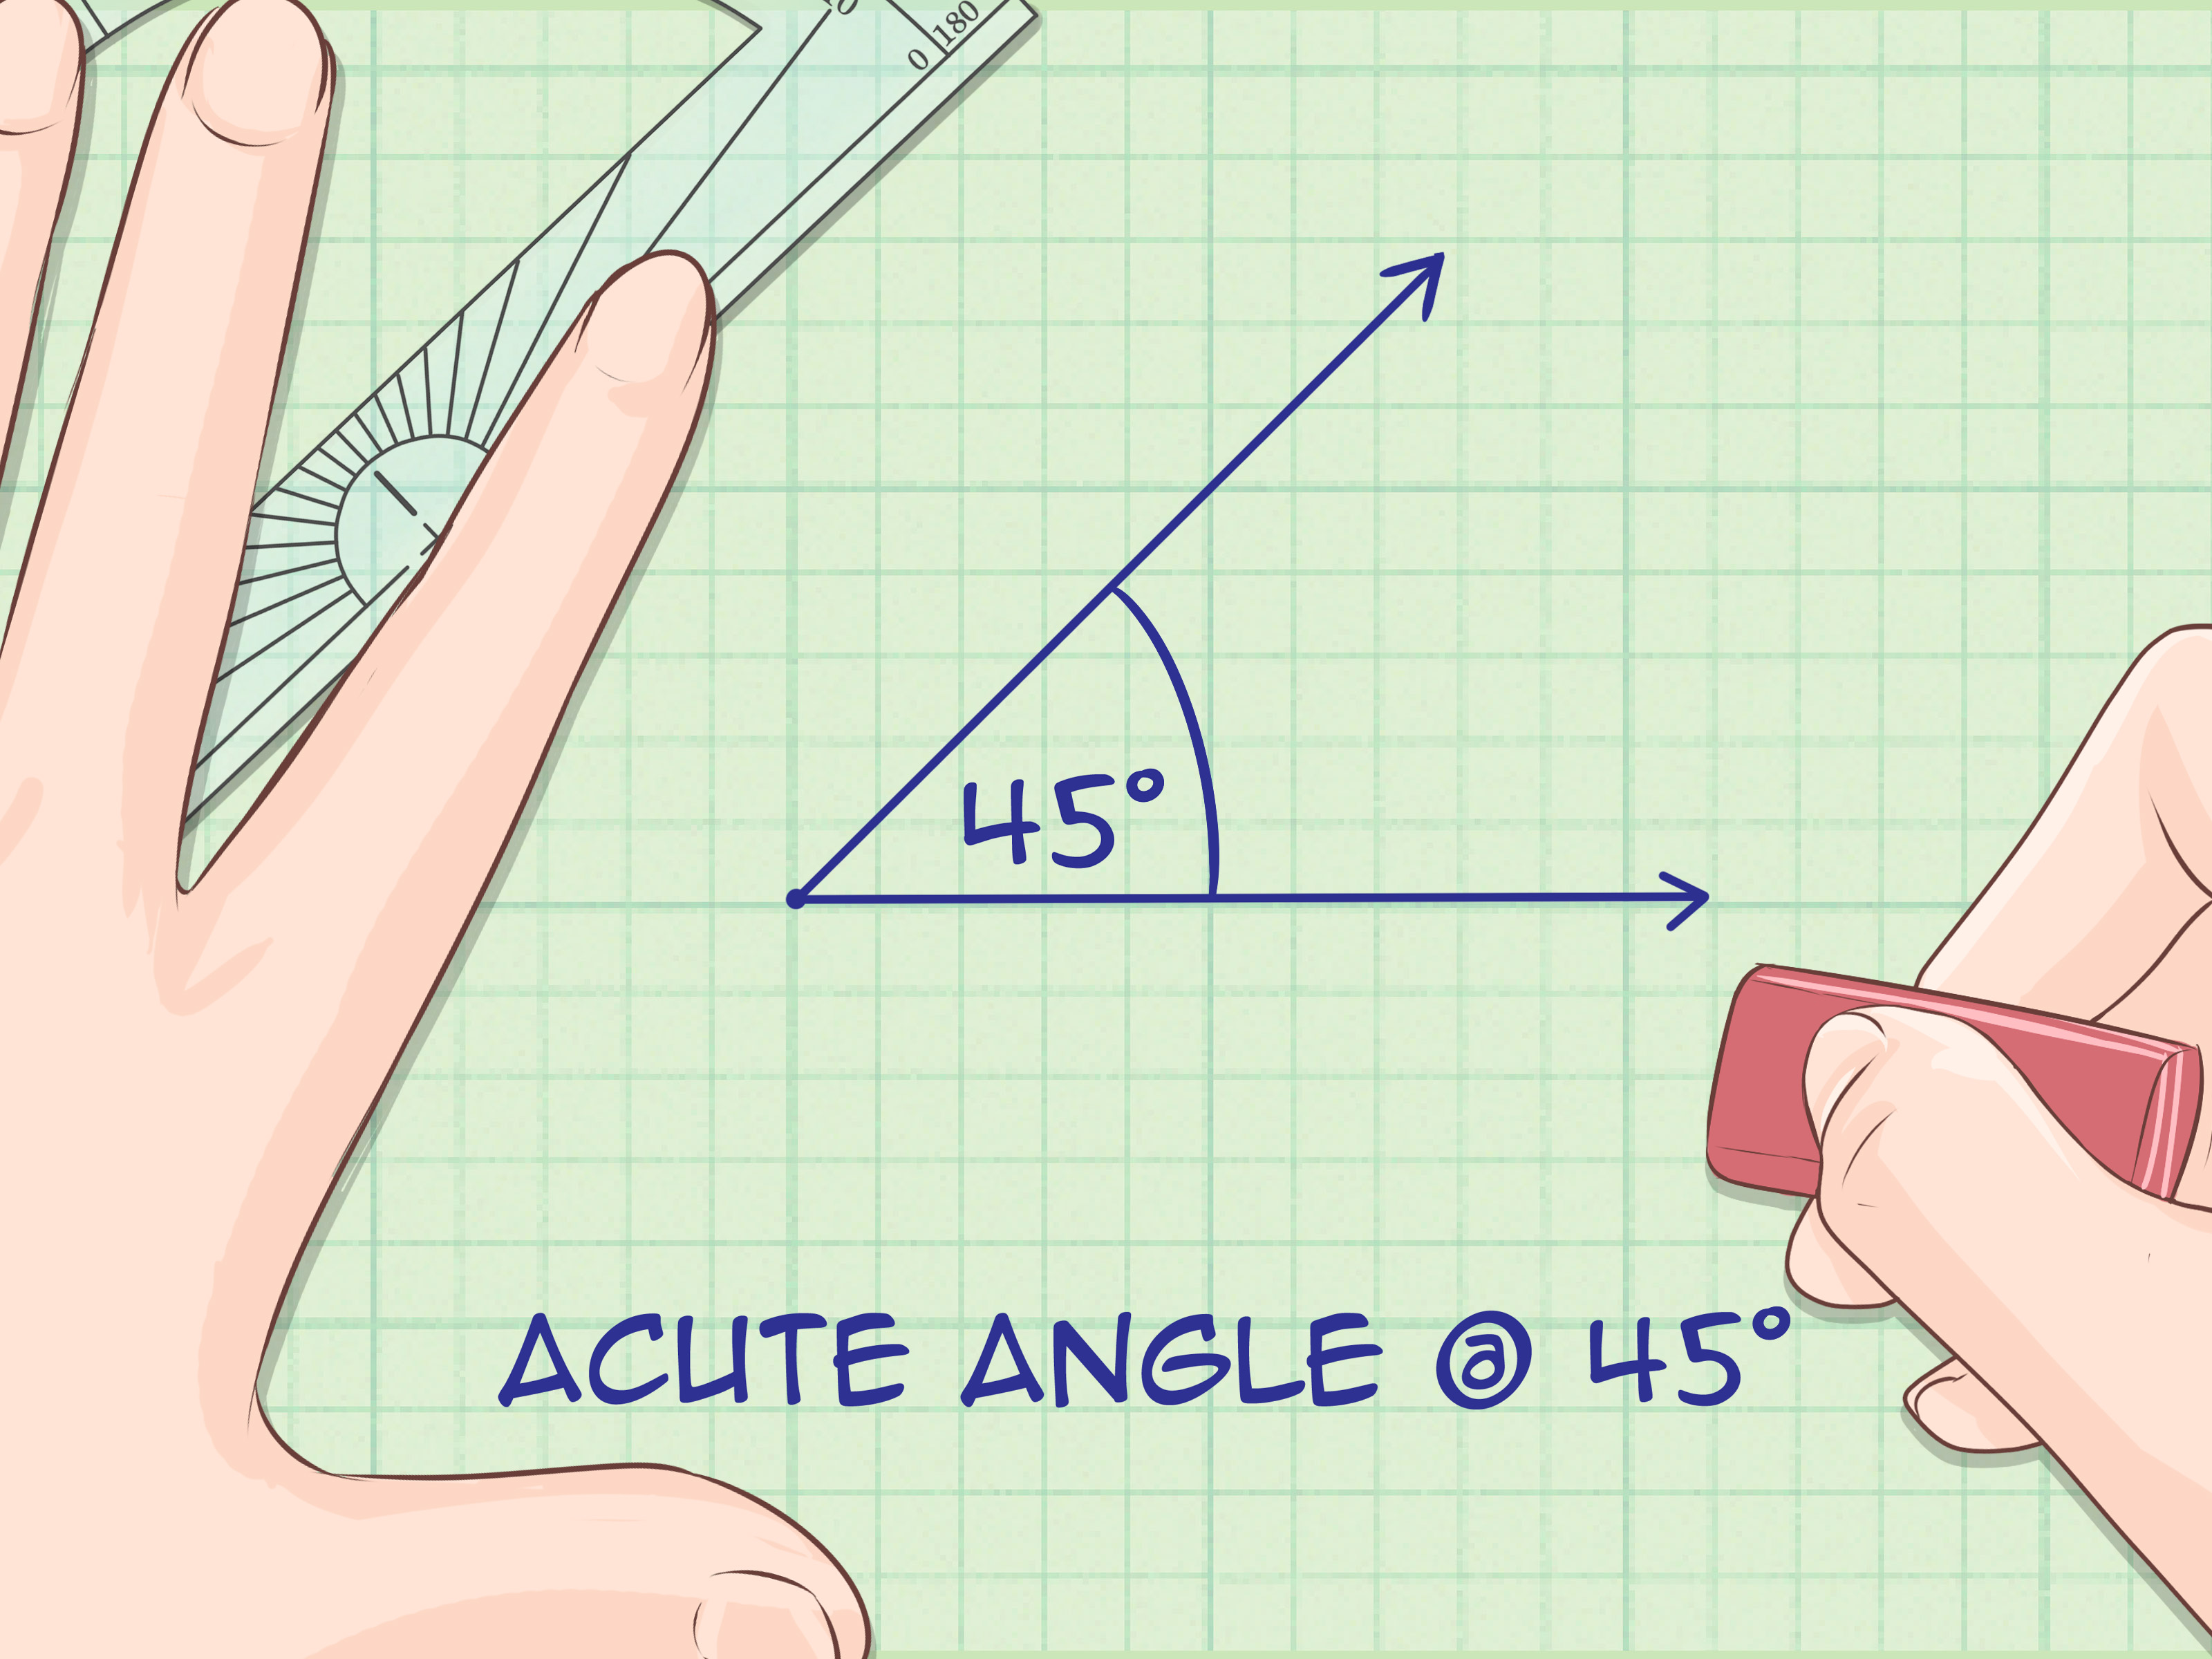
Example 1: Drawing a 45° Angle
Draw a baseline pointing to the right. Place the protractor center on the vertex and align the baseline with the 0° mark on the right. Use the scale that begins at 0° on the right, find 45°, and make a small dot. Remove the protractor and draw a ray from the vertex through the dot. You now have a 45° angle, which is half of a right angle.
Example 2: Drawing a 90° Angle
Draw a straight baseline. Place the protractor correctly and find 90° at the top center of the curved scale. Mark the point and draw the second ray. A 90° angle is called a right angle. You can often recognize it as the corner shape found in squares, rectangles, books, doors, and many very bossy pieces of furniture.
Example 3: Drawing a 120° Angle
Draw a baseline pointing to the right. Place the center of the protractor on the vertex and align the baseline with 0° on the right. Read the scale that starts from that side, find 120°, and mark it. Draw the second ray from the vertex through the mark. Since 120° is greater than 90° but less than 180°, it is an obtuse angle.
Common Mistakes When Making Angles with a Protractor
Reading the Wrong Scale
The most common mistake is reading the incorrect scale. If your angle should be 40° but you mark 140°, you probably started from the wrong 0°. Always begin reading from the 0° mark that lies on your baseline.
Misplacing the Center Point
If the protractor’s center is not exactly on the vertex, the angle will not be accurate. Even if the baseline looks aligned, the measurement can be off. Put the center mark directly on the vertex before reading the degree scale.
Drawing a Curved or Wobbly Ray
Angles are made of rays, and rays should be straight. Use a ruler to draw the second side. Freehand lines can work for quick sketches, but measured angles deserve a straightedge.
Making the Pencil Mark Too Large
A huge pencil mark can make your second ray inaccurate. Use a small dot exactly at the degree mark. The cleaner your marks, the cleaner your angle.
How to Tell What Type of Angle You Made
Once you draw an angle, classify it by its measure. An acute angle is greater than 0° and less than 90°. A right angle is exactly 90°. An obtuse angle is greater than 90° and less than 180°. A straight angle is exactly 180°.
This classification helps you check your answer quickly. If you are asked to draw a 30° angle but your drawing looks wide and open, something is wrong. A 30° angle should look narrow. If you are asked for 150°, the angle should look wide, but not completely flat.
Why Learning to Make Angles Matters
Drawing angles with a protractor is not just a classroom ritual invented to keep pencils busy. It builds the foundation for geometry, measurement, construction, design, maps, architecture, engineering, art, robotics, carpentry, and even sports analysis. Anytime direction, slope, rotation, or shape matters, angles are nearby, quietly doing the math.
Learning how to make angles also improves spatial reasoning. You begin to understand how shapes fit together, how turns are measured, and how lines relate to one another. Later, when you study triangles, polygons, parallel lines, coordinate geometry, and trigonometry, your protractor skills will make those topics easier to understand.
Tips for Drawing More Accurate Angles
- Use a sharp pencil so your lines and marks are precise.
- Keep your paper flat and still while using the protractor.
- Start reading from the correct 0° mark every time.
- Use a ruler to draw both rays cleanly.
- Check your completed angle by measuring it again.
- Practice with both left-opening and right-opening angles.
- Do not rush the alignment step; that is where accuracy begins.
Practice Problems
Try drawing the following angles with a protractor. After you draw each one, measure it again to check your work.
- Draw a 25° angle and classify it.
- Draw a 90° angle and label it as a right angle.
- Draw a 135° angle and explain why it is obtuse.
- Draw a 180° angle and describe what it looks like.
- Draw two angles, 40° and 140°, and compare their sizes.
These problems are simple but powerful. They train your hand, your eyes, and your brain to work together. That is the secret of geometry: it is part math, part drawing, and part “please stop moving the protractor.”
Real-Life Experience: What It Feels Like to Learn Protractor Angles
The first time many students use a protractor, they assume it will be as easy as using a ruler. A ruler starts at zero, goes in one direction, and generally minds its own business. A protractor, on the other hand, has two sets of numbers, a curved edge, a mysterious center mark, and the ability to make a confident student suddenly ask, “Wait, is this 50° or 130°?” That confusion is normal. In fact, it is almost a rite of passage in geometry.
One helpful experience is to think of the protractor as a turn-measuring tool rather than just a drawing tool. Imagine the first ray as the starting direction. The angle measure tells you how far to turn away from that ray. A 30° angle is a small turn. A 90° angle is a quarter turn. A 180° angle is a half turn, making a straight line. When students connect angle measurement to turning, the numbers become much easier to understand.
Another practical lesson comes from drawing angles on real paper instead of only looking at diagrams on a screen. Digital tools are clean and perfect, but a real pencil teaches accuracy. You learn that the protractor must be placed carefully, that the center point matters, and that a small slip can change the measurement. You also learn patience. Geometry rewards slow, careful work. It does not usually reward the “close enough and hope for the best” strategy, although every student has tried it at least once.
A useful classroom trick is to draw the same angle in different directions. For example, draw a 60° angle opening upward, then draw another 60° angle opening downward, then another opening to the left. At first, these may feel like completely different tasks. After a few tries, you realize the angle size is the same; only the direction has changed. This experience helps students understand that an angle is about the amount of opening between two rays, not whether the angle is facing north, south, or toward the snack cabinet.
Students also become more confident when they estimate before measuring. Before using the protractor, ask yourself: should this angle be acute, right, obtuse, or straight? If the problem asks for 150°, you should expect a wide angle. If your mark creates a skinny little angle, you know something went wrong before you even measure it. Estimation is like having a math safety net.
Parents and teachers can make protractor practice less boring by connecting it to everyday objects. Look at the corner of a book for a 90° angle. Open a laptop screen and estimate its angle. Look at clock hands: at 3:00, the hands form a 90° angle; at 6:00, they form a 180° angle. Fold paper fans, draw roads on a map, design a simple roof shape, or create geometric art using repeated angles. Suddenly, the protractor is not just a plastic semicircle in a pencil pouch. It becomes a tool for seeing structure in the world.
The biggest lesson from experience is this: mistakes with protractors are usually easy to fix once you know what caused them. If the angle is the supplement of what you wanted, you probably used the wrong scale. If it is only a few degrees off, the protractor may not have been aligned exactly. If the ray looks messy, the ruler probably slipped. Each mistake points to a clear solution. With practice, drawing angles becomes less like guessing and more like following a recipeexcept the final product is a neat angle instead of cookies, which is admittedly less delicious but still satisfying.
Conclusion
Learning how to make angles in math using a protractor is a core geometry skill that becomes easier with practice. The process is straightforward: draw a baseline, mark the vertex, align the protractor, choose the correct scale, mark the degree measurement, and draw the second ray. The most important details are placing the center point exactly on the vertex and reading from the correct 0° mark.
Once you understand these steps, you can draw acute, right, obtuse, and straight angles with confidence. You can also check your work by measuring the angle after drawing it. Like many math skills, using a protractor feels awkward at first, but it quickly becomes familiar. Give it a little patience, a sharp pencil, and a calm hand, and your angles will stop looking like they wandered in from another assignment.