

If you have ever looked at a gorgeous product photo or a polished portrait and thought, “Sure, but they probably used a lighting setup that costs more than my rent,” welcome. The good news is that great lighting does not begin with expensive gear. It begins with understanding what light is doing, then bossing it around with whatever you have nearby: a window, a white foam board, a shower curtain liner, a flashlight, and maybe that desk lamp that has been pretending to be “decor.”
Homemade photography lighting can absolutely work for portraits, food shots, flat lays, small products, crafts, and creative still life images. In many cases, a low-budget DIY setup gives you something even better than expensive gear right out of the gate: it teaches you how light behaves. Once you learn how to soften it, bounce it, shape it, and control its color, your photos start looking intentional instead of “taken under whatever was happening in the kitchen at 8:43 p.m.”
This guide breaks down easy DIY photography lighting hacks that are practical, affordable, and beginner-friendly. You will learn what tools to gather, how to build a simple setup, how to make soft flattering light at home, and how to avoid the common mistakes that make photos look harsh, muddy, yellow, or weirdly dramatic in a “local haunted doll listing” sort of way.
Why Homemade Photography Lighting Actually Works
Professional lighting gear exists to do a few basic jobs: make light brighter, make it softer, change its direction, control its spread, and keep color consistent. Household materials can do those same jobs surprisingly well. White poster board can bounce light into shadows. Tracing paper can diffuse a harsh lamp. A cardboard box can become a light tent. A white wall can act like an oversized reflector. A black poster board can block spill and deepen contrast.
In other words, you do not need a fancy studio to make your subject look good. You need a plan.
Before You Build Anything, Learn These 3 Lighting Basics
1. Soft light vs. hard light
Hard light creates crisp shadows, bright hot spots, and strong contrast. Think direct sun at noon or a bare lamp pointed straight at your subject. Soft light wraps more gently around the subject, smooths out shadows, and feels more flattering. If you want portraits that do not emphasize every pore like a crime lab photo, soft light is usually your friend.
The easiest way to soften light is to diffuse it. Put a translucent material between the light source and your subject, and the light spreads out more evenly. That is why DIY diffusers are so useful. A white shower curtain, tracing paper, baking parchment, or a thin white sheet can all help turn a harsh light source into a much softer one.
2. Light direction matters as much as brightness
Front light is simple and clean, but it can look flat. Side light adds shape and texture. Backlight creates glow, separation, and drama. Top light can make product photos look polished when handled carefully. Even moving a lamp a few inches higher or lower can completely change the mood of the image.
When you make homemade photography lighting, think less like a person turning on a room and more like a person sculpting a face, a mug, a necklace, or a plate of cookies. You are not just adding brightness. You are choosing where the shadows go.
3. Color temperature and white balance can make or break the shot
You can build the greatest DIY setup in the world and still ruin the photo if your lighting colors are fighting each other. A warm household bulb mixed with cool daylight from a window often creates a photo that looks confused. Not artistic. Confused.
Try to use one dominant type of light at a time. If you are using window light, turn off nearby lamps. If you are using LED bulbs, use bulbs with the same color temperature so the whole scene stays consistent. Then set your camera or phone white balance to match the light, or correct it in editing if you shoot RAW. This is a tiny step with a huge payoff.
Your Basic DIY Photography Lighting Kit
You do not need everything on this list, but these are the most useful homemade lighting tools to keep around:
- White foam board or white poster board for reflectors
- Black poster board or black fabric for flags and negative fill
- A white shower curtain liner, white sheet, tracing paper, or baking parchment for diffusion
- LED desk lamps, clamp lights, or LED bulbs for constant light
- Binder clips, clothespins, or clamps to hold materials in place
- A cardboard box for a homemade light box
- Aluminum foil for a stronger bounce when white board is too subtle
- Tape, scissors, and a utility knife
- A tripod or phone stand for stability in lower light
One important safety note: if you are putting paper or fabric near a lamp, LEDs are the smarter choice because they run much cooler than incandescent bulbs. That is not the glamorous part of photography, but it is the part that helps keep your DIY setup from becoming a cautionary tale.
Easy DIY Lighting Hacks That Work
Hack #1: The window-and-reflector setup
This is the simplest and most reliable homemade photography lighting trick on the planet. Place your subject near a window so the light comes from one side. Then put a white foam board or poster board on the opposite side to bounce some of that light back into the shadows.
This setup is excellent for portraits, food, flowers, flat lays, small business products, and social content. If the reflector is close, the shadows get brighter and softer. If it is farther away, you keep more contrast. Move it around until the scene looks balanced but not flat.
Best for: natural-looking portraits, food photography, handmade products, and clean lifestyle shots.
Hack #2: Turn a harsh lamp into a soft light
If your lamp is blasting light like it is interrogating your subject, add diffusion. Clip tracing paper, a thin white fabric, or a shower curtain liner between the lamp and the subject. Do not wrap the bulb itself. Keep a safe distance, especially if you are not using LED lights.
This homemade diffuser trick is perfect when your photos have ugly glare, hard shadows, or shiny highlights on skin, glass, or metal. The result is softer, more even light that looks less “garage sale lamp” and more “small home studio with opinions.”
Hack #3: Build a cardboard light box for product photography
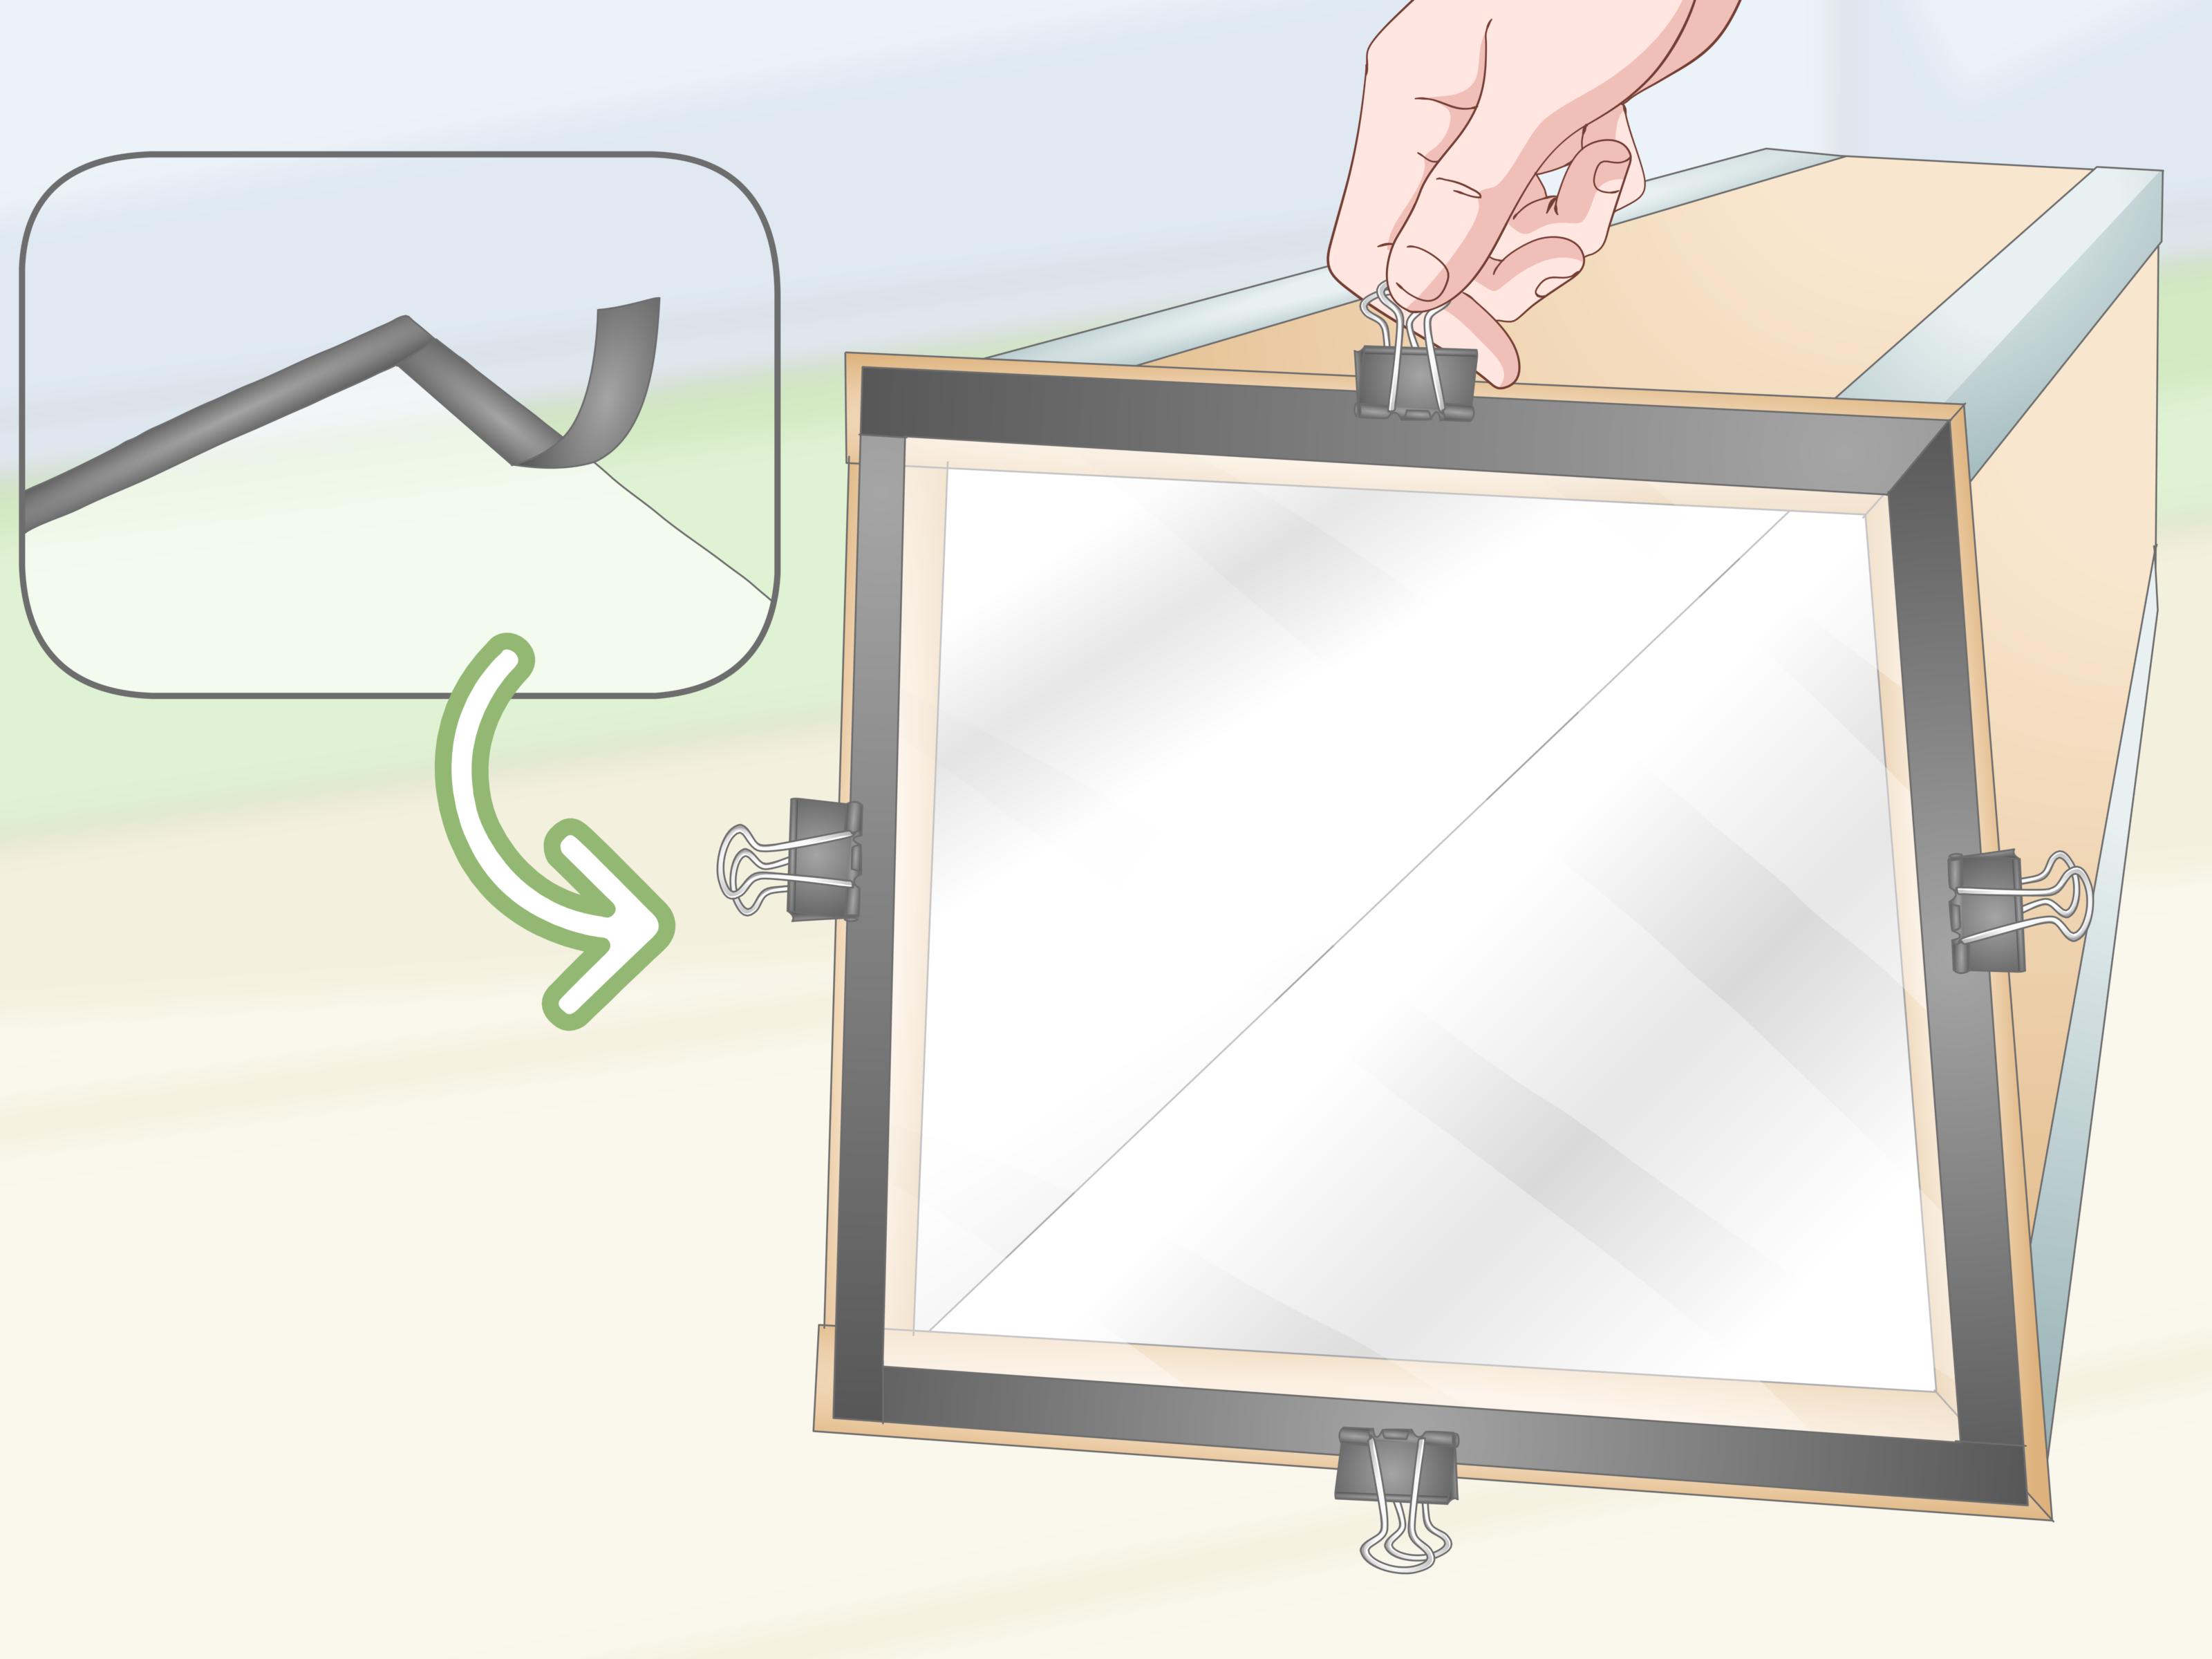
If you photograph jewelry, candles, cosmetics, mugs, tech accessories, or anything small enough to fit in a box, a DIY light box is a game changer. Cut large windows into the sides of a cardboard box, cover those openings with white diffusion material, and place your subject inside on a curved sheet of white poster board to create a seamless background.
Then place lamps on the outside of the box so the light shines through the diffused side panels. This creates soft, wraparound light that reduces harsh reflections and gives products a cleaner, more professional look.
It is simple, cheap, and wildly effective for online sellers, crafters, Etsy shops, and anyone who is tired of photographing products on the dining table under a chandelier that thinks yellow is a personality trait.
Hack #4: Bounce your light instead of pointing it straight on
Direct light can be useful, but bounced light often looks more refined. Instead of aiming a lamp at the subject, aim it at a white wall, a white ceiling, or a large white board, then let the reflected light illuminate the scene. This makes the effective light source larger and softer.
Bounced light is especially helpful for portraits and still life photography where you want gentle transitions and fewer hard shadows. It is also a great trick when your subject is reflective and direct light creates glare.
Hack #5: Make a one-light portrait setup at home
You do not need three studio strobes to make a flattering portrait. Start with one lamp or one window as your key light. Place it about 45 degrees to the side of your subject and slightly above eye level. Then add a white foam board on the opposite side as fill.
If you want more separation from the background, place a second lamp behind the subject and point it toward the back wall or the back of the subject’s shoulder and hair. Congratulations, you just made a budget version of a classic key-fill-back setup.
Keep the fill weaker than the key. If the reflector is too close and everything looks equally bright, the face can lose shape. A little shadow is not the enemy. It is what makes the photo look dimensional.
Hack #6: Use black board to make light more dramatic
Most beginners think lighting is only about adding brightness. Sometimes the better move is taking light away. Place black poster board or black fabric near the shadow side of your subject to absorb stray light. This deepens contrast and makes the light look more intentional.
This trick, often called negative fill, is fantastic for moody portraits, product photography, and food photography when you want depth rather than an all-over bright look.
Hack #7: Use a flashlight for creative accents
A flashlight can do a lot more than help you find the battery drawer. Small LED flashlights are useful for spotlight effects, macro photography, and creative still life setups. You can skim light across a textured object, light only one edge of a bottle, or create a focused dramatic beam where a big lamp would spill everywhere.
You can also experiment with light painting in a dark room by placing your camera on a tripod and moving the flashlight during a longer exposure. That opens up a whole different category of DIY photography lighting, and yes, it is very fun.
How to Get Better Results with Camera Settings
Keep your light consistent
Try not to mix window light, warm lamps, and overhead room lights all at once. Pick one main light source family and commit to it. Consistency makes editing much easier.
Use a tripod when the light is low
Homemade lighting setups are often less powerful than studio strobes. That means slower shutter speeds. A tripod helps you keep ISO lower, maintain better image quality, and avoid blur.
Set white balance intentionally
If your image looks too orange or too blue, white balance is usually the culprit. Use a daylight setting for window light or daylight-balanced LEDs, and use tungsten if you are deliberately shooting under warm bulbs. If your camera allows Kelvin settings, even better. If not, test, adjust, and do not trust auto mode blindly in weird mixed light.
Watch the highlights
Shiny objects, foreheads, glass, and white products can blow out fast. Diffuse the light more, move the light farther away, or change the angle so the brightest reflection is not aimed at the lens.
Common DIY Lighting Mistakes to Avoid
- Using bare bulbs too close to the subject: This often creates harsh shadows and distracting hot spots.
- Placing paper too close to hot lights: Use cooler LEDs and keep diffusion material safely away from bulbs.
- Mixing color temperatures: Daylight and warm indoor bulbs together can create ugly color casts.
- Flattening everything with too much fill: Shadows are useful. Do not erase all of them.
- Ignoring the background: Great lighting cannot fully save a cluttered or distracting scene.
- Leaving overhead room lights on: These often add ugly downward shadows and muddy color.
Best DIY Lighting Setups by Photo Type
For portraits
Use a window or diffused lamp as the key, a white reflector as fill, and black board if you want more drama. Place the subject a few feet away from the background for separation.
For products
Use a light box or side lighting with diffusion. Add small white cards near the product to brighten specific shadows and define edges.
For food photography
Side light and backlight usually create the most appetizing depth. Use a reflector sparingly so the scene still has shape.
For flat lays
Set up near a window, diffuse harsh light if needed, and use a reflector opposite the window to keep the image bright and even.
Real-World DIY Lighting Experiences and Lessons Learned
One of the most common experiences people have with homemade photography lighting is discovering that the cheapest fix is often not buying more light. It is controlling the light they already have. A beginner might start by turning on every lamp in the room, thinking more brightness equals better photos. Then they take a shot and wonder why the image looks yellow, flat, and slightly tragic. The breakthrough usually comes when they turn most of those lights off, move closer to a window, and add one white board to lift the shadows. Suddenly the image looks cleaner, softer, and far more expensive than it should.
Another real-world lesson comes from reflectors. At first, a foam board sounds almost too simple to matter. Then someone holds it beside a subject and realizes the dark side of the face opens up instantly. That tiny change often feels like magic the first time. The same goes for moving the reflector farther away and noticing how the image becomes moodier. This is where photographers begin to understand that lighting is not a fixed rule. It is a sliding scale. Every inch matters.
Many people also learn the hard way that diffusion is not optional when using household lamps. Without it, skin can look oily, glass can reflect everything in the room, and product photos can end up with bright white burn marks instead of clean highlights. Add a thin diffuser, though, and the whole scene calms down. Shadows soften, reflections become broader and more attractive, and the photo starts to look intentional rather than improvised. It is one of those “why didn’t I do this sooner?” moments.
There is also the experience of building a DIY light box for the first time. It often begins with skepticism. A cardboard box? Really? But once the side windows are cut, the diffusion material is taped in place, and the background sweep is set, people usually notice how much easier small product photography becomes. Items look more polished, editing gets faster, and repeatable results become possible. For anyone selling online, that consistency is gold.
White balance is another area where experience changes everything. Early on, many photographers assume they can “fix it later.” Sometimes they can. Sometimes they spend way too long trying to remove an orange cast from a photo that never should have had three different light colors in it to begin with. After a few frustrating editing sessions, they learn to match bulbs, simplify the scene, and check color before shooting fifty nearly identical frames of a candle, a coffee mug, or a handmade soap bar.
Then there is the emotional side of DIY photography lighting. It gives people permission to start before they own the “right” gear. That matters. A lot. Homemade setups lower the barrier to practice. They let creators experiment more often because they are not waiting on a shopping cart, a paycheck, or a perfect studio corner that may never exist. They use what they have, learn faster, and build taste through repetition.
And that may be the most valuable experience of all: realizing that good lighting is less about gear and more about observation. Once you start noticing where the shadows fall, how a wall bounces light, how a curtain softens it, and how a small reflector changes a face, you begin seeing light everywhere. At that point, homemade photography lighting is no longer a backup plan. It becomes a creative skill set you can use anywhere.
Conclusion
If you want better photos at home, do not start by shopping for the most intimidating light kit on the internet. Start by learning how to shape one light well. Use a window. Add a reflector. Diffuse a lamp. Build a light box. Block spill with black board. Keep your colors consistent. Repeat until your eye gets sharper.
That is the beauty of homemade photography lighting: it is affordable, flexible, and incredibly educational. You can make soft flattering portraits, clean product shots, dramatic still life images, and polished social content with tools that cost very little. Once you understand the basics, the fancy gear becomes optional instead of magical. And that is a much nicer place to create from.