

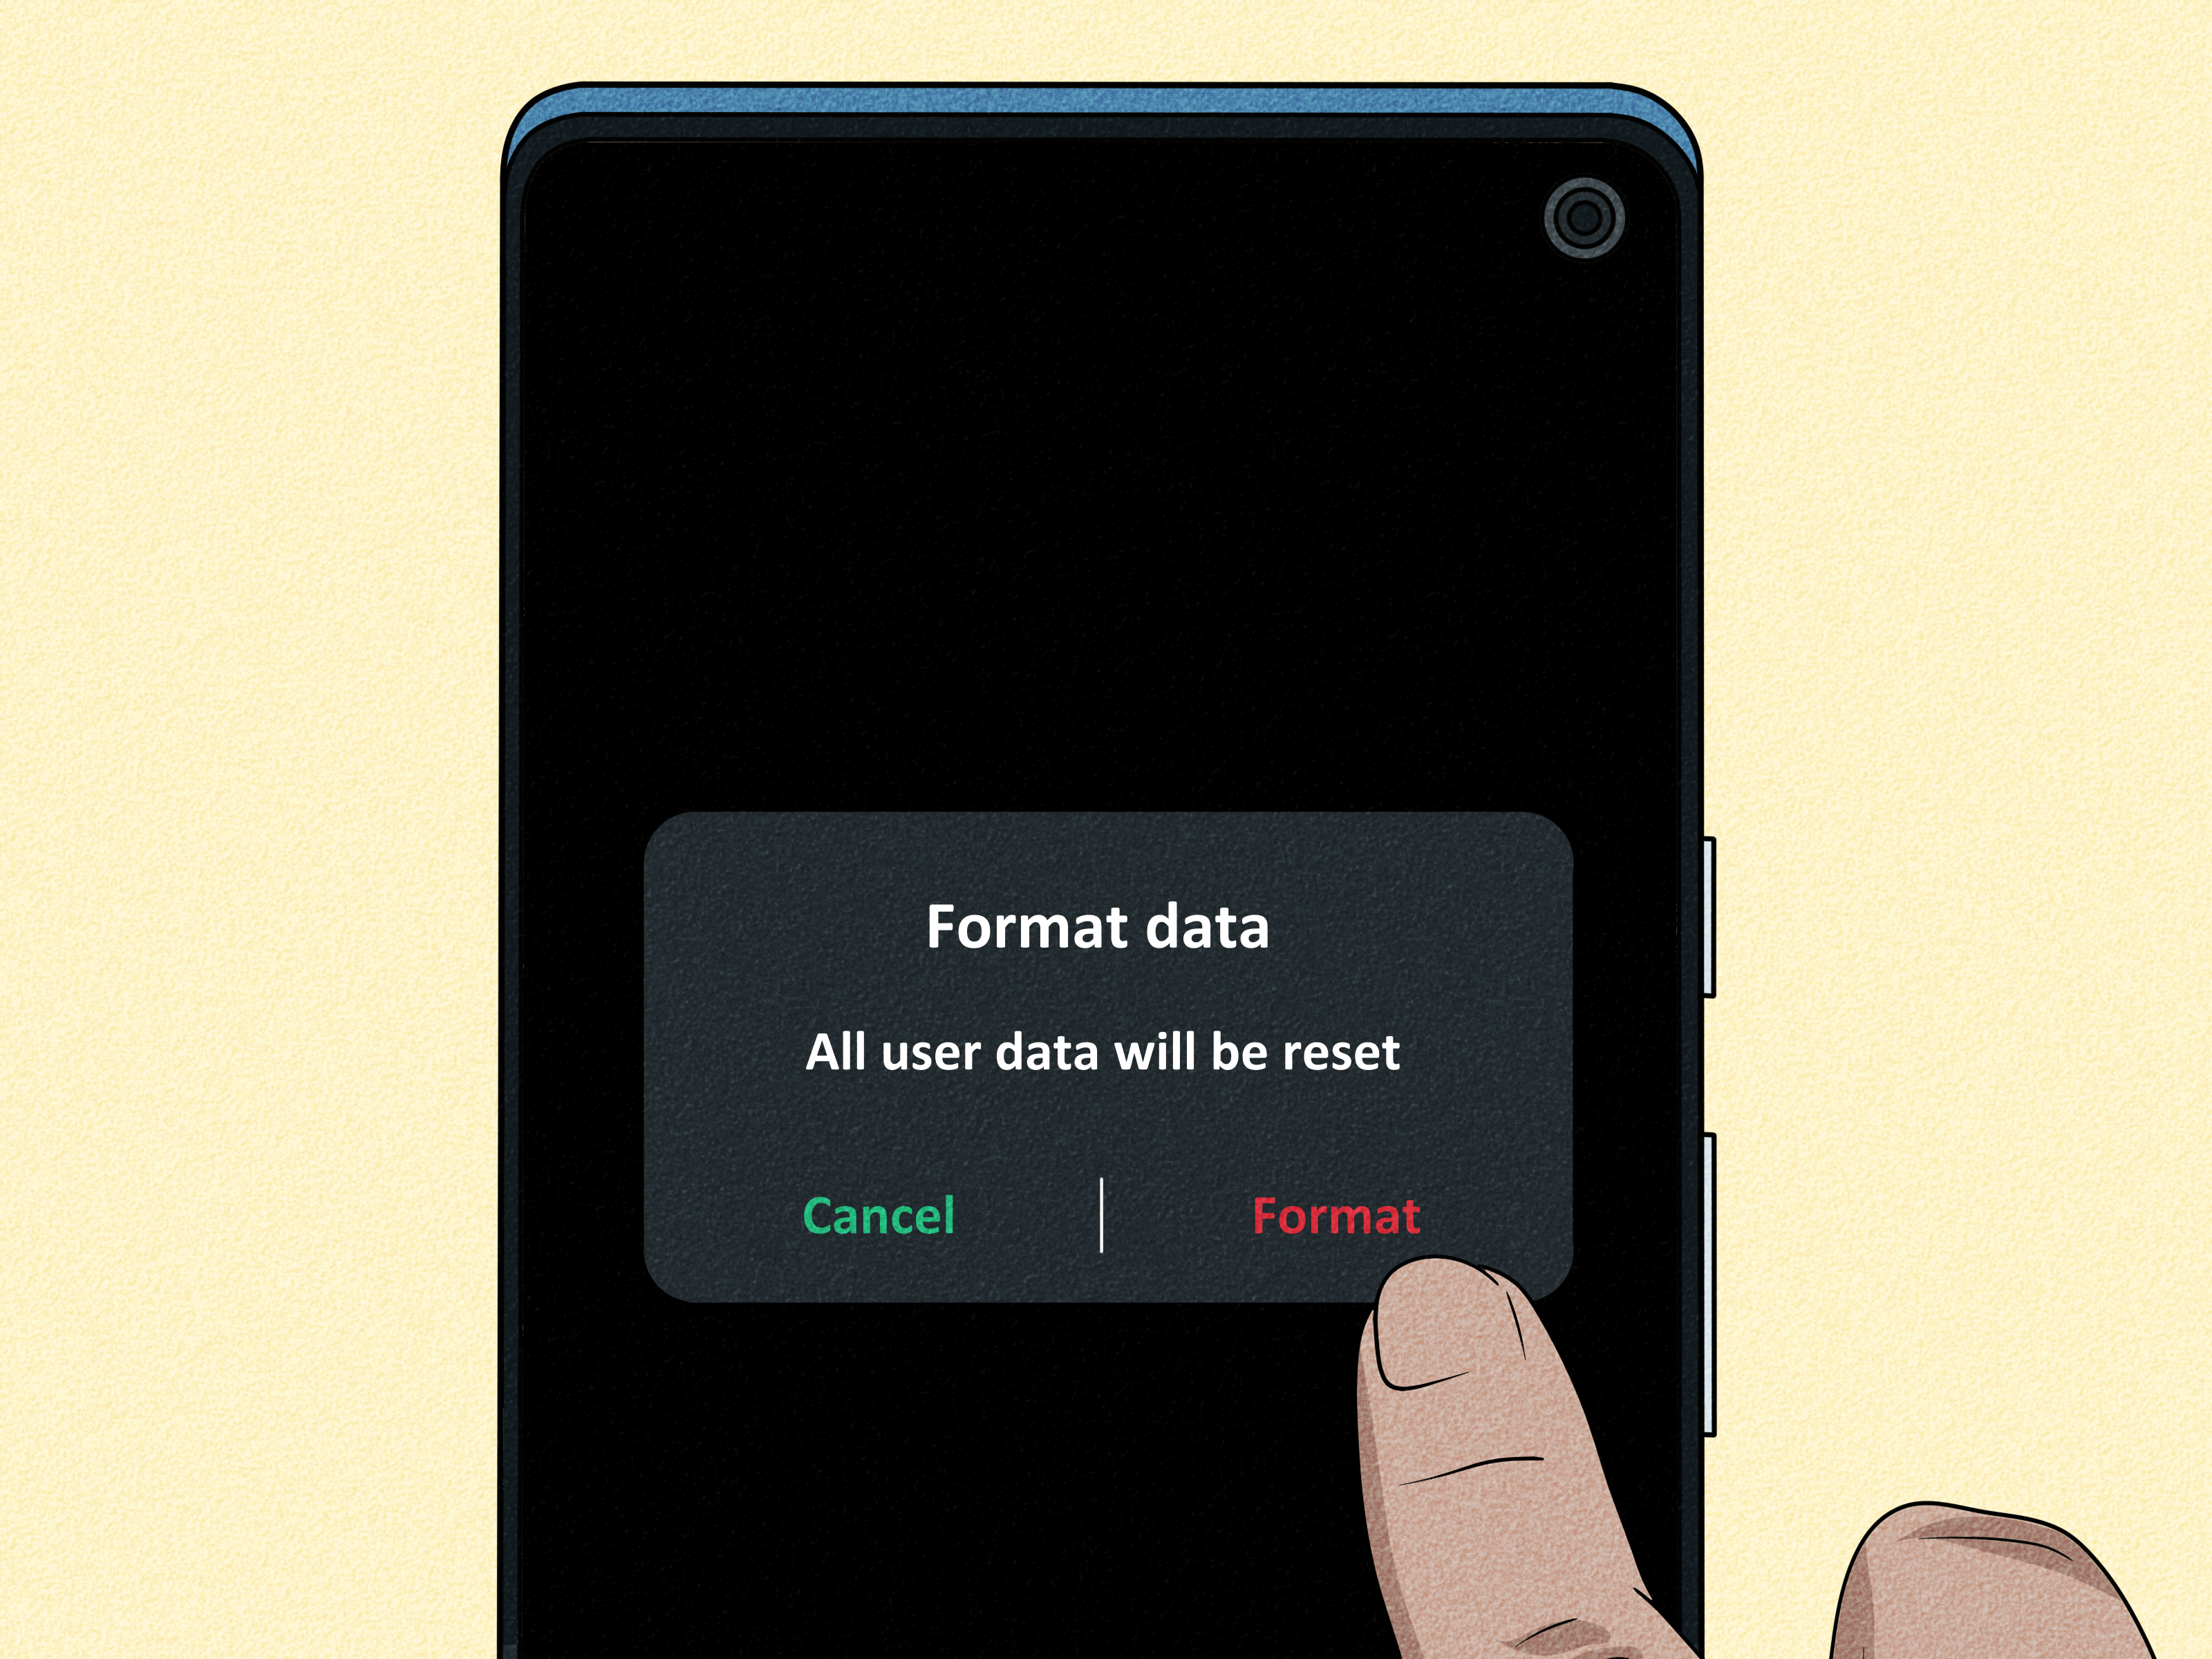
Your Android phone has become slow, stubborn, or so glitchy that opening the camera feels like negotiating with a tiny electronic bureaucrat. Perhaps you are selling the device, handing it to a family member, or trying to recover a phone that will not boot. In all these situations, a factory reset may be the cleanest solution.
A factory reset removes personal information, downloaded apps, accounts, settings, and files stored in the phone’s internal storage. Because the process is generally irreversible, the most important step is not tapping the reset buttonit is preparing correctly before you tap it.
This guide explains how to factory reset an Android phone in three ways: through the Settings app, through Android Recovery Mode, and remotely with Google Find Hub. It also covers backups, Factory Reset Protection, common mistakes, and what to do after the reset.
What Does a Factory Reset Do on Android?
A factory reset, sometimes called a hard reset, factory data reset, or device wipe, removes user data from the phone and returns its software settings to a clean state. It normally deletes installed apps, app data, downloaded files, text messages stored locally, call history, device preferences, saved accounts, and media kept in internal storage.
Information already synchronized with an online account may still be available in the cloud. For example, contacts synchronized with your Google Account can return after you sign in again. Photos backed up to Google Photos should remain in your online library. However, a factory reset cannot magically rescue information that was never backed up.
External storage deserves special attention. A reset may not erase a removable microSD card, depending on the phone and the reset method. If you are selling or recycling the device, remove the card or erase it separately. Samsung also advises users to decrypt an encrypted microSD card before resetting certain Galaxy devices so the card remains readable afterward.
Good reasons to reset an Android phone
- You are selling, trading in, donating, or giving away the phone.
- The device is stuck in a boot loop or cannot load Android normally.
- Persistent crashes continue after updates and basic troubleshooting.
- A third-party app has caused serious system instability.
- You want a completely clean setup rather than restoring years of digital clutter.
- The phone is lost or stolen and contains sensitive information.
When a factory reset may be unnecessary
Do not use a wrecking ball when a screwdriver will do. For Wi-Fi trouble, try resetting network settings. For a misbehaving app, clear its cache, update it, or uninstall it. For unexplained crashes, restart the phone, install available Android updates, free storage space, or test the device in Safe Mode.
Many Android phones offer options such as Reset Wi-Fi, mobile, and Bluetooth, Reset app preferences, or Reset all settings. These may fix the problem without deleting your photos, messages, and apps.
Before You Factory Reset Your Android
Spend a few minutes preparing before erasing the phone. This is less exciting than pressing a dramatic red button, but it prevents the even less exciting experience of discovering that your vacation photos and authentication codes have vanished.
1. Confirm your Google Account credentials
Write down or securely verify the email address of a Google Account currently synchronized with the device. Confirm that you know its password by signing in on another trusted device or computer.
Google advises waiting at least 24 hours before resetting if you recently changed the Google Account password. You should also know the phone’s PIN, pattern, or password. These credentials may be required during the reset or when activating the phone afterward.
2. Run a fresh Android backup
On many current Android phones, open Settings > Google > All services > Backup, and then tap Back up now. The wording may vary slightly by Android version and manufacturer.
A Google backup can include device settings, call history, contacts, SMS and MMS messages, and supported app data. Not every app allows all of its information to be backed up, so do not assume that seeing the word “backup” means every byte on the phone is protected. Google notes that a full backup may take several hours to finish.
3. Check photos, files, and chat histories separately
Open Google Photos and confirm that backup is complete. Copy irreplaceable documents, recordings, downloads, and camera folders to a computer, external drive, or reputable cloud storage service.
Messaging apps may use independent backup systems. WhatsApp, Signal, workplace chat apps, and manufacturer-specific messaging tools should be checked individually. A general Android backup does not guarantee that every conversation or attachment will return.
4. Transfer authentication tools
If the phone generates two-factor authentication codes, transfer or back up those accounts before erasing it. Google Authenticator includes an account-transfer feature that can create a QR code for importing accounts to another device. Other authentication apps may require cloud synchronization, recovery codes, or manual re-enrollment.
Also confirm that you have another method for receiving security prompts. Resetting the only device that approves your logins can turn a routine cleanup into an accidental lockout marathon.
5. Charge the phone and connect it
Google recommends charging the phone to at least 70 percent before a factory reset. Keep it connected to power when possible, and make sure you have access to Wi-Fi or mobile data for the setup process. Depending on the device and the amount of stored information, the reset and first startup may take a while.
6. Prepare the phone for a new owner
If the device is being sold or given away, remove your Google Accounts and manufacturer account before resetting it. You should also remove the screen lock when appropriate, take out the physical SIM card, remove the microSD card, and review any option concerning downloaded SIMs or eSIM profiles.
Removing the accounts properly disables Factory Reset Protection for the next owner. Otherwise, the phone may request credentials from a previously synchronized Google Account during setupeven though your personal files have already been erased.
Way 1: Factory Reset Android Through Settings
Resetting through Settings is the recommended method when the phone turns on, the touchscreen works, and you can unlock the device. It provides clear warnings, shows which accounts are present, and gives you a final opportunity to retreat with dignity.
Standard Android and Google Pixel steps
- Open the Settings app.
- Tap System.
- Select Reset options.
- Tap Erase all data (factory reset).
- Review the accounts and information that will be removed.
- Choose whether to erase downloaded SIMs if your phone presents that option.
- Tap Erase all data.
- Enter your PIN, pattern, or password when requested.
- Confirm the final reset command.
Samsung Galaxy steps
- Open Settings.
- Tap General management.
- Select Reset.
- Tap Factory data reset.
- Review the listed accounts, apps, and information.
- Tap Reset, followed by Delete all.
- Enter your screen-lock or Samsung Account credentials if requested.
Motorola, Nothing, and other Android phones
Motorola and Nothing phones commonly use Settings > System > Reset options > Erase all data (factory reset). Recent OnePlus devices may place the command under Settings > System & update or Additional settings > Back up and reset > Reset phone.
If you cannot find the command, use the search field at the top of Settings and search for factory reset, erase all data, or reset phone. Manufacturer interfaces enjoy rearranging menus just enough to keep life interesting.
What happens next?
The display may turn black, show a manufacturer logo, display a progress animation, and restart more than once. Do not press random buttons or force the phone off unless the manufacturer specifically instructs you to do so.
When the reset is complete, the Android welcome screen appears. You can then set up the phone as new, restore an available backup, or power it off for the next owner.
Way 2: Factory Reset Android Using Recovery Mode
Recovery Mode is useful when Android will not start, the device is trapped in a boot loop, or the Settings app is inaccessible. Recovery is a separate troubleshooting environment controlled mainly with the physical buttons.
General Recovery Mode procedure
- Charge the device sufficiently and turn it completely off.
- Press and hold the model-specific button combination. A common combination is Power + Volume Down, but some phones use Power + Volume Up or require a USB cable connection.
- If a bootloader menu appears, use the Volume buttons to highlight Recovery Mode.
- Press the Power button to select it.
- If you see an Android robot and the message No command, use the manufacturer’s specified button sequence to open the recovery menu.
- Use the Volume buttons to highlight Wipe data/factory reset.
- Press the Power button to select it.
- Highlight Factory data reset or the equivalent confirmation and select it.
- After the wipe finishes, select Reboot system now.
Example: Motorola external reset
Motorola commonly instructs users to hold Volume Down + Power, select Recovery Mode, and then open the recovery menu if the “No command” screen appears. The Volume buttons navigate the menu, while the Power button confirms the selection.
ASUS devices may instead use a Volume Up and Power combination, with exact timing varying by model. These differences are why generic instructions should be treated as a map, not sacred scripture carved into a microchip.
Factory Reset Protection after a Recovery Mode reset
A hardware-button reset does not provide a shortcut around device security. During setup, Android may request the previous screen lock or a Google Account that was previously added and synchronized with the phone.
This protection is intentional. It reduces the value of stolen devices by preventing an unauthorized person from wiping a locked phone and immediately using it as their own. If you do not know the required credentials, use the official account-recovery process or contact the manufacturer with valid proof of ownership. Avoid services claiming they can “magically bypass” account protection; magic frequently arrives bundled with malware and regret.
Way 3: Remotely Factory Reset Android with Google Find Hub
If the phone has been lost or stolen, Google Find Hubpreviously widely known as Find My Devicecan remotely locate, secure, ring, or factory reset supported Android devices.
Remote erasure should normally be the final step. Once the phone is erased, its location will no longer be available through Find Hub. Try locating it, playing a sound, or marking it as lost before choosing the nuclear option.
Requirements for a remote factory reset
For Google Find Hub to secure or erase the phone, Google says the device should have power, be connected to Wi-Fi or mobile data, be signed in to a Google Account, have Find Hub enabled, and be visible on Google Play.
How to erase a lost Android phone
- Open Google Find Hub on another Android device, or access it through a web browser.
- Sign in with the Google Account associated with the missing phone.
- Select the correct device from your account.
- Review its available location and status information.
- Use Mark as lost first when recovery remains possible.
- When you are certain the phone should be erased, open the device settings in Find Hub.
- Select Factory reset for the chosen device.
- Read the warning and confirm.
The reset permanently removes data stored on the device, but Google warns that it may not erase an SD card. If you later recover the phone, you will need the Google Account password associated with it to complete setup.
What if the lost phone is offline?
Find Hub cannot immediately communicate with a phone that has no power or internet connection. Continue securing the associated accounts, contact your carrier, and report the device as lost or stolen when appropriate. Your carrier may be able to block cellular service or use the IMEI to disable the device on its network.
How to Set Up Android After a Factory Reset
After the welcome screen appears, connect to Wi-Fi, sign in with the appropriate Google Account, and follow the setup assistant. When Android offers to restore a backup, review its date and device name before accepting it.
If you reset the phone to troubleshoot crashes, consider choosing Set up as new instead of restoring everything immediately. Restoring every old app at once can bring the original problem back like an unwanted sequel.
Install essential apps first and test the phone for a while. Add the remaining apps gradually. This approach helps identify whether a specific application, accessibility service, VPN, cleaner, launcher, or background utility caused the instability.
Real-World Android Factory Reset Experiences and Lessons
Most factory resets are technically simple. The difficult part is managing everything surrounding the reset. Real-world problems usually come from assumptions: assuming photos were backed up, assuming a password is correct, assuming a chat application uses the Android backup, or assuming the next owner can activate the phone without the previous account.
Experience 1: The backup existed, but the important file did not
A common scenario begins with a phone that says backup is enabled. The owner confidently performs the reset, signs in again, and watches contacts, settings, and apps return. Then comes the uncomfortable discovery: a recording in the Downloads folder, a PDF saved by a browser, or a folder created by a third-party camera app was never uploaded.
The lesson is to inspect important folders manually. Search internal storage for documents, audio files, screenshots, downloads, and media folders created by individual apps. Cloud backup is helpful, but it is not a psychic archivist that understands which random file contains your entire tax history.
Experience 2: Restoring everything restored the problem
Suppose a phone freezes several times per day. A factory reset makes it smooth again, but the owner immediately restores every app and setting. By evening, the freezing returns. The reset worked; the restoration reintroduced the troublesome application or configuration.
For troubleshooting, set up the phone as new and use it briefly with only core apps. Reinstall software in small groups. If the issue returns immediately after adding a particular app, launcher, battery optimizer, or security utility, you have a useful suspect rather than a mystery.
Experience 3: The phone was erased before the account password was tested
Another familiar problem occurs when someone resets a rarely used phone and then discovers that the remembered Google password is outdated. Because Factory Reset Protection requests an account previously synchronized with the device, setup stops at the verification screen.
Prevent this by signing in to the account on another device before resetting. Check recovery email addresses, recovery phone numbers, and two-step verification methods. This five-minute test can save hours of account recovery.
Experience 4: A trade-in arrived still activation-locked
Erasing a phone through Recovery Mode does not necessarily prepare it for a buyer. If the previous Google Account was not properly removed, the device may still request the old owner’s credentials. The buyer now owns an attractive rectangular paperweight, while the seller receives an awkward message.
Before a sale or trade-in, remove Google and manufacturer accounts through Settings, remove the screen lock, perform the factory reset from Settings, and stop at the initial welcome screen. Do not complete setup again. Remove the SIM and microSD card, inspect the tray, and clean the device without giving it an accidental swimming lesson.
Experience 5: A stolen phone was erased too quickly
Remote erasure protects data, but it also ends Find Hub location tracking for that device. Someone who immediately taps Factory reset may lose a useful opportunity to locate the phone, display contact information, or provide location details to authorities.
When circumstances are safe, try Play sound and Mark as lost first. Change sensitive passwords from another trusted device, contact the carrier, and erase the phone when recovery looks unlikely or the data risk outweighs the possibility of retrieval.
The overall lesson
A successful factory reset is not measured only by whether the phone restarts. Success means the necessary data was preserved, the correct accounts remain accessible, the device is secure, and the original problem does not immediately return. Preparation turns the reset from a gamble into a controlled maintenance procedure.
Frequently Asked Questions
Does a factory reset delete everything permanently?
It removes user data from the phone’s internal storage. Data already synchronized with a cloud account may remain online and can return after you sign in. Removable SD cards may need to be erased separately.
Can I factory reset an Android phone without a password?
You may be able to erase a locked phone through Recovery Mode or Google Find Hub. However, Android can require the previous screen lock or a previously synchronized Google Account during activation. A reset does not legitimately bypass ownership verification.
Will a factory reset remove viruses or malicious apps?
It can remove ordinary malicious or unwanted apps stored in user space. However, you should also change compromised passwords from a trusted device, review account sessions, enable two-factor authentication, and avoid restoring suspicious applications. A reset alone does not repair an already compromised online account.
How long does an Android factory reset take?
The visible erase process often finishes within several minutes, but the total time varies. Backup preparation, the first reboot, account verification, system updates, and data restoration can make the complete process considerably longer.
Which factory reset method is best?
Use Settings when the phone is working and accessible. Use Recovery Mode when Android cannot load or Settings is unavailable. Use Google Find Hub when the phone is missing and must be erased remotely.
Conclusion
Performing a factory reset on Android is straightforward once you choose the method that matches the situation. The Settings app is the safest choice for a working phone, Recovery Mode can rescue a device that will not boot, and Google Find Hub provides a remote option for a lost or stolen phone.
The reset itself is only half the job. Verify your Google Account, protect photos and files, transfer authentication codes, check app-specific backups, and understand Factory Reset Protection before erasing anything. With those precautions in place, you can give your Android phone a clean start without giving yourself a brand-new headache.
Note: Menu names, button combinations, account-verification screens, eSIM options, and Recovery Mode procedures vary by Android version, manufacturer, carrier, and model. The instructions in this article were cross-checked against current official guidance from Google Android Help, Google Account Help, Pixel Support, Samsung Support, Motorola Support, ASUS Support, Sony Support, OnePlus Support, Nothing Support, and HMD/Nokia documentation. Always confirm model-specific instructions before using hardware buttons.