Learning how to place a bridge on a violin can feel a little like defusing a tiny wooden spaceship. It is small, delicate, under string tension, and somehow responsible for a shocking amount of your violin’s voice. Put it in the right position, and your violin can sound clear, balanced, and responsive. Put it in the wrong position, and suddenly your open A sounds suspiciously like it has given up on life.
The violin bridge is not glued down. It is held in place by the pressure of the strings, which means it can shift when you tune, change strings, travel, or leave the instrument in changing temperature and humidity. The bridge’s job is simple in theory but extremely important in practice: it lifts the strings to the proper playing height and transfers their vibrations into the violin body. That little carved piece of maple is a messenger between your bow and the instrument’s resonant wooden box.
This guide explains the proper violin bridge position, how to check alignment, how to stand a fallen bridge back up safely, what mistakes to avoid, and when to stop pretending you are a luthier and visit one instead. No shame there. Luthiers exist for a reason, and that reason is often a bridge that looked “almost right” five minutes before panic.
What Is the Violin Bridge?
The bridge is the upright, carved wooden piece that sits between the fingerboard and tailpiece. The four strings pass over it through small grooves. On a standard violin, the G string sits on the higher side of the bridge, and the E string sits on the lower side. That slope is intentional because the thicker, lower string needs more clearance above the fingerboard than the thin E string.
A bridge is not just a string holder. It affects tone, volume, response, string height, bowing comfort, and intonation. A bridge that is too low may cause buzzing. A bridge that is too high can make the violin feel like a finger-strength contest. A bridge that is too flat can make clean string crossings difficult. A bridge that leans forward may warp, fall, or even damage the instrument.
Why Proper Violin Bridge Placement Matters
Correct bridge placement helps the violin play in tune, respond evenly, and produce a clear tone. The location of the bridge determines the vibrating string length between the nut and bridge. If the bridge is too close to the fingerboard, the instrument may play sharp in certain positions and feel cramped. If it is too far toward the tailpiece, intonation can become unreliable and the violin may feel oddly resistant.
The bridge also works with the soundpost and bass bar inside the violin. The bass side of the bridge sits over the bass bar, while the treble side works near the soundpost. These hidden parts help distribute vibration through the top and back plates. In other words, the bridge is standing in a very specific neighborhood. Move it too far away from that neighborhood, and the tone may pack its bags.
The Proper Position for a Violin Bridge
1. Align the Bridge Feet with the F-Hole Notches
The easiest visual guide is the pair of small inner notches cut into the f-holes. On most violins, the center of each bridge foot should line up with those inner f-hole notches. Imagine a straight line running between the notches on the left and right f-holes; the bridge feet should sit along that line.
This is the classic starting point for proper violin bridge placement. However, violins are handmade or hand-adjusted instruments, and not every f-hole is perfectly symmetrical. On a well-set-up instrument, a luthier may make small adjustments for the fingerboard angle, soundpost position, bass bar location, and tonal response. For most players checking a student or intermediate violin, the f-hole notches are still the best practical landmark.
2. Center the Bridge Under the Fingerboard
After aligning the bridge front-to-back, check the side-to-side position. Look down the fingerboard from the scroll toward the bridge. The strings should run evenly from the nut, over the fingerboard, across the bridge, and toward the tailpiece. The bridge should not sit noticeably left or right.
A simple check is to compare the distance between the outer strings and the edges of the fingerboard. The G and E strings should appear reasonably balanced. If the E string looks ready to slide off the fingerboard while the G string has enough room for a picnic, the bridge is not centered correctly.
3. Keep the Tailpiece Side at a 90-Degree Angle
When viewed from the side, the bridge should not lean forward toward the fingerboard. The side of the bridge facing the tailpiece should stand perpendicular to the violin top, forming a clean 90-degree angle. The fingerboard side may look slightly sloped because the bridge is carved that way. This can create an optical illusion, so judge the straightness from the tailpiece side, not the front.
A leaning bridge is common after tuning because tightening strings tends to pull the top of the bridge forward. If left that way, the bridge can warp over time. Once warped, it may not stand properly even after adjustment. A badly warped bridge usually needs replacement.
4. Make Sure the Feet Sit Flush on the Violin Top
The bridge feet should make full contact with the curved top plate of the violin. There should be no obvious gaps under the feet. Full contact is essential because the bridge transfers string vibration into the instrument body. If the feet are not seated properly, the violin may sound weak, uneven, or choked.
This is one reason “pre-cut” bridges are not always truly ready to use. A bridge must be shaped to match the unique curve of a specific violin top. Two violins may look similar, but their tops can vary enough that one bridge does not fit both instruments correctly. Your violin is not being dramatic; it just has standards.
Before You Place or Adjust the Bridge
Before touching the bridge, place the violin on a clean, soft, stable surface. A folded towel on a table works well. Wash and dry your hands so you do not smear oil onto the varnish. Avoid doing bridge work while the violin is on your lap, in a hurry, or balanced on a chair like a circus act.
Check whether the soundpost is still standing. The soundpost is a small wooden dowel inside the violin, usually visible through the f-hole on the treble side. If you hear something rattling inside the instrument, or if the soundpost has fallen, stop. Loosen the strings slightly to reduce pressure and take the violin to a luthier. A fallen soundpost is not a beginner repair.
How to Place a Bridge on a Violin Step by Step
Step 1: Loosen the Strings Slightly
If the bridge is already standing but needs adjustment, loosen the strings only a little. You want enough tension released so the bridge can move gently, but not so much that the soundpost loses support. If the bridge has completely fallen, loosen the strings enough to slide the bridge into position without forcing it.
Step 2: Identify the Correct Bridge Direction
Look at the bridge shape. The higher side goes under the G string, and the lower side goes under the E string. Many bridges also have a stamp or maker’s mark, often facing the tailpiece, but stamps are not a universal rule. The string-height slope is more reliable: high side for G, low side for E.
Step 3: Place the Bridge Between the F-Hole Notches
Slide the bridge under the strings and position the feet so they line up with the inner f-hole notches. Keep the bridge roughly centered under the strings. Do not drag the feet hard across the varnish. Tiny movements are fine; scraping like you are sanding a deck is not.
Step 4: Put Each String in Its Groove
Each string should sit in its matching groove on the top of the bridge. From left to right, when looking from the front of the violin, the strings are G, D, A, and E. Make sure none of the strings are crossing incorrectly or sitting outside the groove.
Step 5: Raise the Bridge Slowly
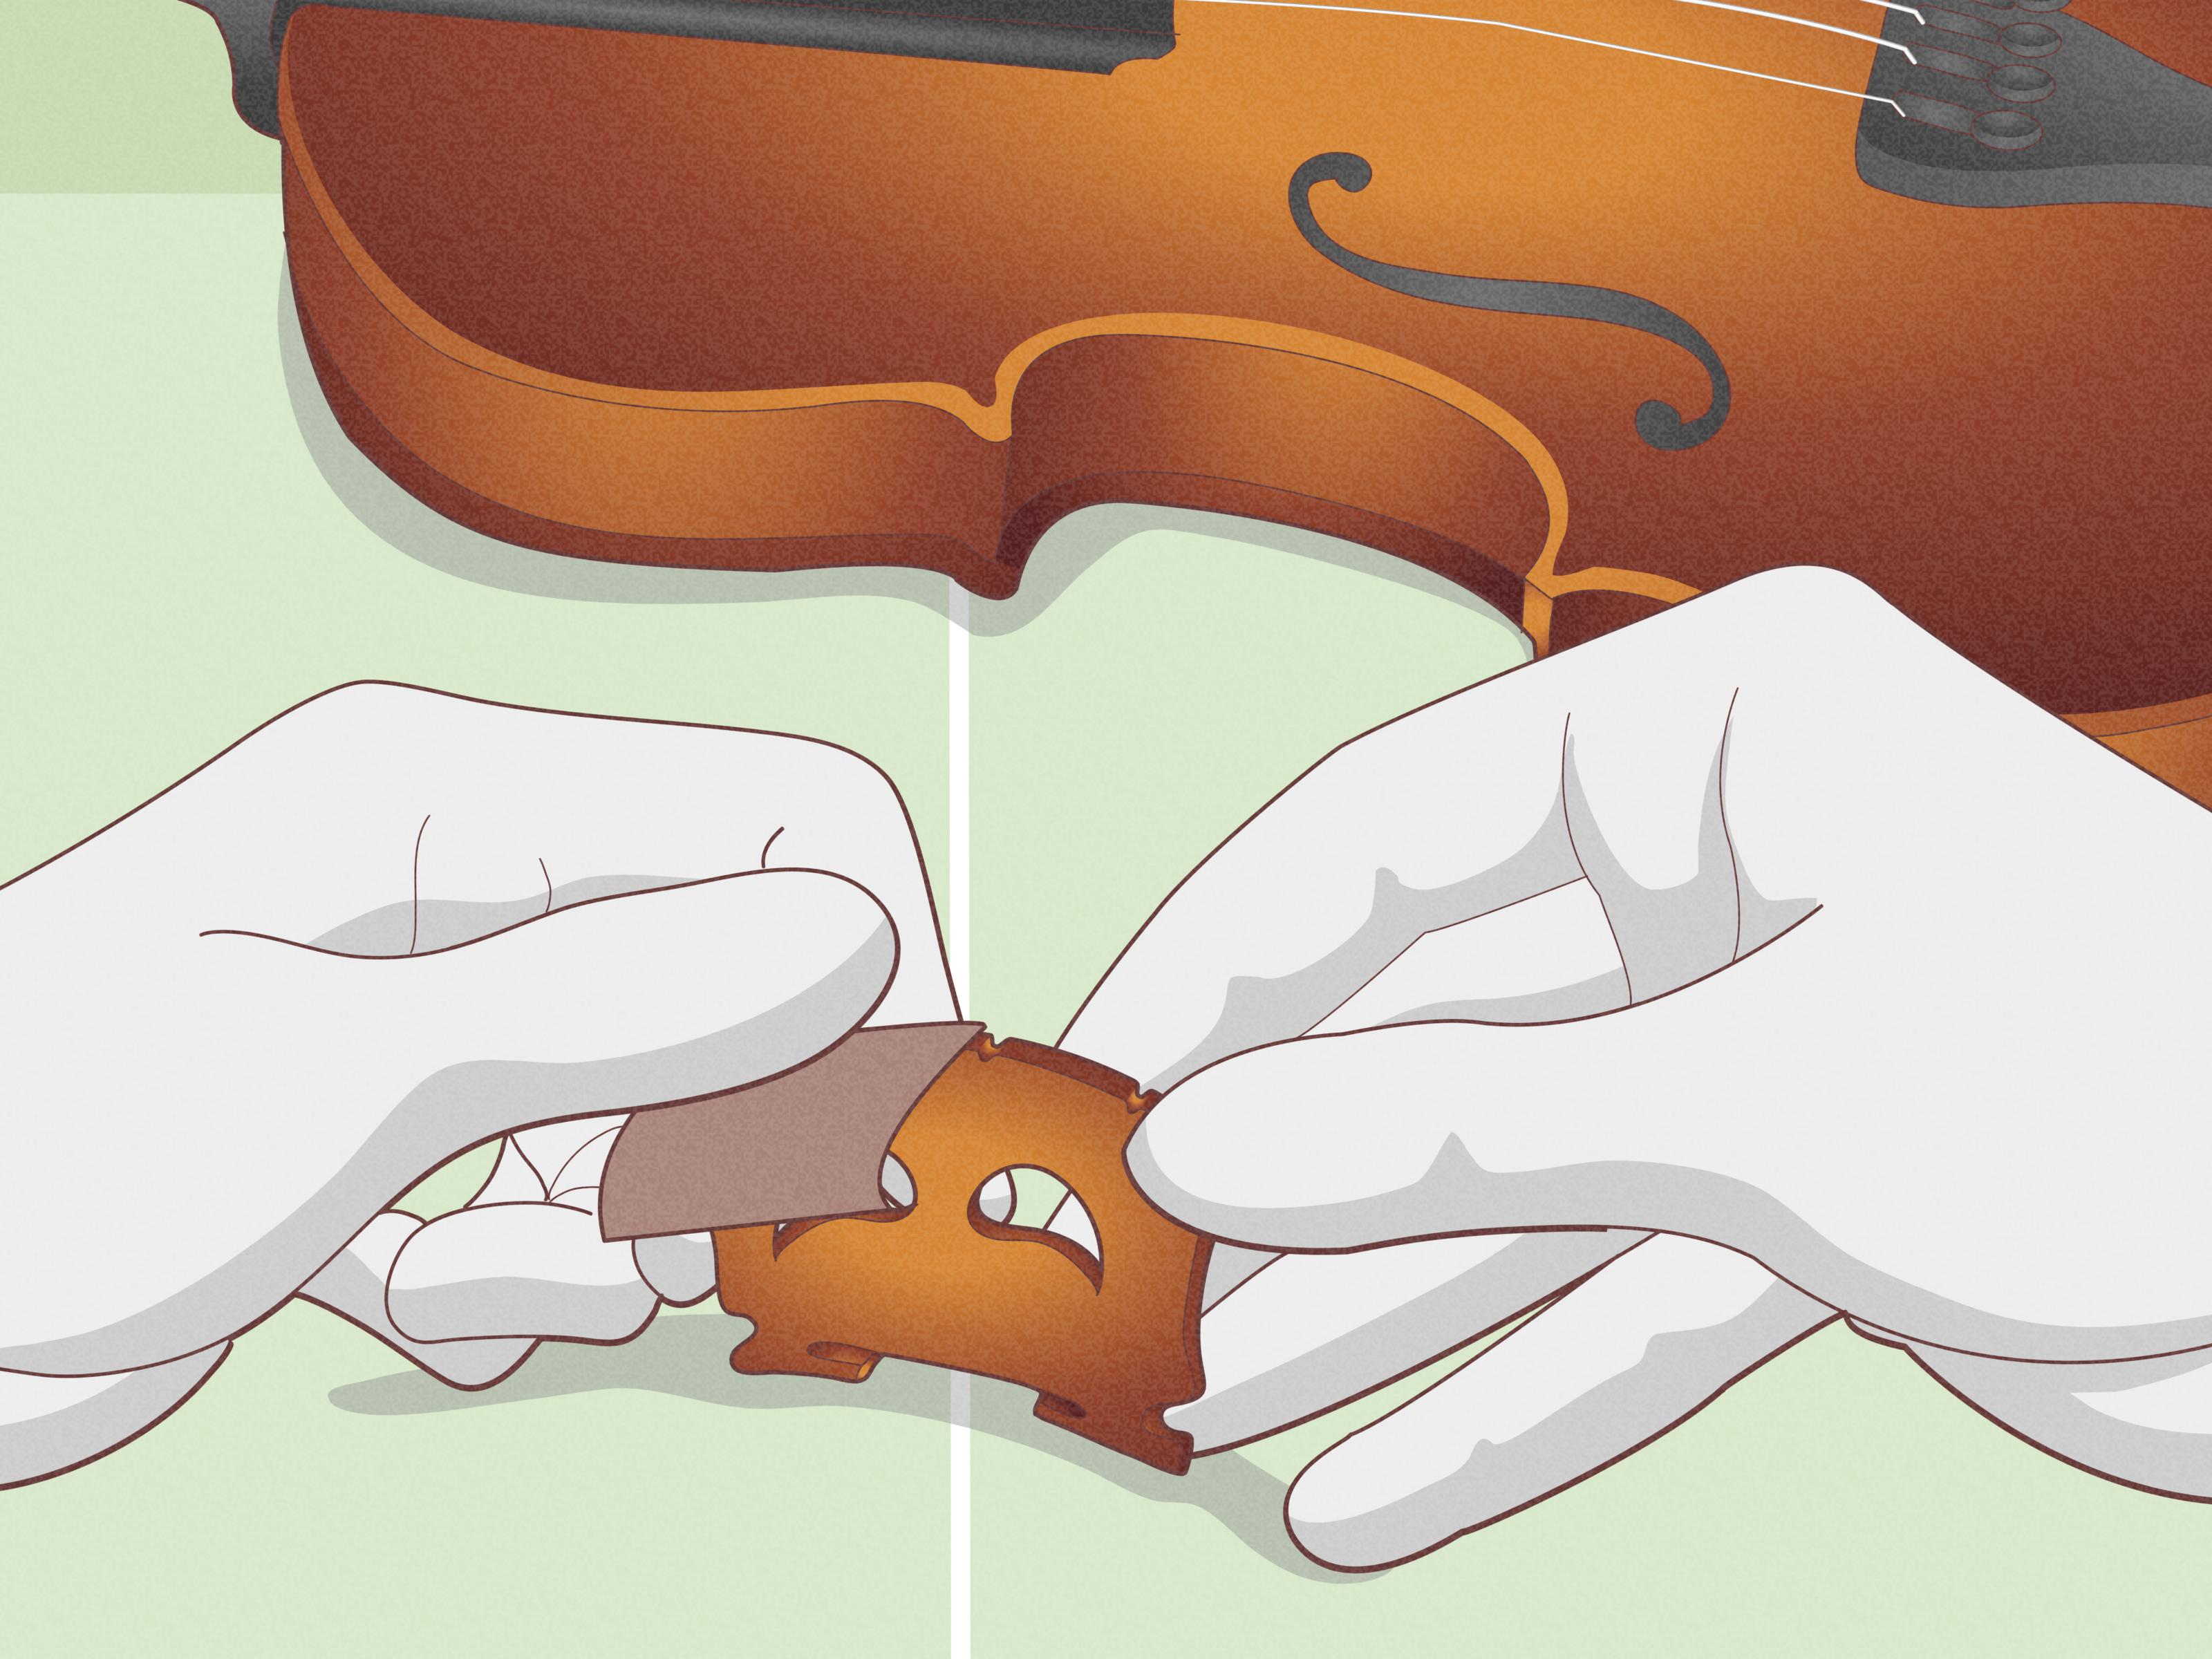
Hold the bridge with both hands and gently bring it upright. Use your thumbs and index fingers near the upper half of the bridge while keeping the feet planted. Move slowly. The goal is not to “snap” it into place; the goal is to persuade it, like convincing a cat to leave your laptop keyboard.
Step 6: Check the 90-Degree Angle
Once the bridge is standing, view it from the side. The tailpiece-facing side should be perpendicular to the violin top. You can use the corner of a business card as a simple visual reference, but be careful not to scratch the instrument.
Step 7: Tune Gradually and Watch the Bridge
Bring the strings up to pitch slowly. Tune in stages rather than cranking one string all the way up before touching the others. As the tension increases, check the bridge often. If the top begins leaning toward the fingerboard, pause and correct it gently.
How to Straighten a Leaning Violin Bridge
A leaning violin bridge is one of the most common setup issues. It usually happens after tuning, especially with new strings. To correct it, place the violin on a soft, stable surface. With both hands, hold the bridge near the top and gently ease it back toward the tailpiece while keeping the feet in place. Small movements are safer than one big heroic tug.
Do not pull only from one side. Do not twist the bridge. Do not use pliers, screwdrivers, kitchen tools, or anything that looks useful in a garage but terrifying near a violin. If the bridge resists, the feet lift, or the wood looks warped, stop and visit a luthier.
Common Mistakes to Avoid
Placing the Bridge Too Close to the Fingerboard
This shortens the vibrating string length and can cause intonation problems. The bridge should generally line up with the inner f-hole notches, not wander forward like it is trying to join the fingerboard.
Installing the Bridge Backward
If the low side is under the G string and the high side is under the E string, the bridge is backwards. The G side should be higher; the E side should be lower. Backward placement can make the instrument uncomfortable and unstable.
Letting the Bridge Lean Forward
A bridge that leans toward the fingerboard is under uneven stress. Over time, it can warp or fall. Check the bridge after tuning, after changing strings, and after temperature or humidity changes.
Ignoring Poor Foot Contact
If the feet do not sit flush, the bridge is not fitted correctly. This is not something most players can fix safely at home because bridge fitting requires careful carving. A luthier can shape the feet so they match the violin top.
Forcing a Warped Bridge
If the bridge looks curved, twisted, or permanently bent, do not try to flatten it by force. Warped bridges can break and may also affect tone and tuning stability. Replacement is usually the right solution.
Bridge Height, String Spacing, and Playability
Bridge placement is only one part of a good violin setup. Bridge height and string spacing also matter. On many full-size violins, the distance from the center of the G string to the center of the E string at the bridge is roughly in the low-to-mid 30 millimeter range, depending on the setup style and player preference. Some shop guidelines use about 33 to 33.5 millimeters, while other setups may be slightly wider.
String height above the fingerboard is also important. The G string generally sits higher than the E string because it vibrates in a wider arc. If the strings are too high, the violin feels hard to play. If they are too low, the strings may buzz against the fingerboard. These measurements depend on the bridge, fingerboard condition, string type, and the player’s needs.
This is why a professional setup can make a surprising difference. A violin that feels stiff, scratchy, or dull may not be a bad violin at all. It may simply have a bridge, soundpost, nut, or fingerboard problem. Sometimes the instrument does not need a pep talk; it needs a setup.
How Bridge Position Affects Sound
A properly placed bridge helps produce a balanced sound across all four strings. If the bridge shifts sideways, one side of the instrument may feel stronger or weaker. If it leans forward, the tone can become unstable and the bridge may lose efficient contact with the top. If the bridge is too thick, poorly shaped, or badly seated, the violin may sound muted or heavy.
Bridge shape also affects bowing. A classical violin bridge usually has a rounded arch that allows the player to isolate one string cleanly. Some fiddlers prefer a slightly flatter bridge for quicker double stops and string crossings, but that is a stylistic setup choice best done by someone who understands the tradeoffs. Flattening a bridge randomly is a quick way to make every bow stroke accidentally sound like a group project.
When to Take Your Violin to a Luthier
You can safely check bridge alignment, correct a slight lean, and make small position adjustments if you move slowly and understand the landmarks. However, some situations call for professional help.
Take your violin to a luthier if the bridge is warped, cracked, too low, too high, or repeatedly falling. You should also get help if the soundpost has fallen, the bridge feet do not fit flush, the strings have cut deeply into the bridge, the violin buzzes, or the instrument suddenly sounds weak or uneven. Valuable or old instruments should be handled especially carefully.
A luthier can carve, thin, fit, and position a bridge properly. That work involves more than standing a piece of wood in the right place. It includes shaping the bridge thickness, cutting string grooves, fitting the feet, checking string height, assessing fingerboard projection, and balancing the relationship between bridge and soundpost.
Maintenance Tips to Keep the Bridge in Place
Check the bridge every time you tune, especially after installing new strings. New strings stretch, and as they settle, they can pull the bridge toward the fingerboard. Tune gradually and watch for leaning. A quick visual check can prevent a much bigger repair later.
Keep the violin in a stable environment. Extreme dryness, humidity, heat, and cold can affect wood movement and tuning stability. When the strings need frequent tuning because of weather changes, the bridge is more likely to shift.
Wipe the violin gently after playing, but avoid soaking the bridge or cleaning around it with harsh products. The bridge is unfinished wood and should stay dry. If rosin dust collects near the bridge feet, use a soft dry cloth carefully. If you are nervous, let a shop clean it during routine maintenance.
Experience Notes: What Players Learn After Adjusting a Violin Bridge
The first real lesson most players learn is that the bridge moves more often than expected. Beginners often assume the bridge is permanently attached because it looks so official standing there. Then one day they tune the E string, hear a tiny creak, and discover the bridge leaning like it just heard bad news. This is normal, especially with new strings. The trick is to notice early and correct gently.
A useful habit is to look at the bridge from the side before and after tuning. At first, the angle may be hard to judge. The bridge seems straight, then crooked, then straight again, depending on where your head is. Over time, your eye gets better. The tailpiece side becomes the reference point. If that side is vertical and the feet are flat, you are probably in good shape.
Another experience many players share is that tiny bridge changes can create noticeable differences. Moving a bridge even slightly out of center may make one string feel louder or less responsive. A bridge that is not seated well can make the violin sound tired. When the bridge is lined up, upright, and stable, the instrument often feels easier to play. The bow catches the string more predictably, the tone speaks faster, and tuning feels less like negotiating with a squirrel.
Players also learn that not every problem is a bridge problem. If the violin sounds nasal, weak, or uneven, the bridge may be involved, but the soundpost, strings, fingerboard, tailpiece, or even bow technique can also play a role. That is why it helps to make one careful observation at a time. Is the bridge centered? Is it upright? Are the feet flush? Are the strings in the grooves? If those checks look good and the violin still feels wrong, it is time for a professional evaluation.
One practical example: imagine a student changes strings before a recital. The new strings stretch, the student keeps tuning up, and the bridge slowly leans forward. By the next practice session, the violin feels harder to tune and the tone is edgy. A quick bridge check reveals the problem. With careful two-handed correction, the bridge returns to a proper angle, the strings settle, and the violin behaves again. Drama reduced. Recital saved. No tiny wooden casualties.
Another example: a bridge falls during a string change. The player panics and tries to tighten the strings while holding the bridge loosely in place. The bridge slips, the feet scrape the top, and something rattles inside. That rattle may be the soundpost, which means the repair has moved from “home adjustment” to “luthier visit.” The better approach is to stop as soon as anything feels unstable. A violin rewards patience and punishes wrestling moves.
Experienced players tend to develop a calm routine. They tune slowly, check the bridge, wipe the instrument, and keep an eye on seasonal changes. They also know their limits. Straightening a mild lean is normal maintenance. Carving feet, lowering action, reshaping the arch, or resetting a soundpost is professional work. That boundary keeps the instrument safe and the player sane.
Conclusion
Knowing how to place a bridge on a violin is an essential skill for players, parents, teachers, and anyone responsible for instrument care. The main landmarks are simple: align the bridge feet with the inner f-hole notches, center the bridge under the fingerboard, keep the tailpiece side at a 90-degree angle, and make sure the feet sit flush on the violin top.
Simple does not always mean easy, though. The bridge is delicate, and the violin top is sensitive. Make small adjustments, tune gradually, and stop if anything feels forced. A properly placed bridge can improve tone, playability, tuning stability, and comfort. A poorly placed bridge can cause buzzing, weak sound, warped wood, or worse.
Think of the bridge as the violin’s tiny traffic controller. When it stands in the right place, everything flows: string vibration, resonance, bow response, and musical confidence. When it is crooked, traffic gets weird. Keep it upright, treat it gently, and when in doubt, let a luthier handle the tricky stuff.
Note: This guide is intended for basic bridge placement checks and minor adjustments. For warped bridges, fallen soundposts, valuable instruments, deep string grooves, poor foot contact, or major setup issues, consult a qualified violin luthier.